


DIY | Recycled Egg Carton Ornaments


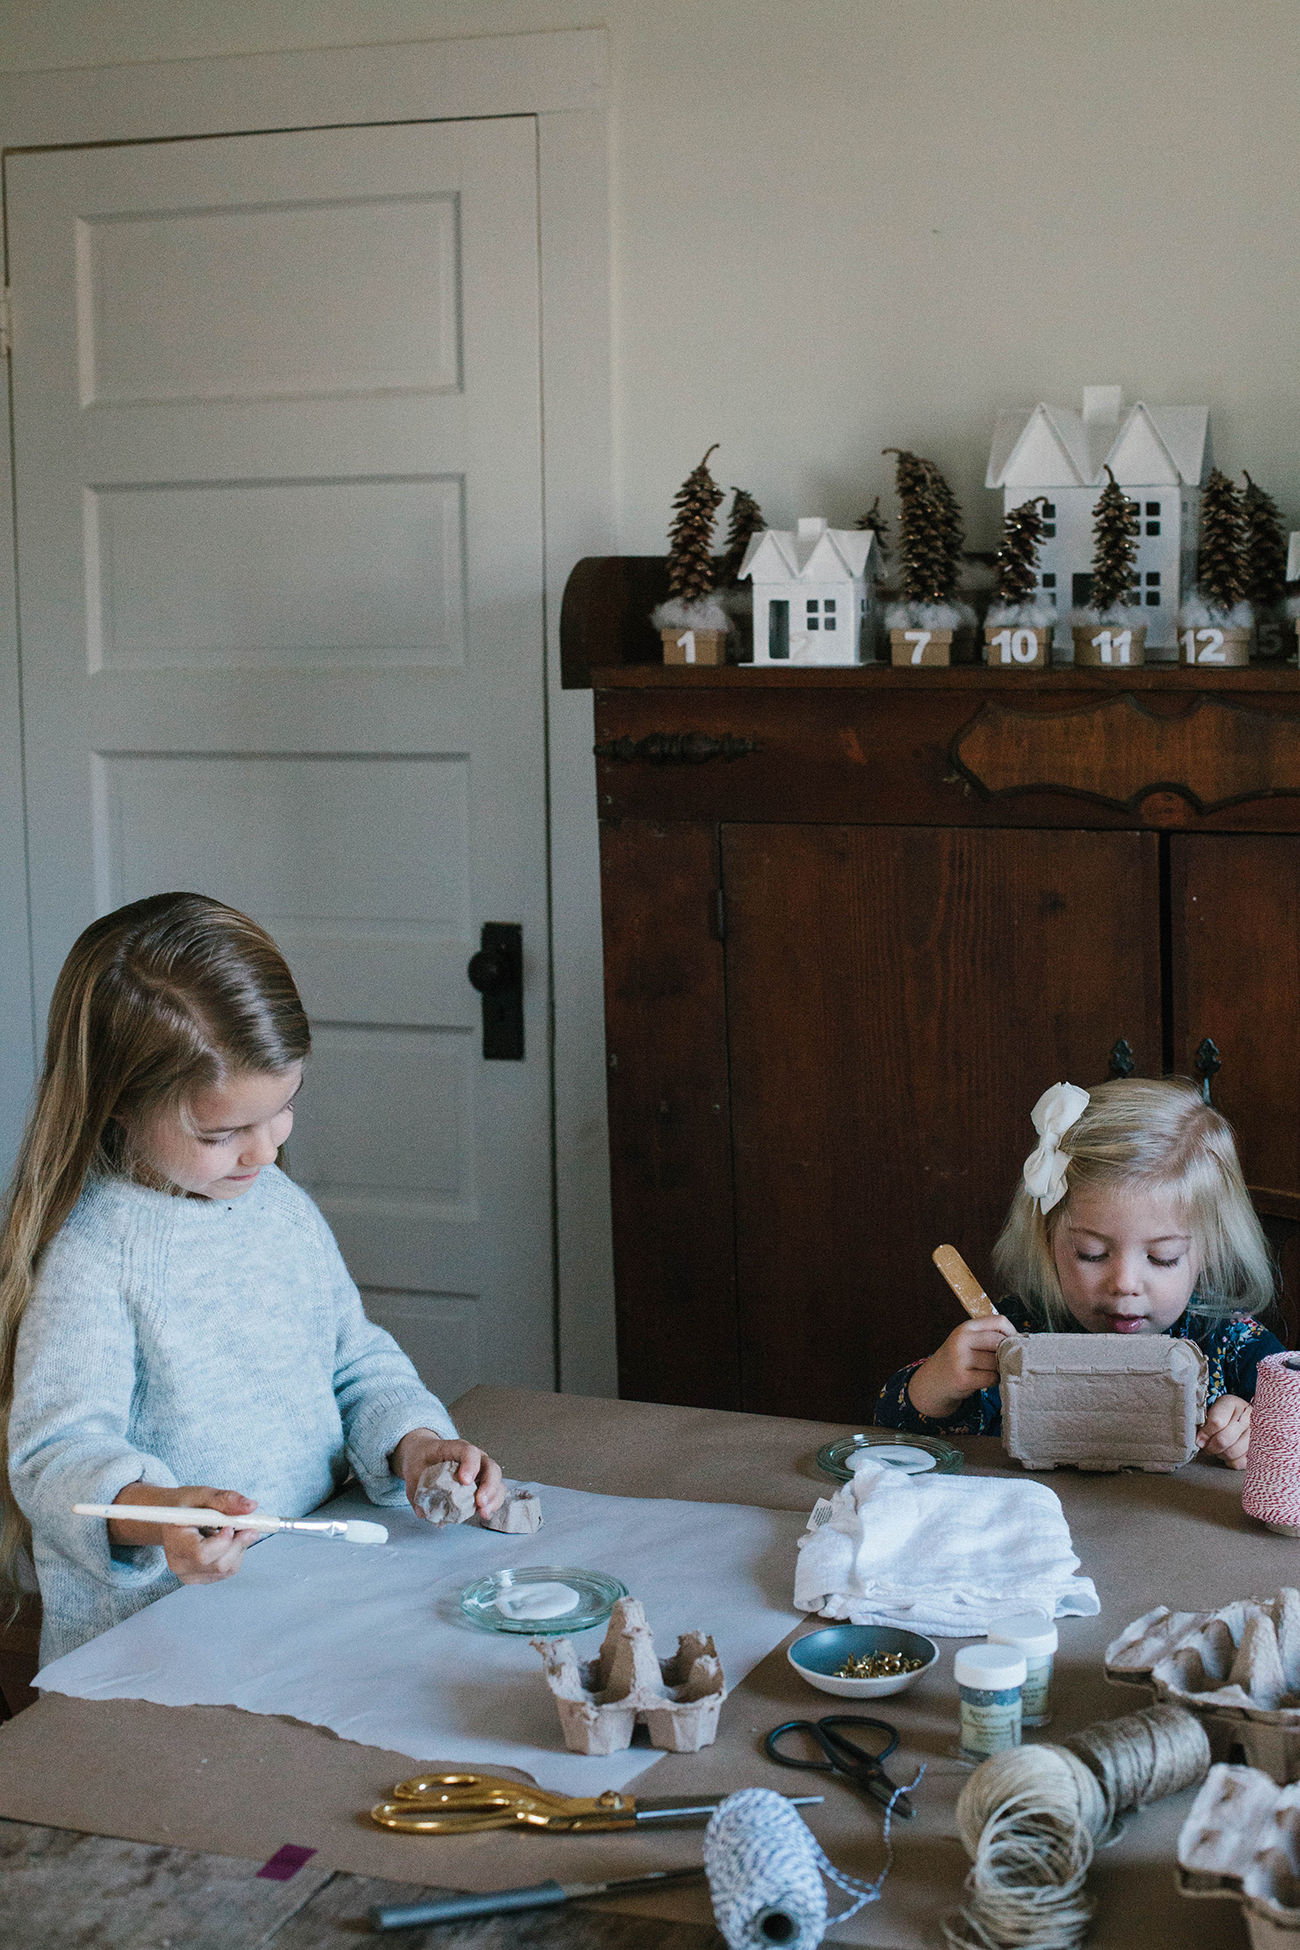
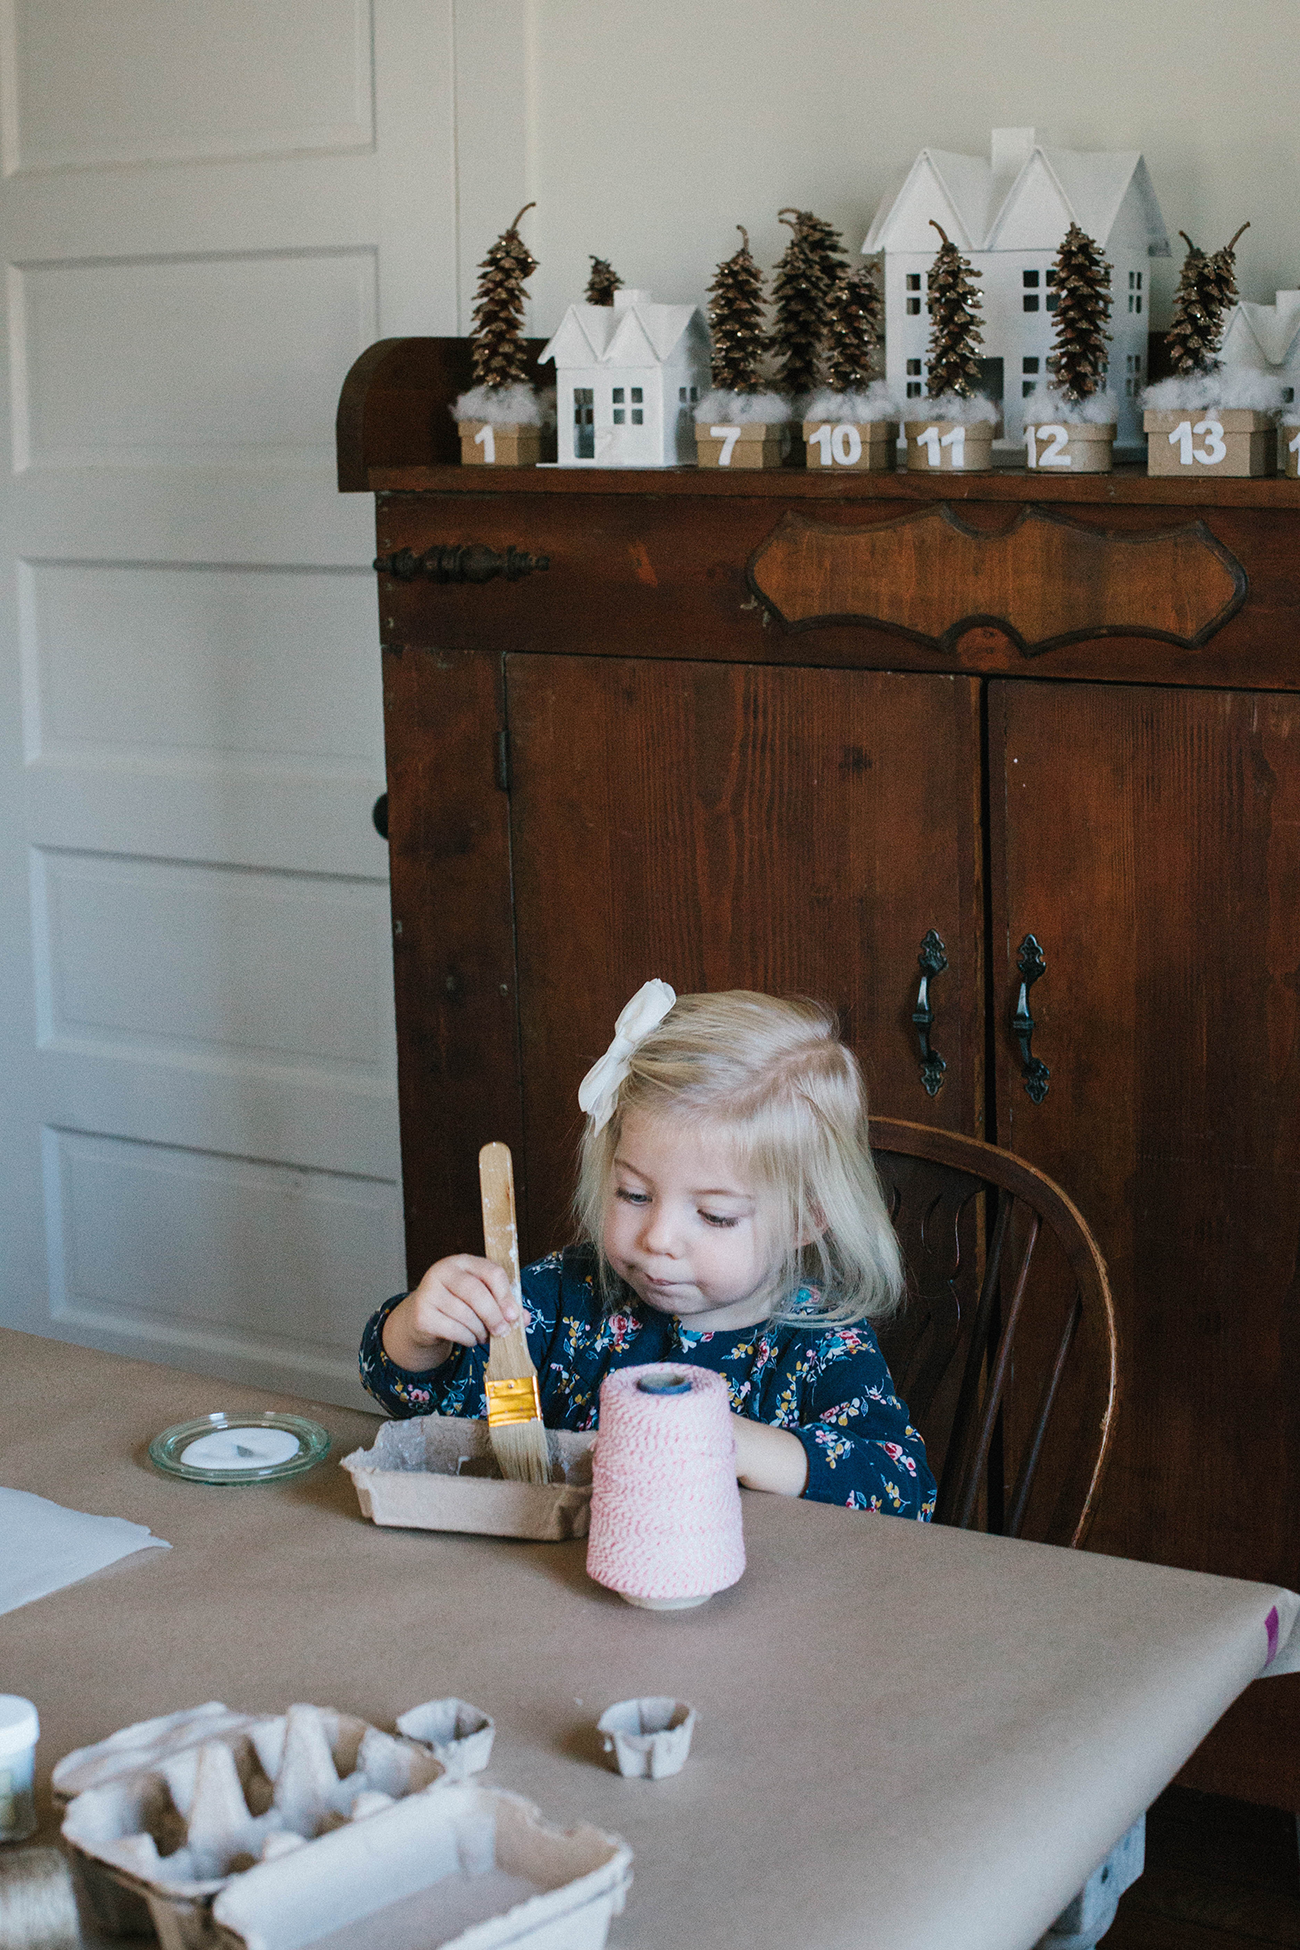

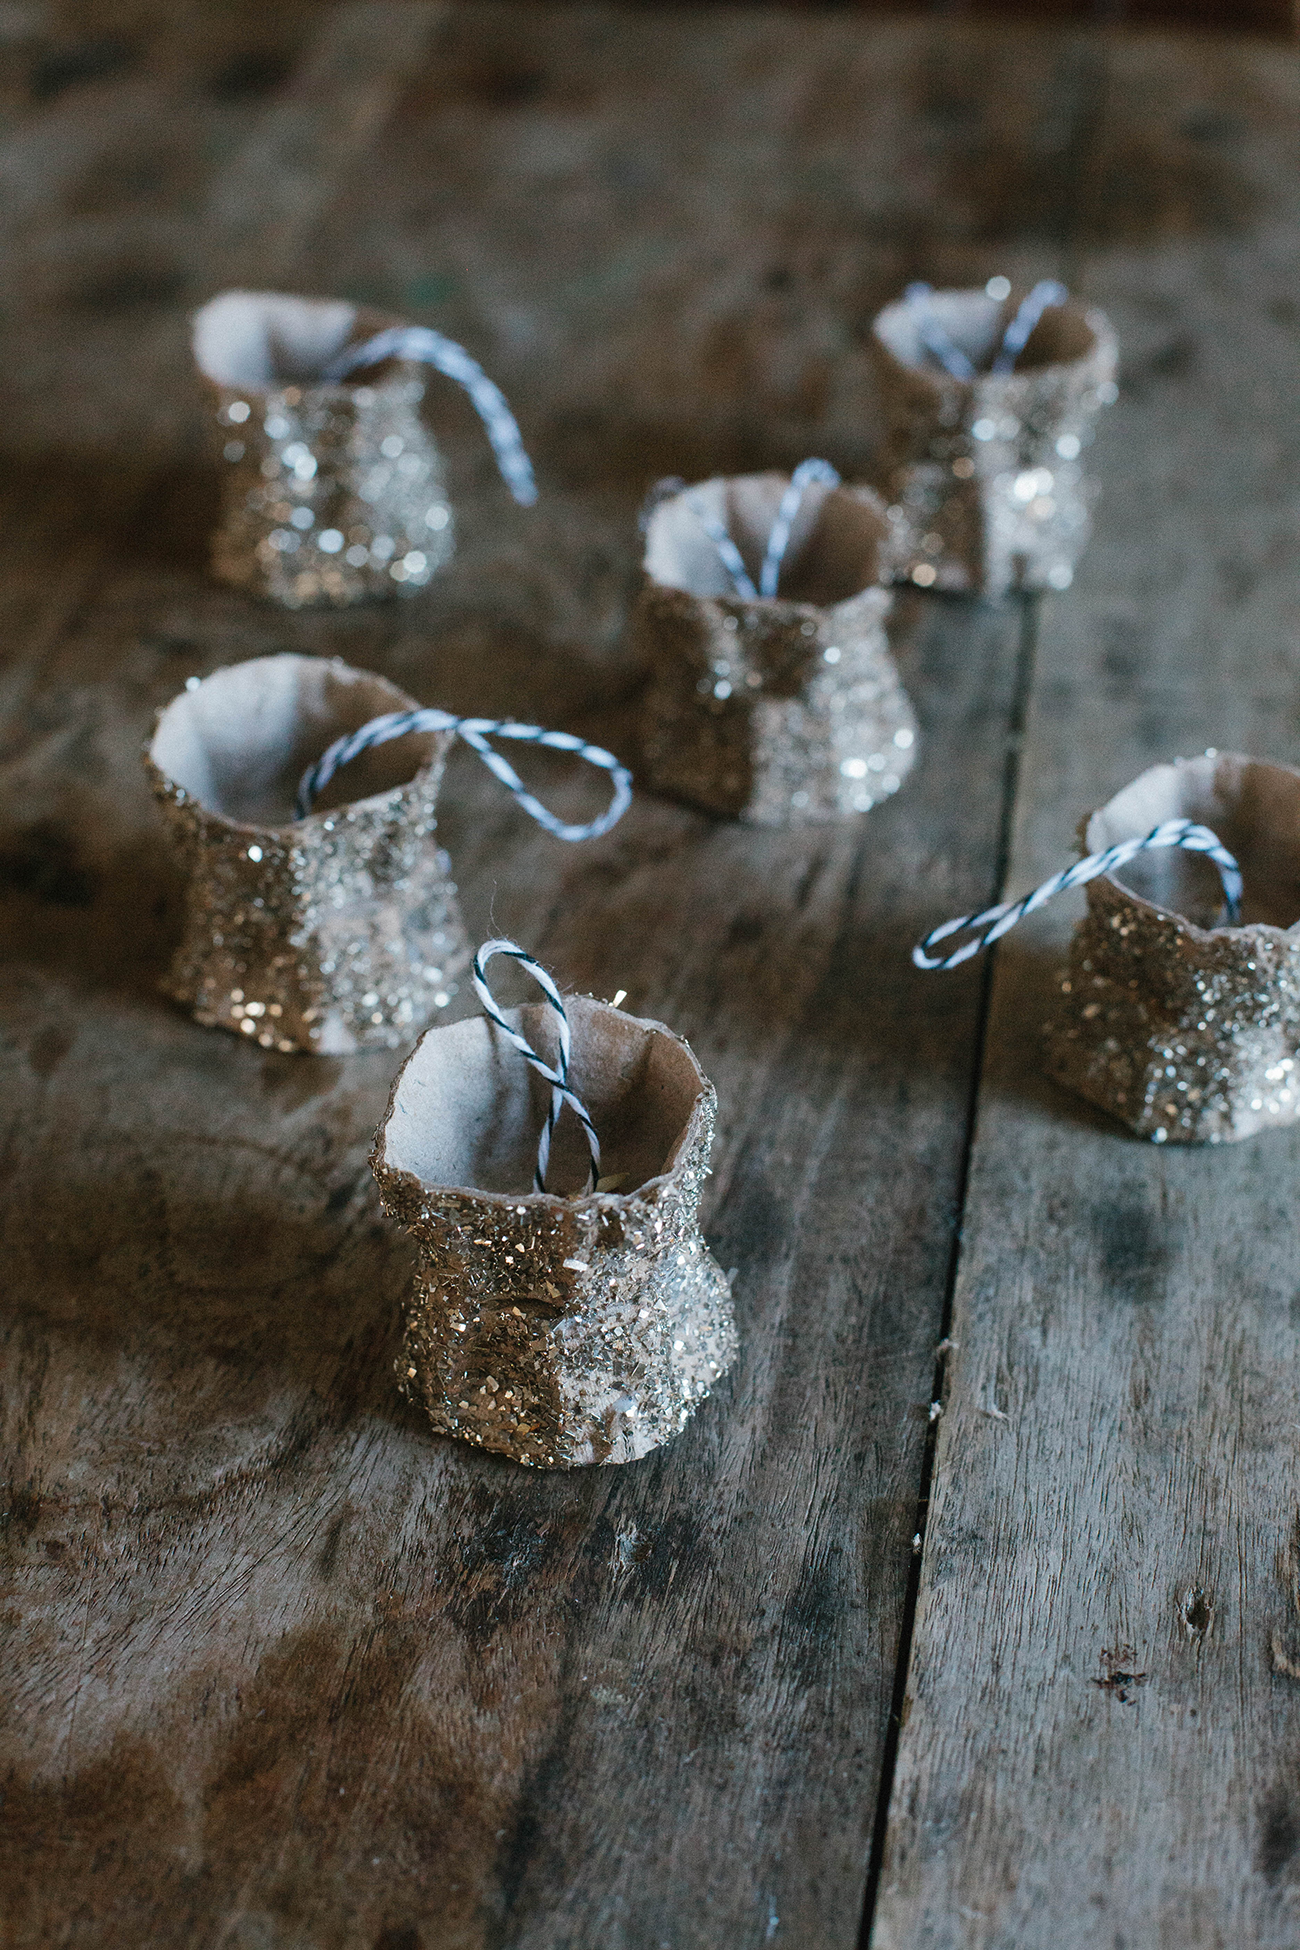
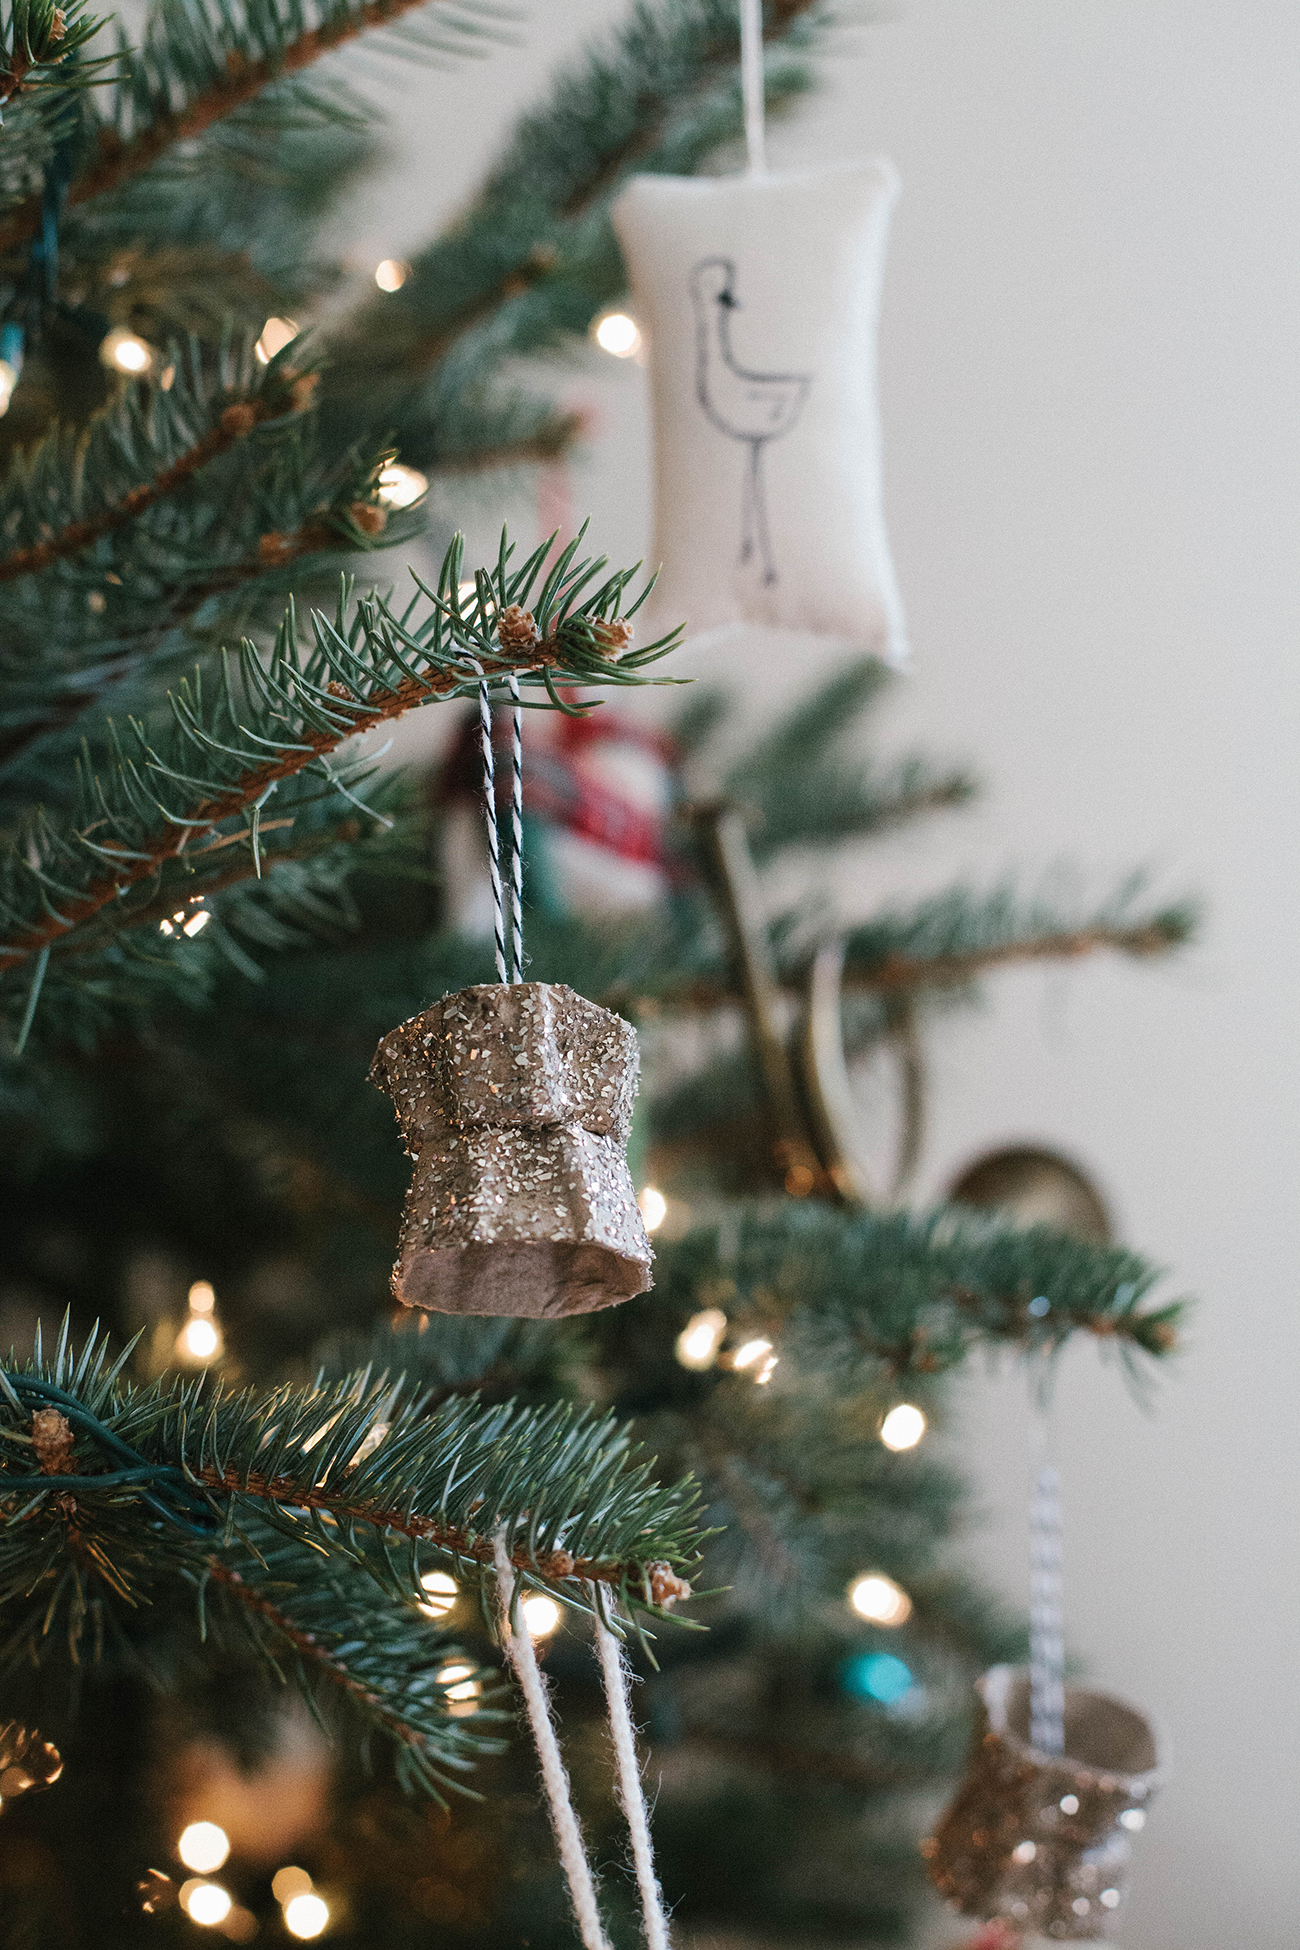
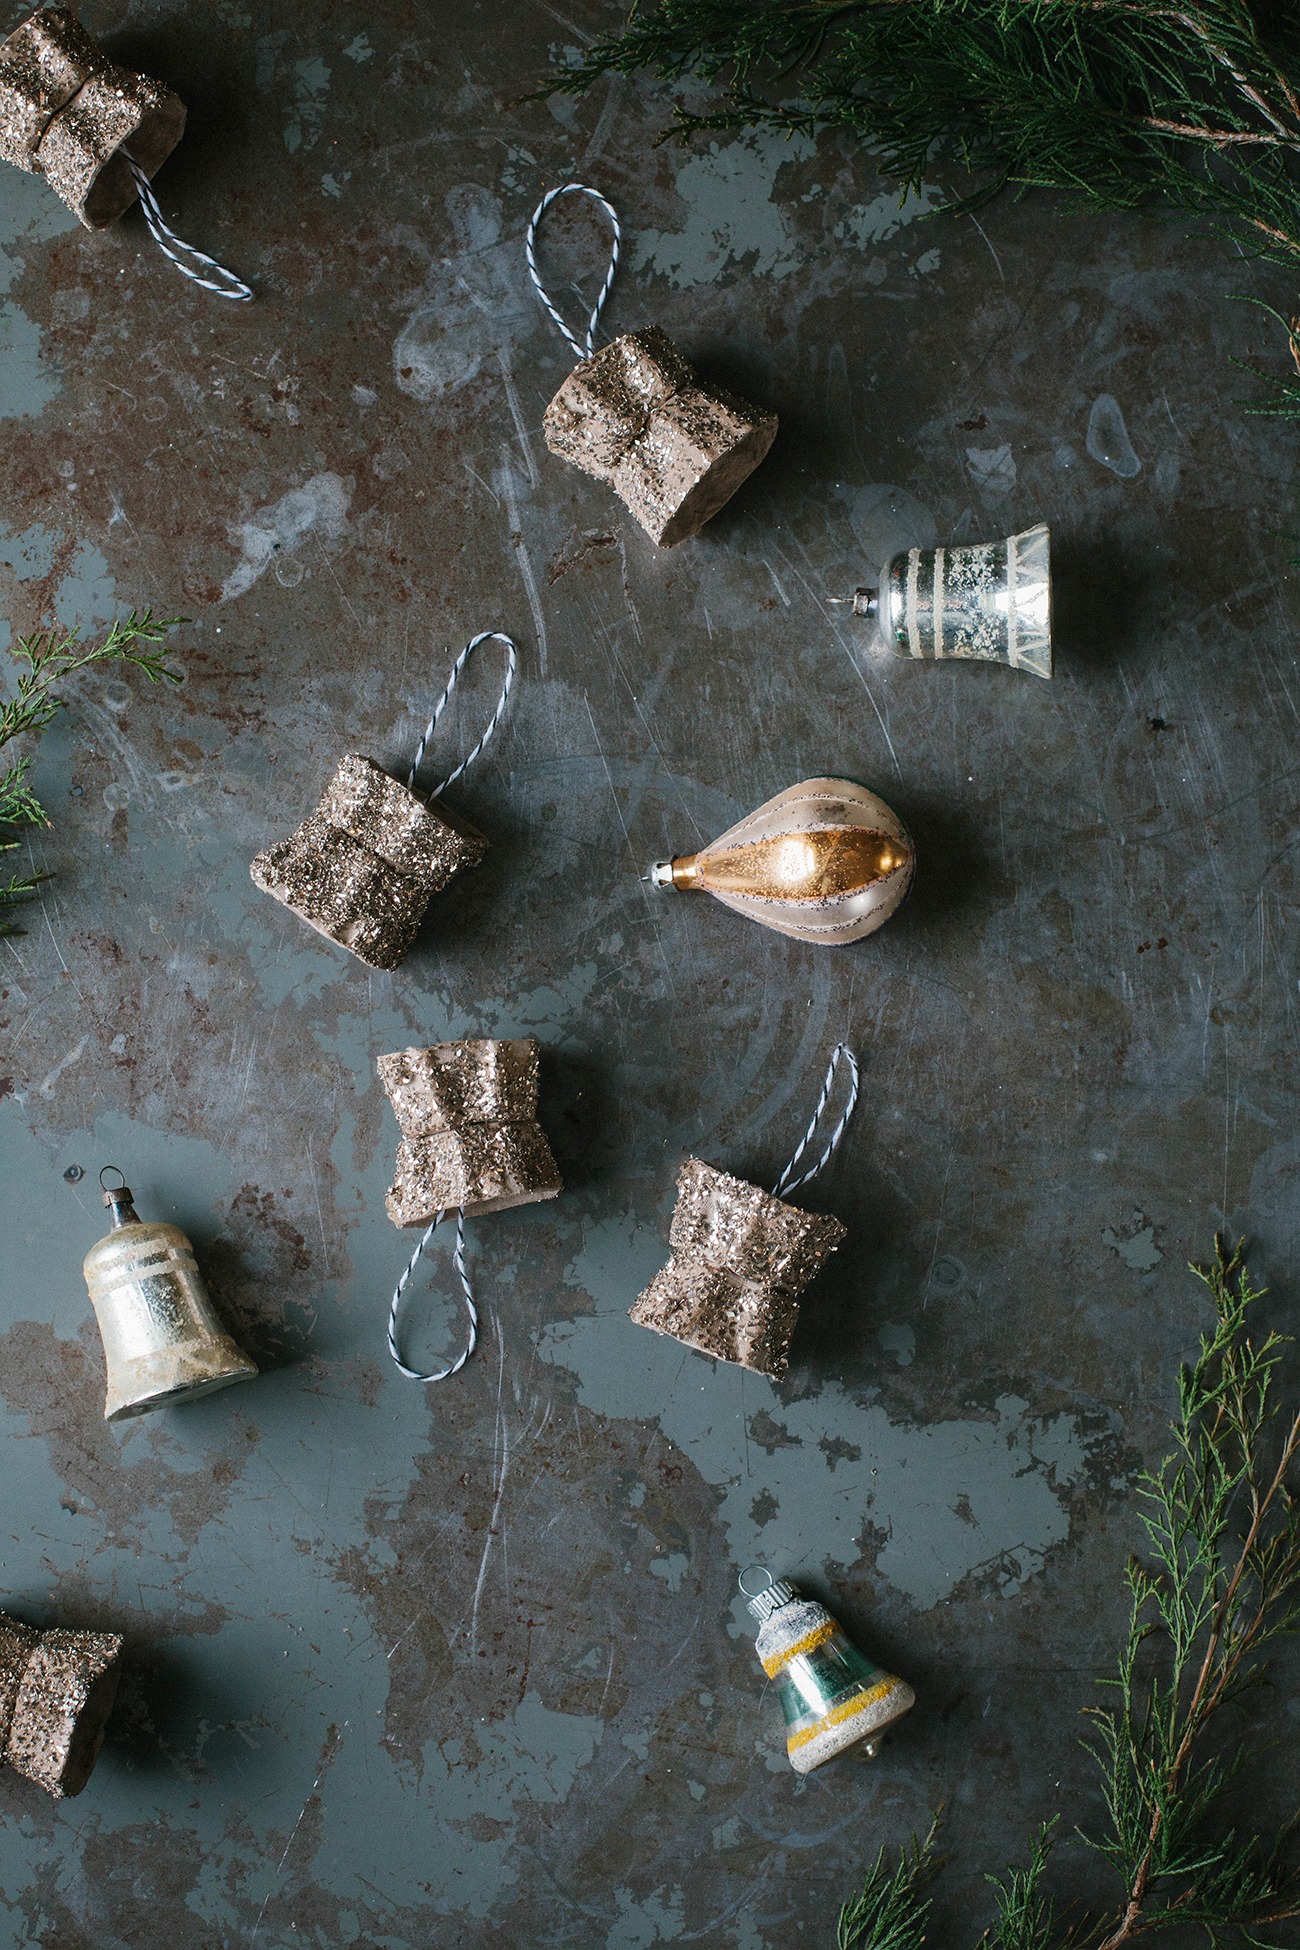 We’re fully immersed in Christmas preparations and celebrations over here at the Gallop Household! We made these recycled egg carton ornaments this week, as one of our Advent activities. We’re planning on giving them to family as Christmas gifts later this month.
These ornaments were inspired by ornaments that my nana made in her first years of marriage in the early 1960s. Nana and Pop-pop gathered with a few of their newlywed friends and made similar egg carton ornaments together. The guys cut and the gals glued and glittered. Growing up, we’d help my grandparents decorate their tree, and I always loved hearing the story behind these ornaments (and I was amazing that they’d held up all these years!). My nana keeps them delicately wrapped in tissues – probably from the 60s, too – and stores them in the attic in shoeboxes. It’s always magical unwrapping them and hanging them on their tree. I cannot wait to visit them this Christmas and hear the story again!
I love the geometric shape and simplicity of these ornaments. I’d love to try just painting the egg cartons, maybe a matte white or blush pink. Next year!
These are simple to make, especially after you cut the sections out of the egg cartons. Do you have any handmade ornaments that have been in your family for years? I’d love to hear about them!
To make your own egg carton ornaments, gather the following supplies…
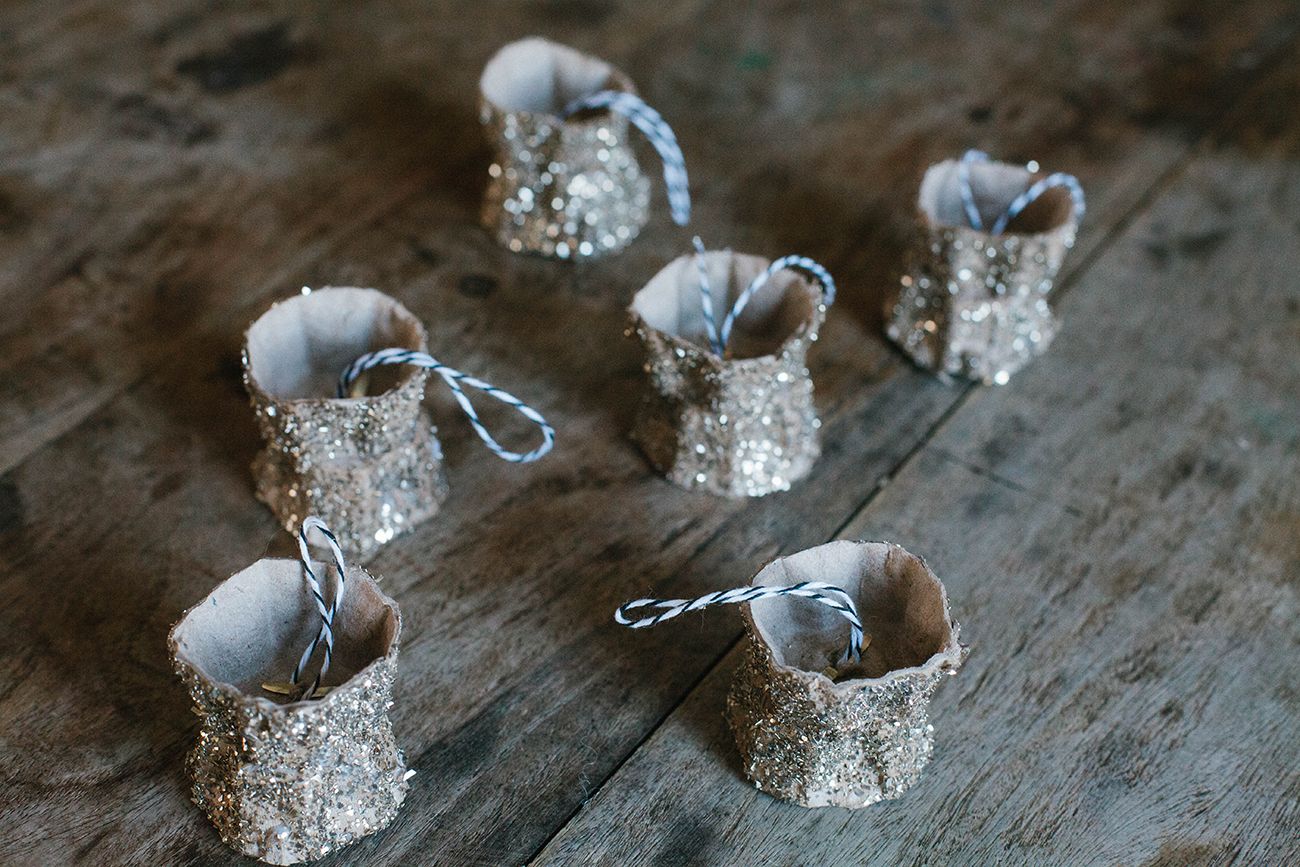
Recycled Egg Carton Ornaments
Supplies
cardboard egg cartons
scissors or an exacto knife
glue
glitter
string
paper fasteners
Directions
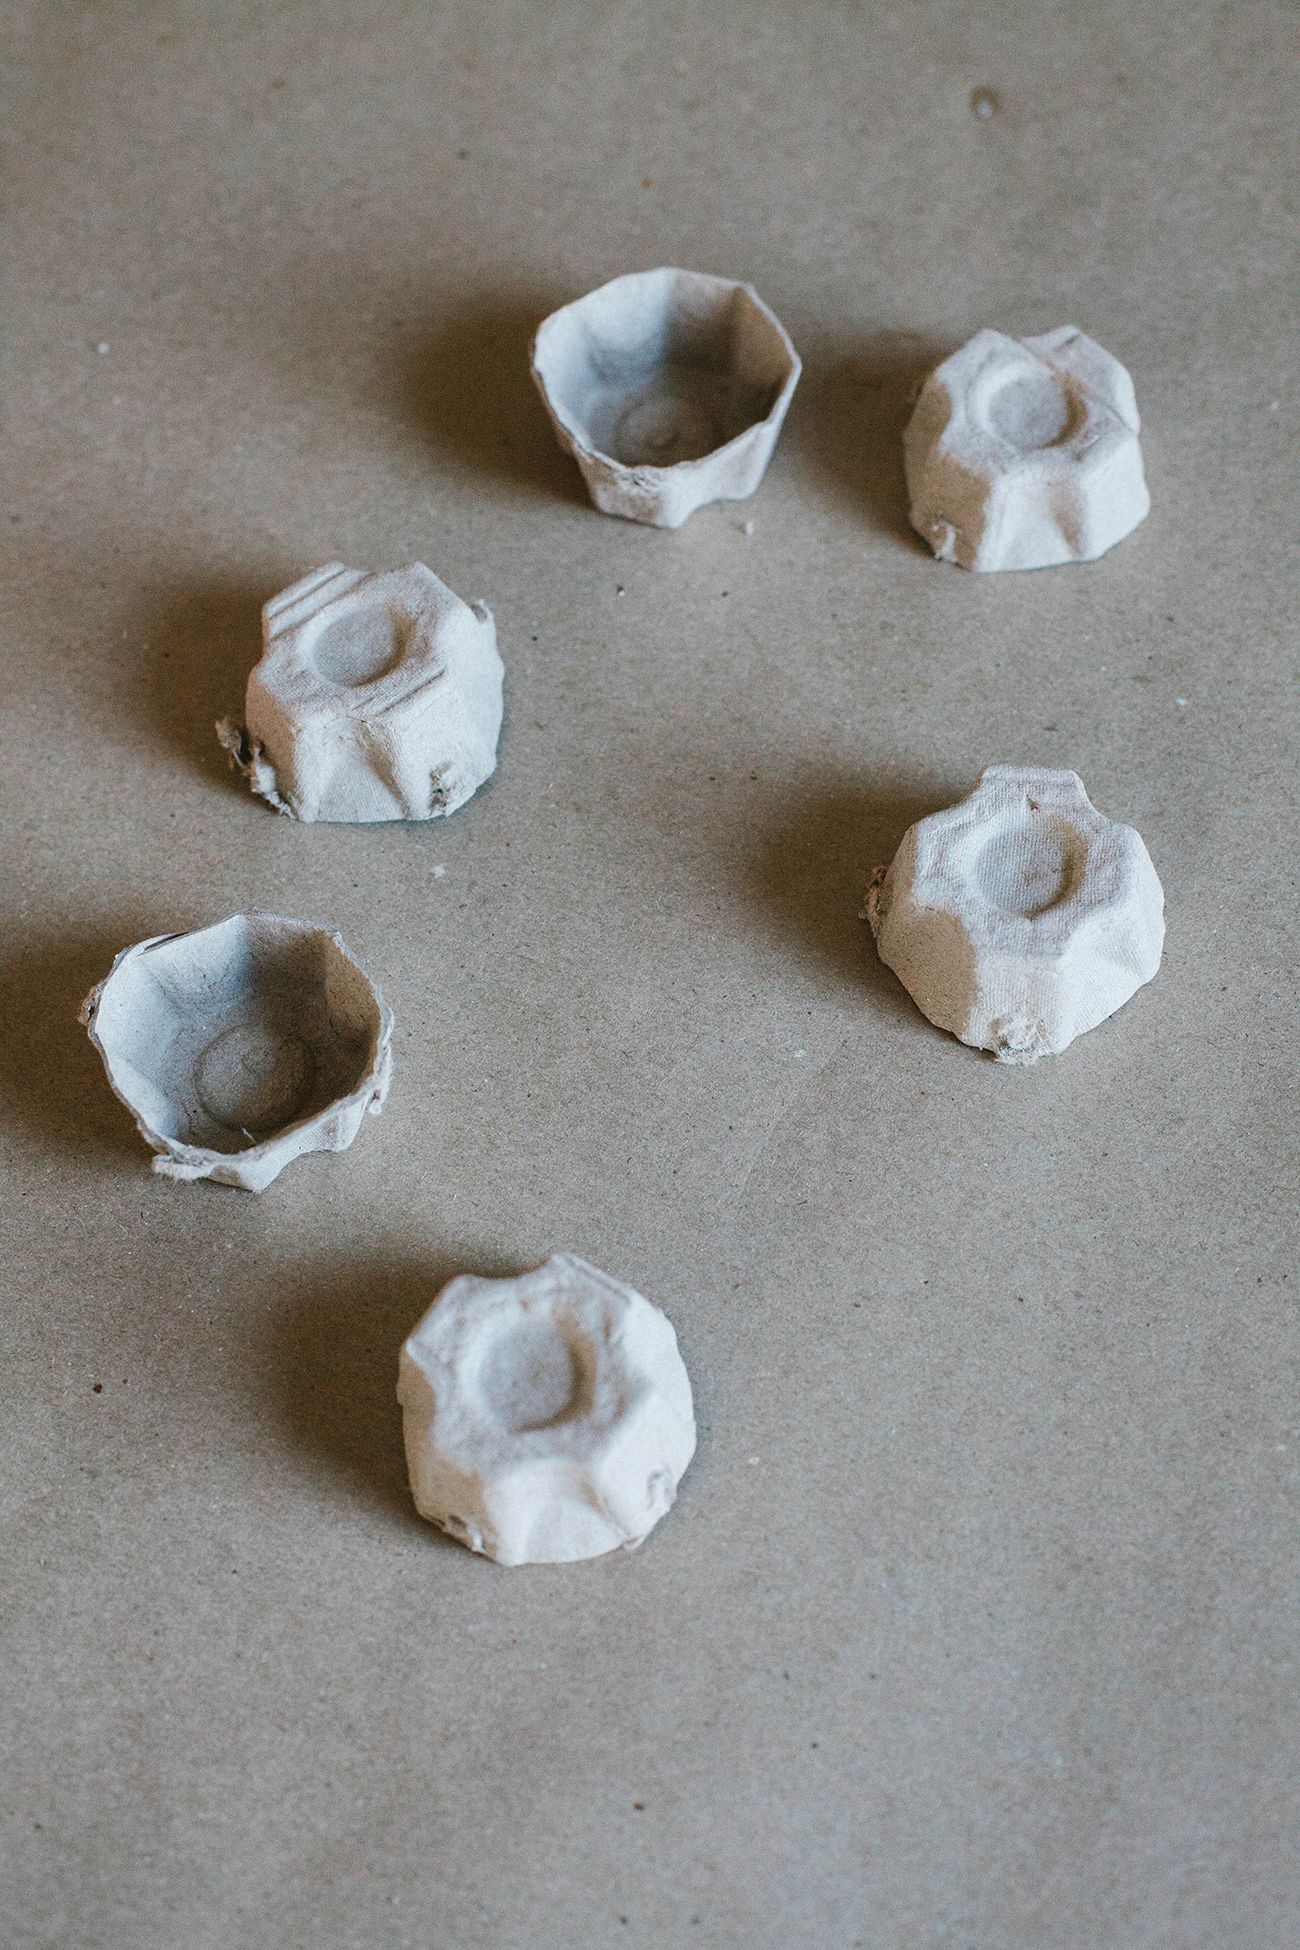
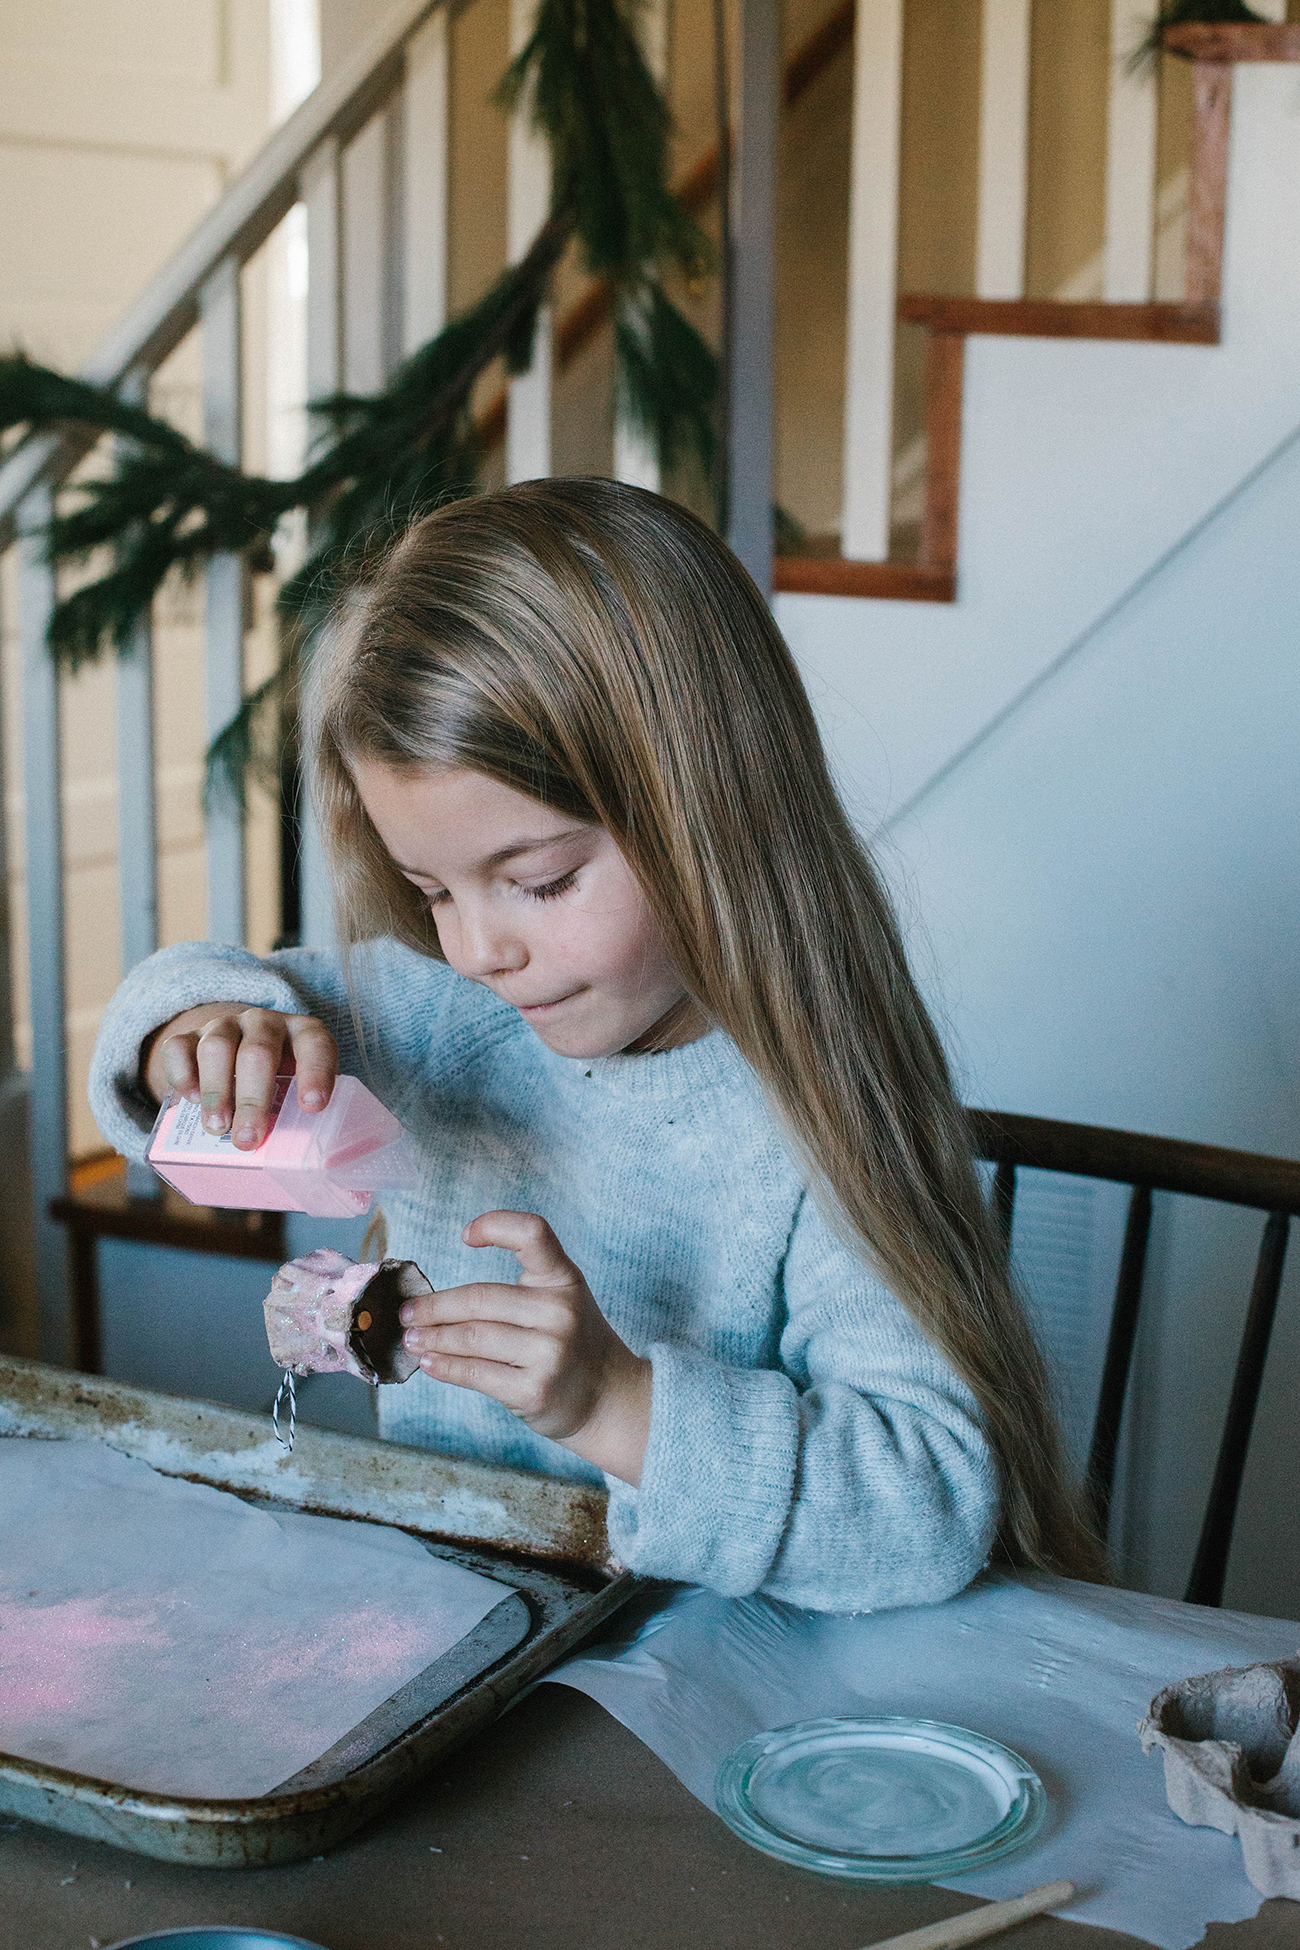
1. Using either scissors and/or an exacto knife, cut out the bowl sections from the egg cartons. Each ornament uses two of the sections, so if you’re using a dozen carton, you’ll get 6 ornaments.
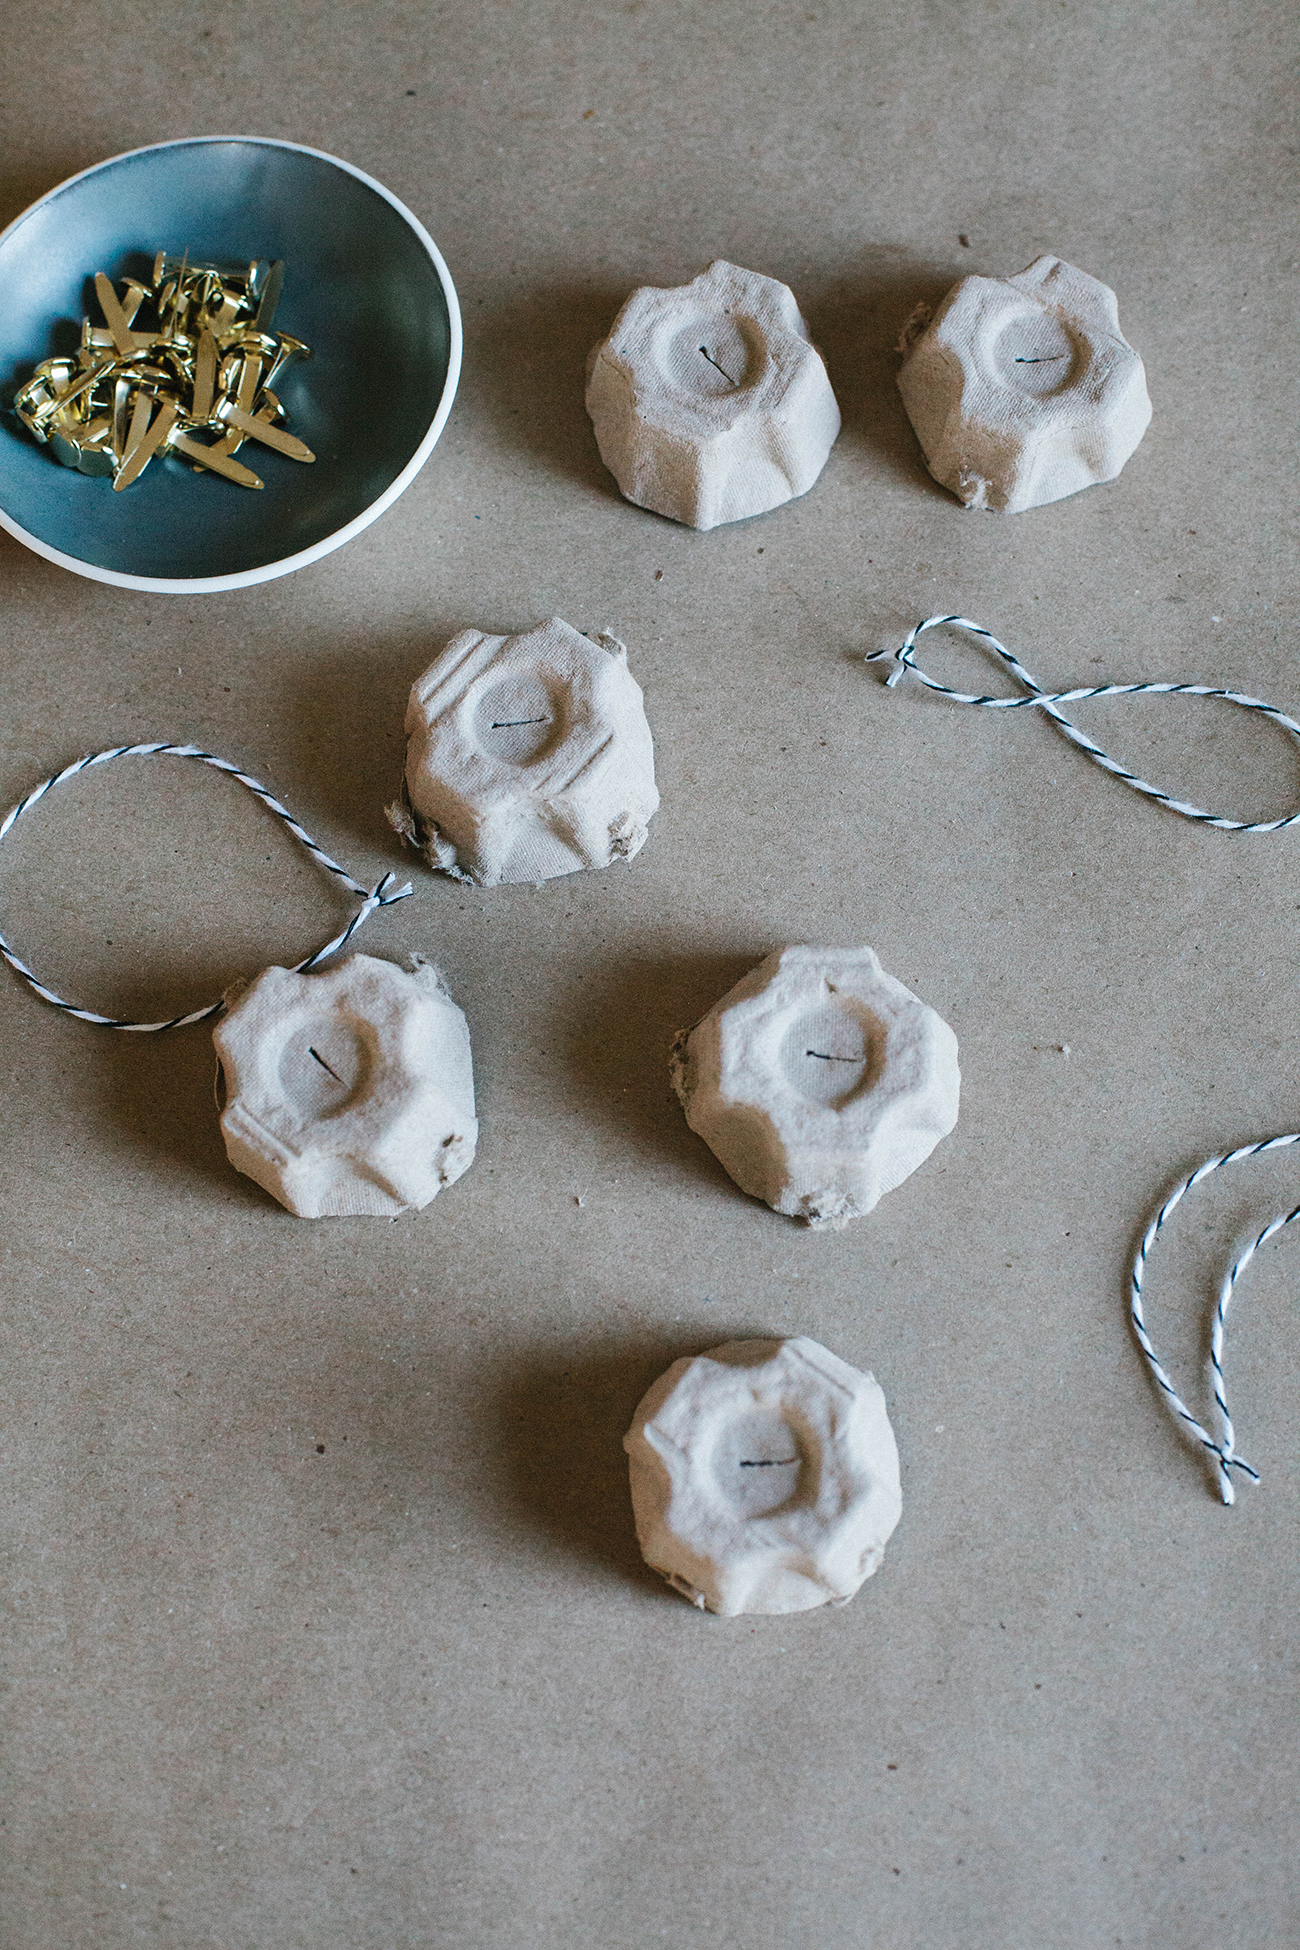
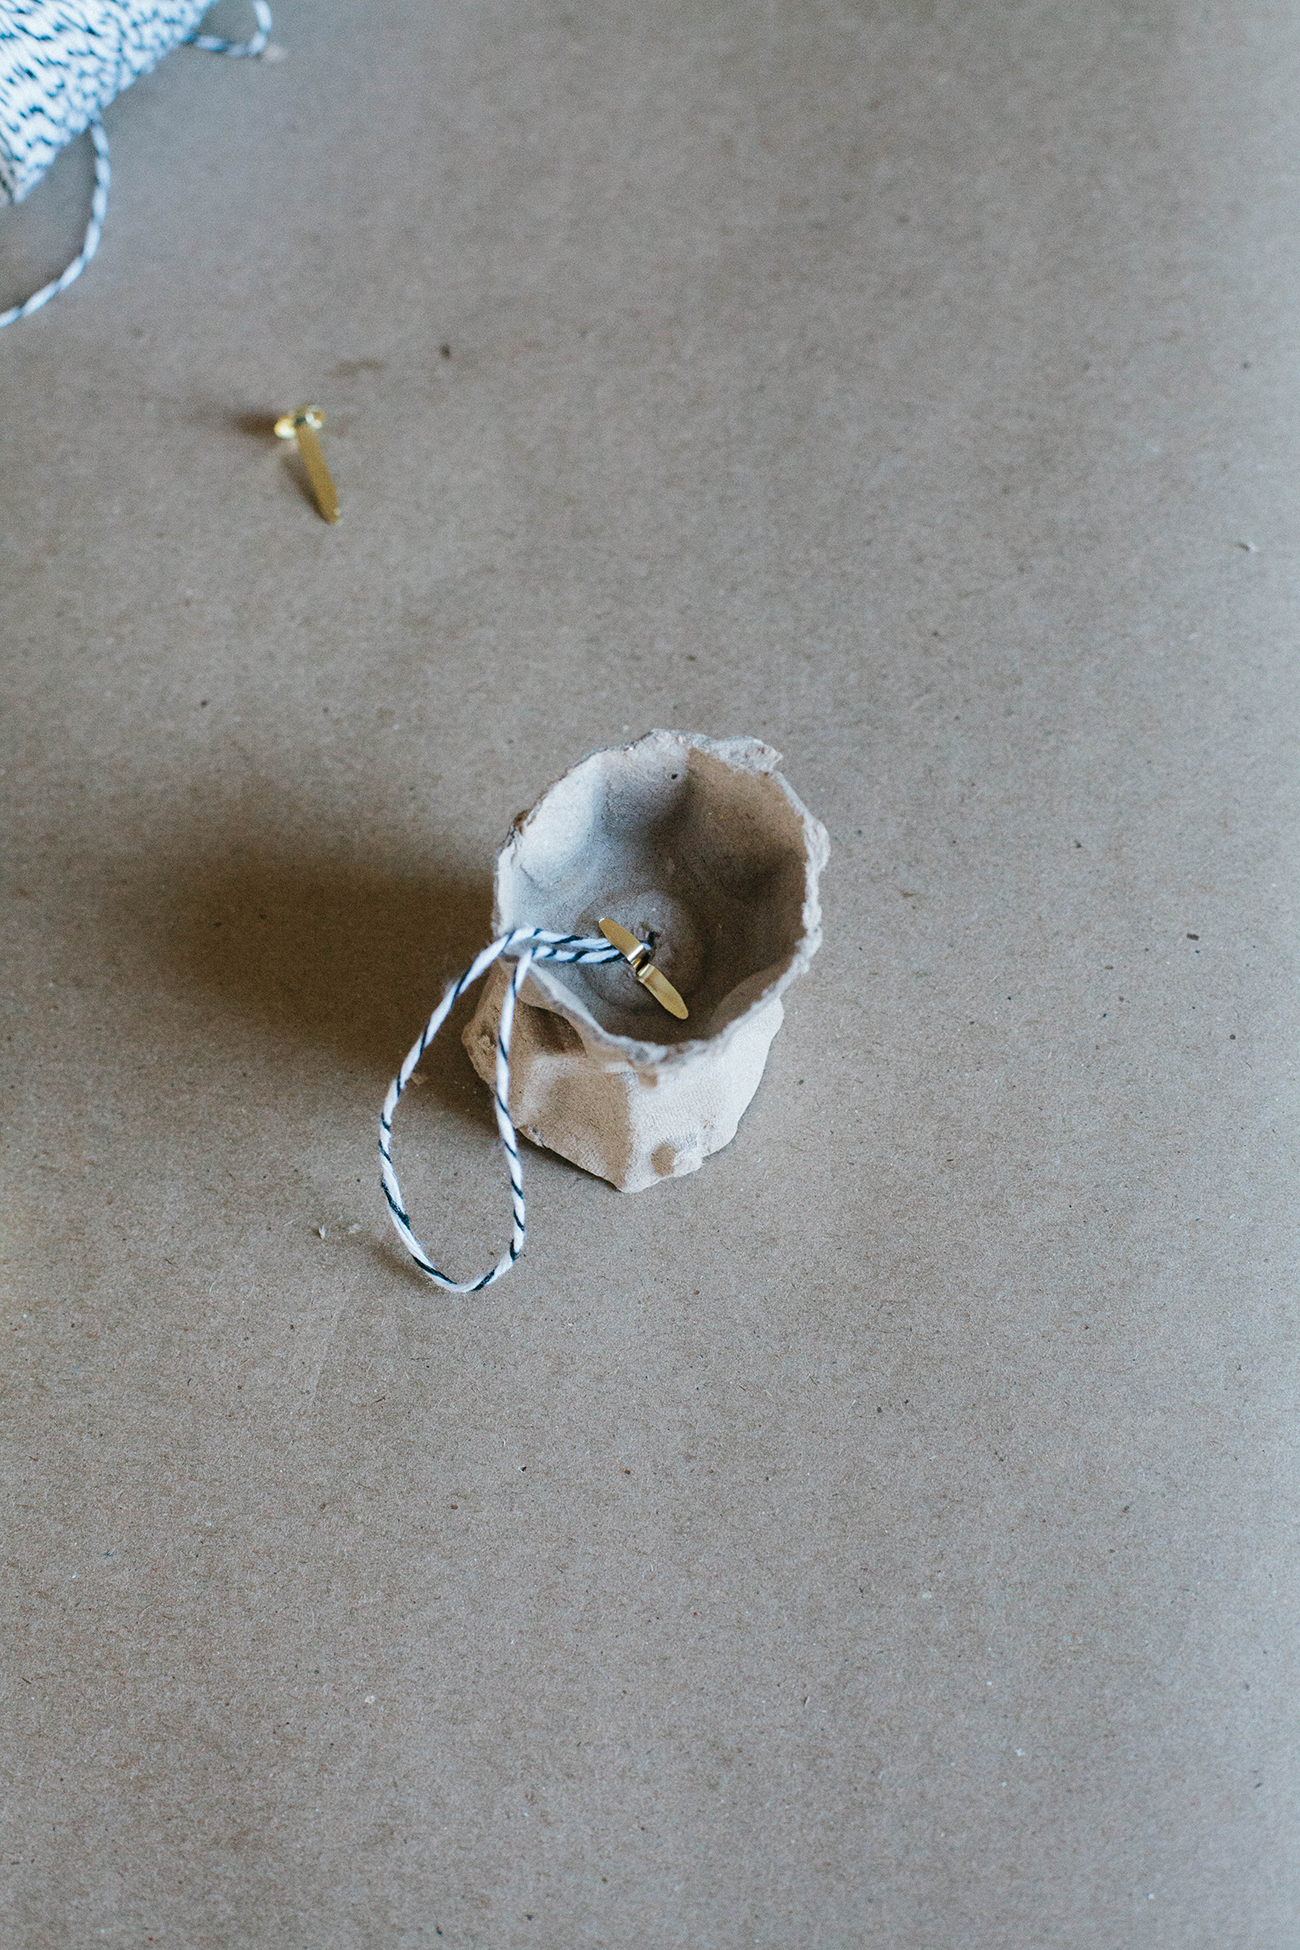
2. Then, cut a tiny slit in the top of each egg carton section. The string and the paper fastener will go through this slit.
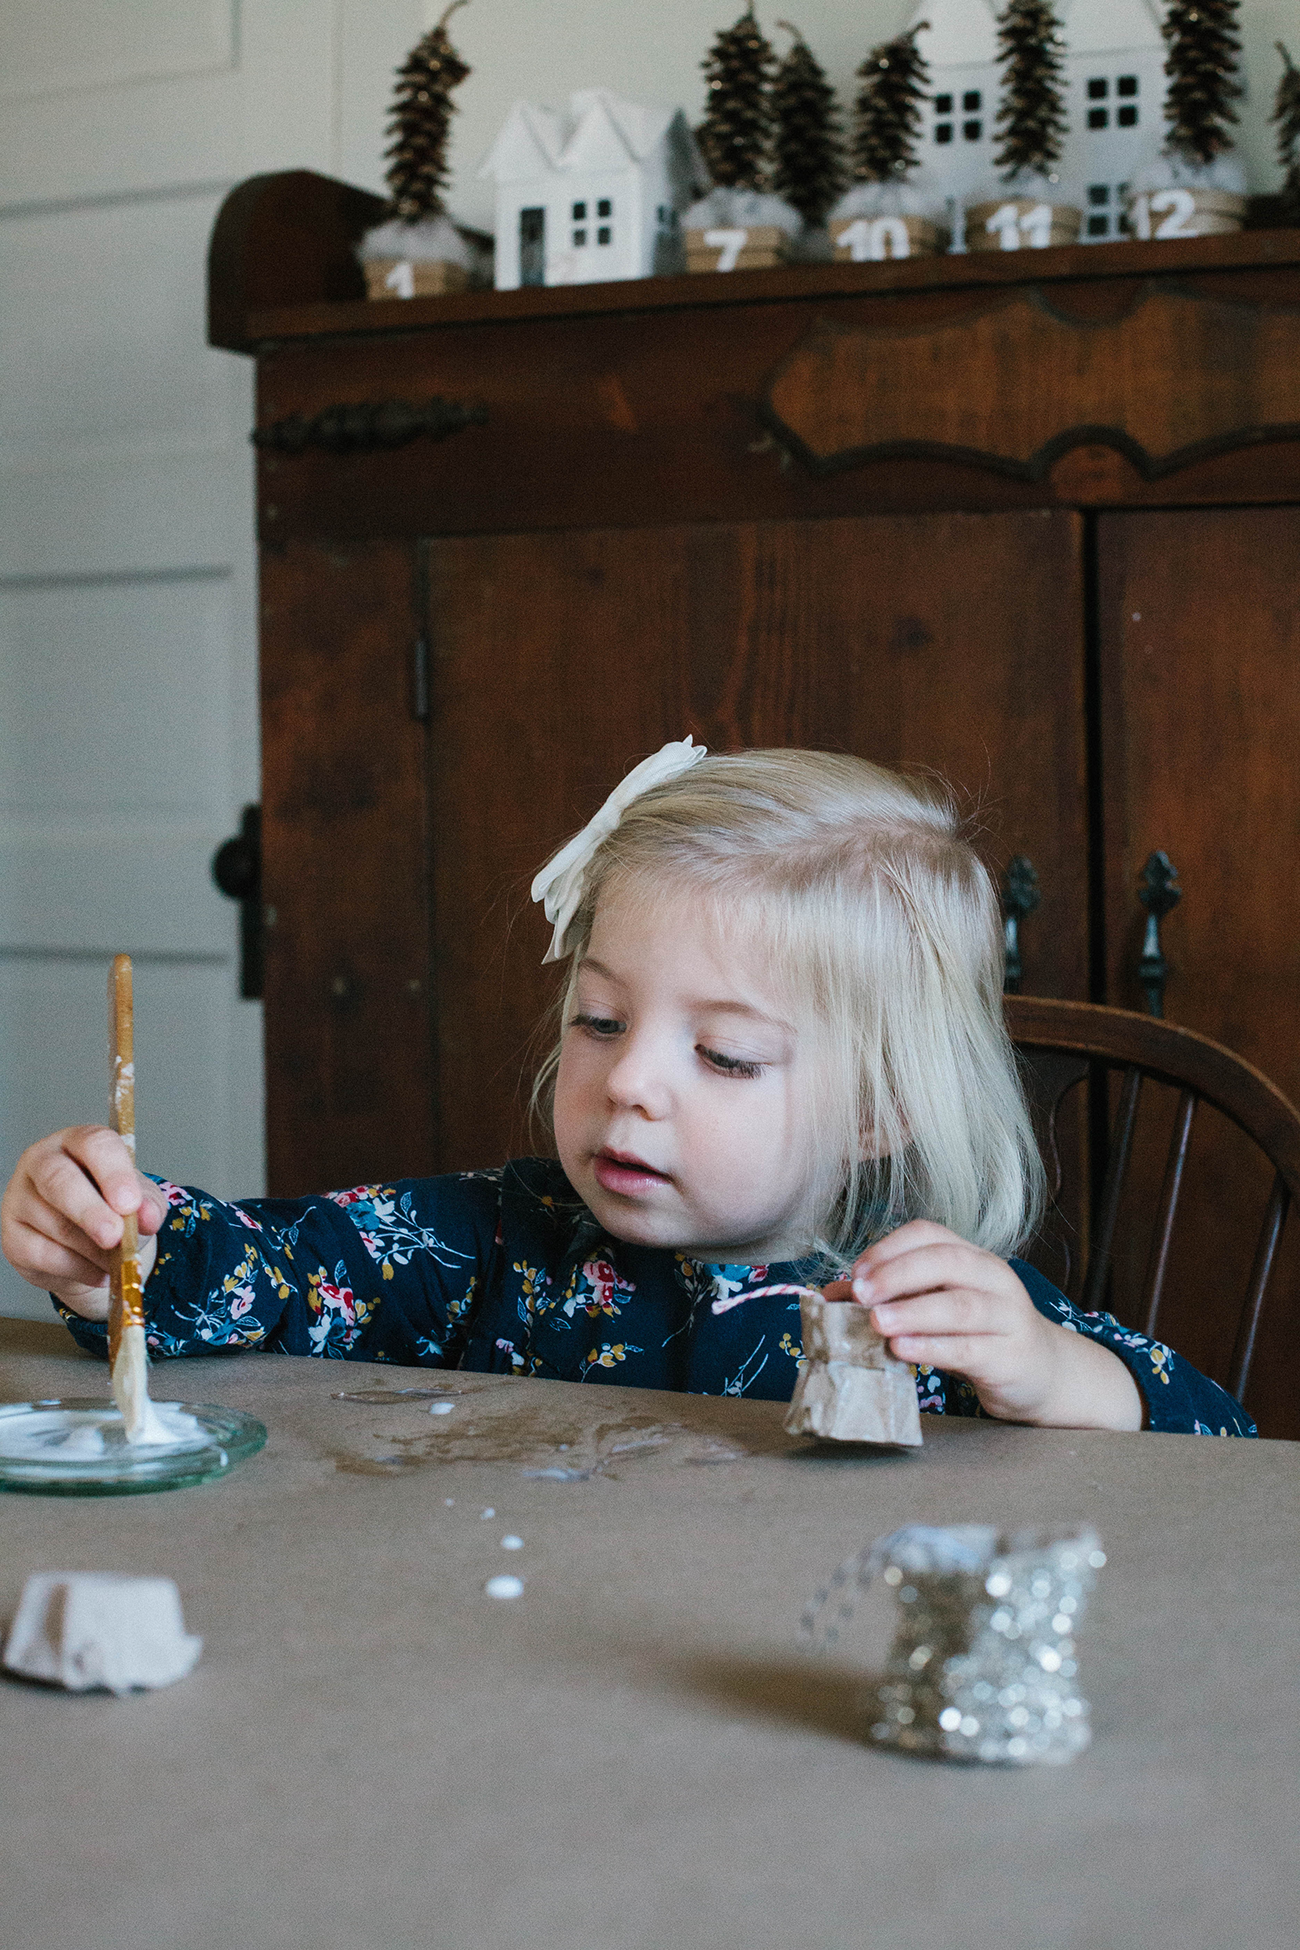
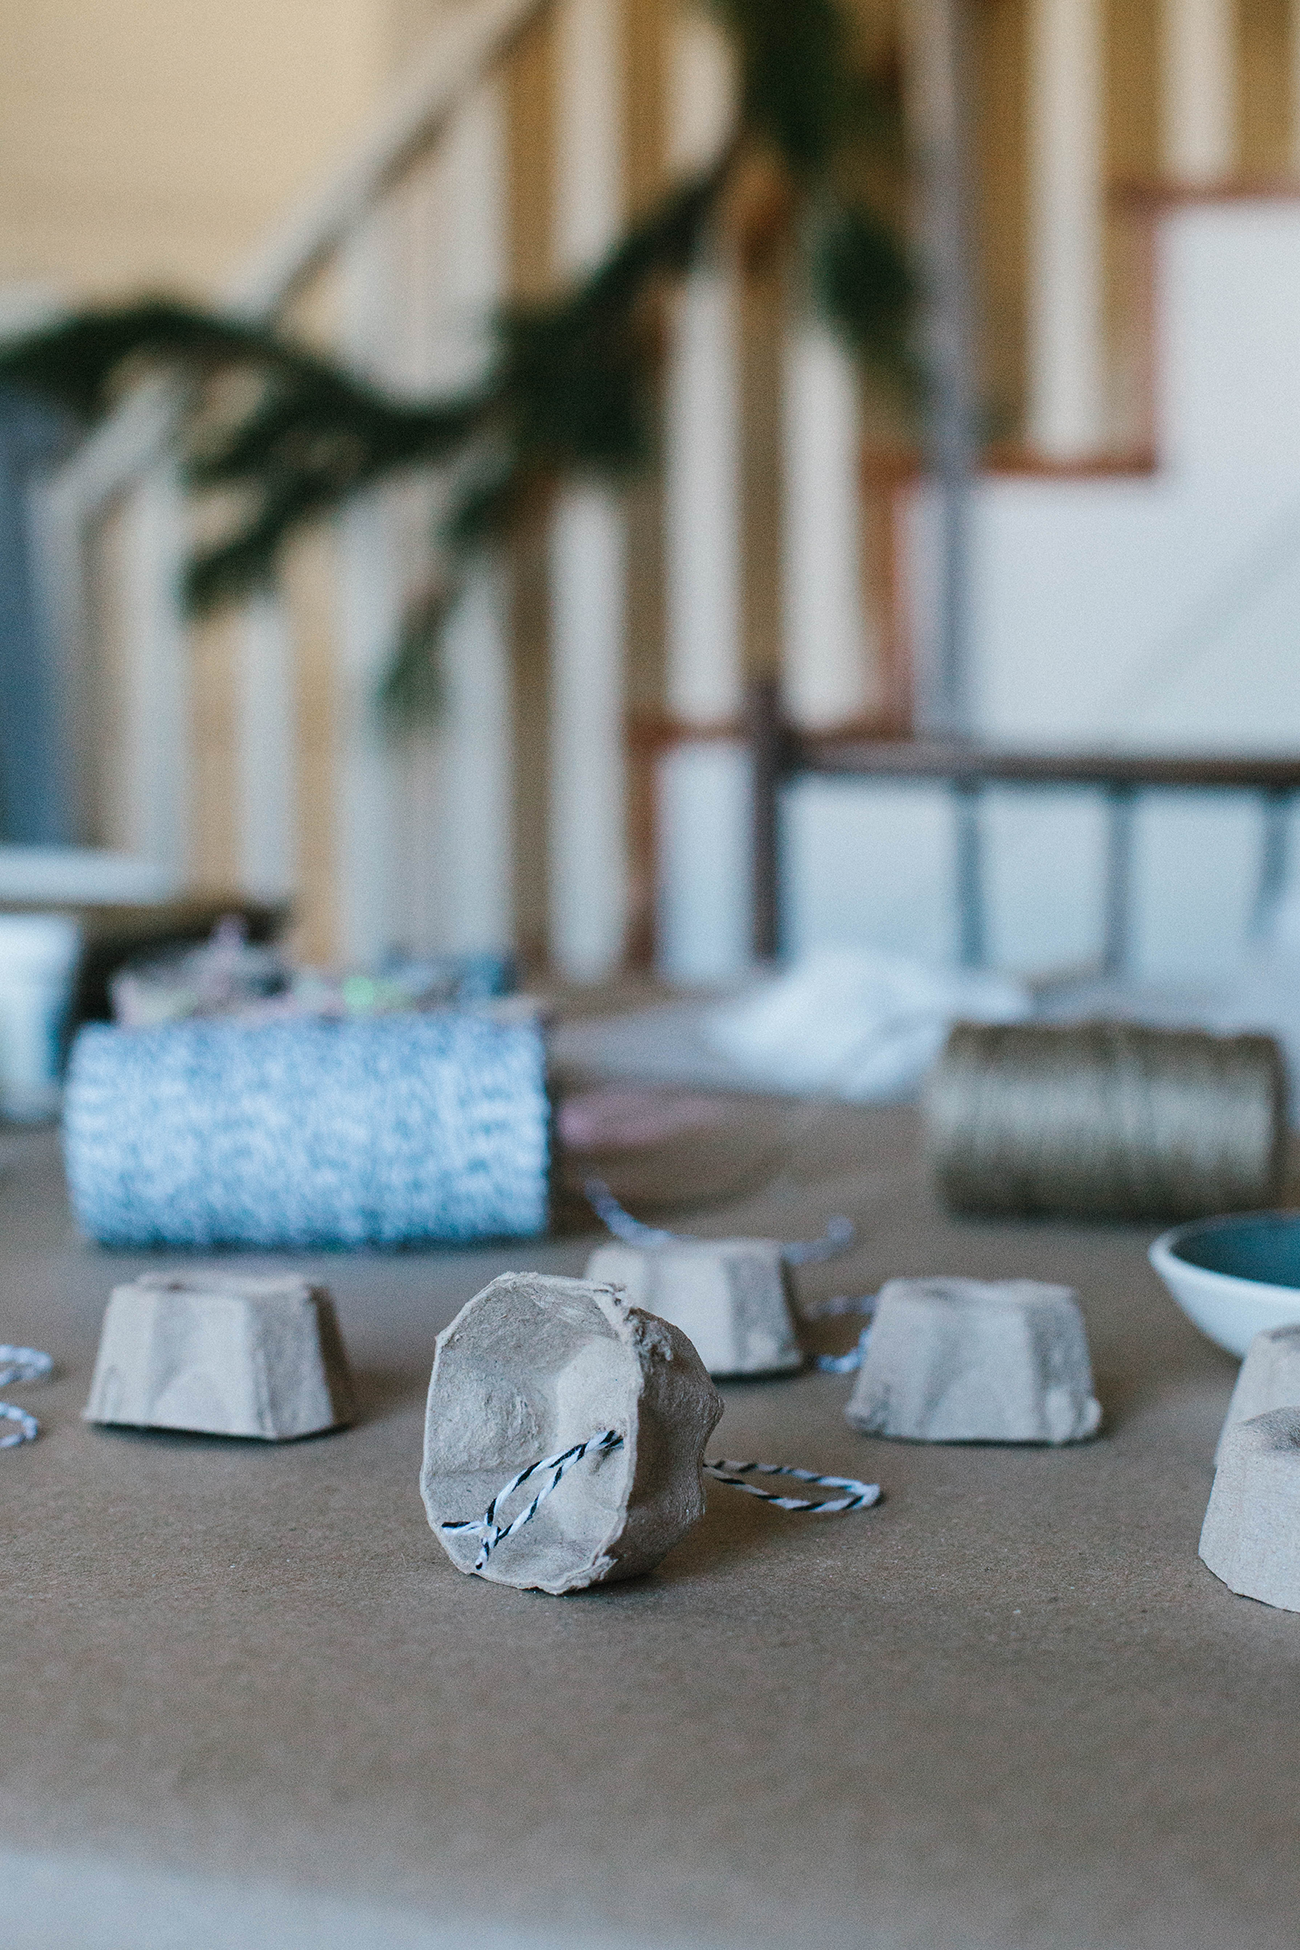
3. Cut a 4″ piece of string and tie ends together. Feed looped string through the slits in egg carton sections, then poke the paper fastener through. Bend paper fastener prongs to hold carton sections together. See photos above for reference.
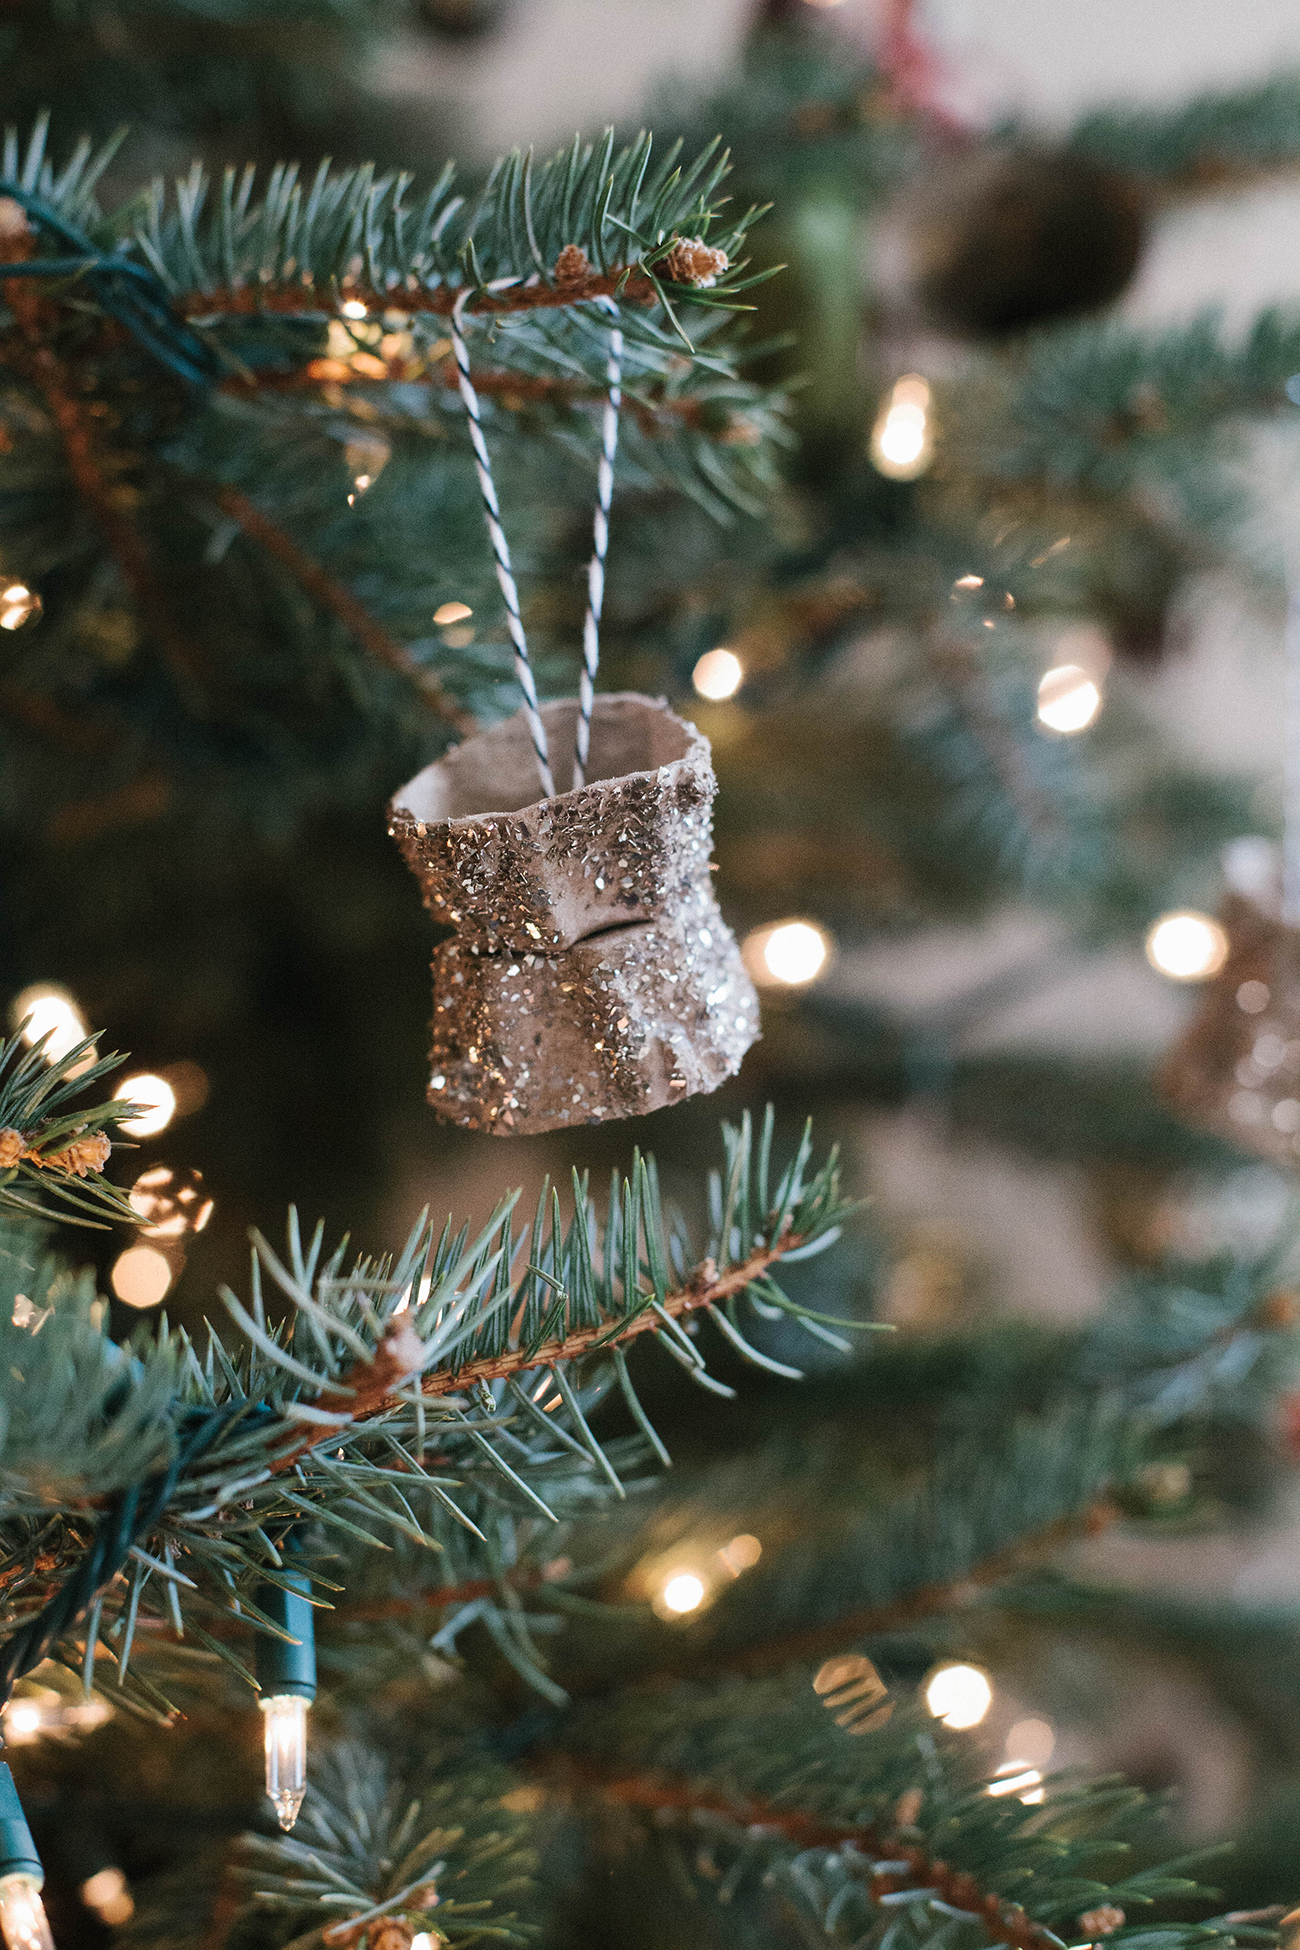
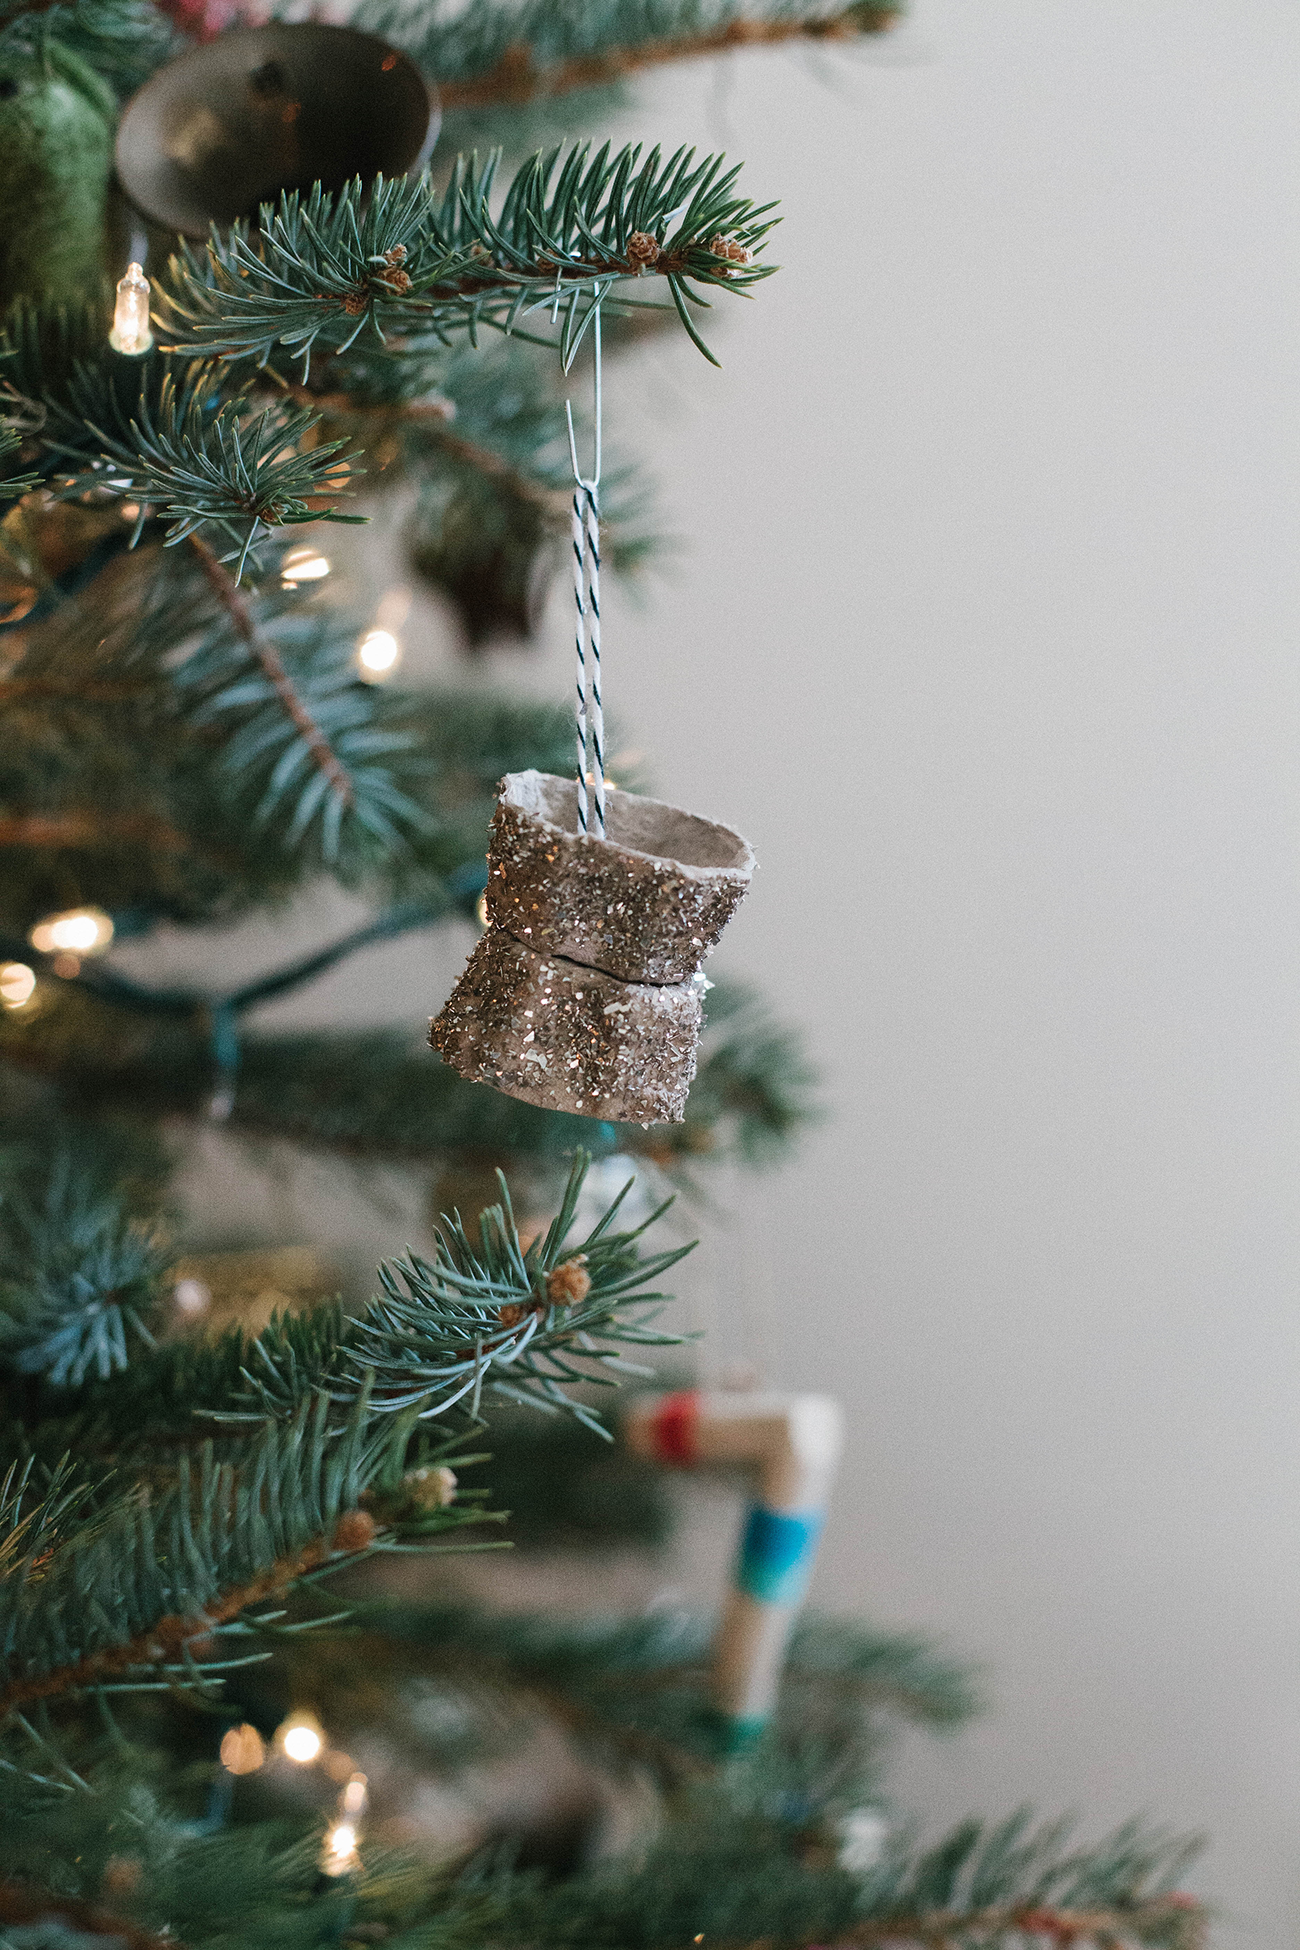
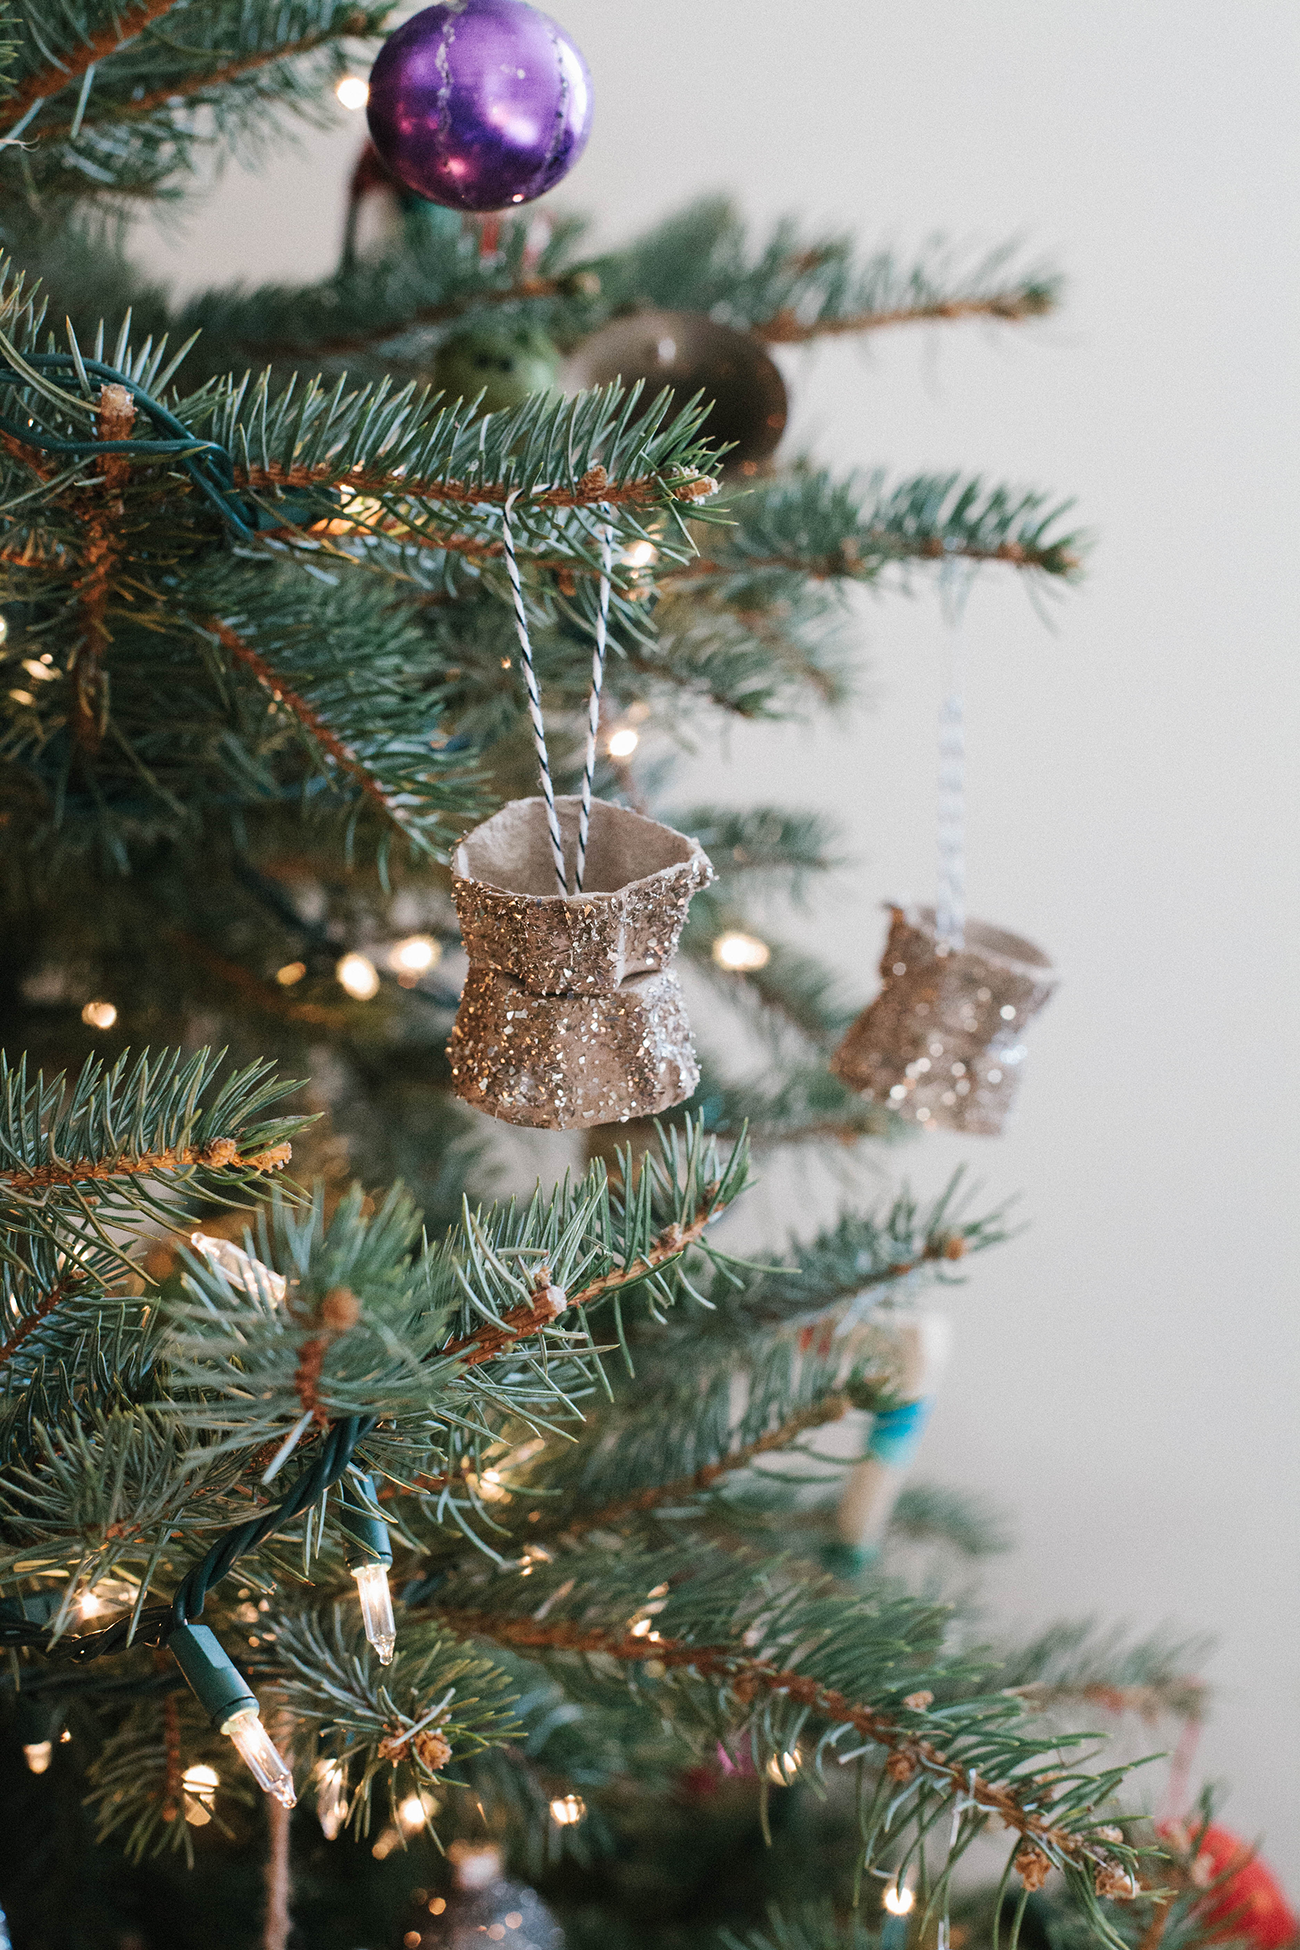
4. Spread a thin layer of glue over outside of attached egg carton sections. Sprinkle with glitter and allow to dry thoroughly. Hang on tree or a garland (you may want to use ornament hooks). MERRY CHRISTMAS!
Leave a Reply
PREVIOUS POST:
NEXT POST:
Disclosure.
Discovering how to infuse our lives—ourselves, our work, our relationships, our homes, and our entertaining spaces—with simple beauty, more intention, and slow living principles.
Interested in working together?
Click here to visit the Contact page and get in touch.
PORTFOLIO
© 2020 A Daily Something — All Rights Reserved.
Design by TONIC.
Learn more about A Daily Something styling services, content creation offerings and view curated work.
CONTACT + COLLABORATE
MANIFESTO
Join the list to receive our thoughtful monthly letters, and to be the first to know of upcoming workshops, dinners, gatherings, and more.
SUBSCRIBE
ALL PHOTOS AND IMAGES ON A DAILY SOMETHING ARE BY A DAILY SOMETHING UNLESS OTHERWISE NOTED. IF YOU SEE AN IMAGE THAT IS NOT PROPERLY SOURCED, PLEASE LET US KNOW AND WE'LL UPDATE THE INFORMATION! IF YOU WOULD LIKE TO SHARE A PHOTO OR TUTORIAL FROM A DAILY SOMETHING, PLEASE ONLY SHARE ONE PHOTO, WHICH MUST BE CREDITED AND LINKED BACK TO A DAILY SOMETHING.
SPONSORED POSTS WILL ALWAYS BE DISCLOSED AND ANY GIFTED ITEMS WILL BE MARKED C/O. WE ONLY WORK WITH COMPANIES THAT ARE A GOOD FIT FOR THE A DAILY SOMETHING AESTHETIC AND CONTENT. THANK YOU FOR SUPPORTING THE COMPANIES THAT ENABLE US TO CONTINUE PRODUCING QUALITY CONTENT.

I think these are absolutely lovely and all things good about Christmas. The moody color of gray for winter and the sparkle of the magic of Christmas, the love of home and family. I have way too many glass ornaments in all shapes and sizes and these ornaments you and your children made touched my heart. Thank you for sharing your family’s Christmas story with us.
Hi Karen! Thanks so much for stopping by and for your sweet words! We had such a great time making these ornaments this season, and I’m looking forward to making new ornaments with my girls every Christmas! <3
[…] a new ornament for your tree, or for gifts. We’ve done egg carton ornaments (inspired by ornaments my grandparents made in the late 50s), pinecone ornaments, clay […]