


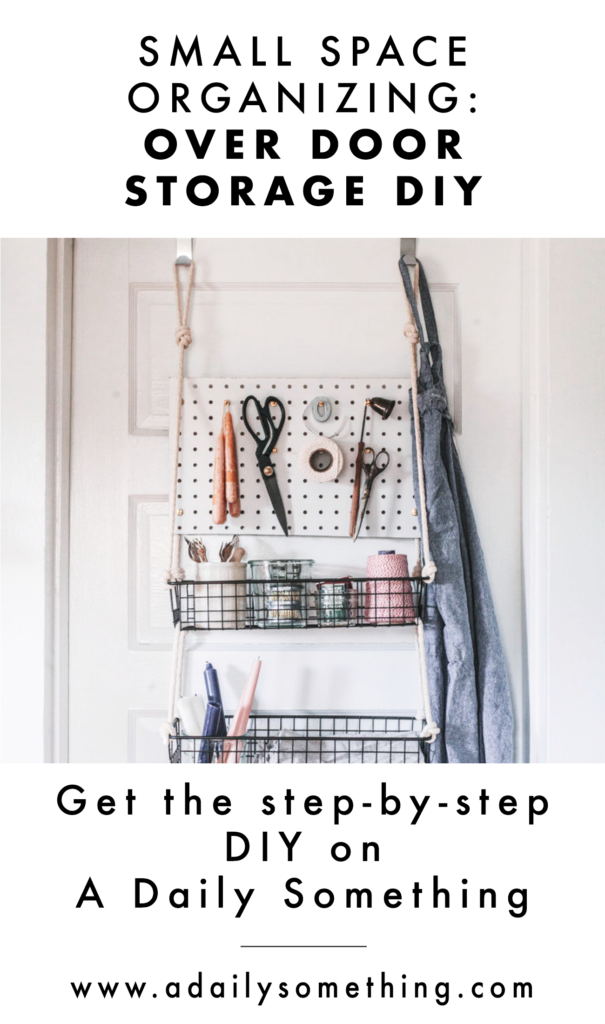
DIY | Small Space Organization: Over Door Storage
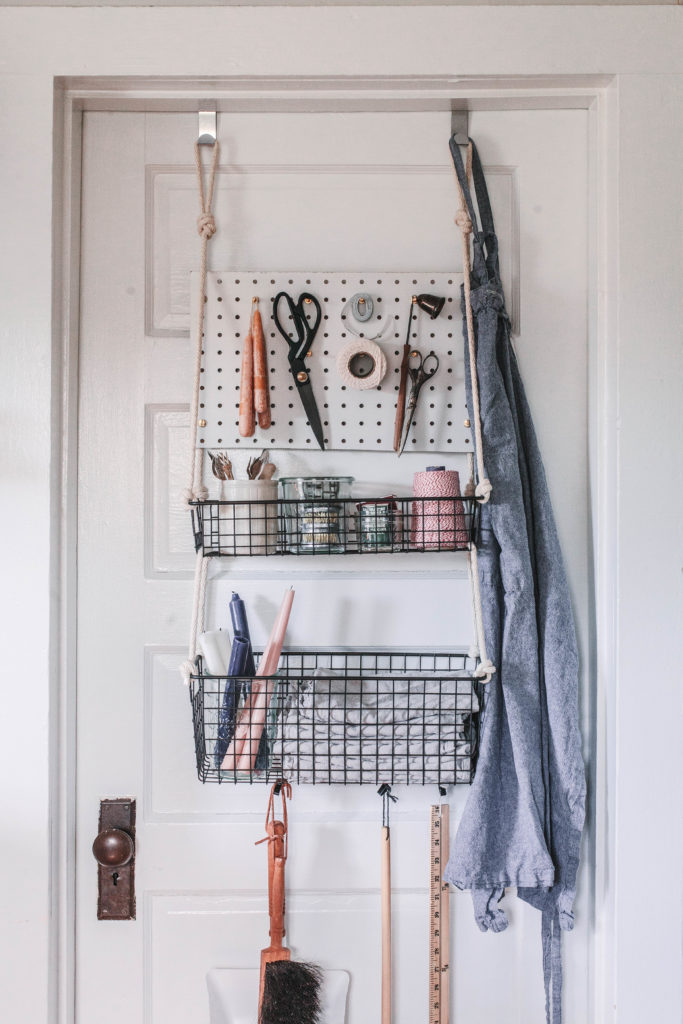
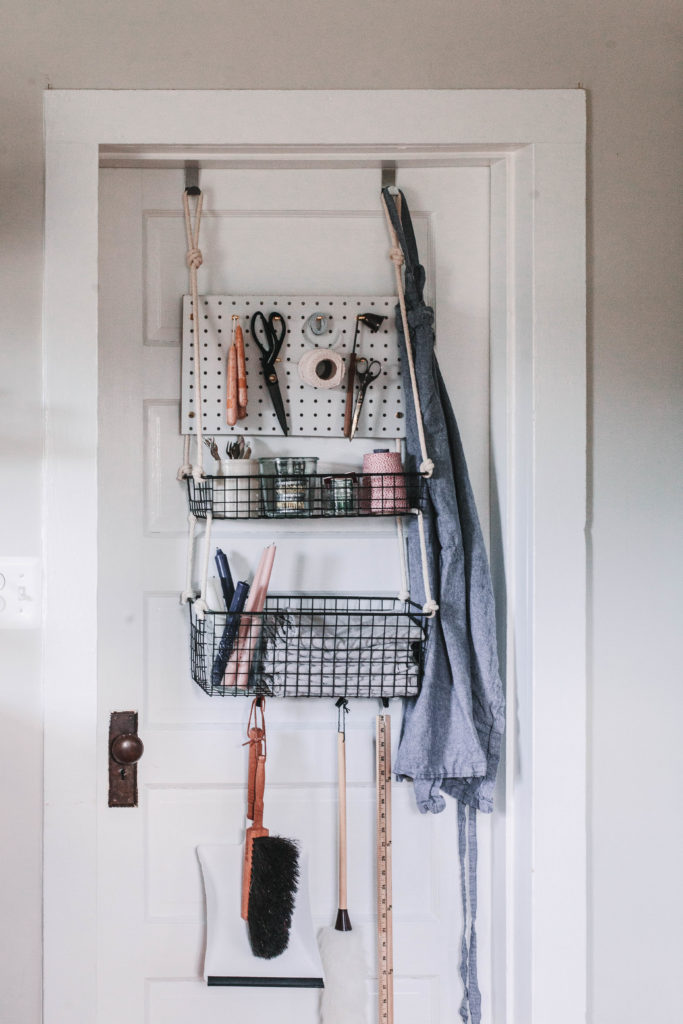
Today I’m sharing a super useful and beautiful DIY for small space organization: an over door storage unit. This is an amazing project for any home or studio, but it’s especially fantastic for small spaces that need to utilize vertical space. Our home is 1150 square feet, and we have 6 people living here now. I am always trying to think upwards when it comes to organization and storage.
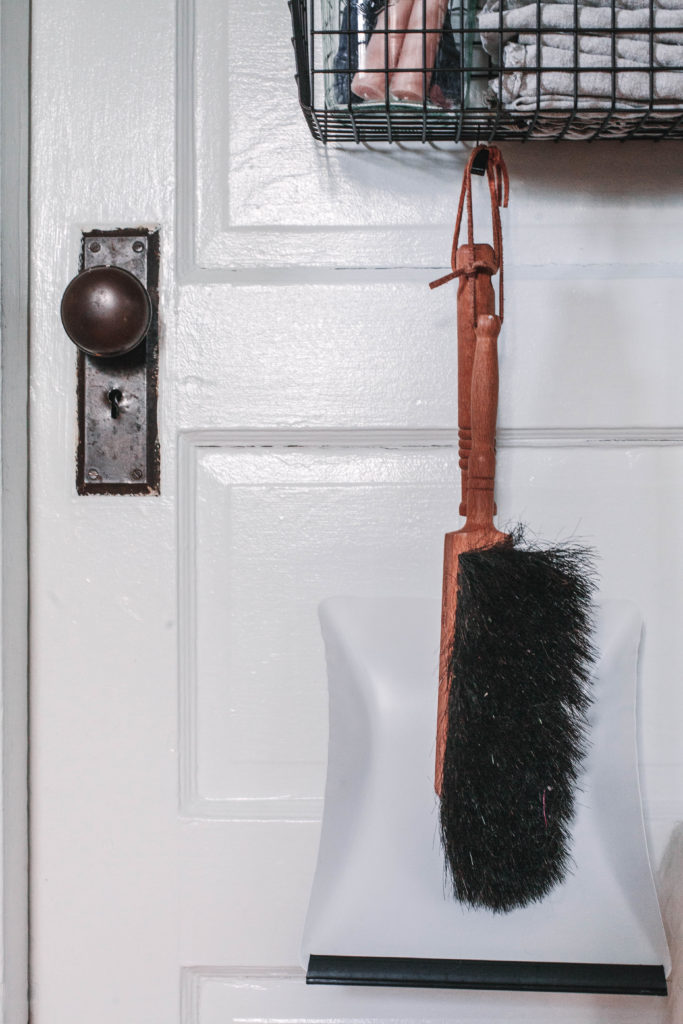
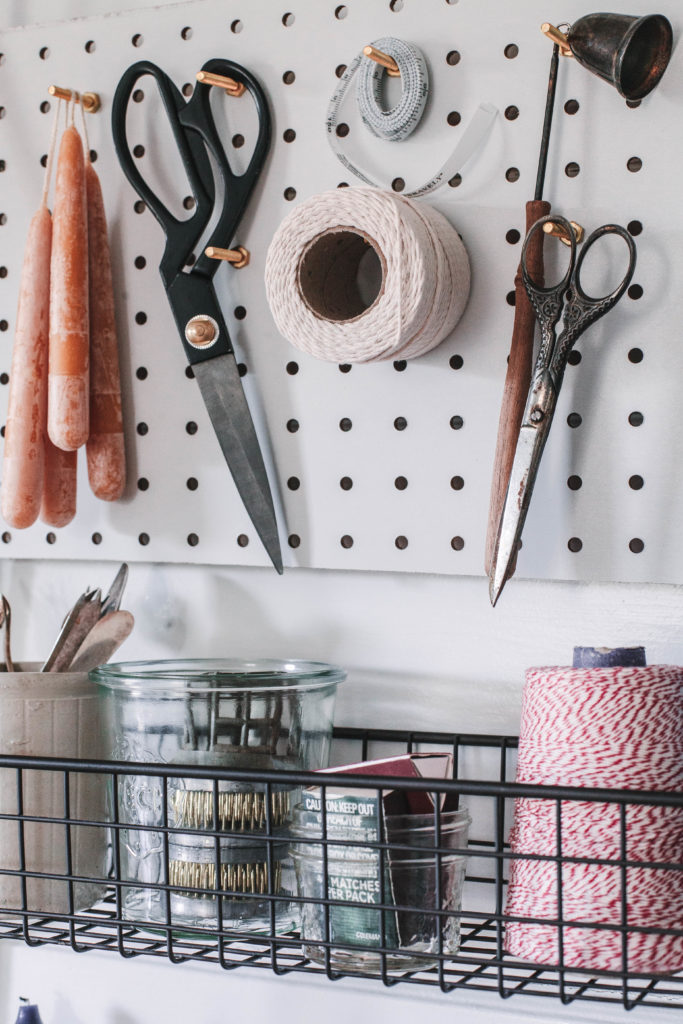
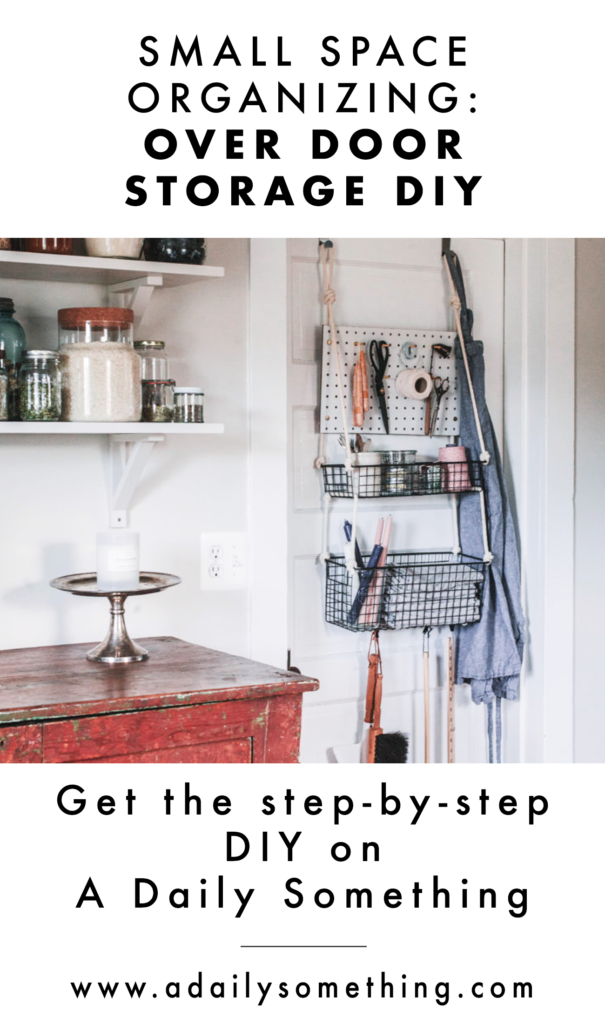
I’ve been using this over door storage for a little over a year, and it’s had several different purposes. Wrapping supplies at Christmastime (then most of them get tucked away until next year), winter gear for all the kids, and now, a few of my most-used and most-loved kitchen and utility items. I love having these tools and supplies at arms reach, just waiting to be used. No longer do I have to dig in the yarn bin for a bit of twine. And now the dustpan and broom are stored in my kitchen for quick and easy access, instead of out in the laundry room.
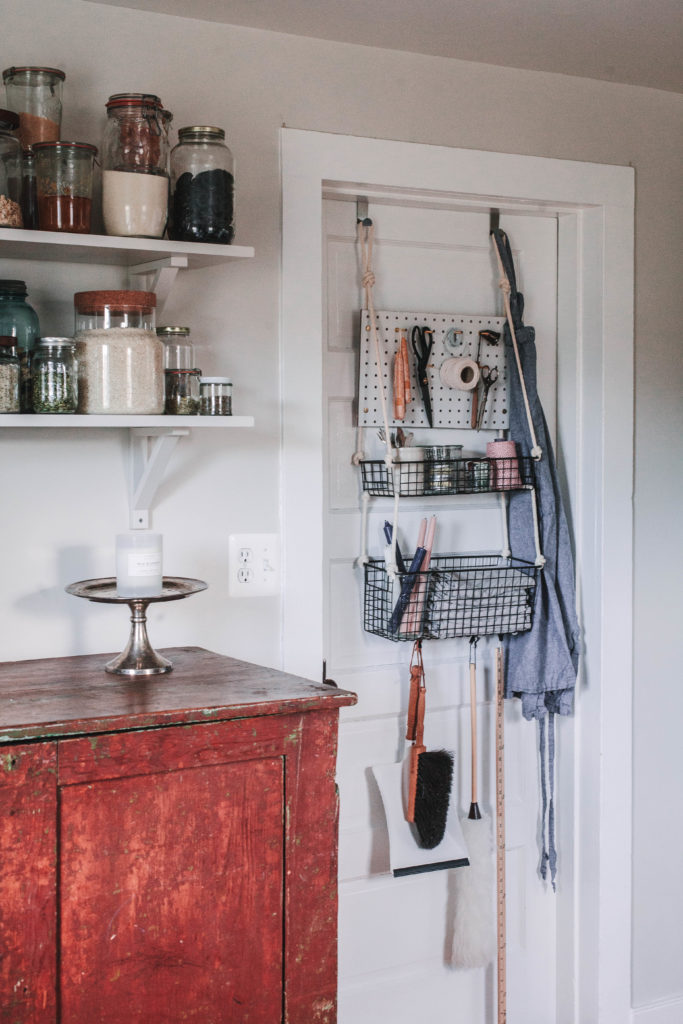
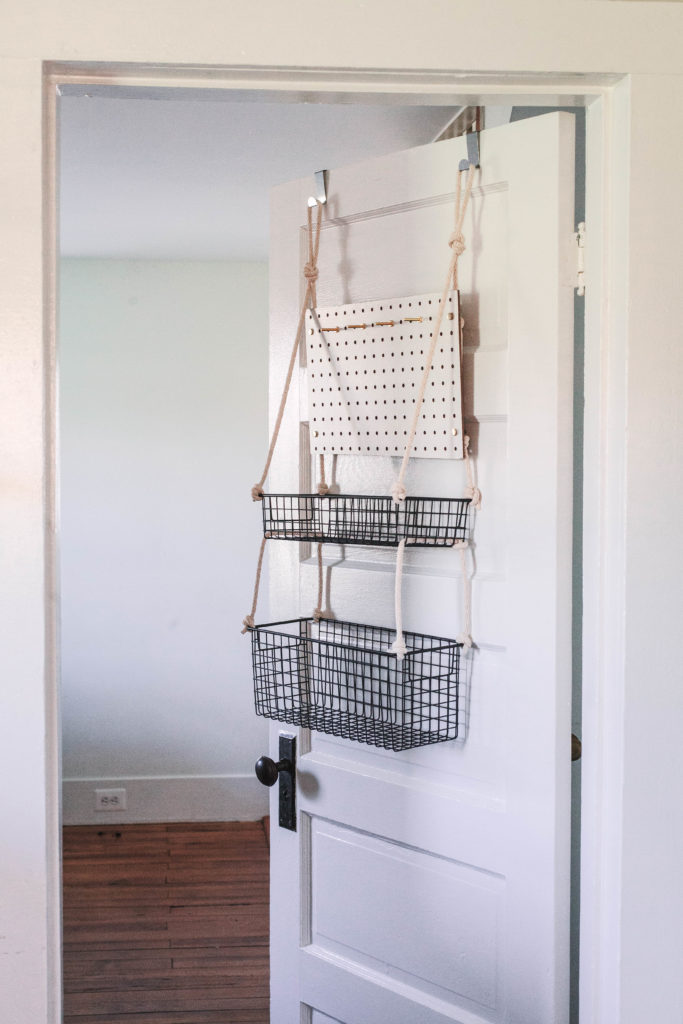
What I love most about this over door storage unit is its versatility and portability. It can be on display – like mine here, in my kitchen – or it can be hung on the inside of a closet for additional hidden storage. You can customize it with additional baskets at a lower height, you can add different types of hooks, you can ditch the pegboard. Make it your own!
I worked with my friends Erik and Lauren on the DIY, and I’m so grateful for their creativity. When we shot this project, I took a million photos, especially of the different types of knots. I hope this is helpful! Please let me know if you have any questions about the process, supplies, etc.
DIY Over Door Storage Unit
SUPPLIES AND TOOLS
– 18.5 feet clothesline rope
– 1 shallow wire basket, 16 inches long
– 1 deep wire basket, 16 inches long
– Pegboard, 10 x 16 inches (you can buy a 4’ x 6’ piece at Home Depot and have them cut it down to size for free)
– 6-10 bolts (brass or any color you prefer)
– 6-10 nuts (brass or any color you prefer)
– 4 buttons (brass or any color you prefer)
– Hook clips
– 2 over-the-door hooks
– Wire
– Wire cutters
– Scissors
– Scotch Tape
GETTING READY
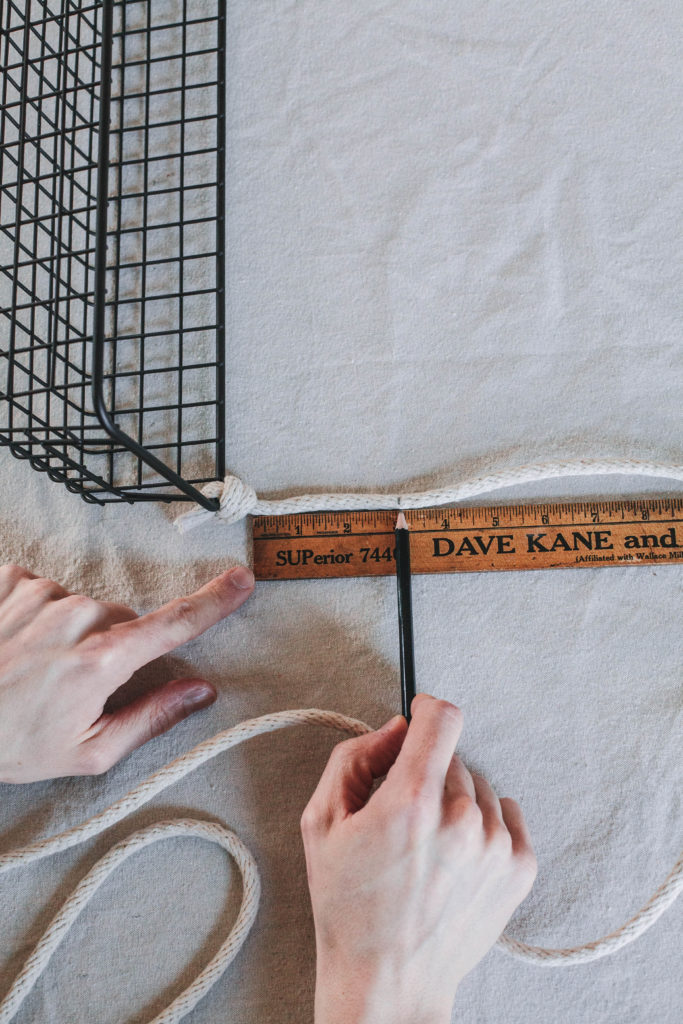
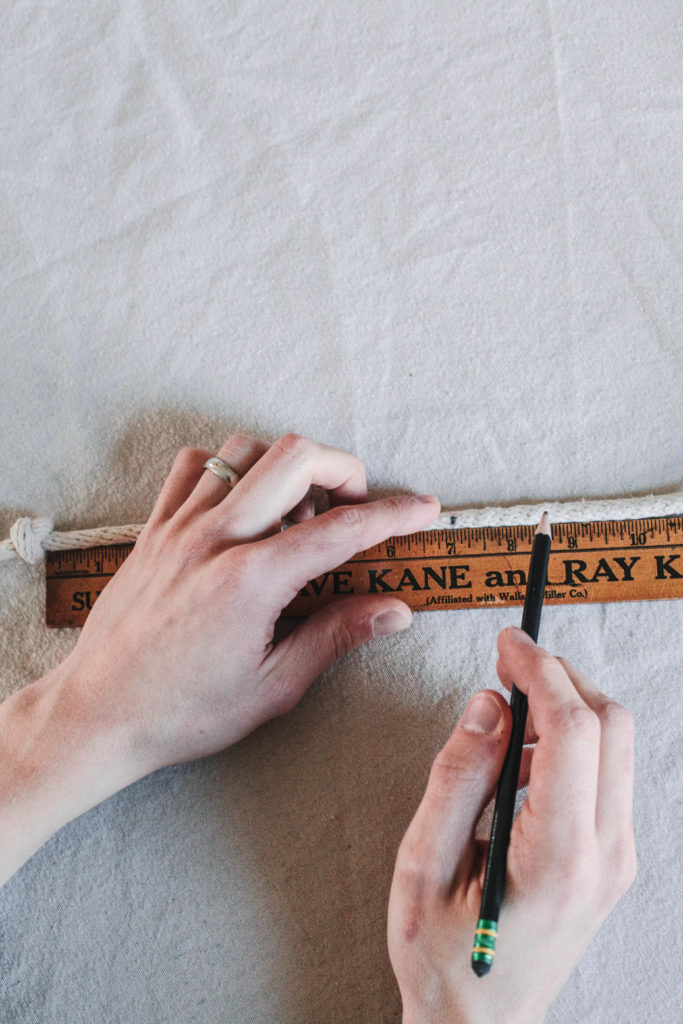
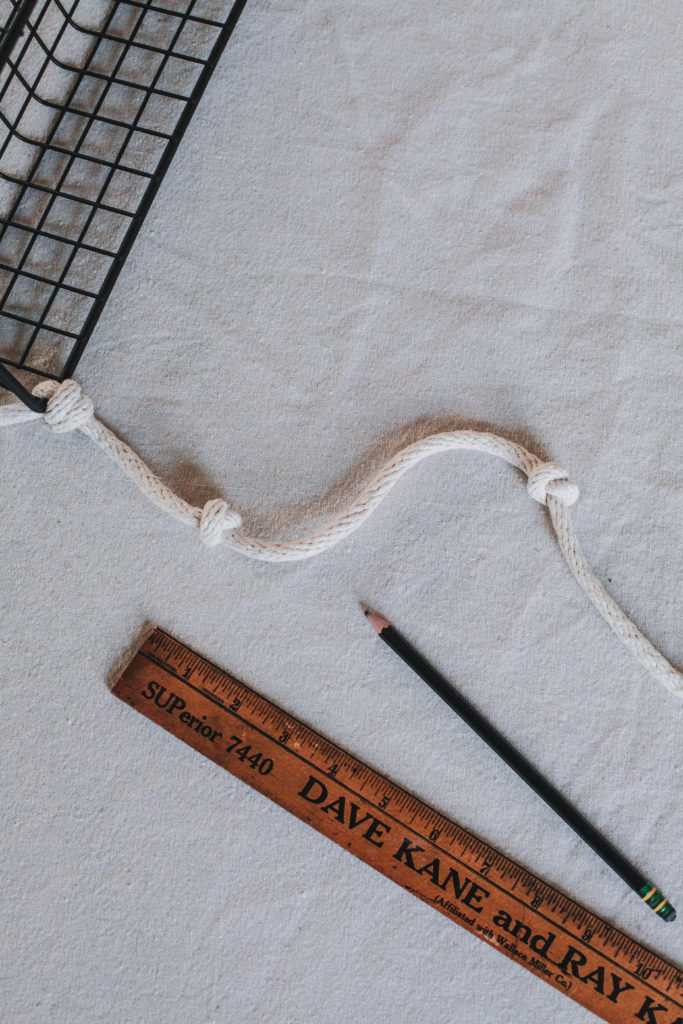
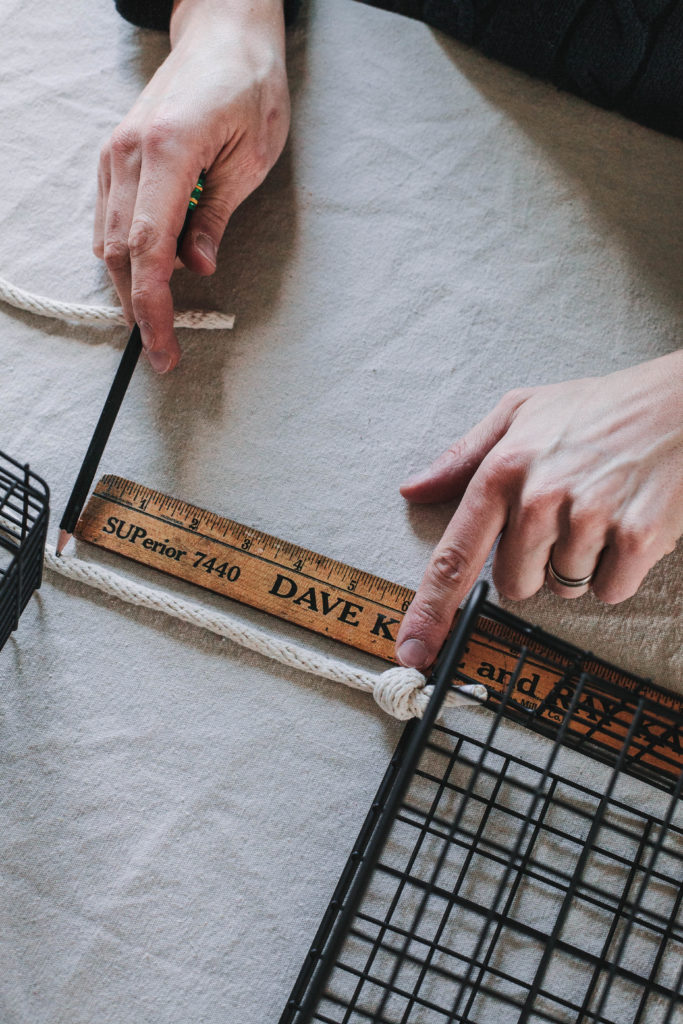
- Measure and cut your rope pieces. You need two 70-inch lengths and two 40-inch lengths. [Pro tip: Mark where you need to cut on the rope with a pencil and then wrap the marked spot with clear tape. Cut the rope through the center of the tape. When you cut the rope, neither piece will fray.]
- Hang your door hooks.
- Gently stretch out your rope. This allows for a more balanced result. We recommend that you continue to stretch the rope evenly on both sides after each knot.
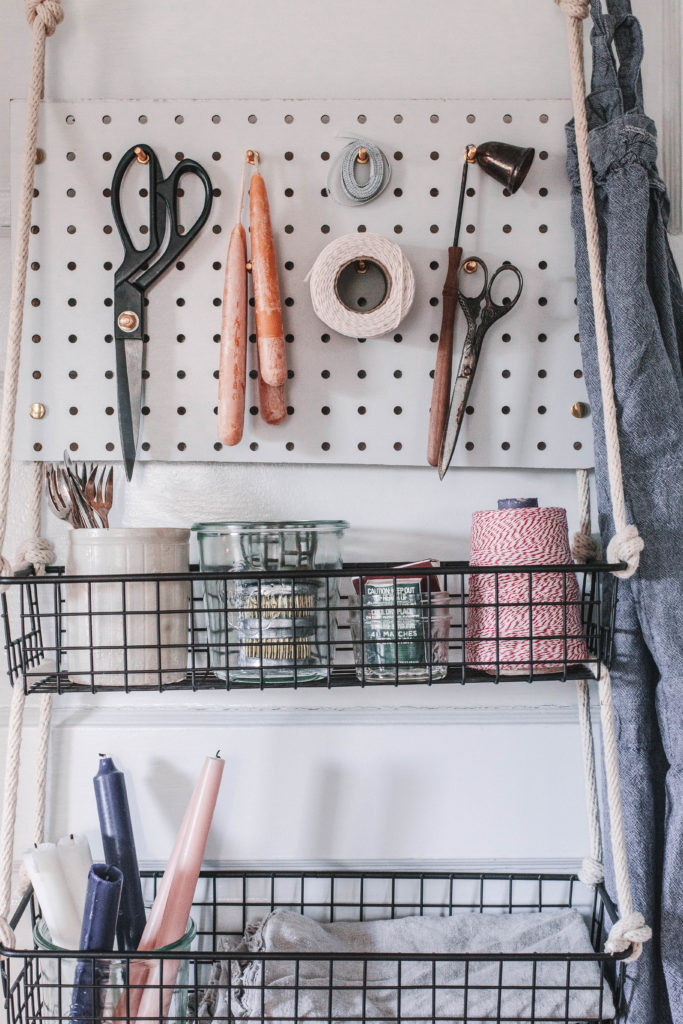
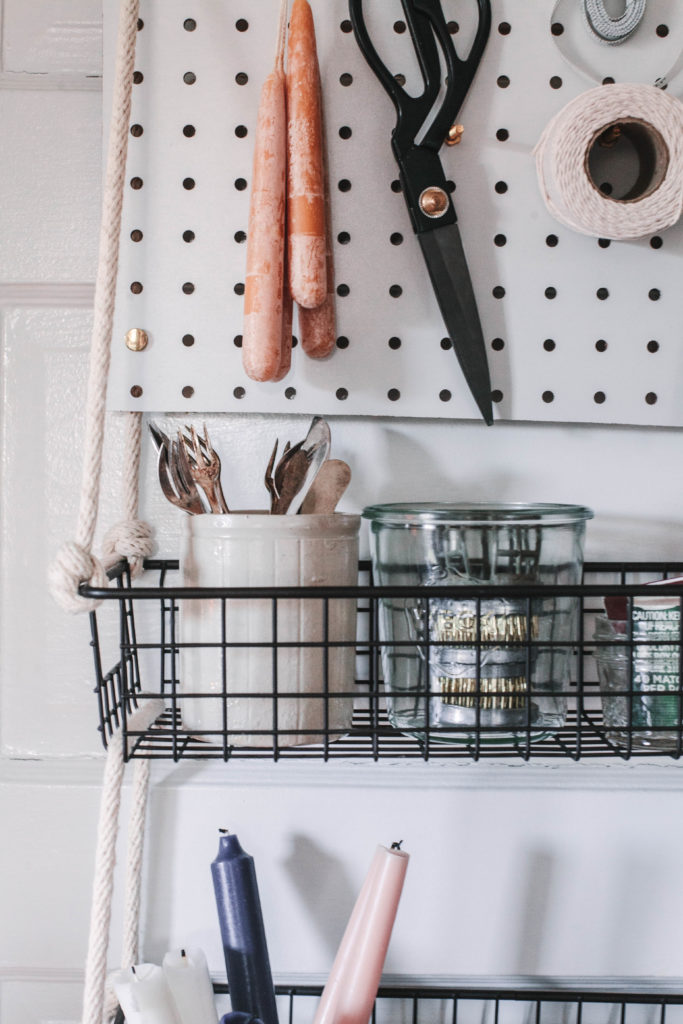
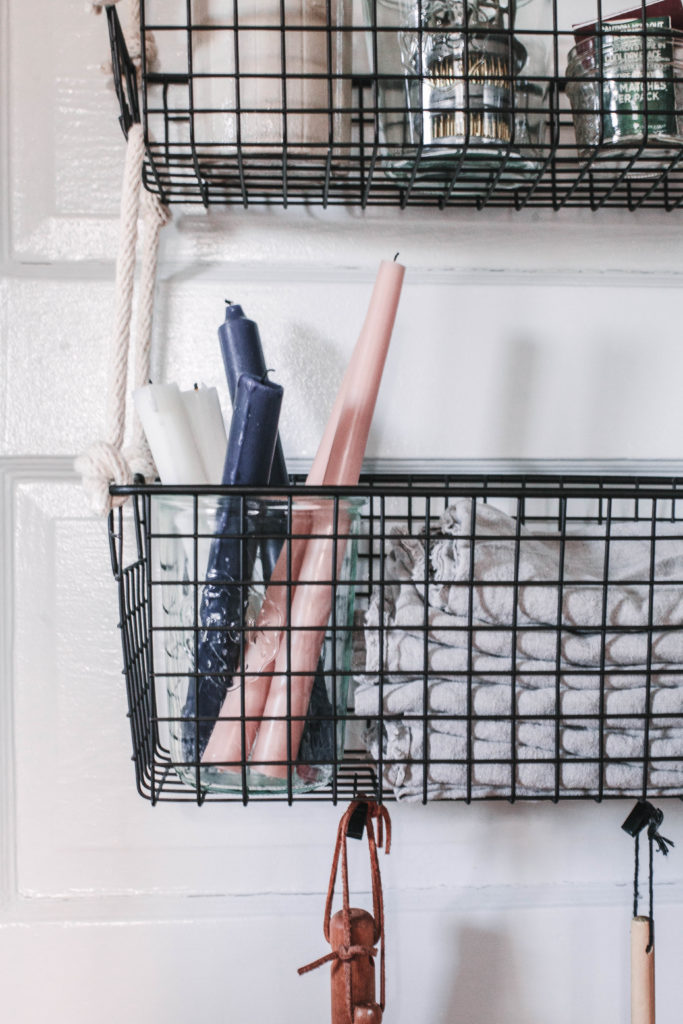
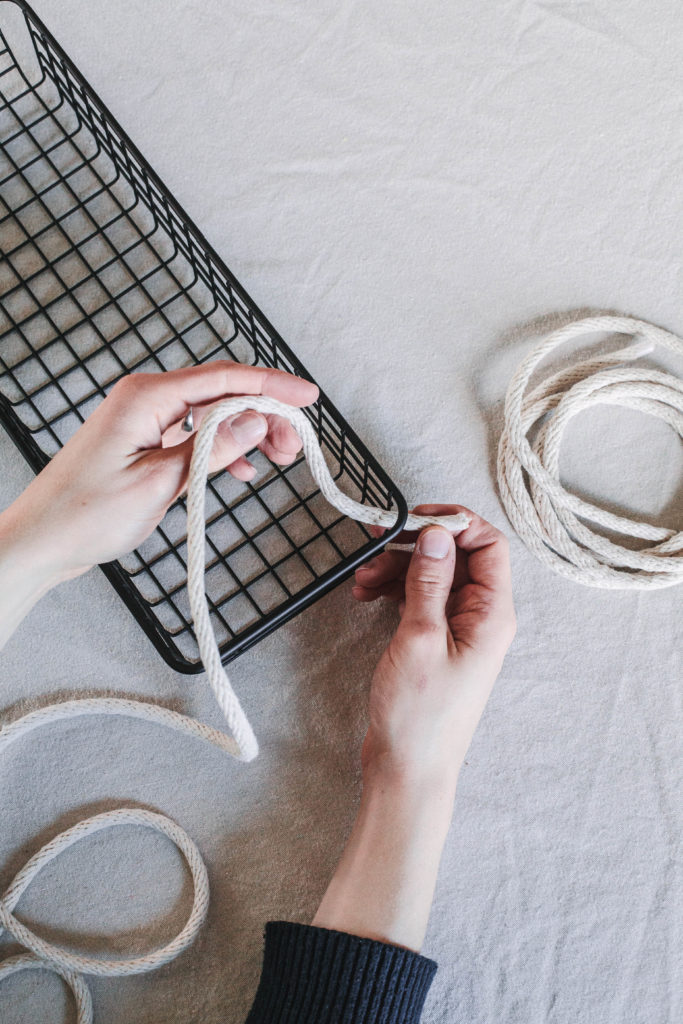
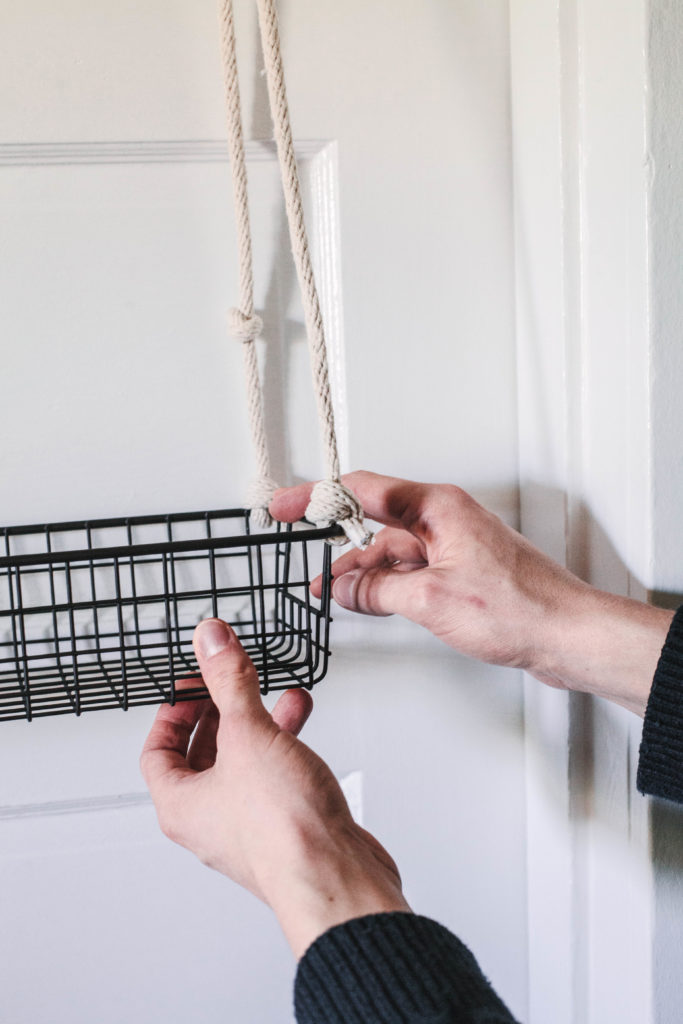
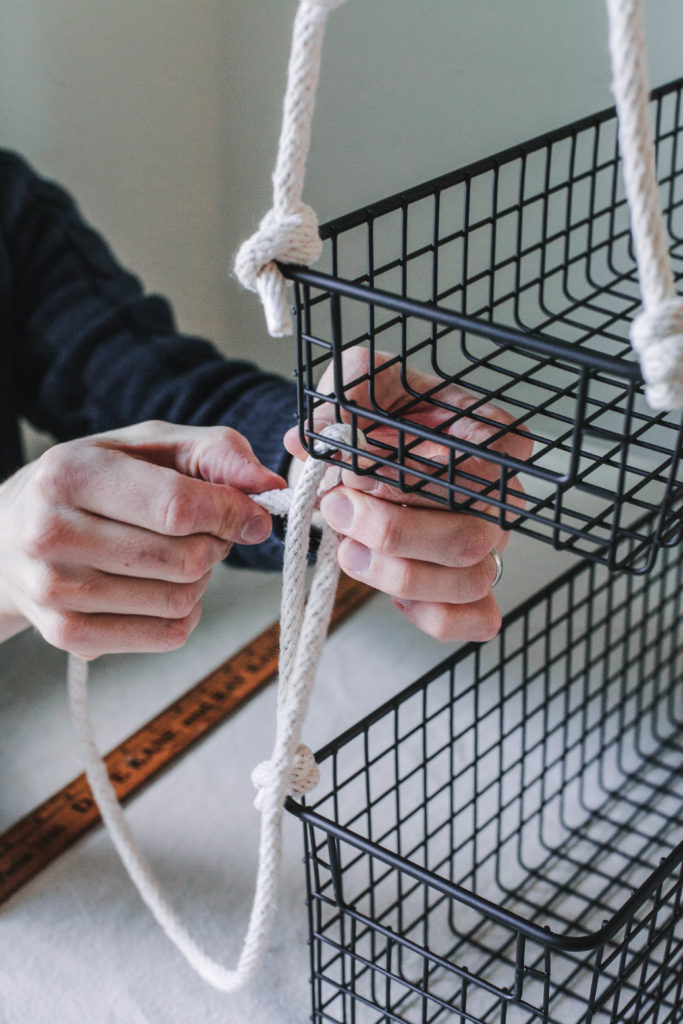
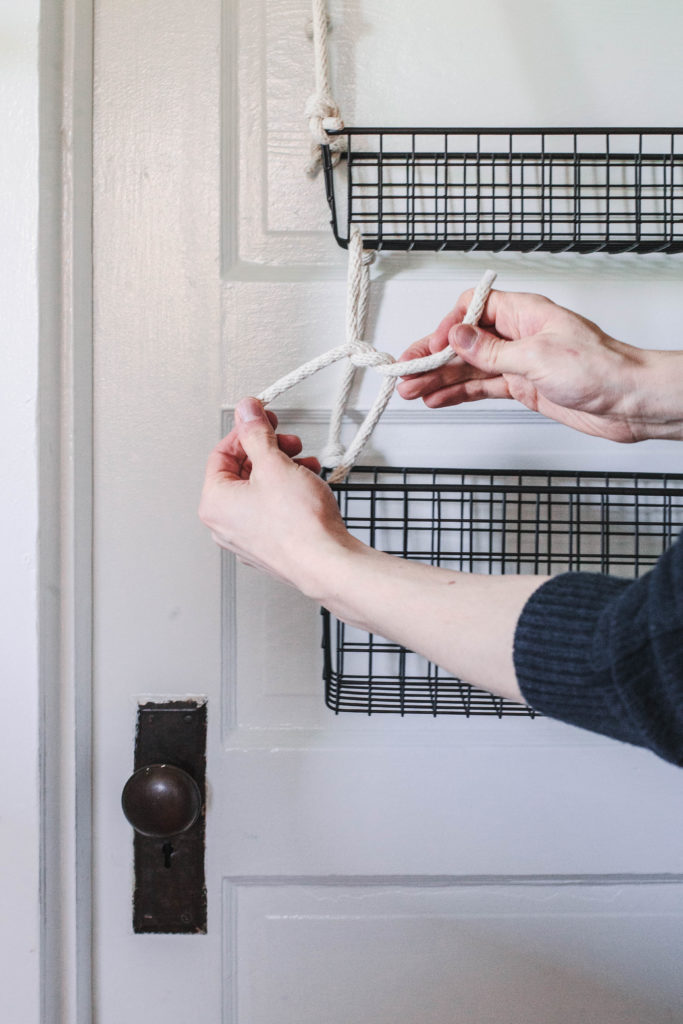
UPPER BASKET
(photos below)
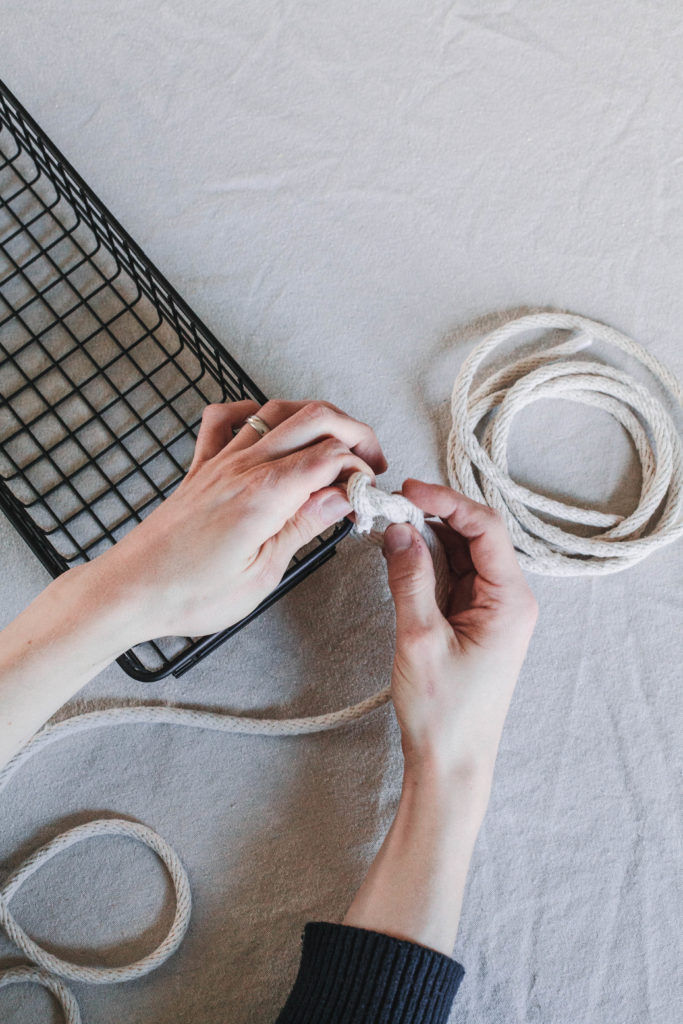
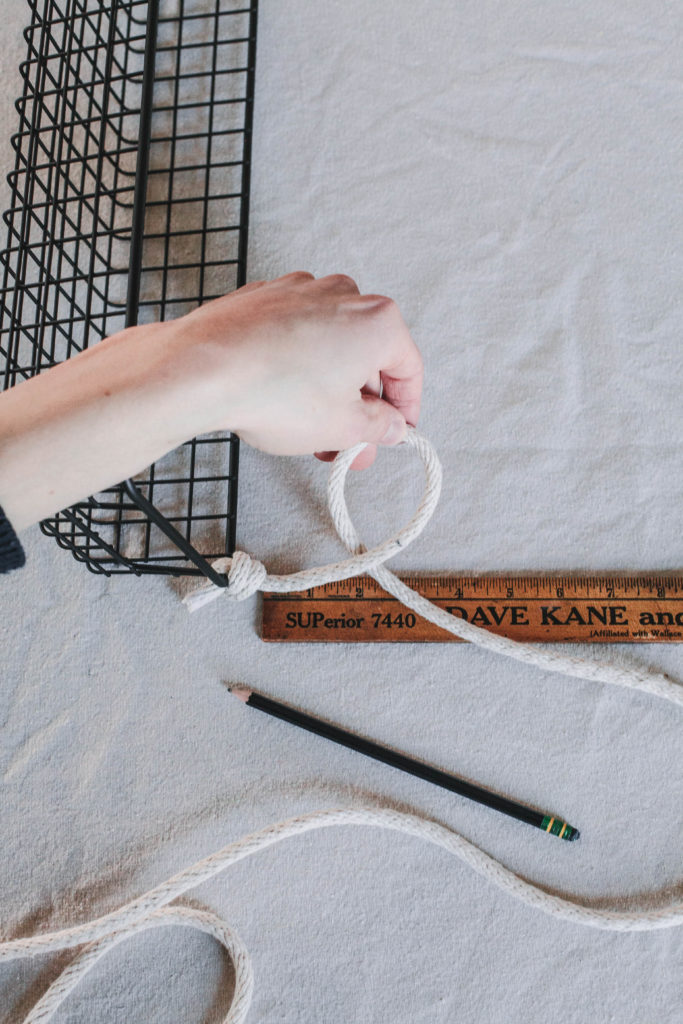
- Take one 70-inch length of rope. On back righthand corner of your shallow basket, tie a double overhand knot.
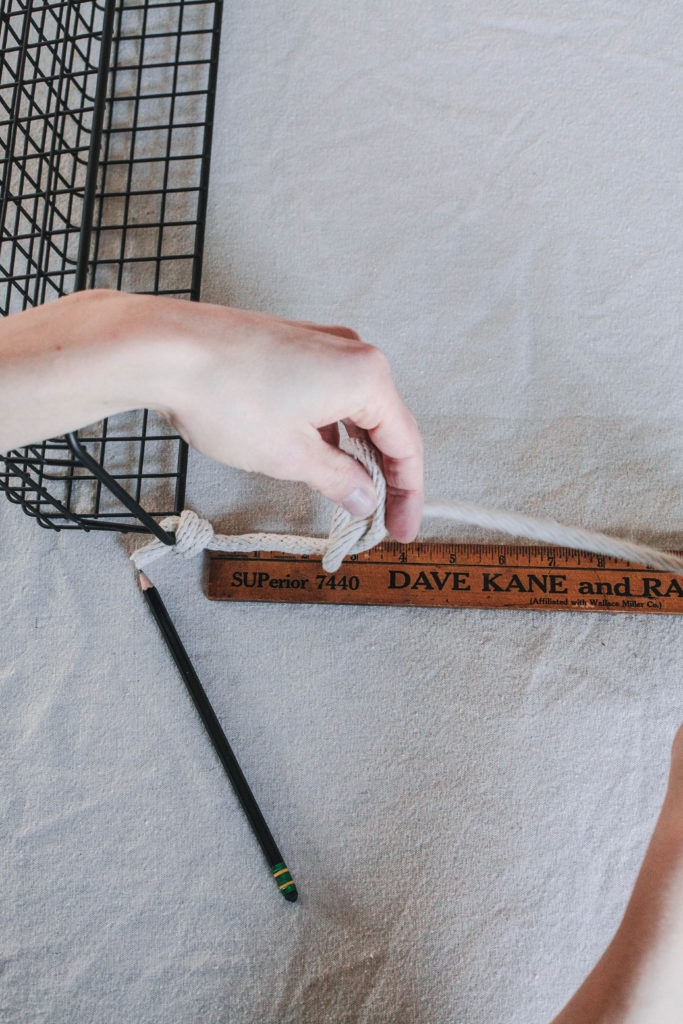
- Measure 3 inches and tie a (single) overhand knot. There should be 3 inches in between each knot.
- Measure 7 inches and tie next single knot. There should be 7 inches in between each knot.
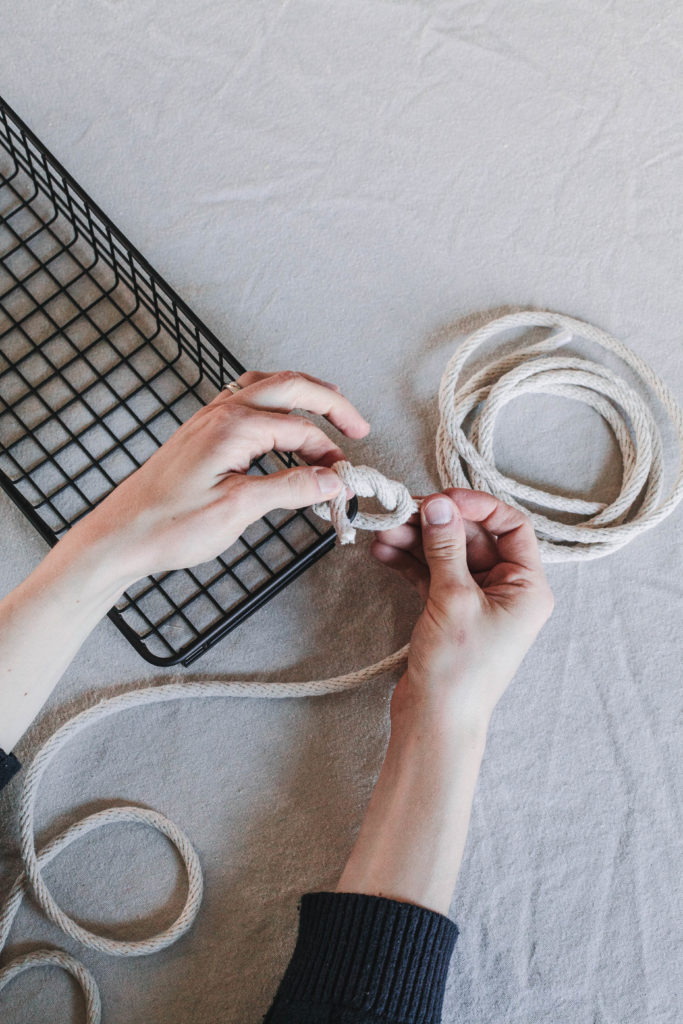
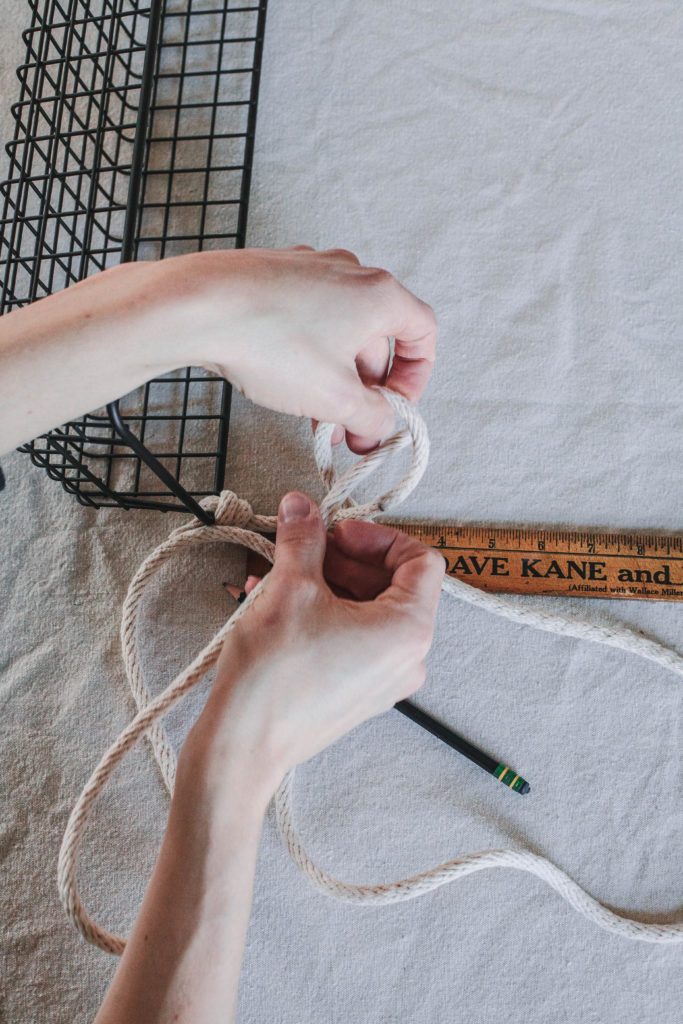
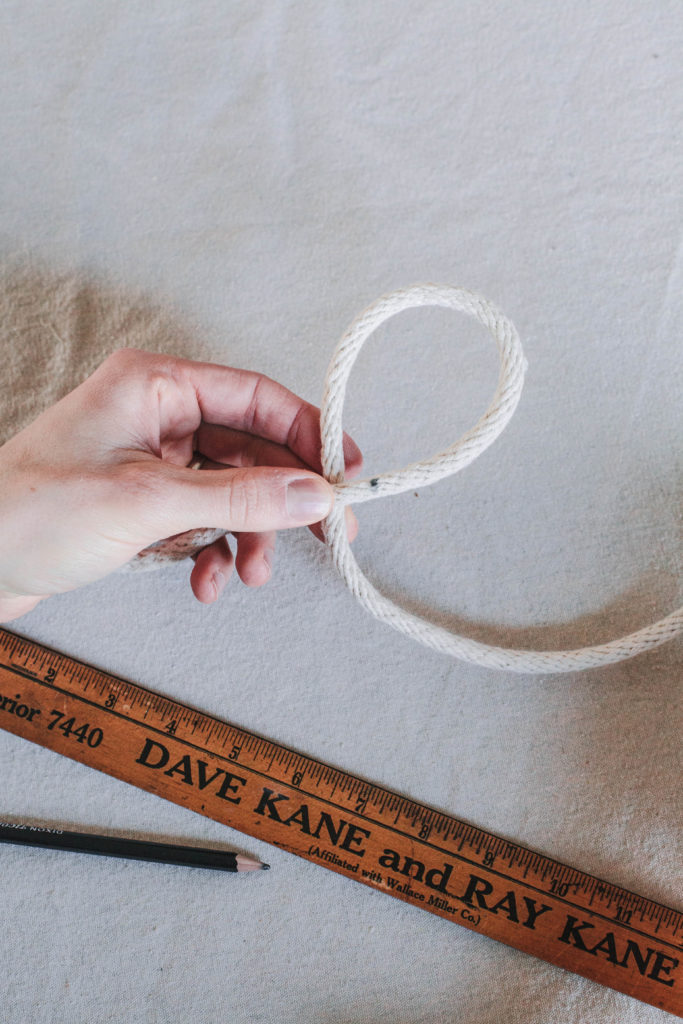
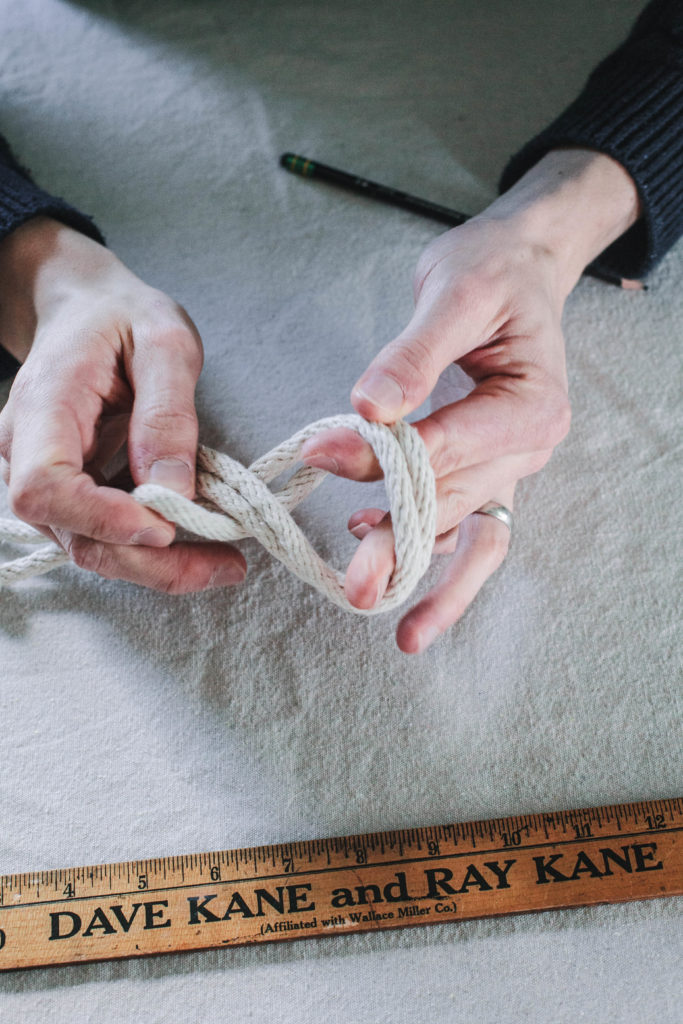
- Measure 13.5 inches then fold the rope back creating a loop. You should have a 2 lengths of rope side by side.
- Measure 4.5 inches back from the 13-inch mark.
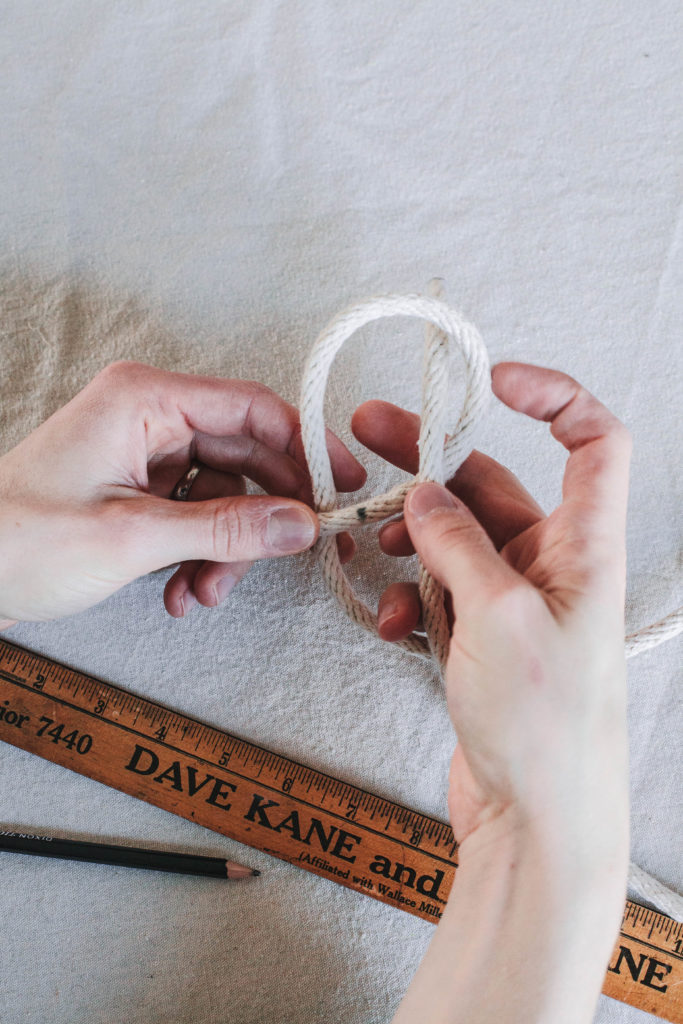
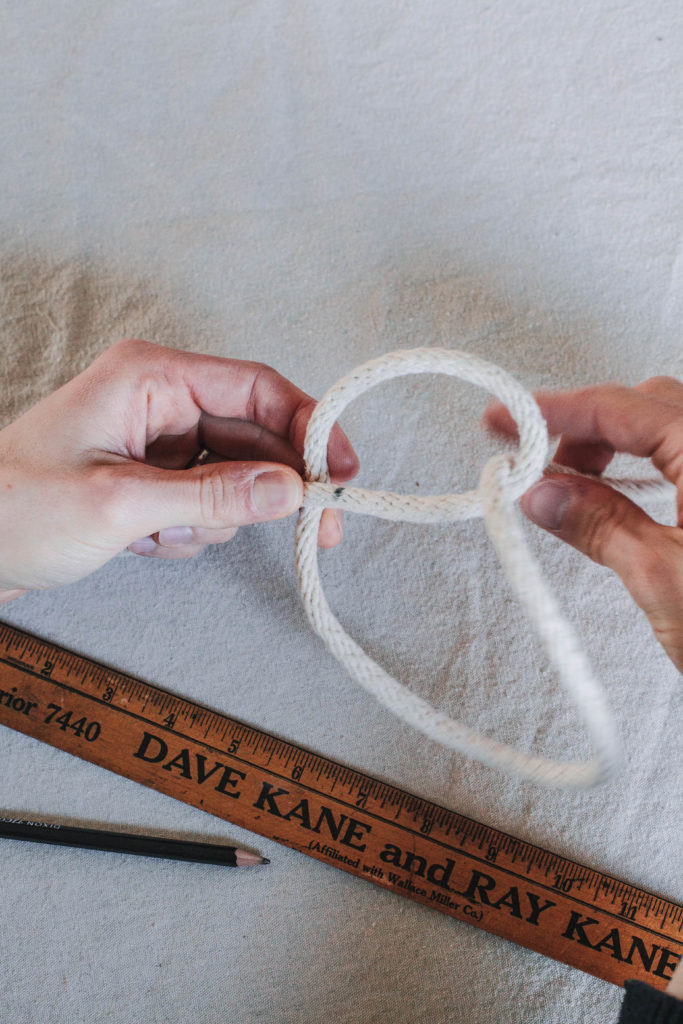
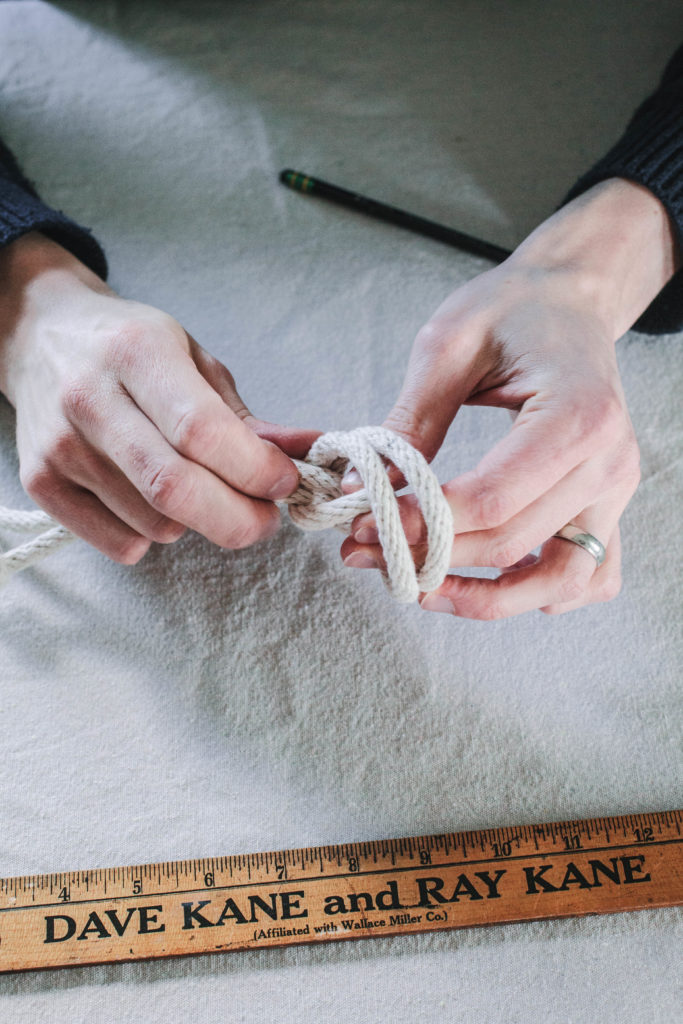
- Make a overhand loop knot. You should have a loop measuring 4.5 inches.
- Repeat steps 1 through 6 on the back lefthand corner of your shallow basket.
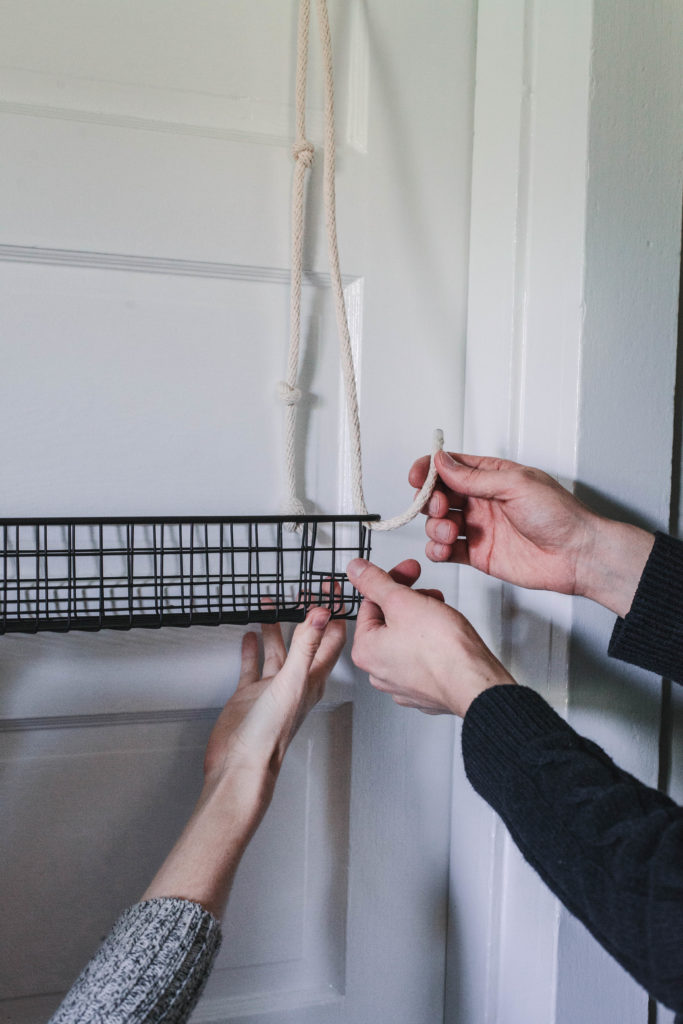
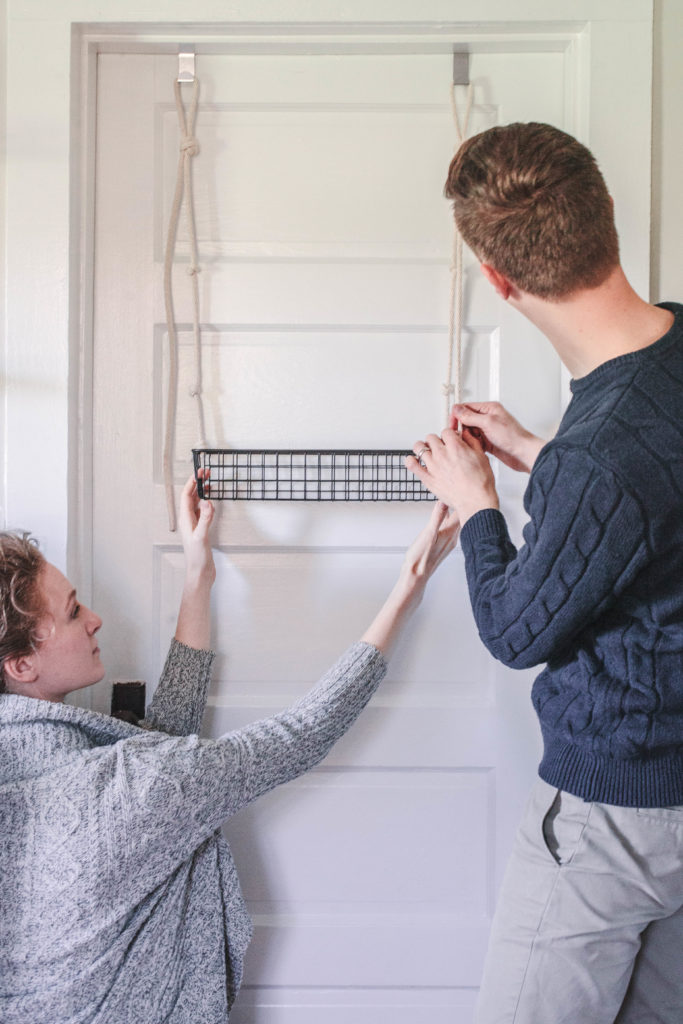
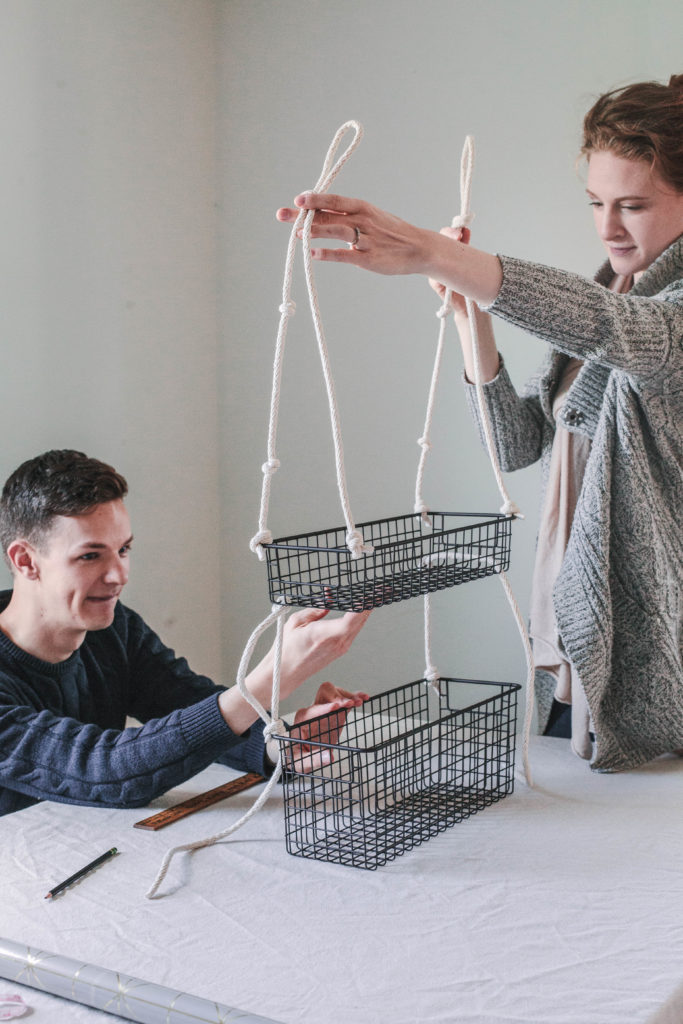
- You should now have two lengths of rope and two loops. Hang these loops on your door hooks and adjust the basket to make it level. (An extra pair of hands is helpful!)
- Take one loose end of the rope and tie a (loose) double overhand knot in the corresponding front corner. Check that the basket is level.
- Take the other rope and tie a (loose) double overhand knot in the other front corner. Check that the basket is level.
- Tighten each knot a little at a time until all knots are as tight as possible and basket is level.


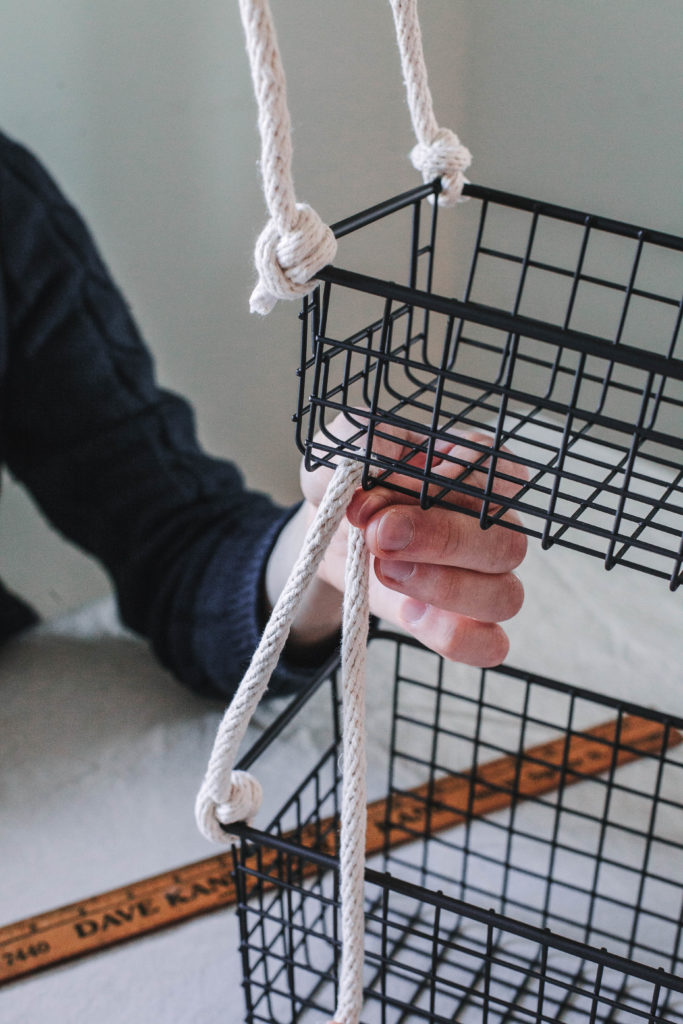
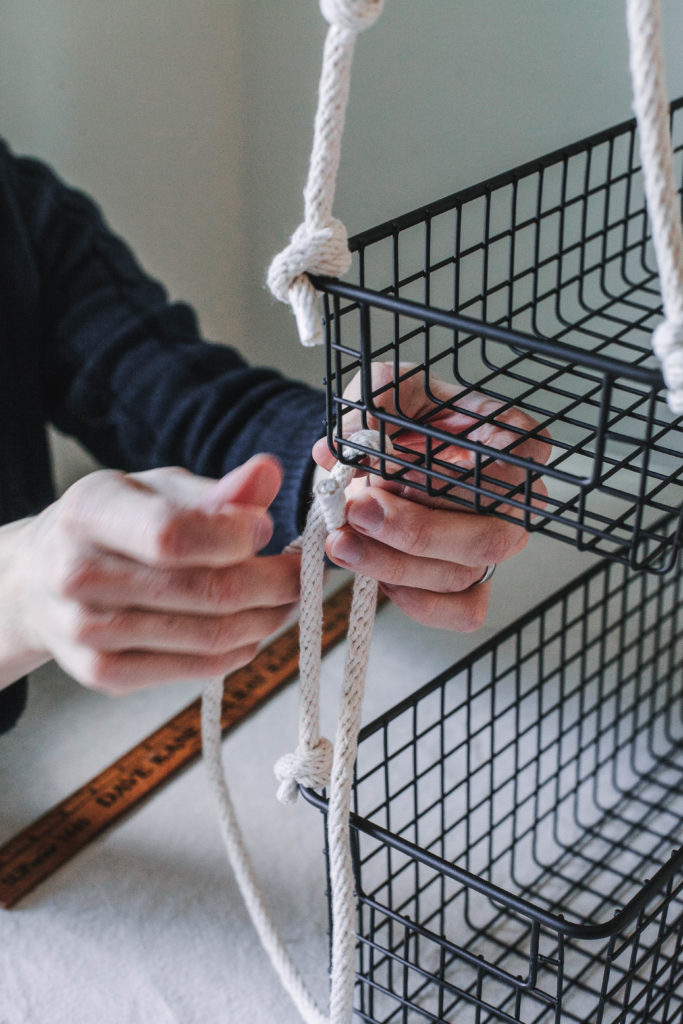
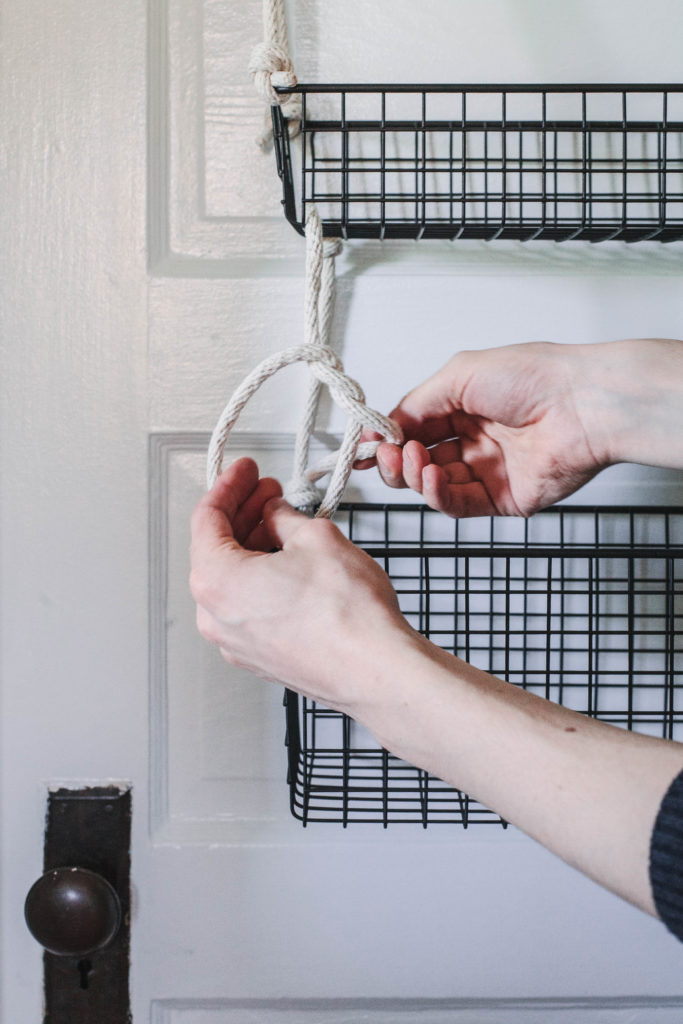
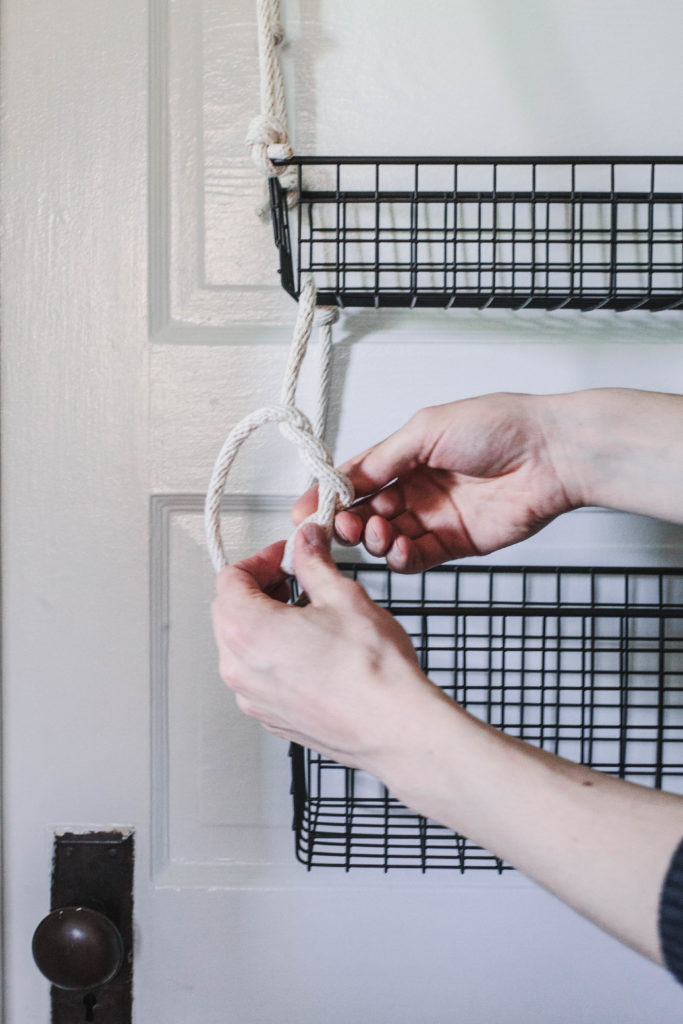
LOWER BASKET
(photos below)
- Take one 40-inch length of rope. On back righthand corner of your deep basket, tie a double overhand knot.
- Measure six inches. Tie an overhand knot on the bottom on the back righthand corner your shallow basket.
- Thread through bottom of shallow basket toward the front right corner. Thread through the wire.
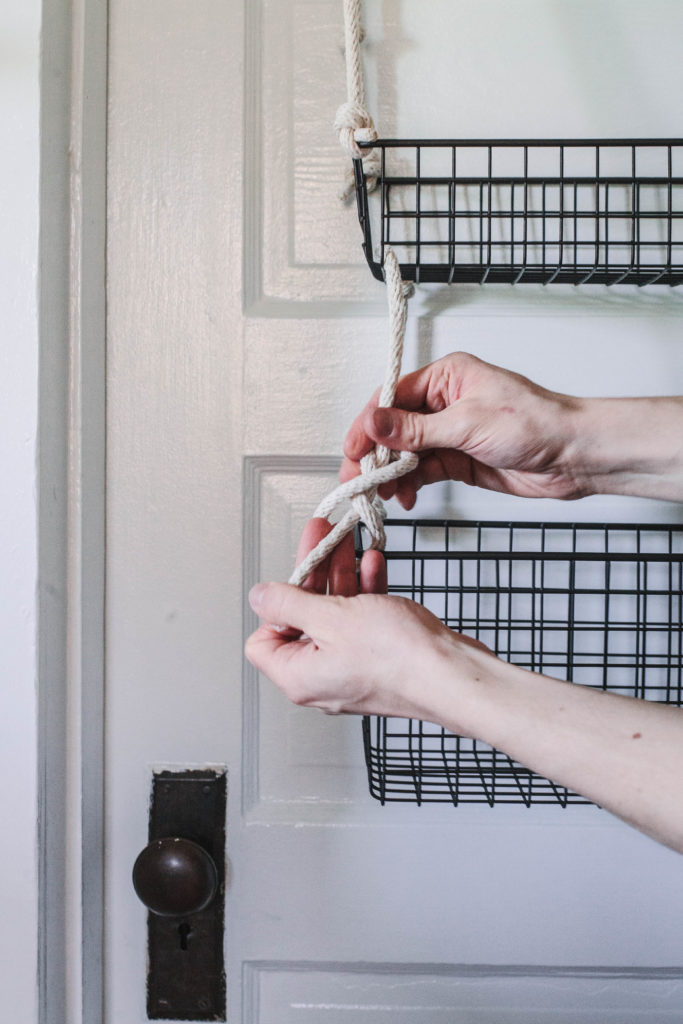
- Measure another 6 inches down and secure to the front right corner of the deep basket with a (loose) double overhand knot.
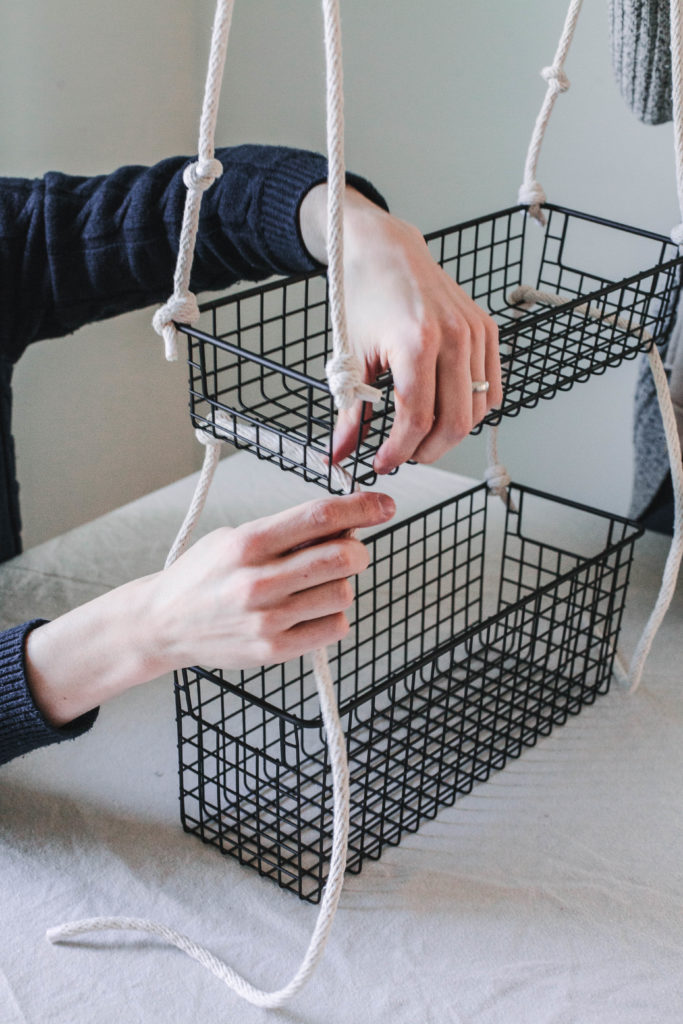
- Repeat steps 1-4 on the lefthand side.
- Tighten each knot a little at a time until bottom basket is hanging level under the top basket.
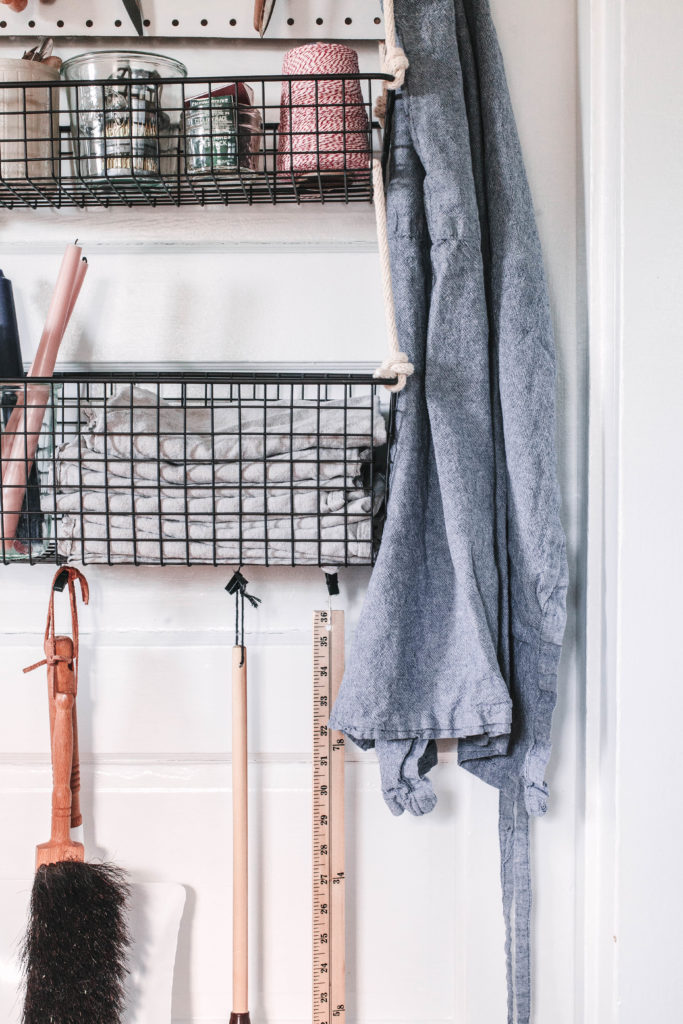
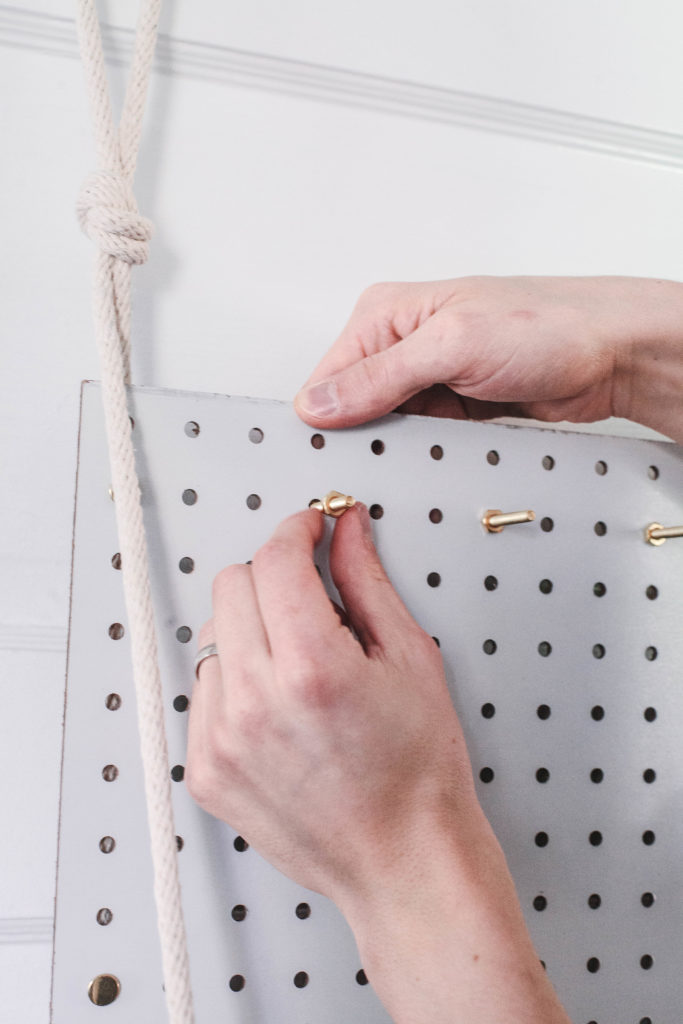
PEGBOARD AND FINISHING TOUCHES
(photos below)
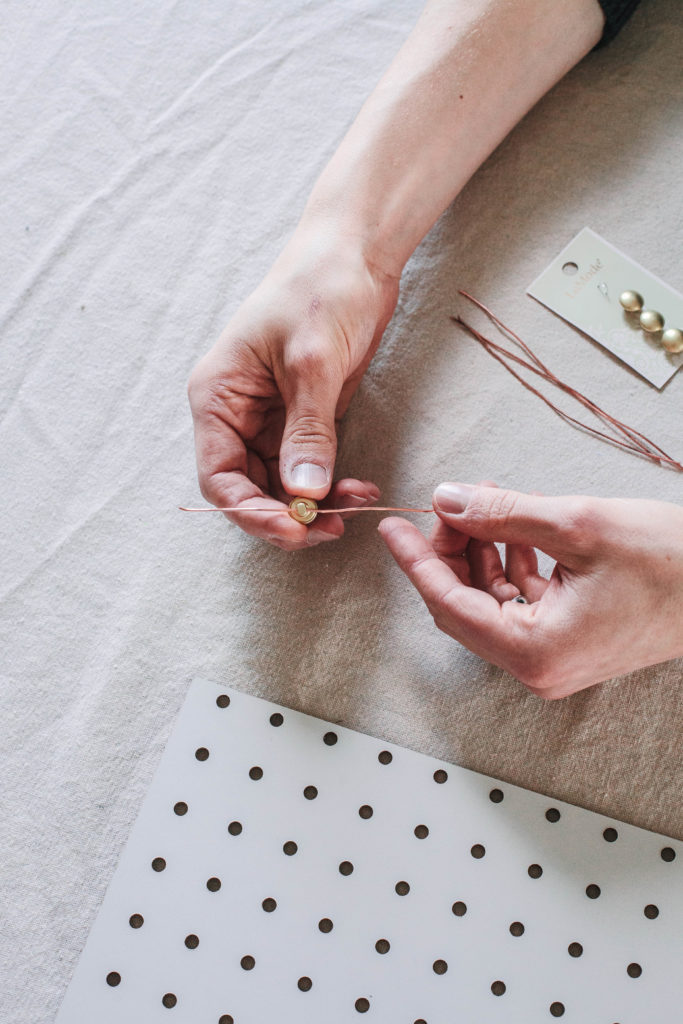
- Cut four 5-inch lengths of wire.
- Thread one wire through eye of button. Bend the wire so you have a loop.
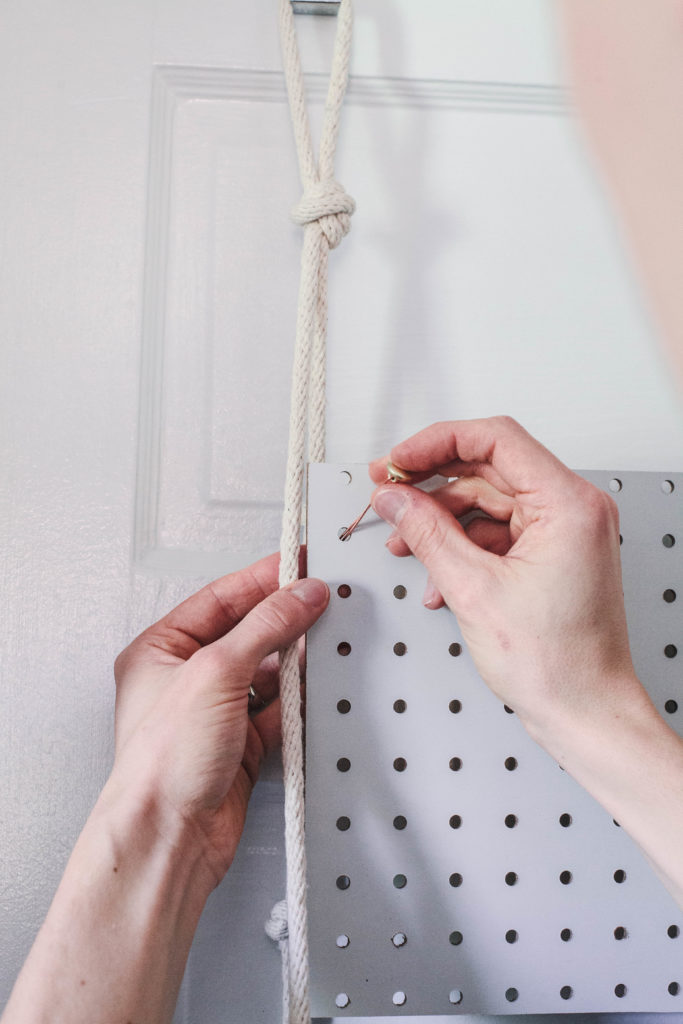
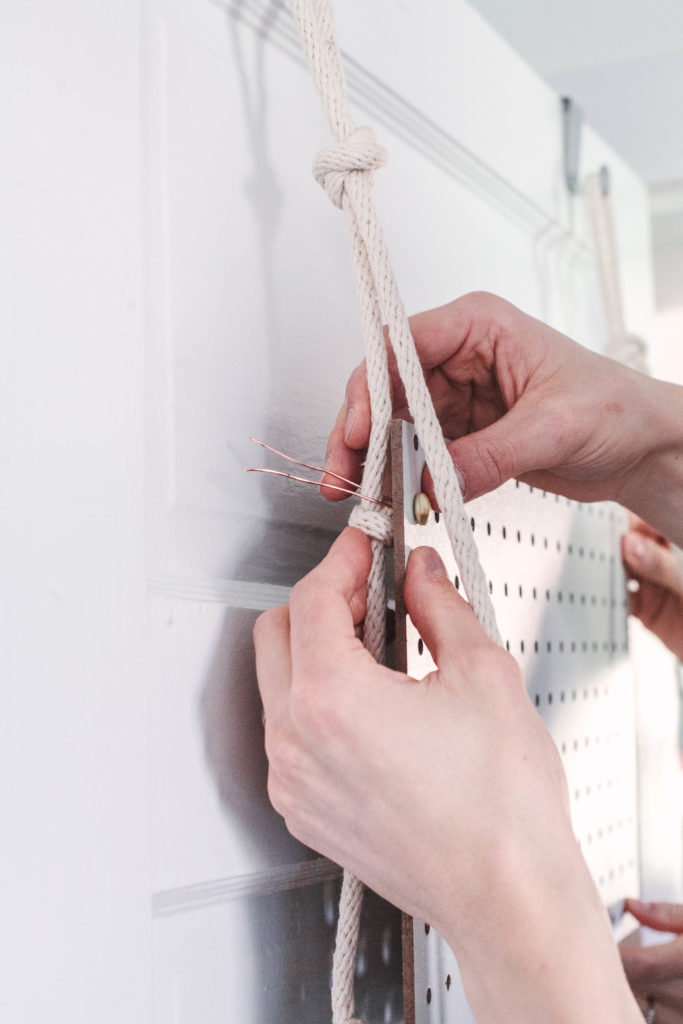
- Thread the loose ends of the wire through an outer hole in the pegboard. The rope should be directly behind the hole.
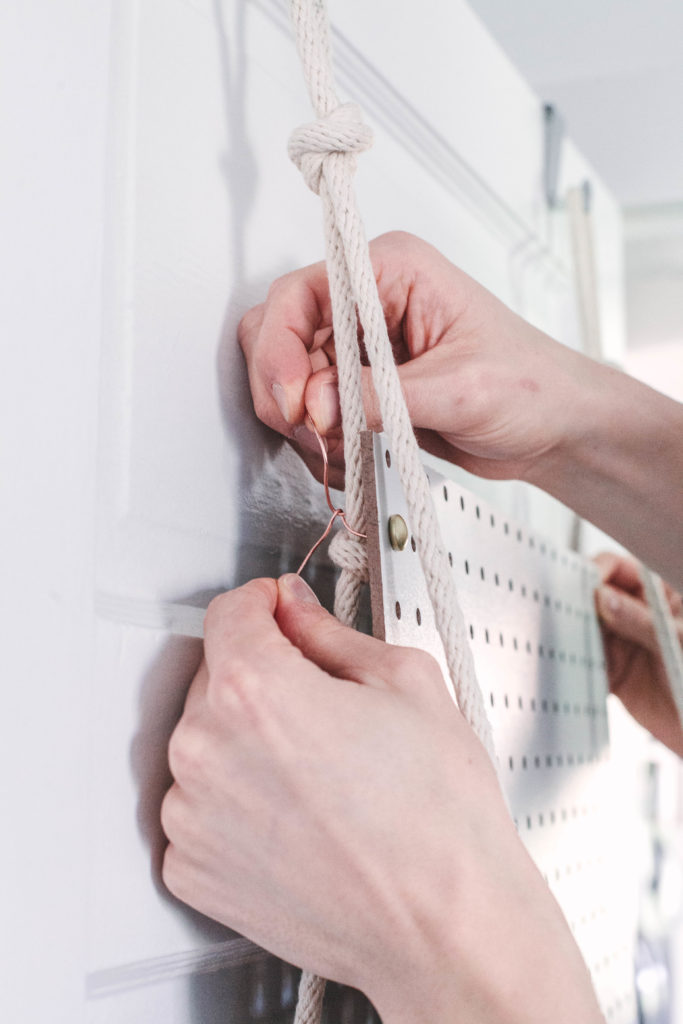
- Place rope between wire ends and twist the wire around rope very tightly.
- Repeat on all four corners, making sure pegboard is level.
- Push your bolts through pegboard from behind and secure with a nut from the front.
- Place clip hooks on the bottom of your lower basket.
- Hang and enjoy!
Check out Shop A Daily Something for more organization and utility ideas!
Leave a Reply
Disclosure.
Discovering how to infuse our lives—ourselves, our work, our relationships, our homes, and our entertaining spaces—with simple beauty, more intention, and slow living principles.
Interested in working together?
Click here to visit the Contact page and get in touch.
PORTFOLIO
© 2020 A Daily Something — All Rights Reserved.
Design by TONIC.
Learn more about A Daily Something styling services, content creation offerings and view curated work.
CONTACT + COLLABORATE
MANIFESTO
Join the list to receive our thoughtful monthly letters, and to be the first to know of upcoming workshops, dinners, gatherings, and more.
SUBSCRIBE
ALL PHOTOS AND IMAGES ON A DAILY SOMETHING ARE BY A DAILY SOMETHING UNLESS OTHERWISE NOTED. IF YOU SEE AN IMAGE THAT IS NOT PROPERLY SOURCED, PLEASE LET US KNOW AND WE'LL UPDATE THE INFORMATION! IF YOU WOULD LIKE TO SHARE A PHOTO OR TUTORIAL FROM A DAILY SOMETHING, PLEASE ONLY SHARE ONE PHOTO, WHICH MUST BE CREDITED AND LINKED BACK TO A DAILY SOMETHING.
SPONSORED POSTS WILL ALWAYS BE DISCLOSED AND ANY GIFTED ITEMS WILL BE MARKED C/O. WE ONLY WORK WITH COMPANIES THAT ARE A GOOD FIT FOR THE A DAILY SOMETHING AESTHETIC AND CONTENT. THANK YOU FOR SUPPORTING THE COMPANIES THAT ENABLE US TO CONTINUE PRODUCING QUALITY CONTENT.

Hi Rebecca,
I love this over the door storage idea! I love the simplicity, that you can see everything at a glance. Just wondering, do items fly off the pegboard when closing and opening the door? I note that you are using a bolt and not some sort of hook, to keep items in place. Perhaps you don’t use the door often….looks like the room beyond is empty? I have a few doors I would love to try this idea on, but the doors are opened and closed daily numerous times. Would you have a substitute for the bolts that is more of a hook? I was thinking of using pegboard hooks, but thought they might scratch the door. Thanks so much for your time!
Sue