


Nurturing Your Home (and A Minimalist Copper Wreath DIY)
We’ve owned our home for just over three years, and have loved creating and nurturing this space. It’s our children’s sanctuary, a place where friends and family gather, and a space of protection and safety. Making our home a beautiful, welcoming place, for all who enter through our doors, is something I enjoy. Today I am partnering with Esurance to share this simple holiday DIY and some of my favorite holiday memories from our three years in this beautiful, protective home.
Creating memories, experiencing life, and sharing with others, is what I want for our home. These memories help to create a stability and strength for our children. Memories like the time that my entire family (my mom and multiple siblings) slept in our 1150 square foot home Christmas night, eagerly awaiting the arrival of Naomi. One or two of my siblings may or may not have been cozied up under the dining room table on an air mattress. Or our first Christmas in our home, which was also our first Christmas with a child. Watching Zoe’s excitement as Joe carefully strung the lights on the tree or as she opened her first present…these are memories I will cherish for a lifetime. Or, just last week, when a few friends joined us for Christmas cookie merriment (a.k.a. mess-making) in the dining room. I can’t wait till we host our first Thanksgiving… Currently, our largest room can only comfortably accommodate about 8 people. So, we’re planning to renovate our garage and turn it into a studio and living area, then we’ll be able to host 20+ friends and family for dinner or crafts or book clubs or whatever!
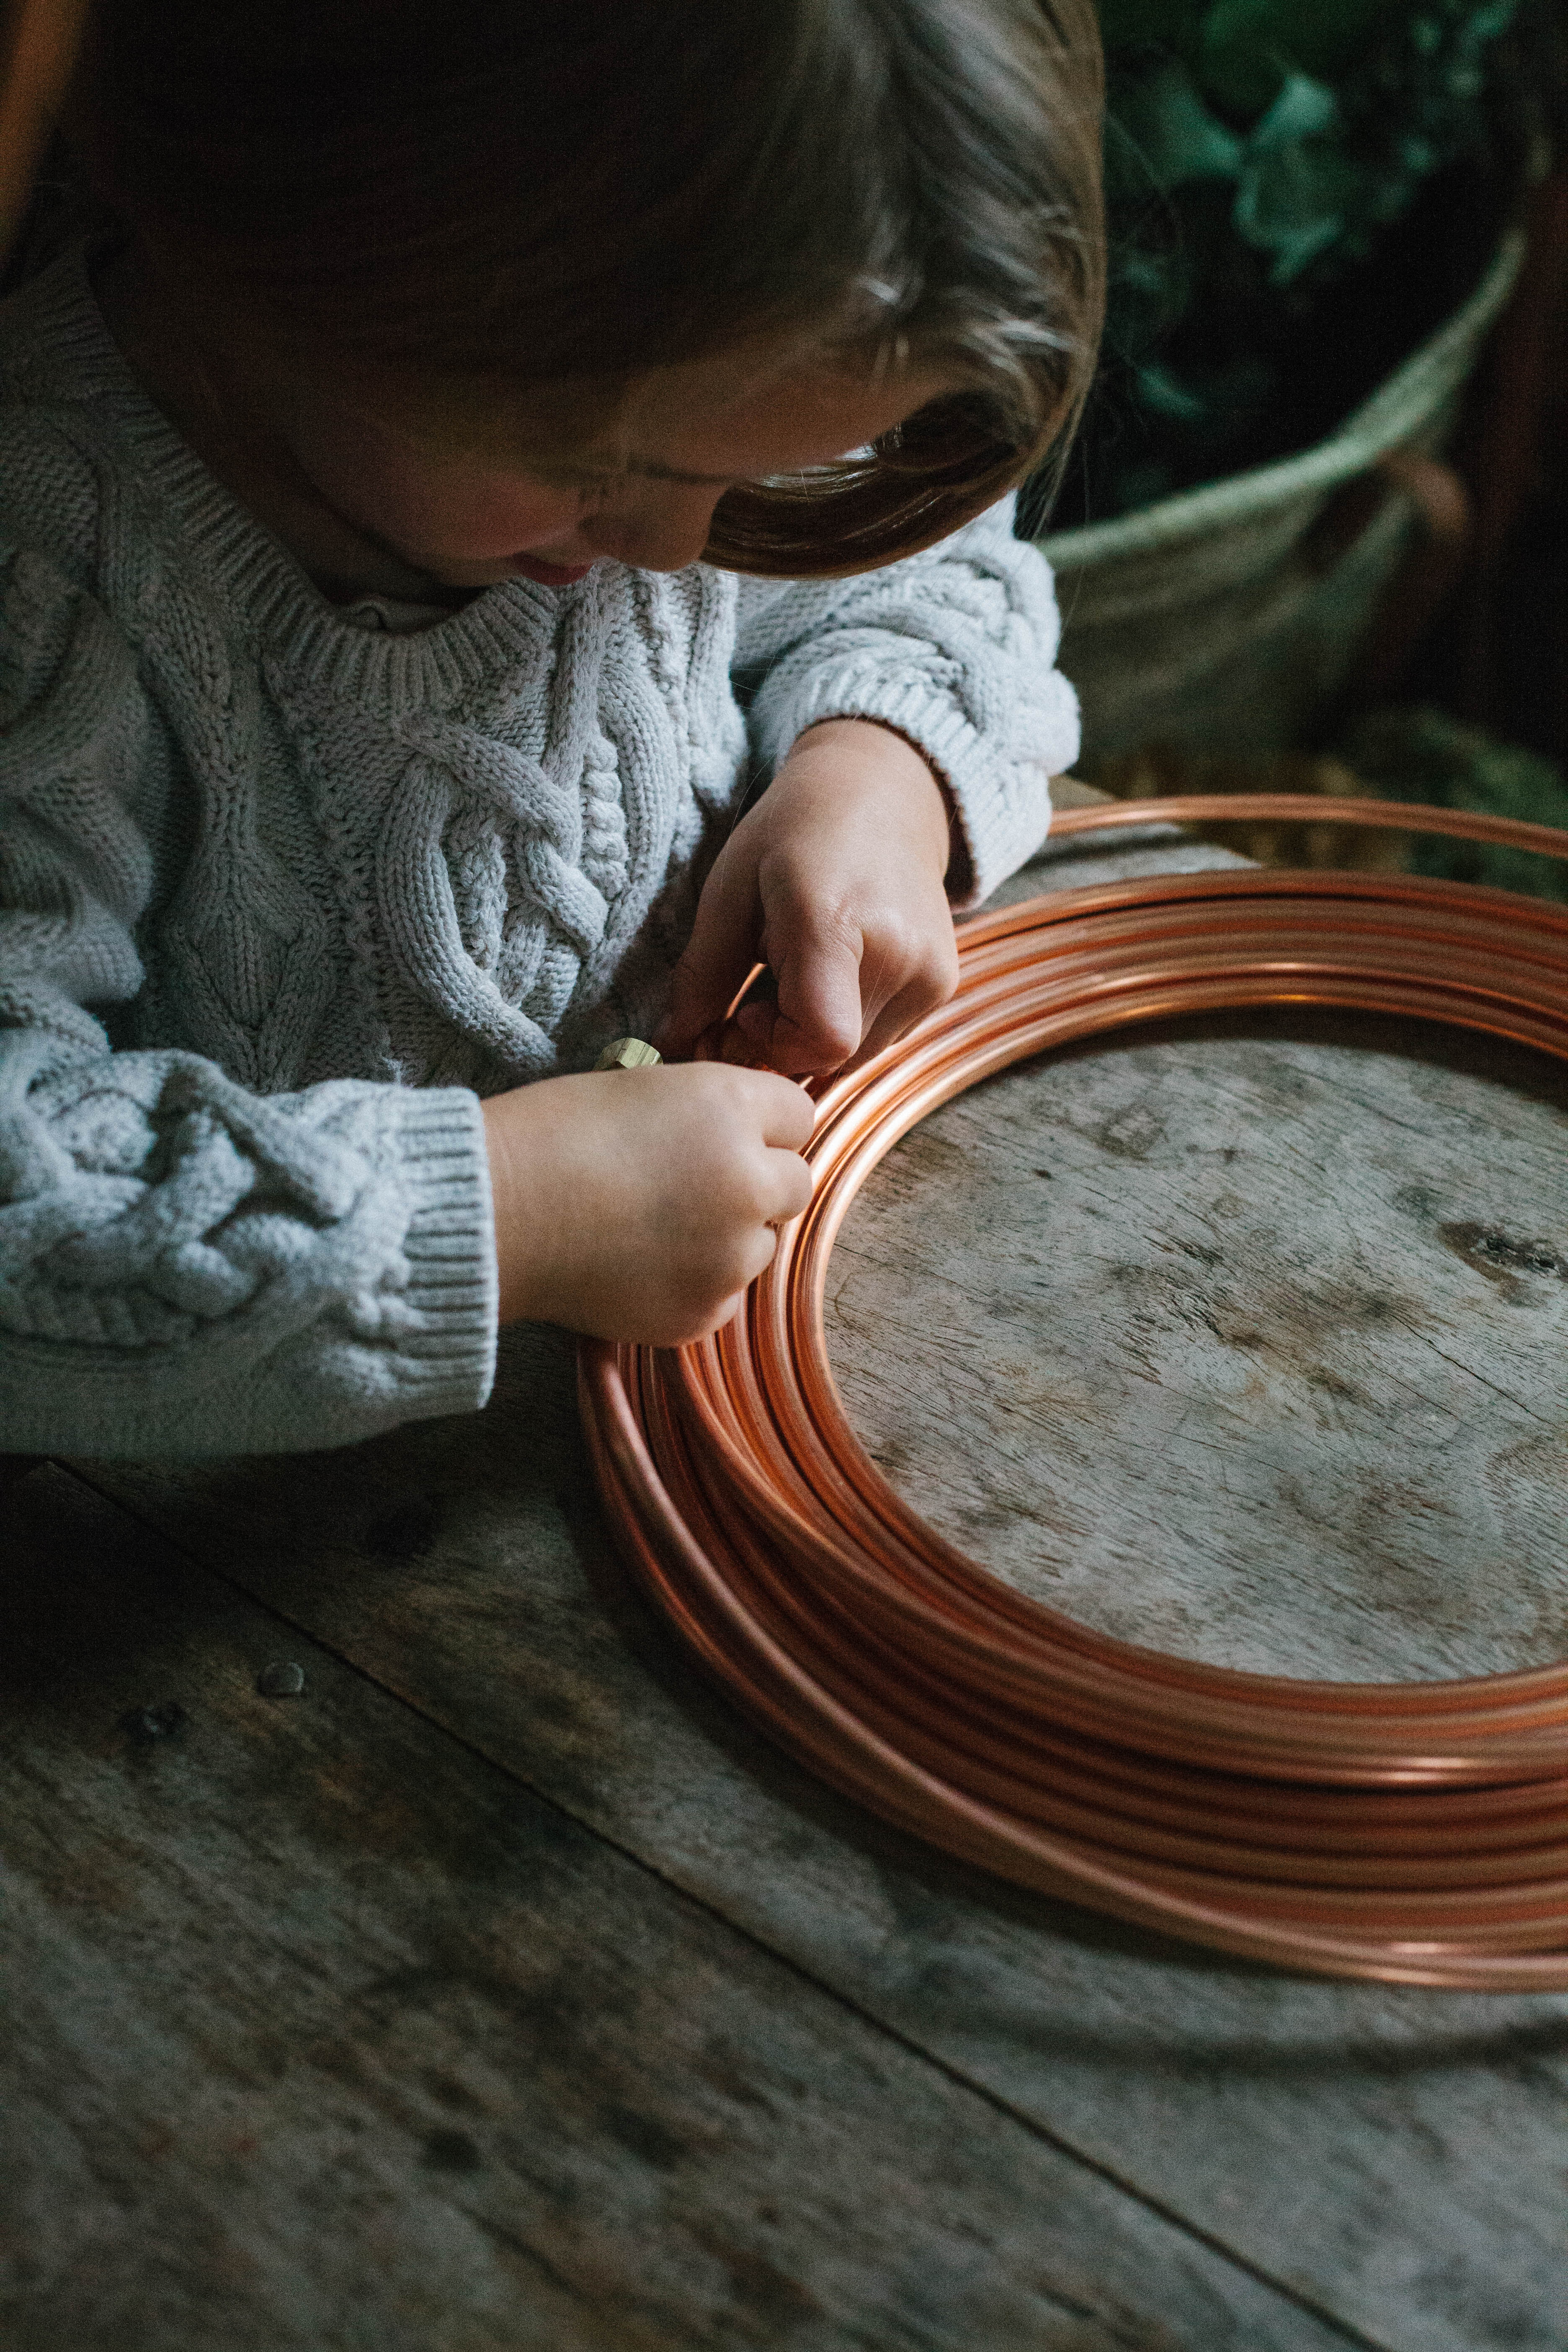
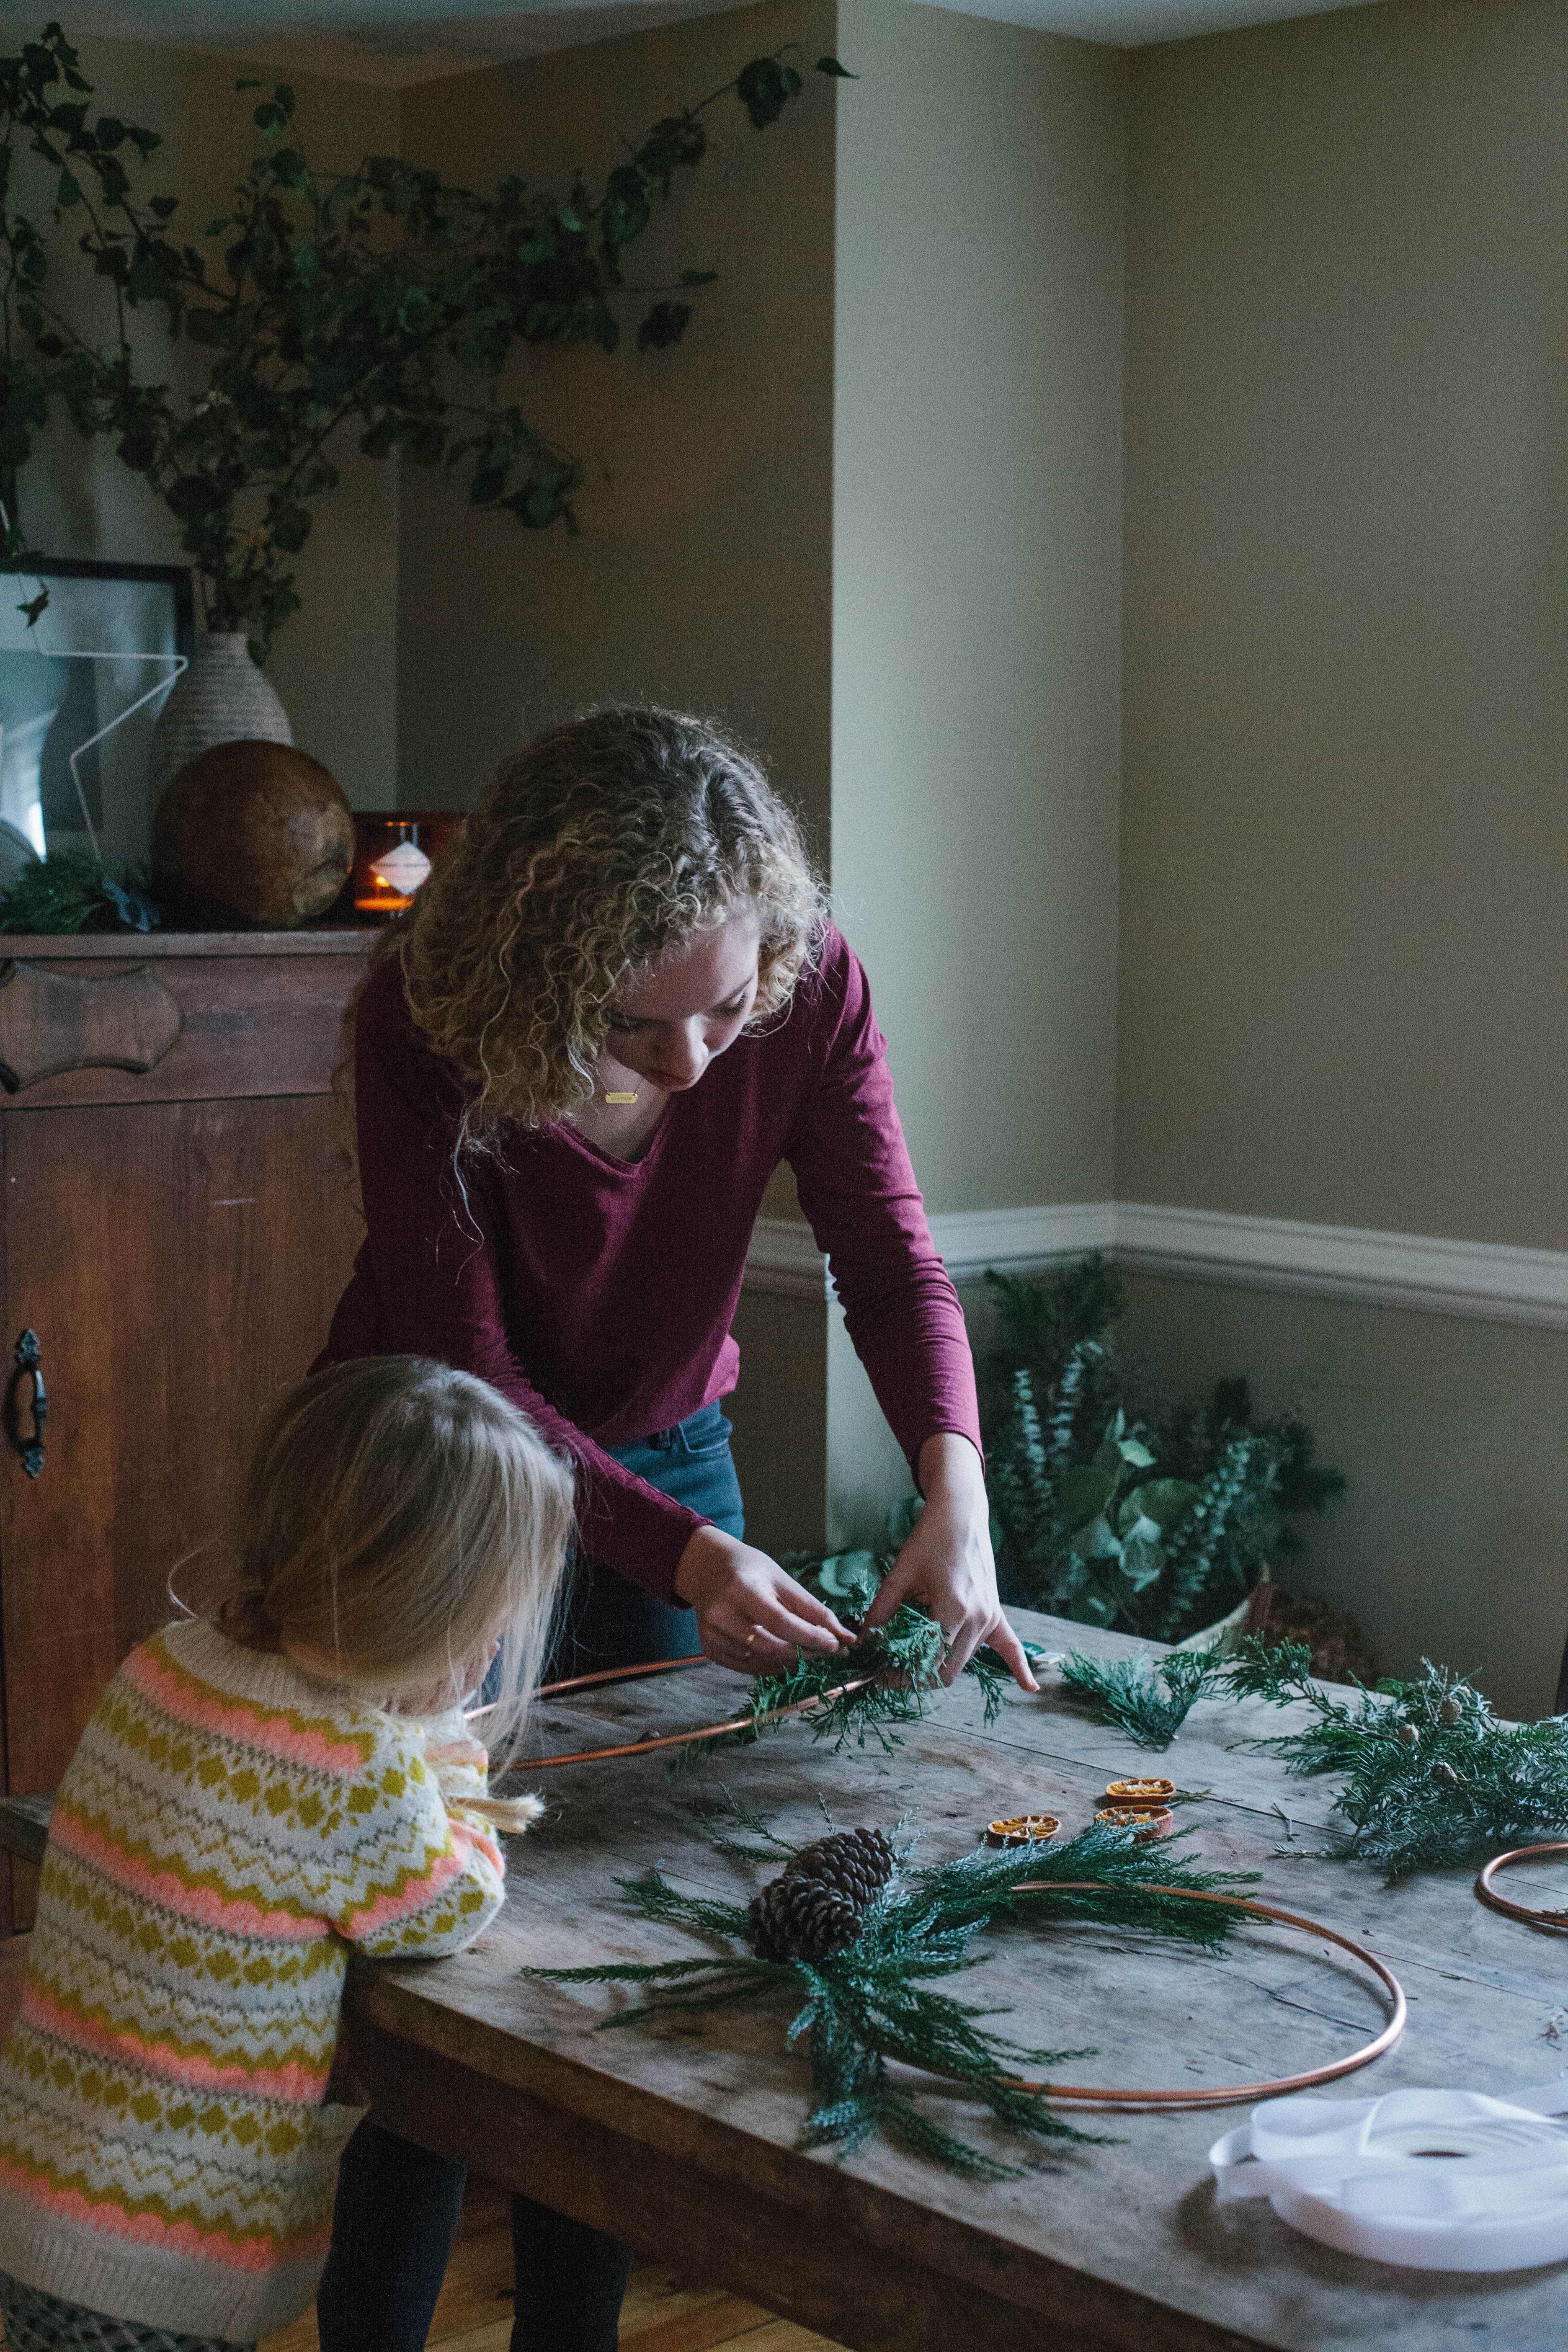
My friend Bekah came over yesterday to help Zoe and me make these wreaths. I made my favorite banana bread and Cordial Coffee, and Zoe even got to skip her nap to be a part of the fun! I’m so very thankful for a cozy space, no matter how small, in which I can welcome friends and we can create beauty together. It’s so important to me that all those who enter – friends and family and strangers – feel comfortable and safe. I want my home to be vulnerable (not necessarily perfect) so others know they are invited to be open and candid. I want it to feel as if they’ve escaped to a safe-haven of beauty and honesty. Knowing – through proactively caring for our home – they are safe is of utmost importance!
If you’re looking to protect your home so that it can protect those under its roof, check out esurance.com. They have wonderful tools (and an app) that try to help you take the headache out of insurance-buying.
Here is the holiday DIY I promised:
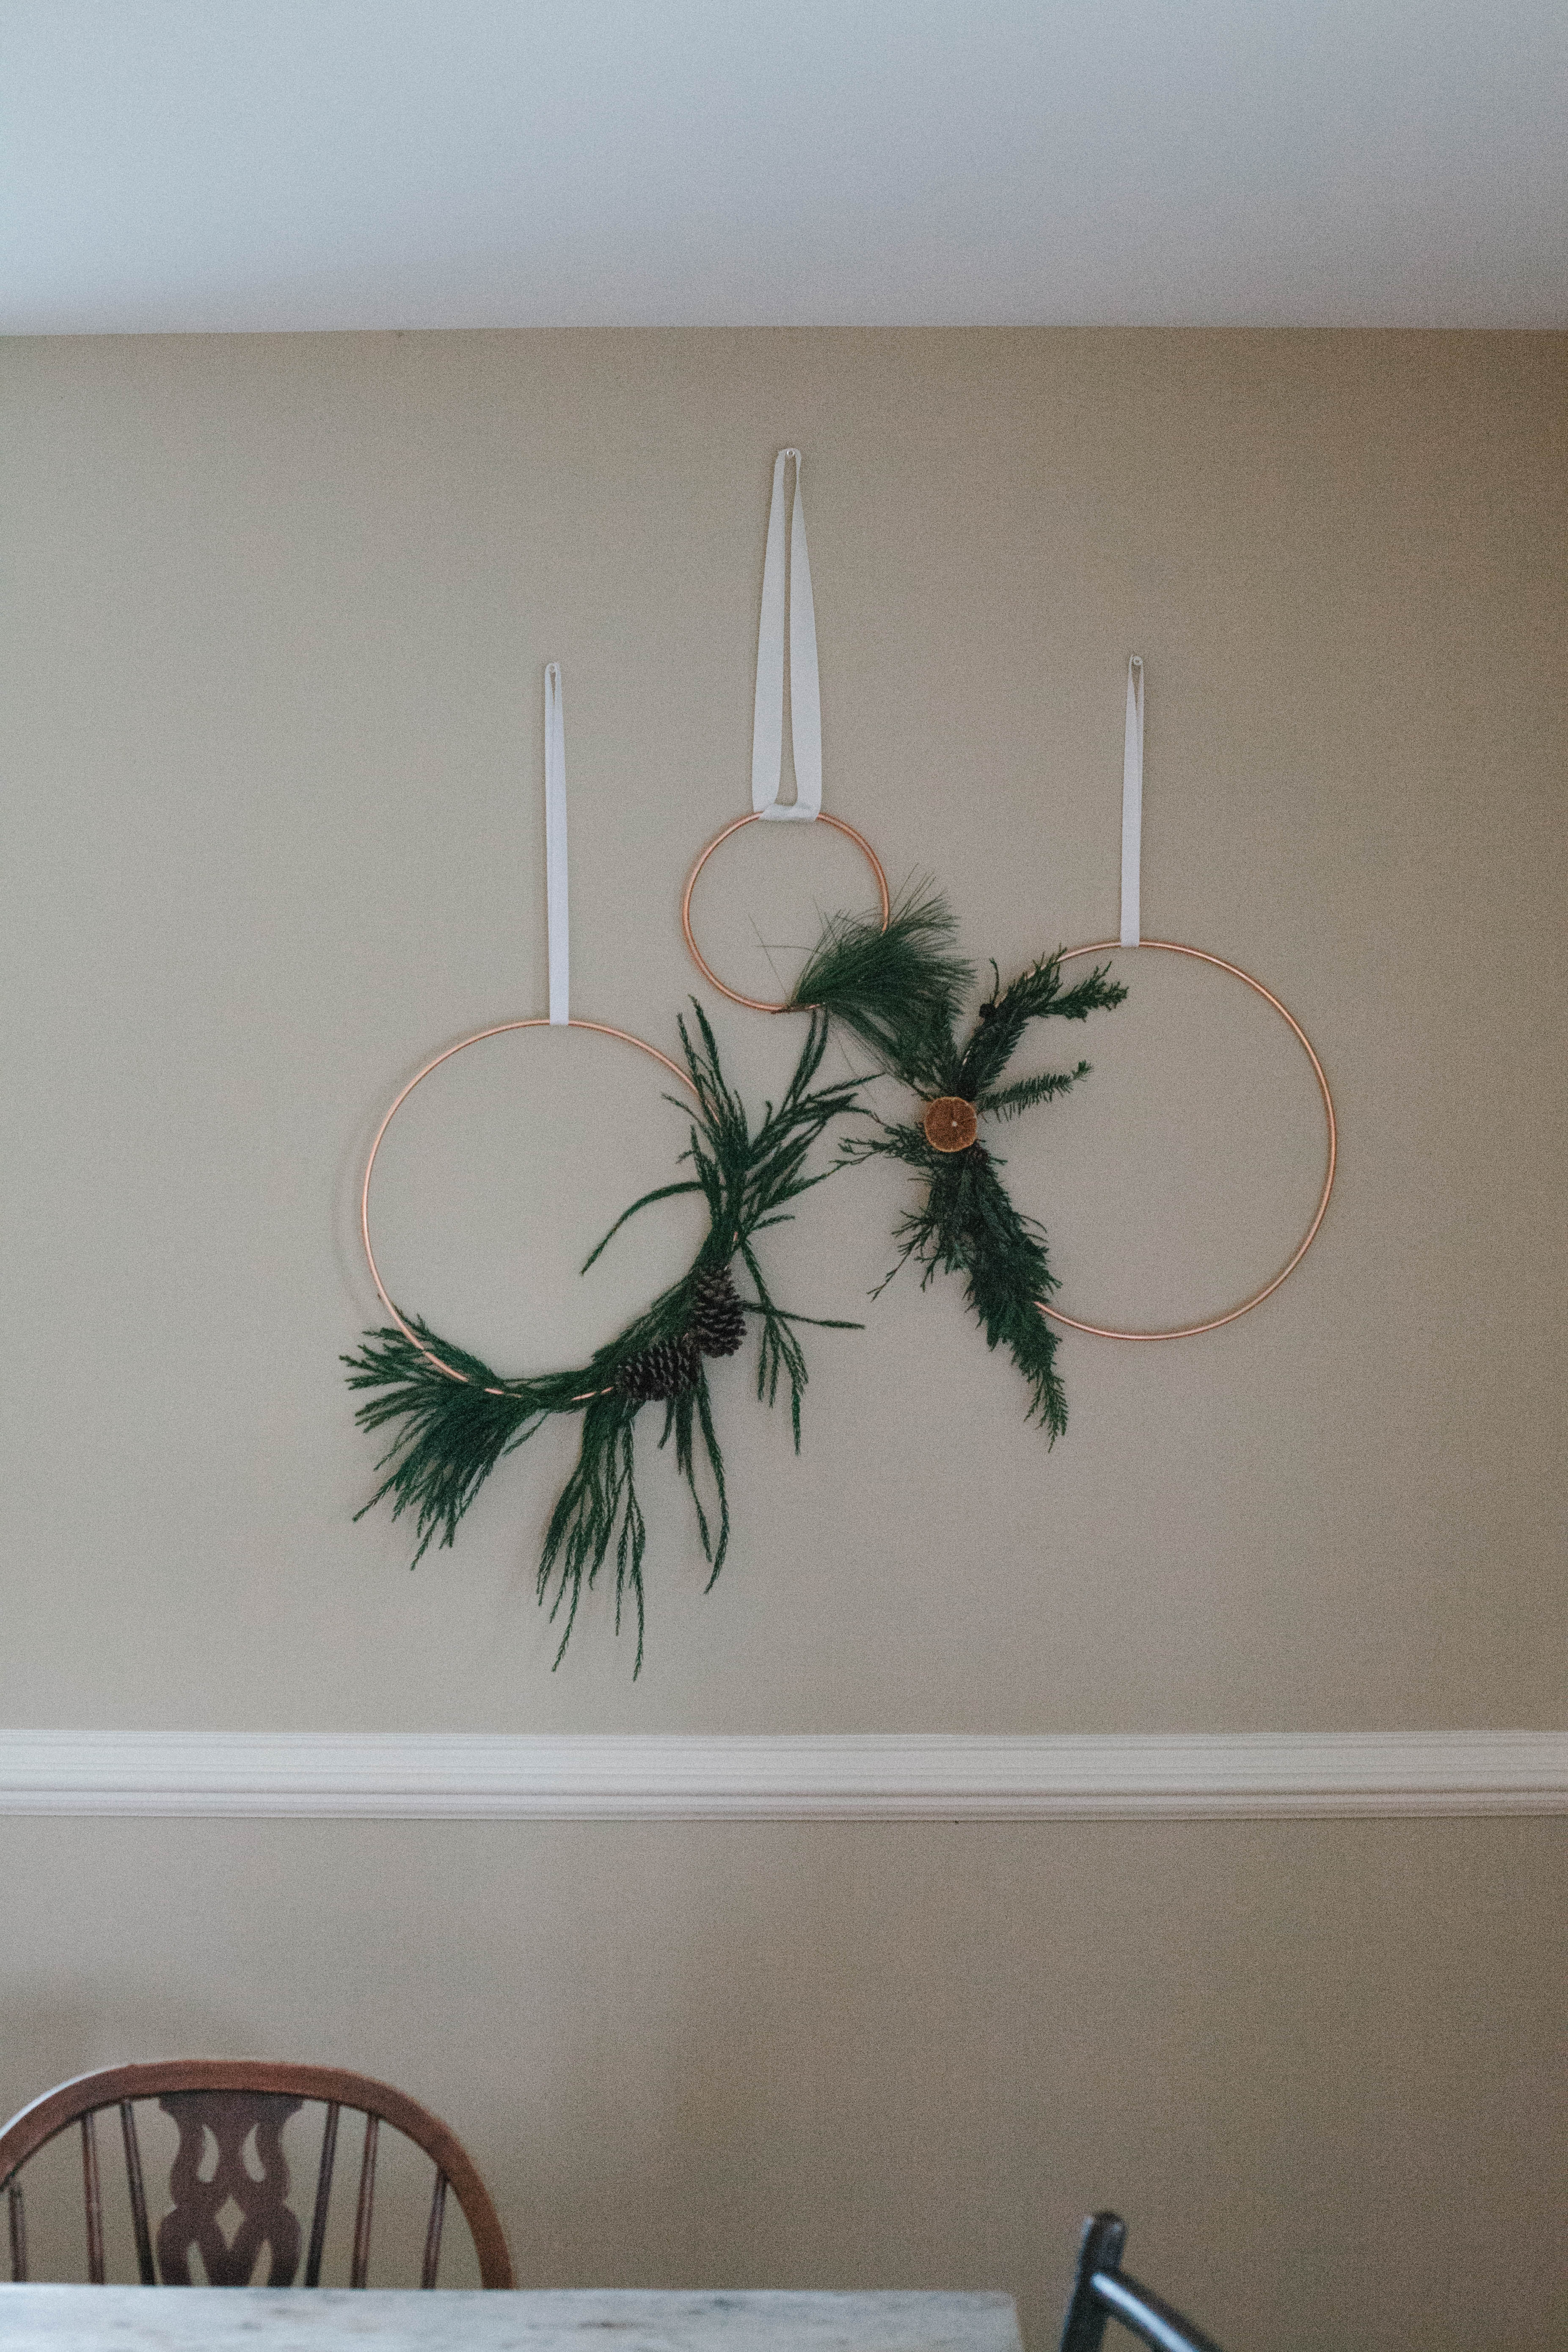
Minimalist Copper Wreath
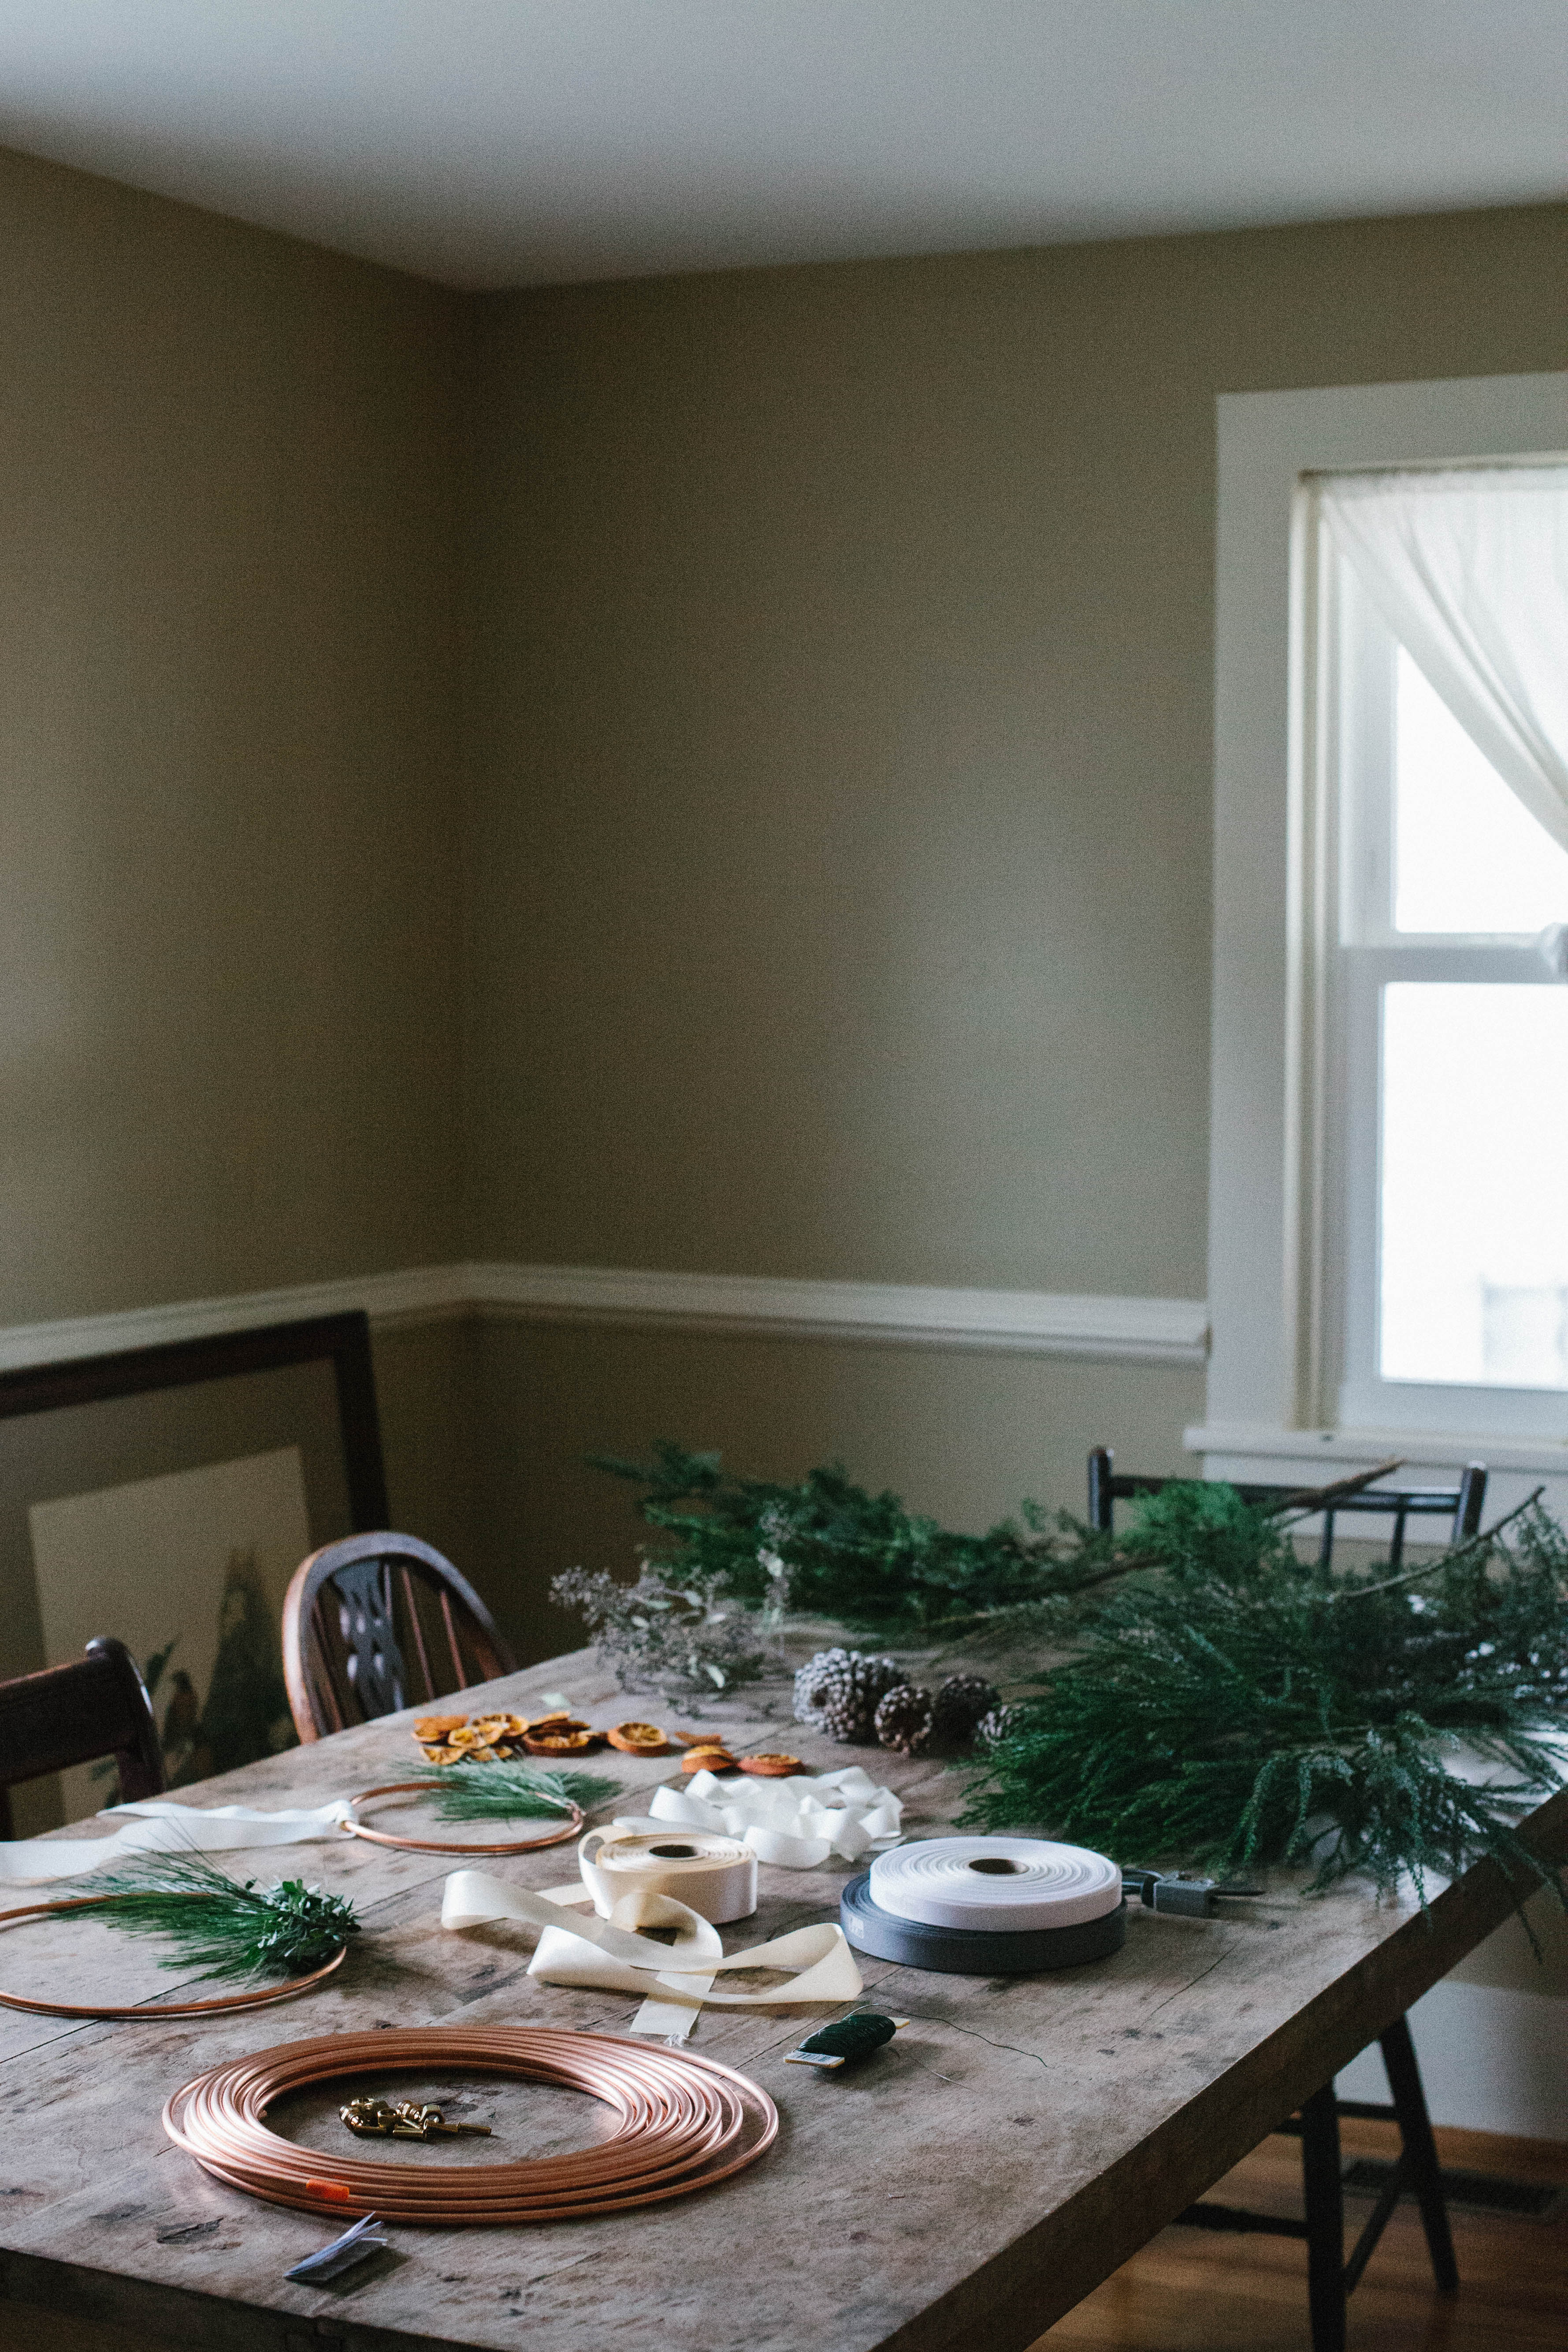
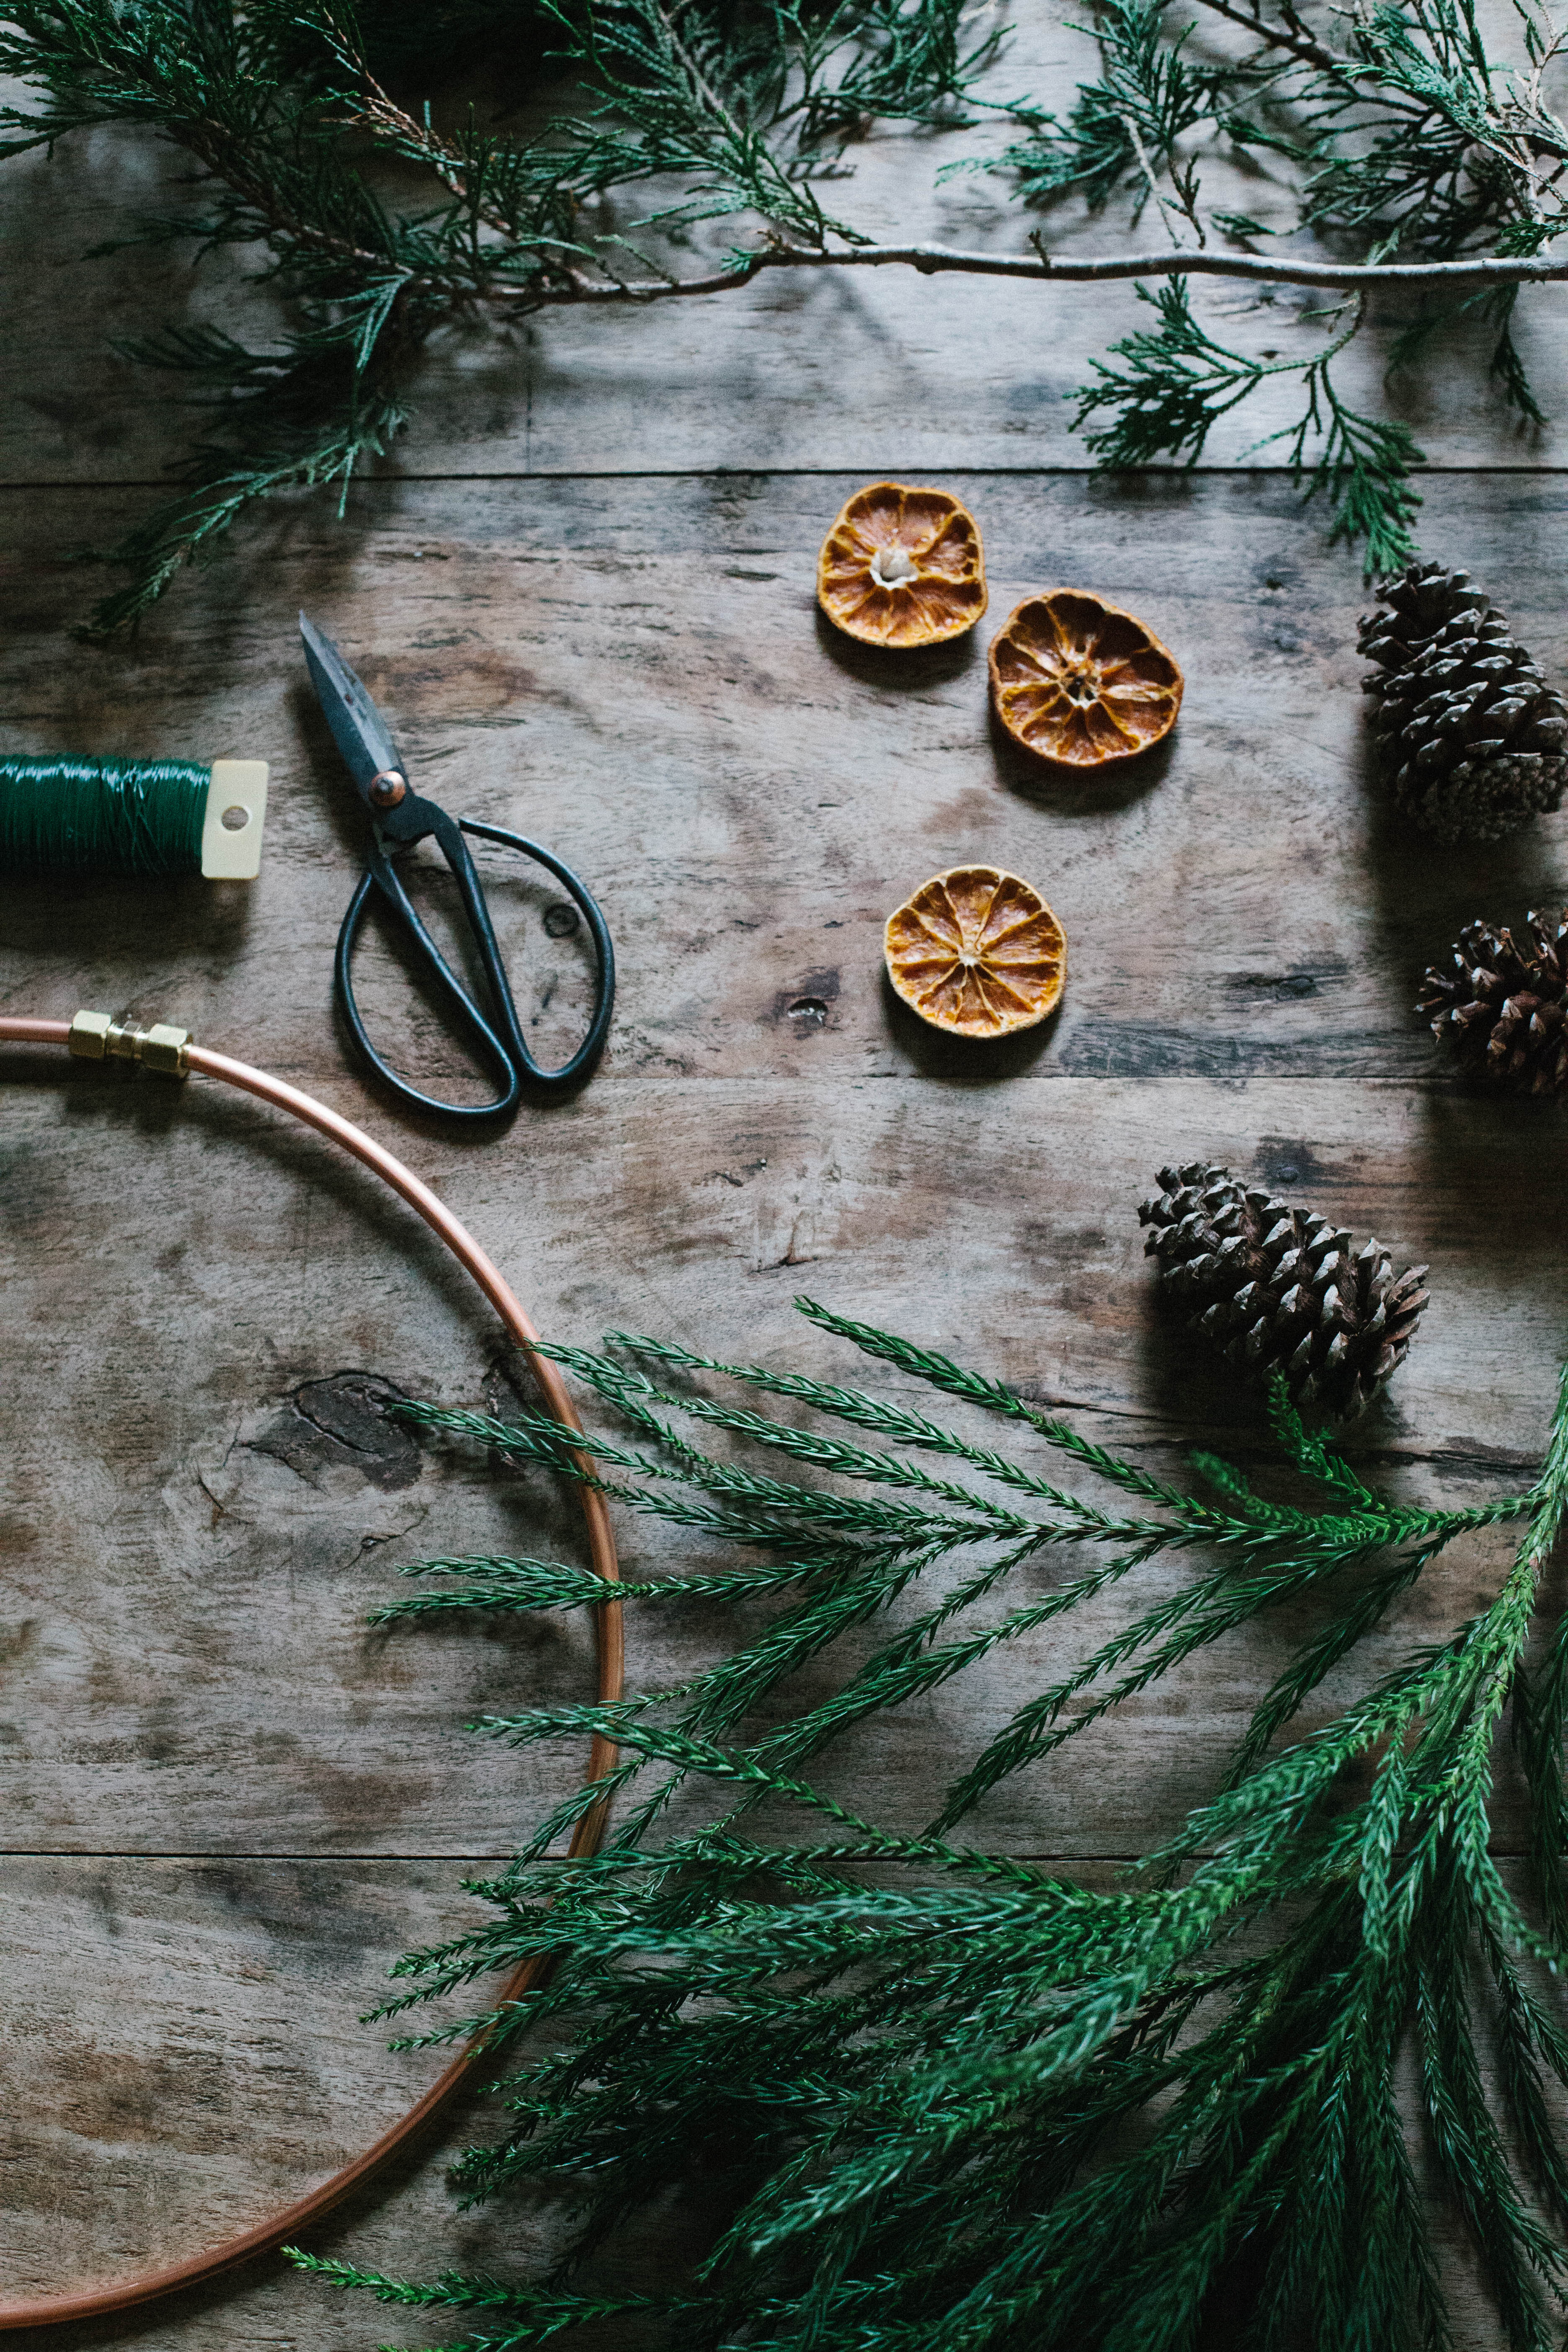
Supplies
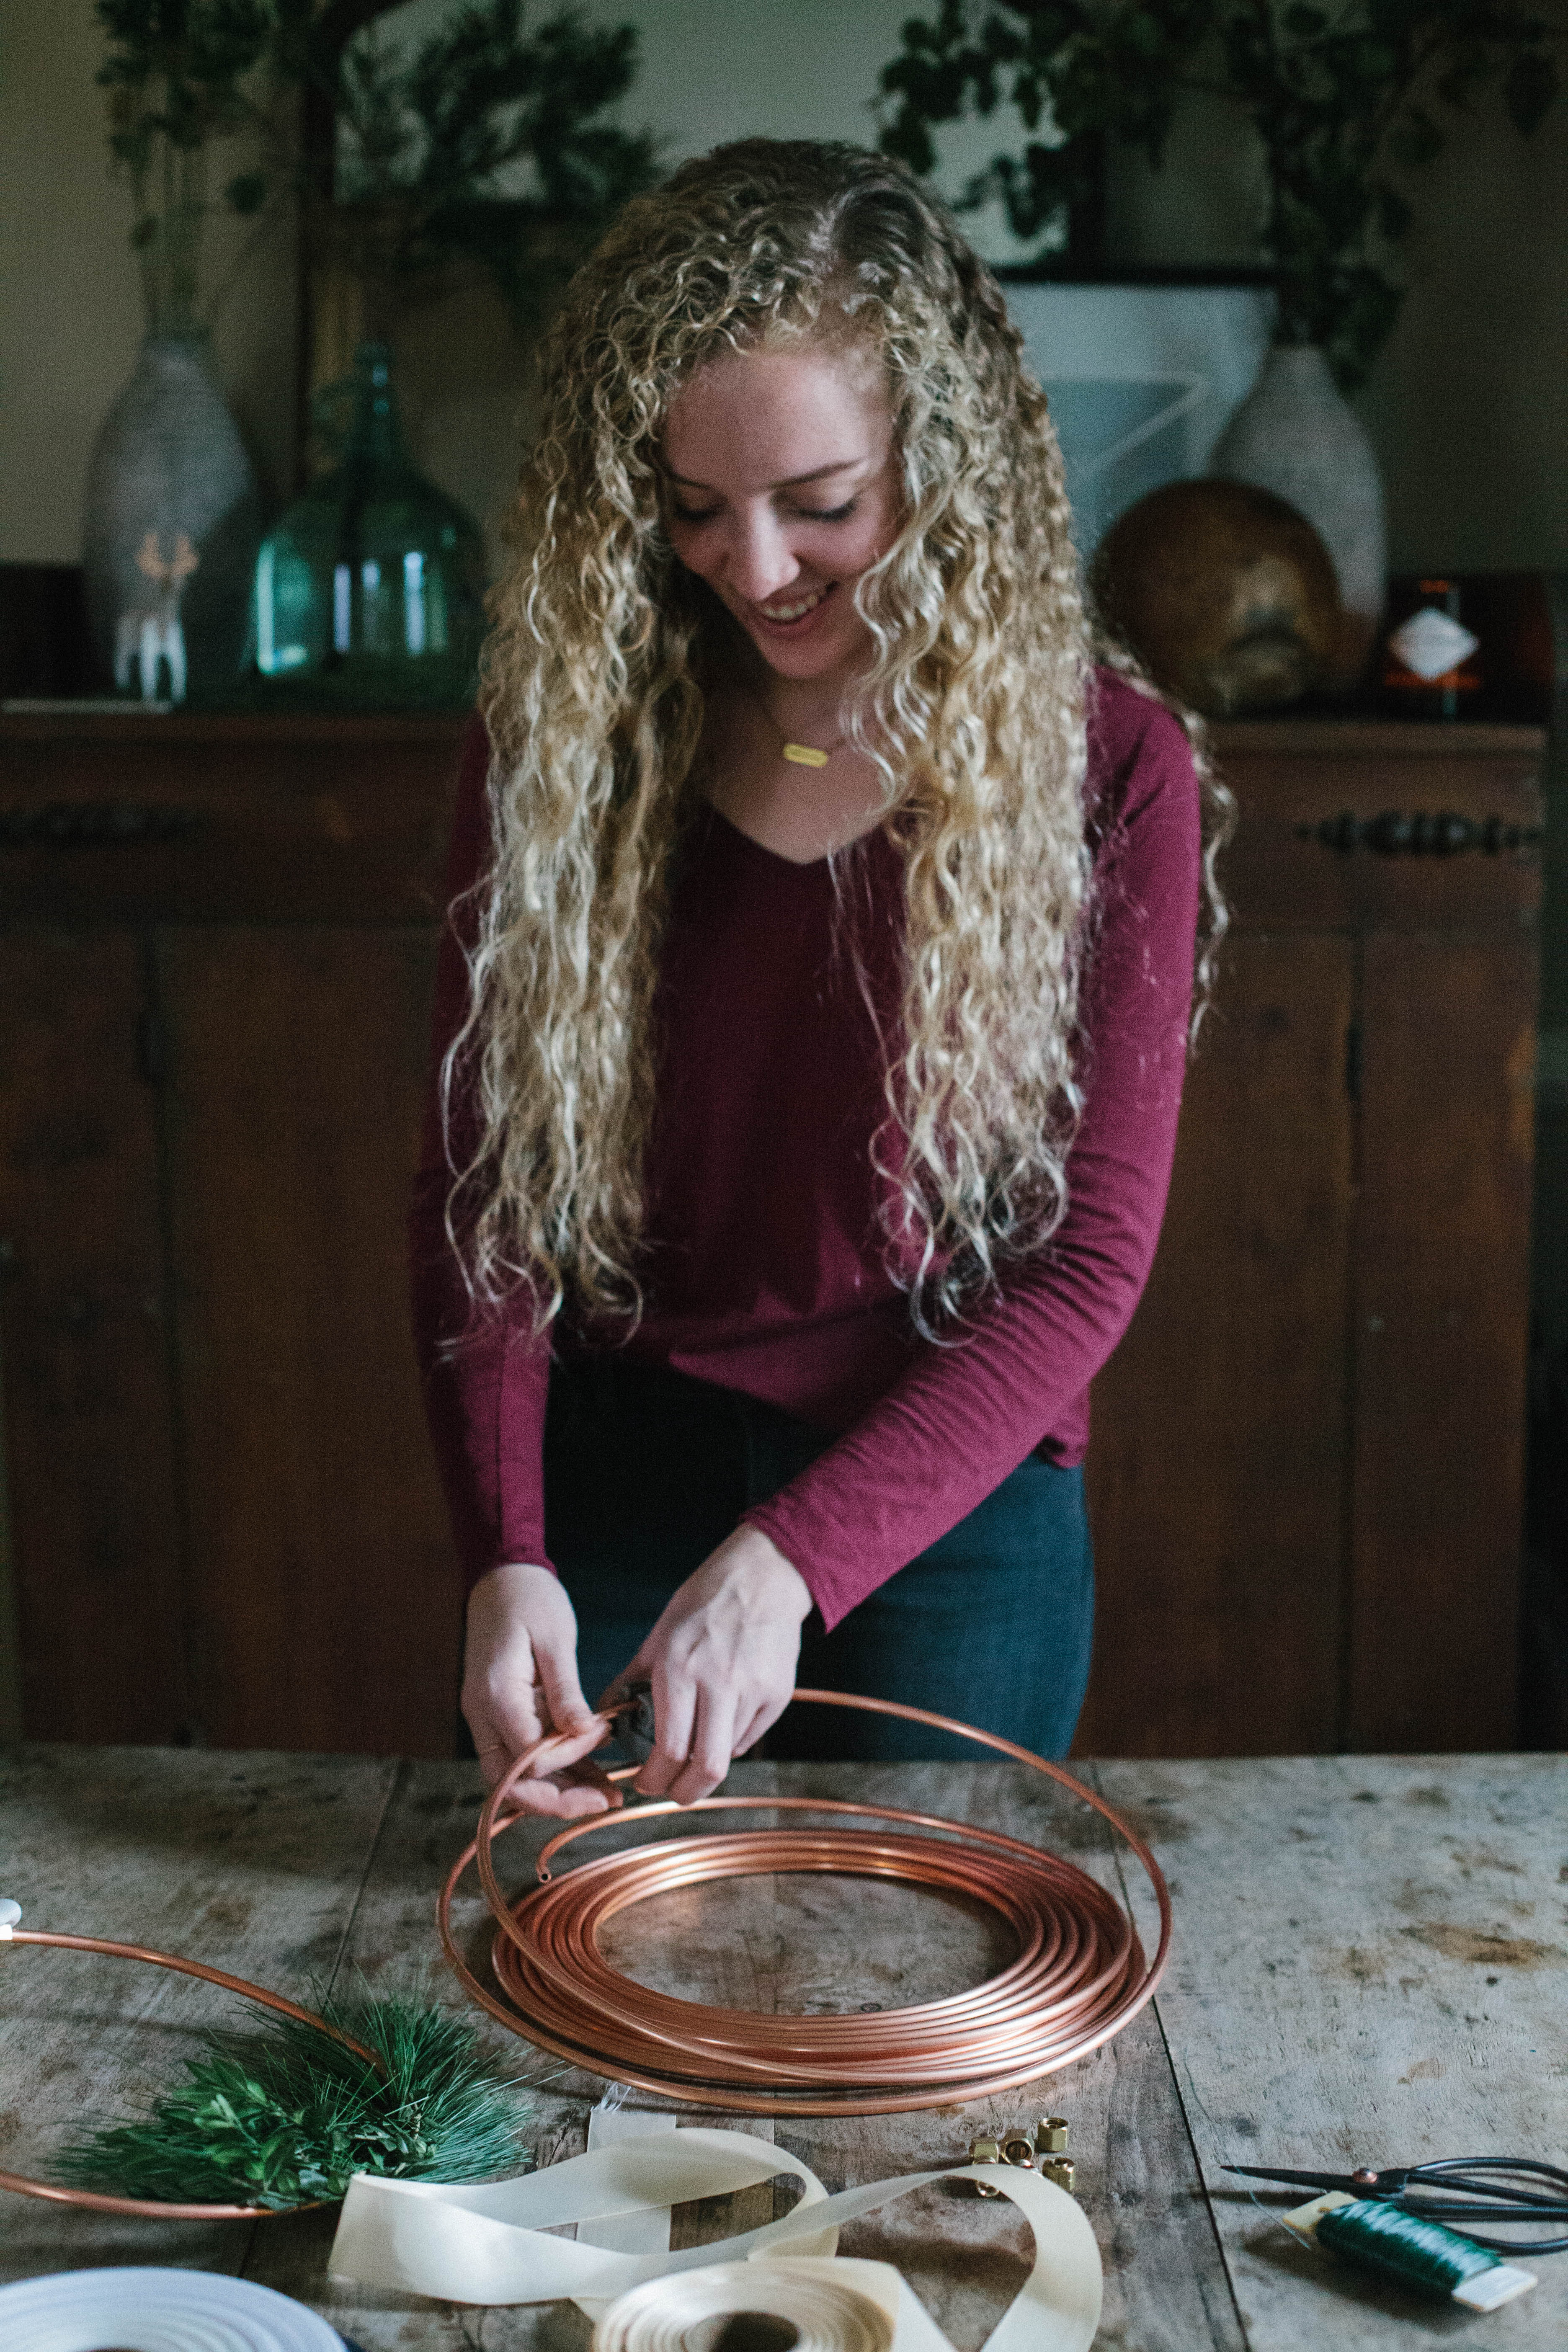
copper tubing (I used 1/4″; keep it coiled or else you will lose the perfectly round circle)
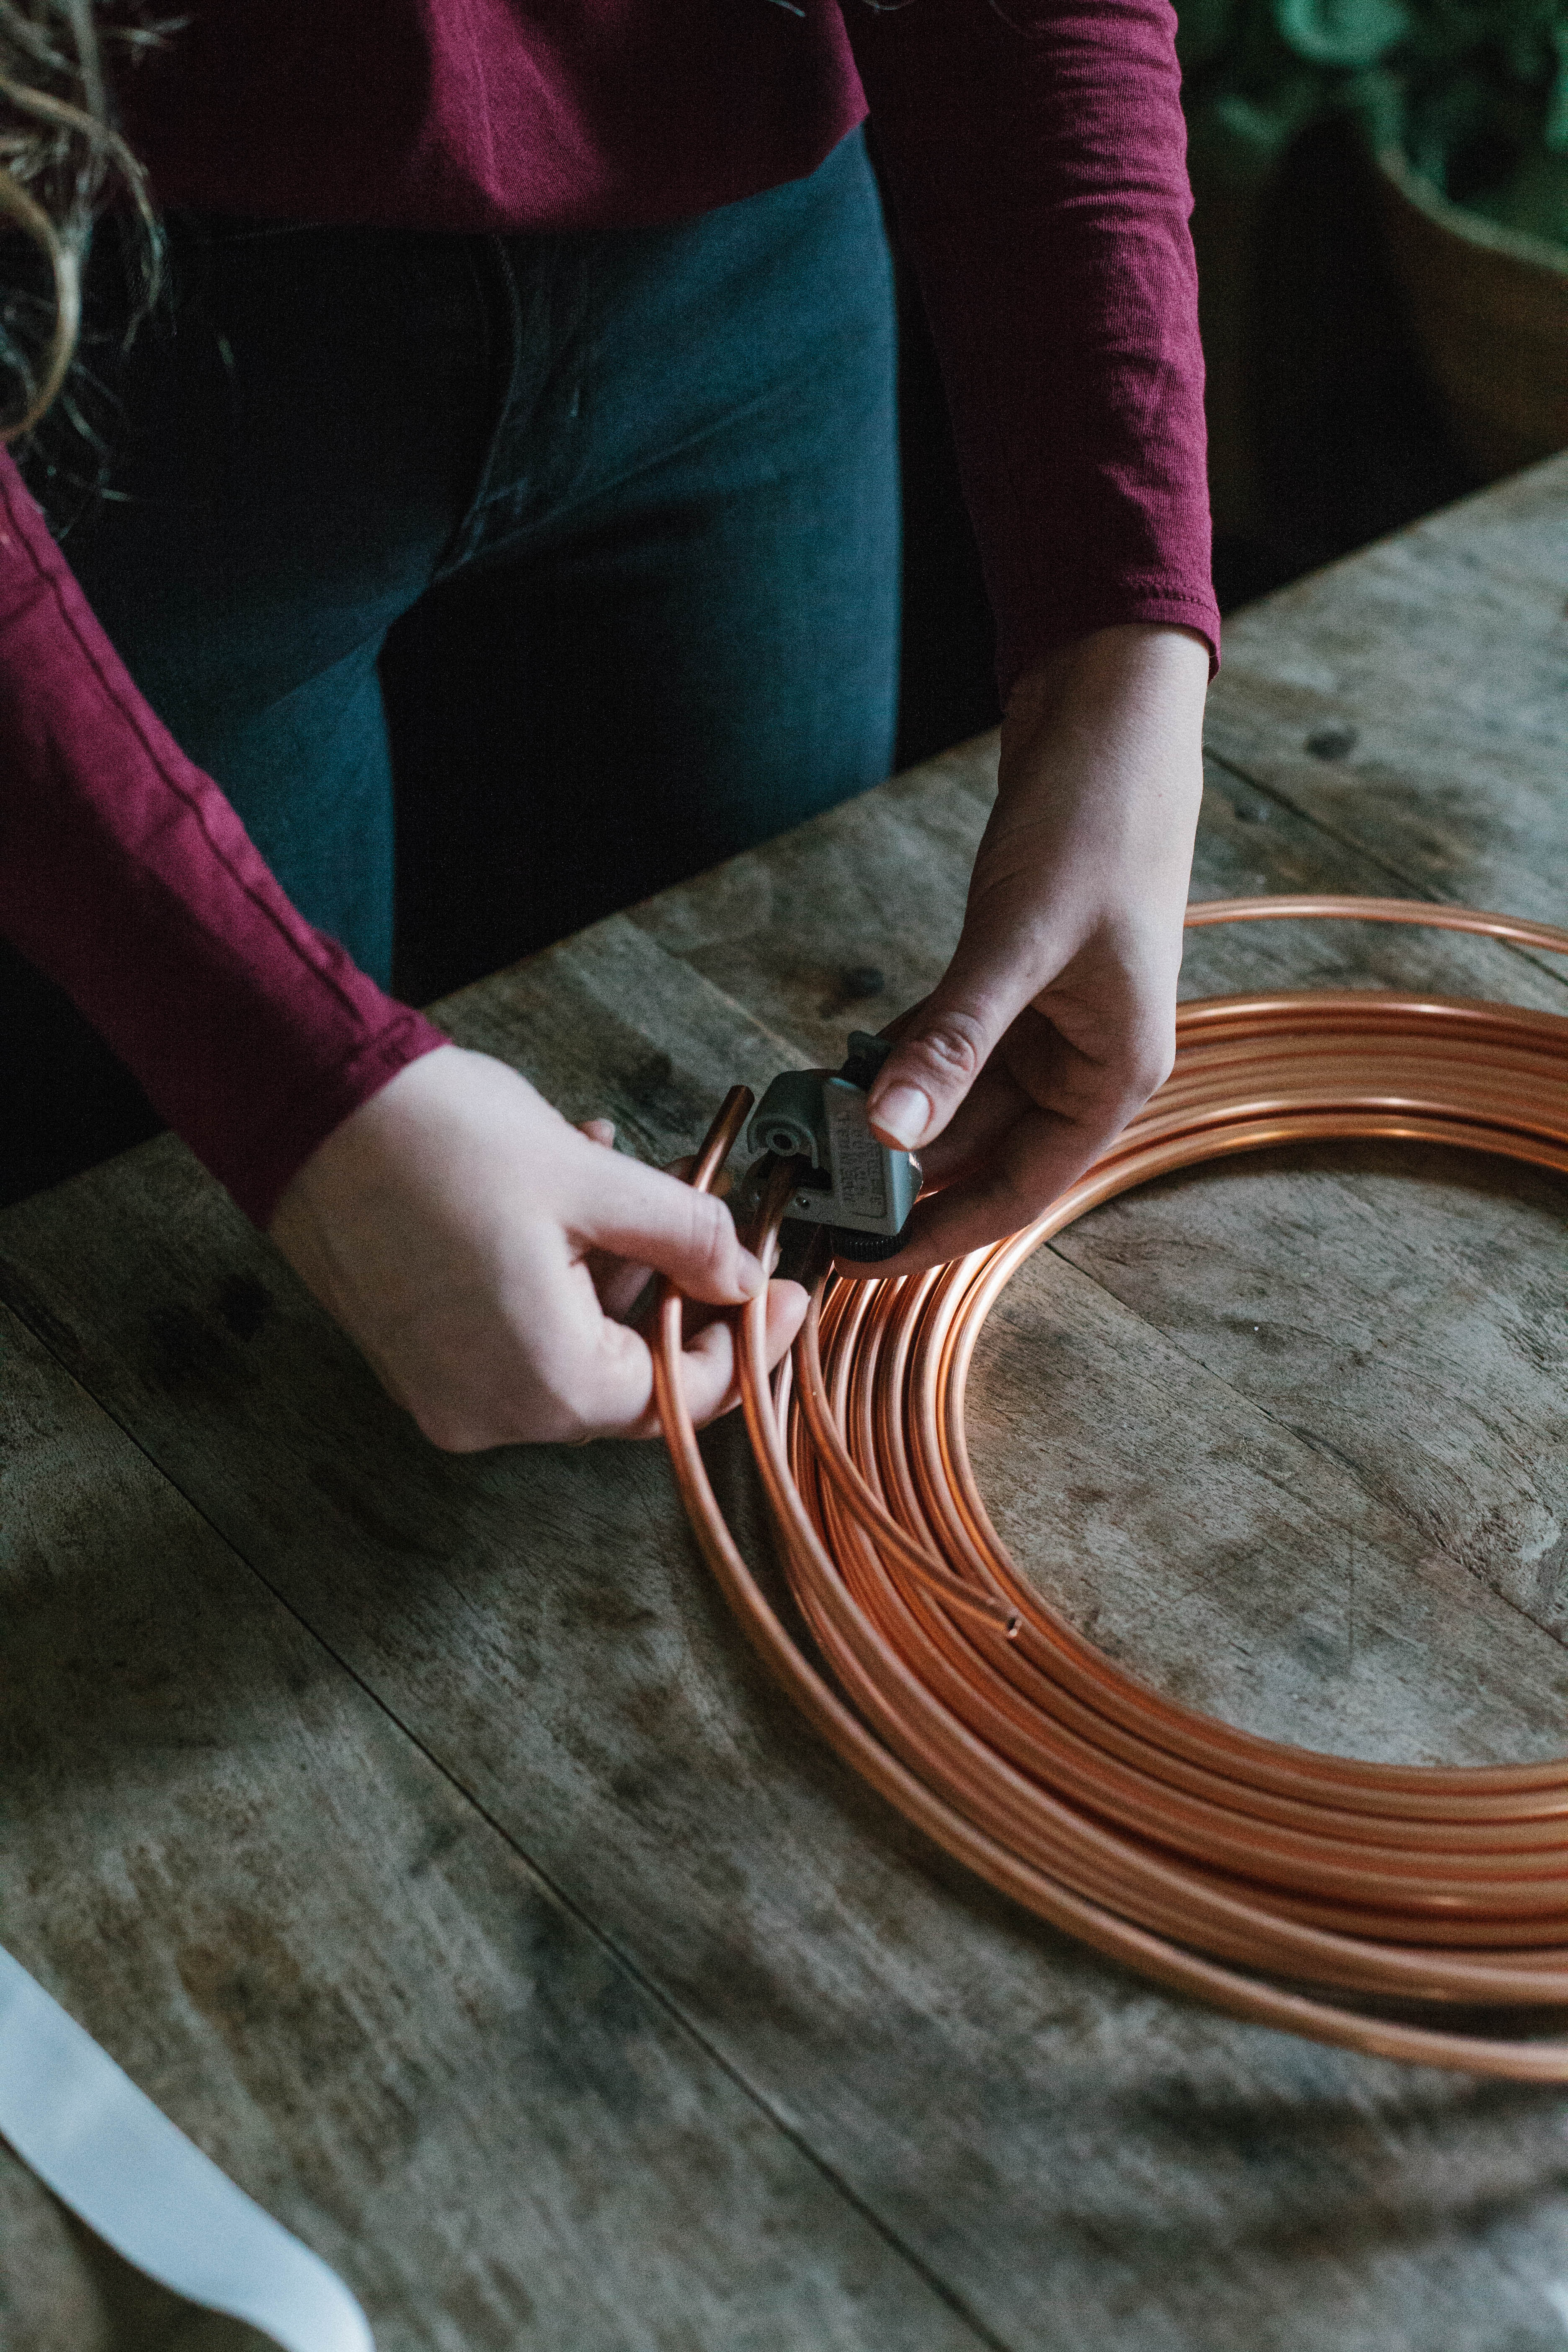
tubing cutter
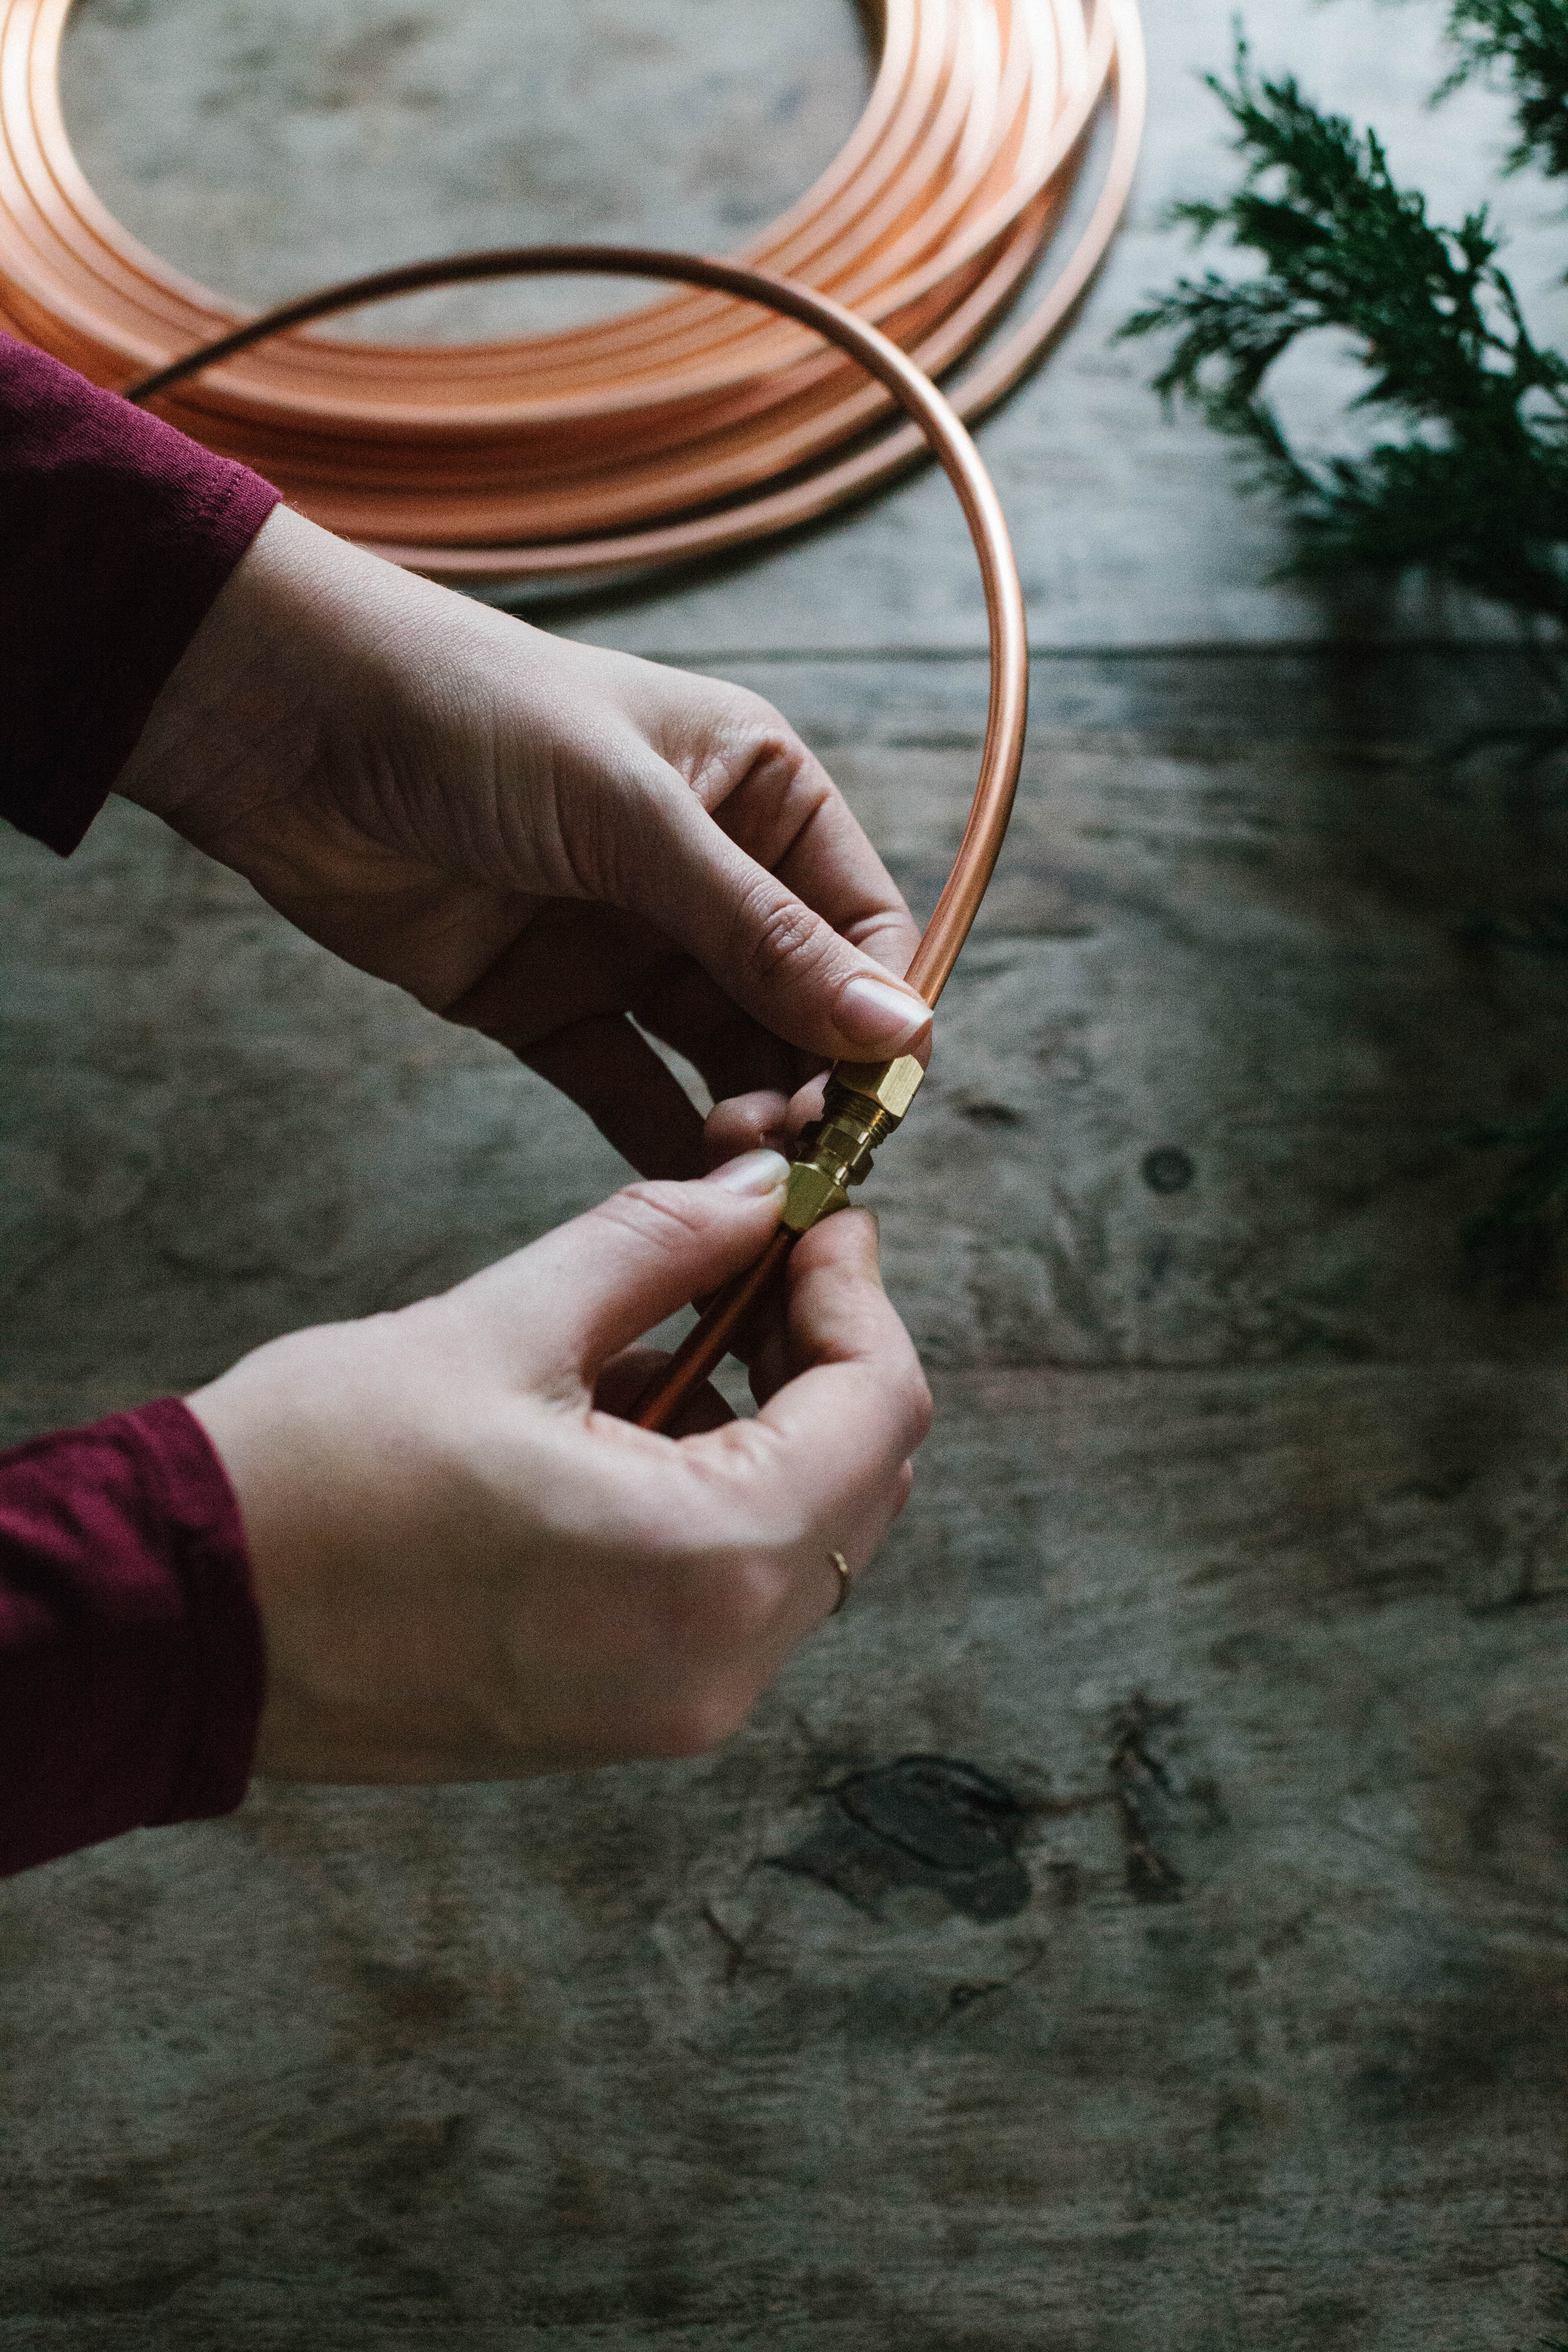
compression fitting (make sure you buy the correct size for your tubing)
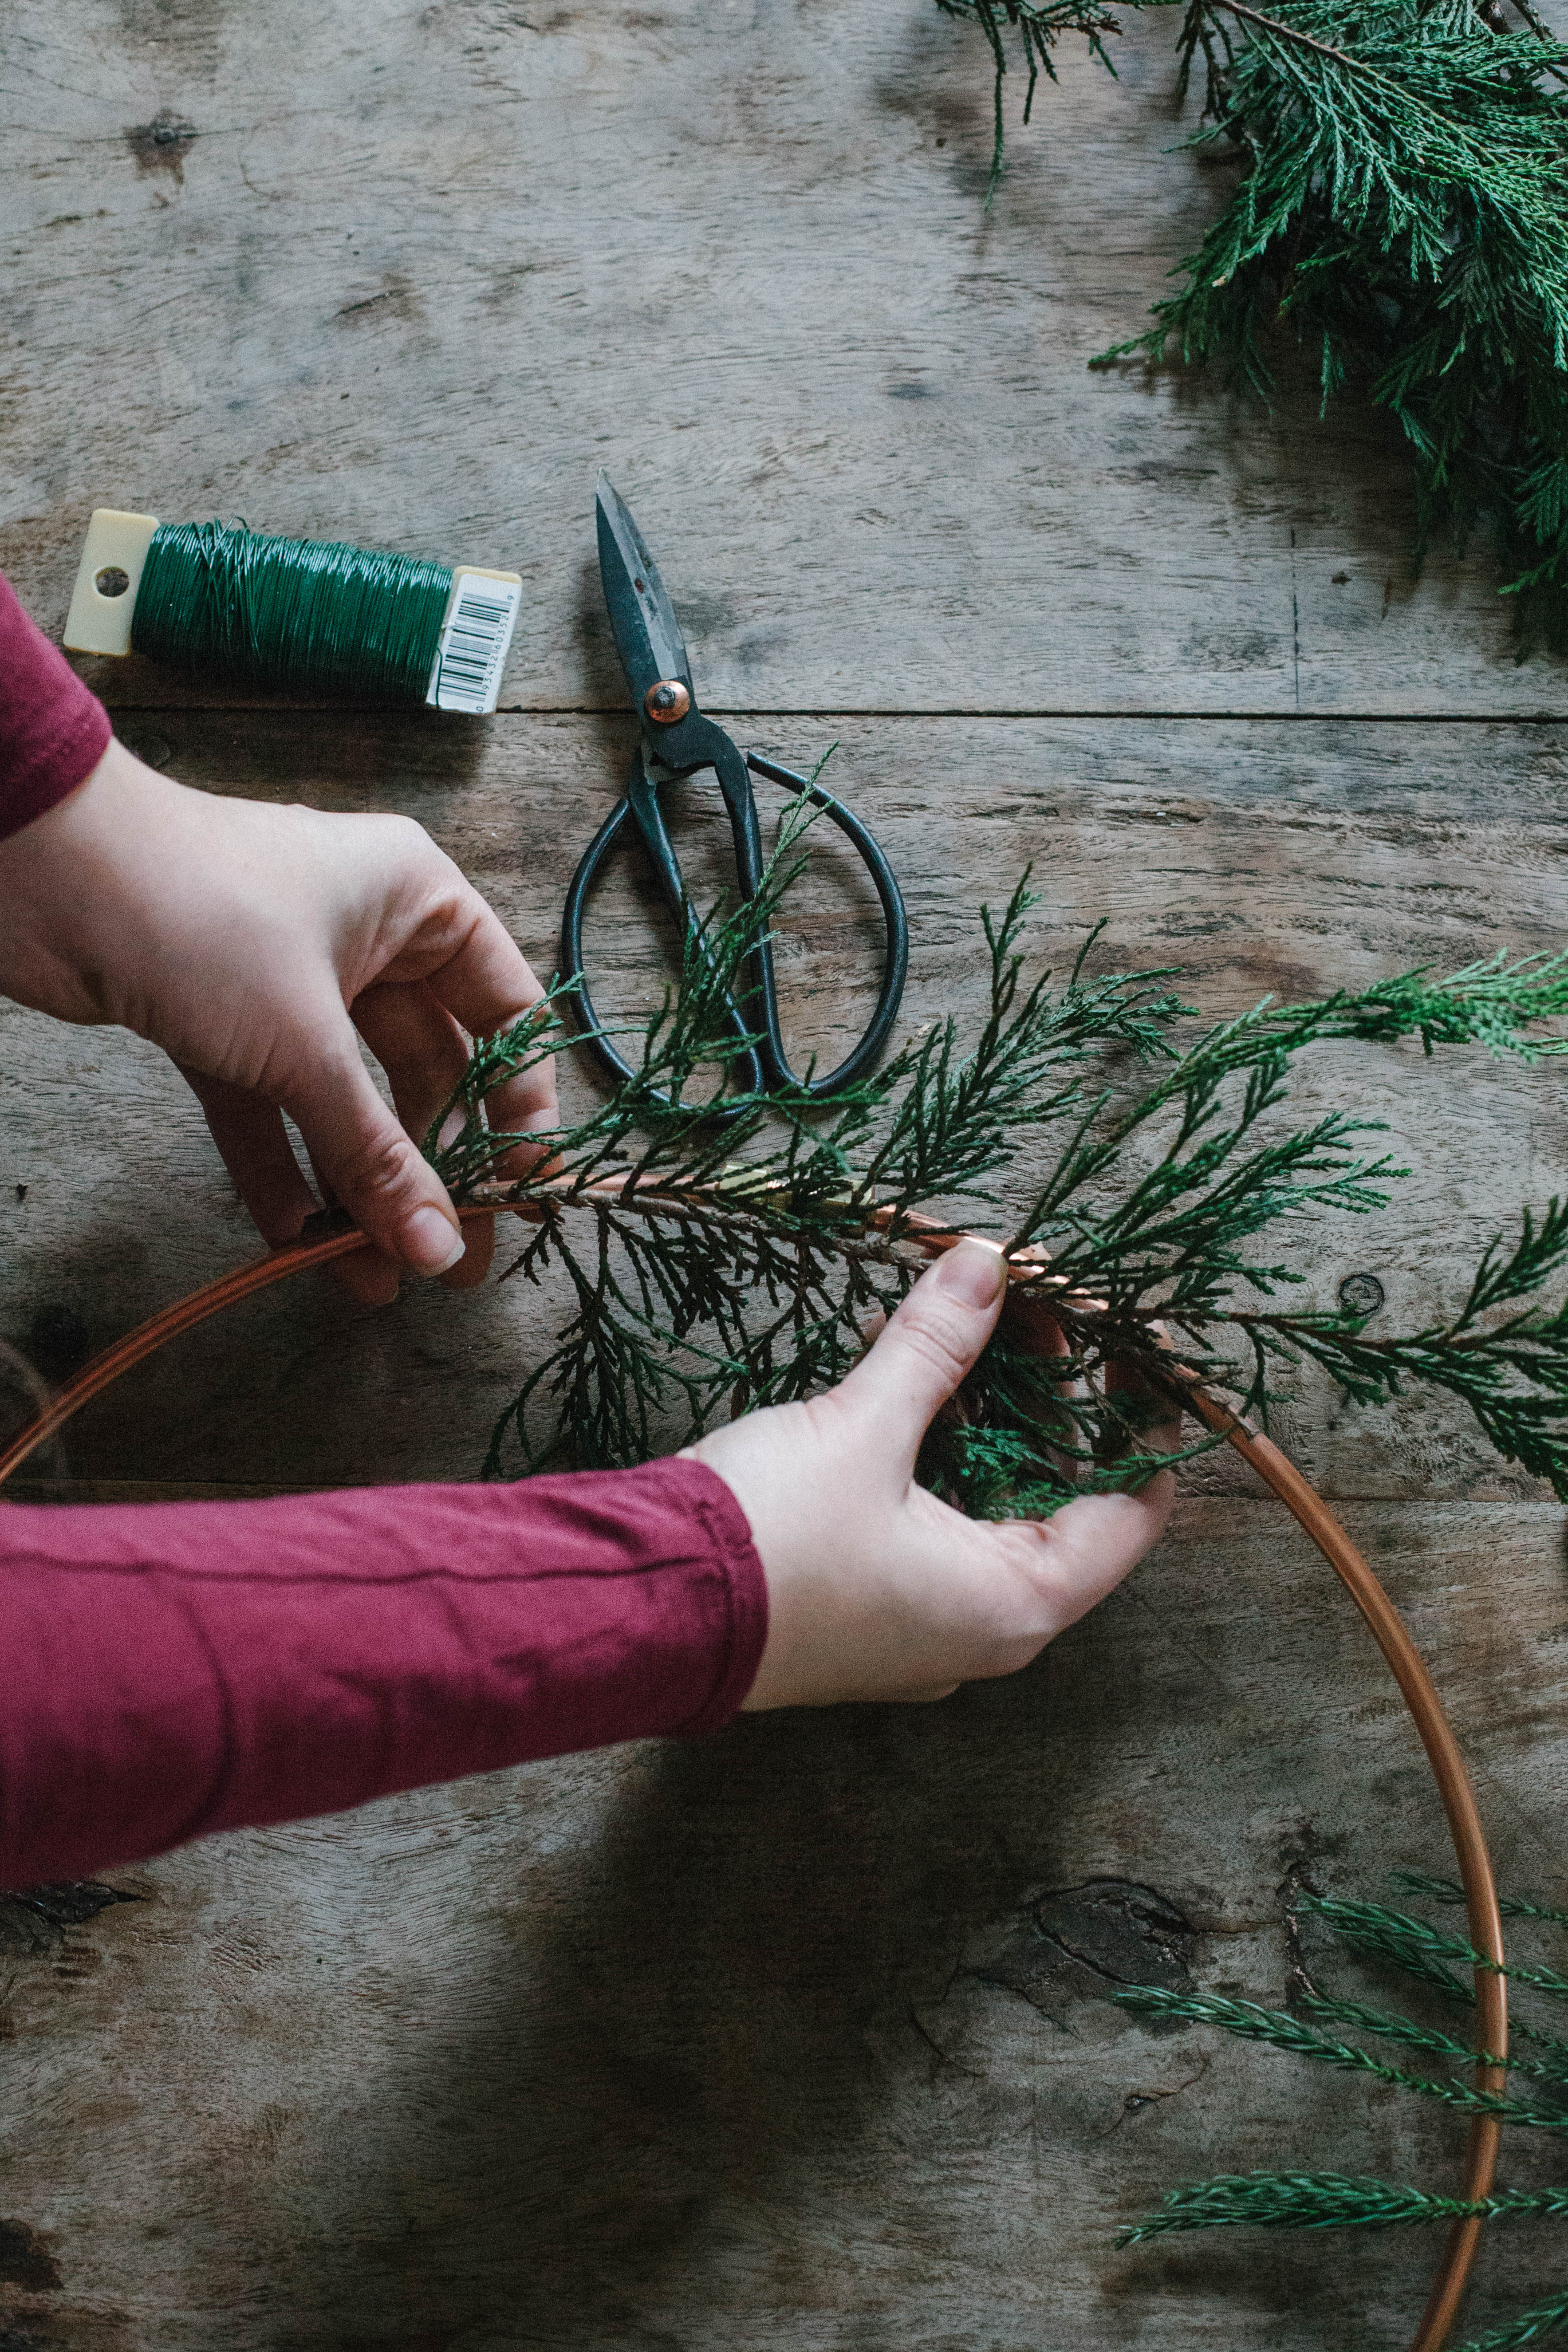
floral wire
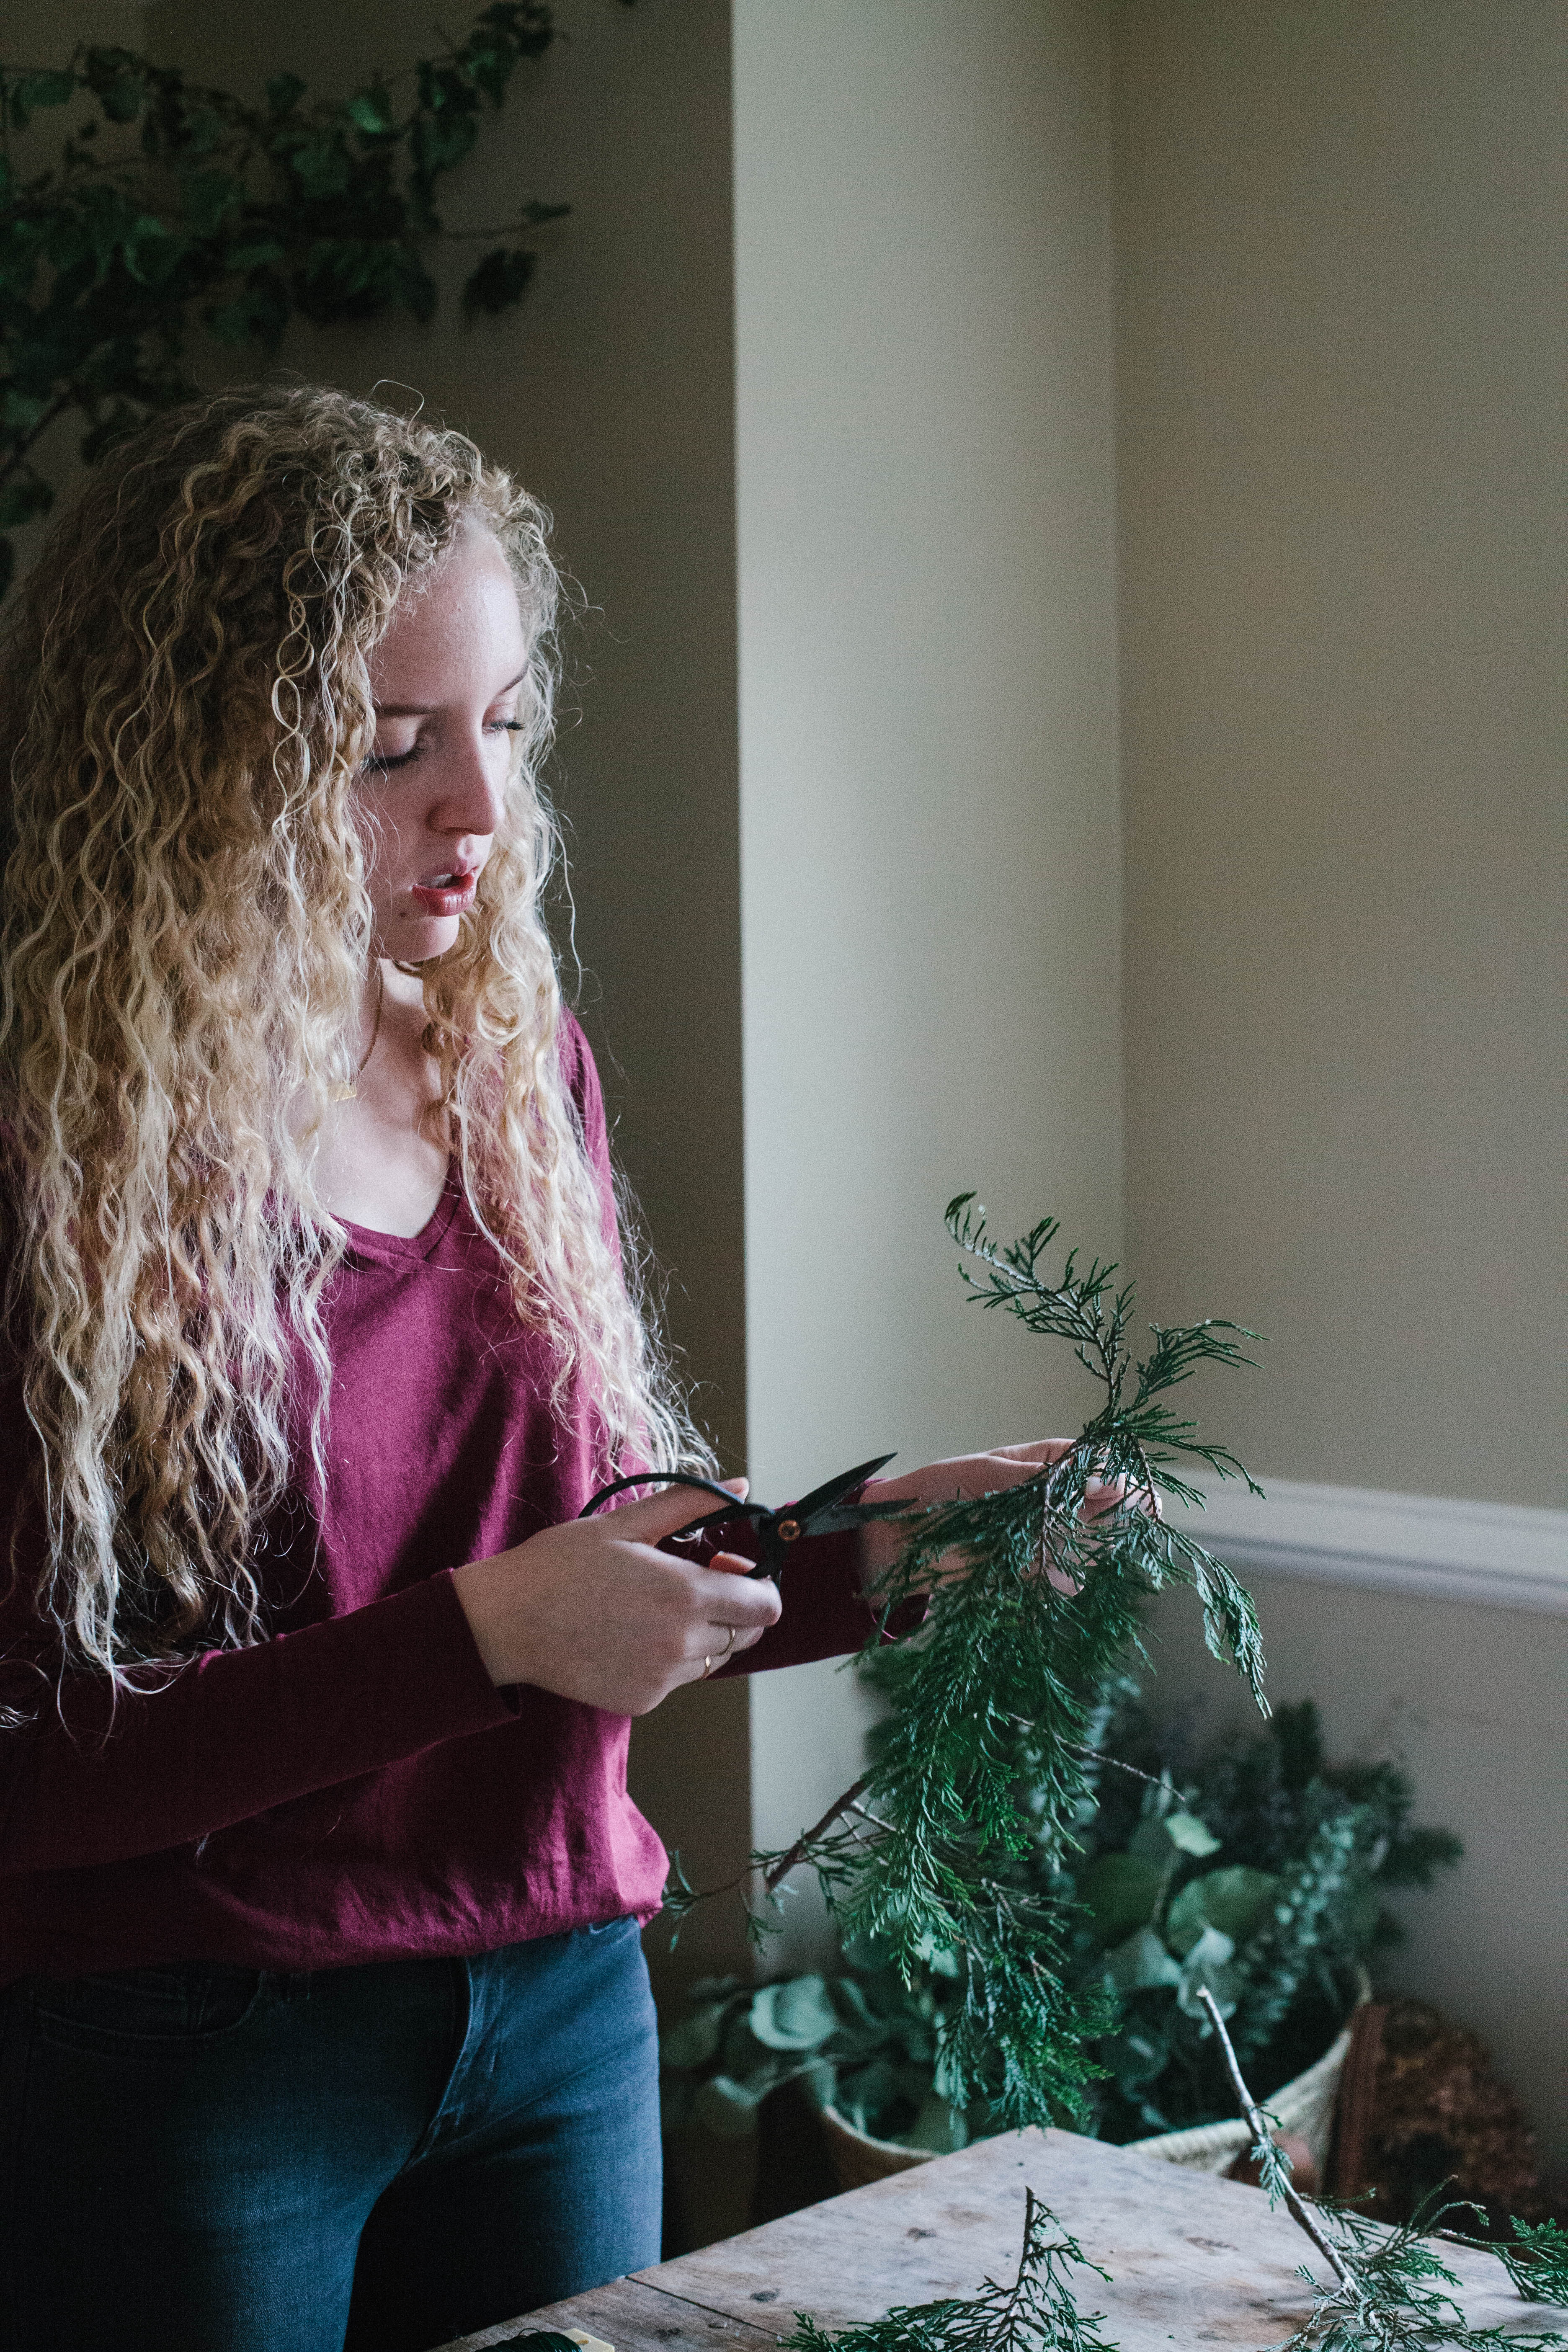
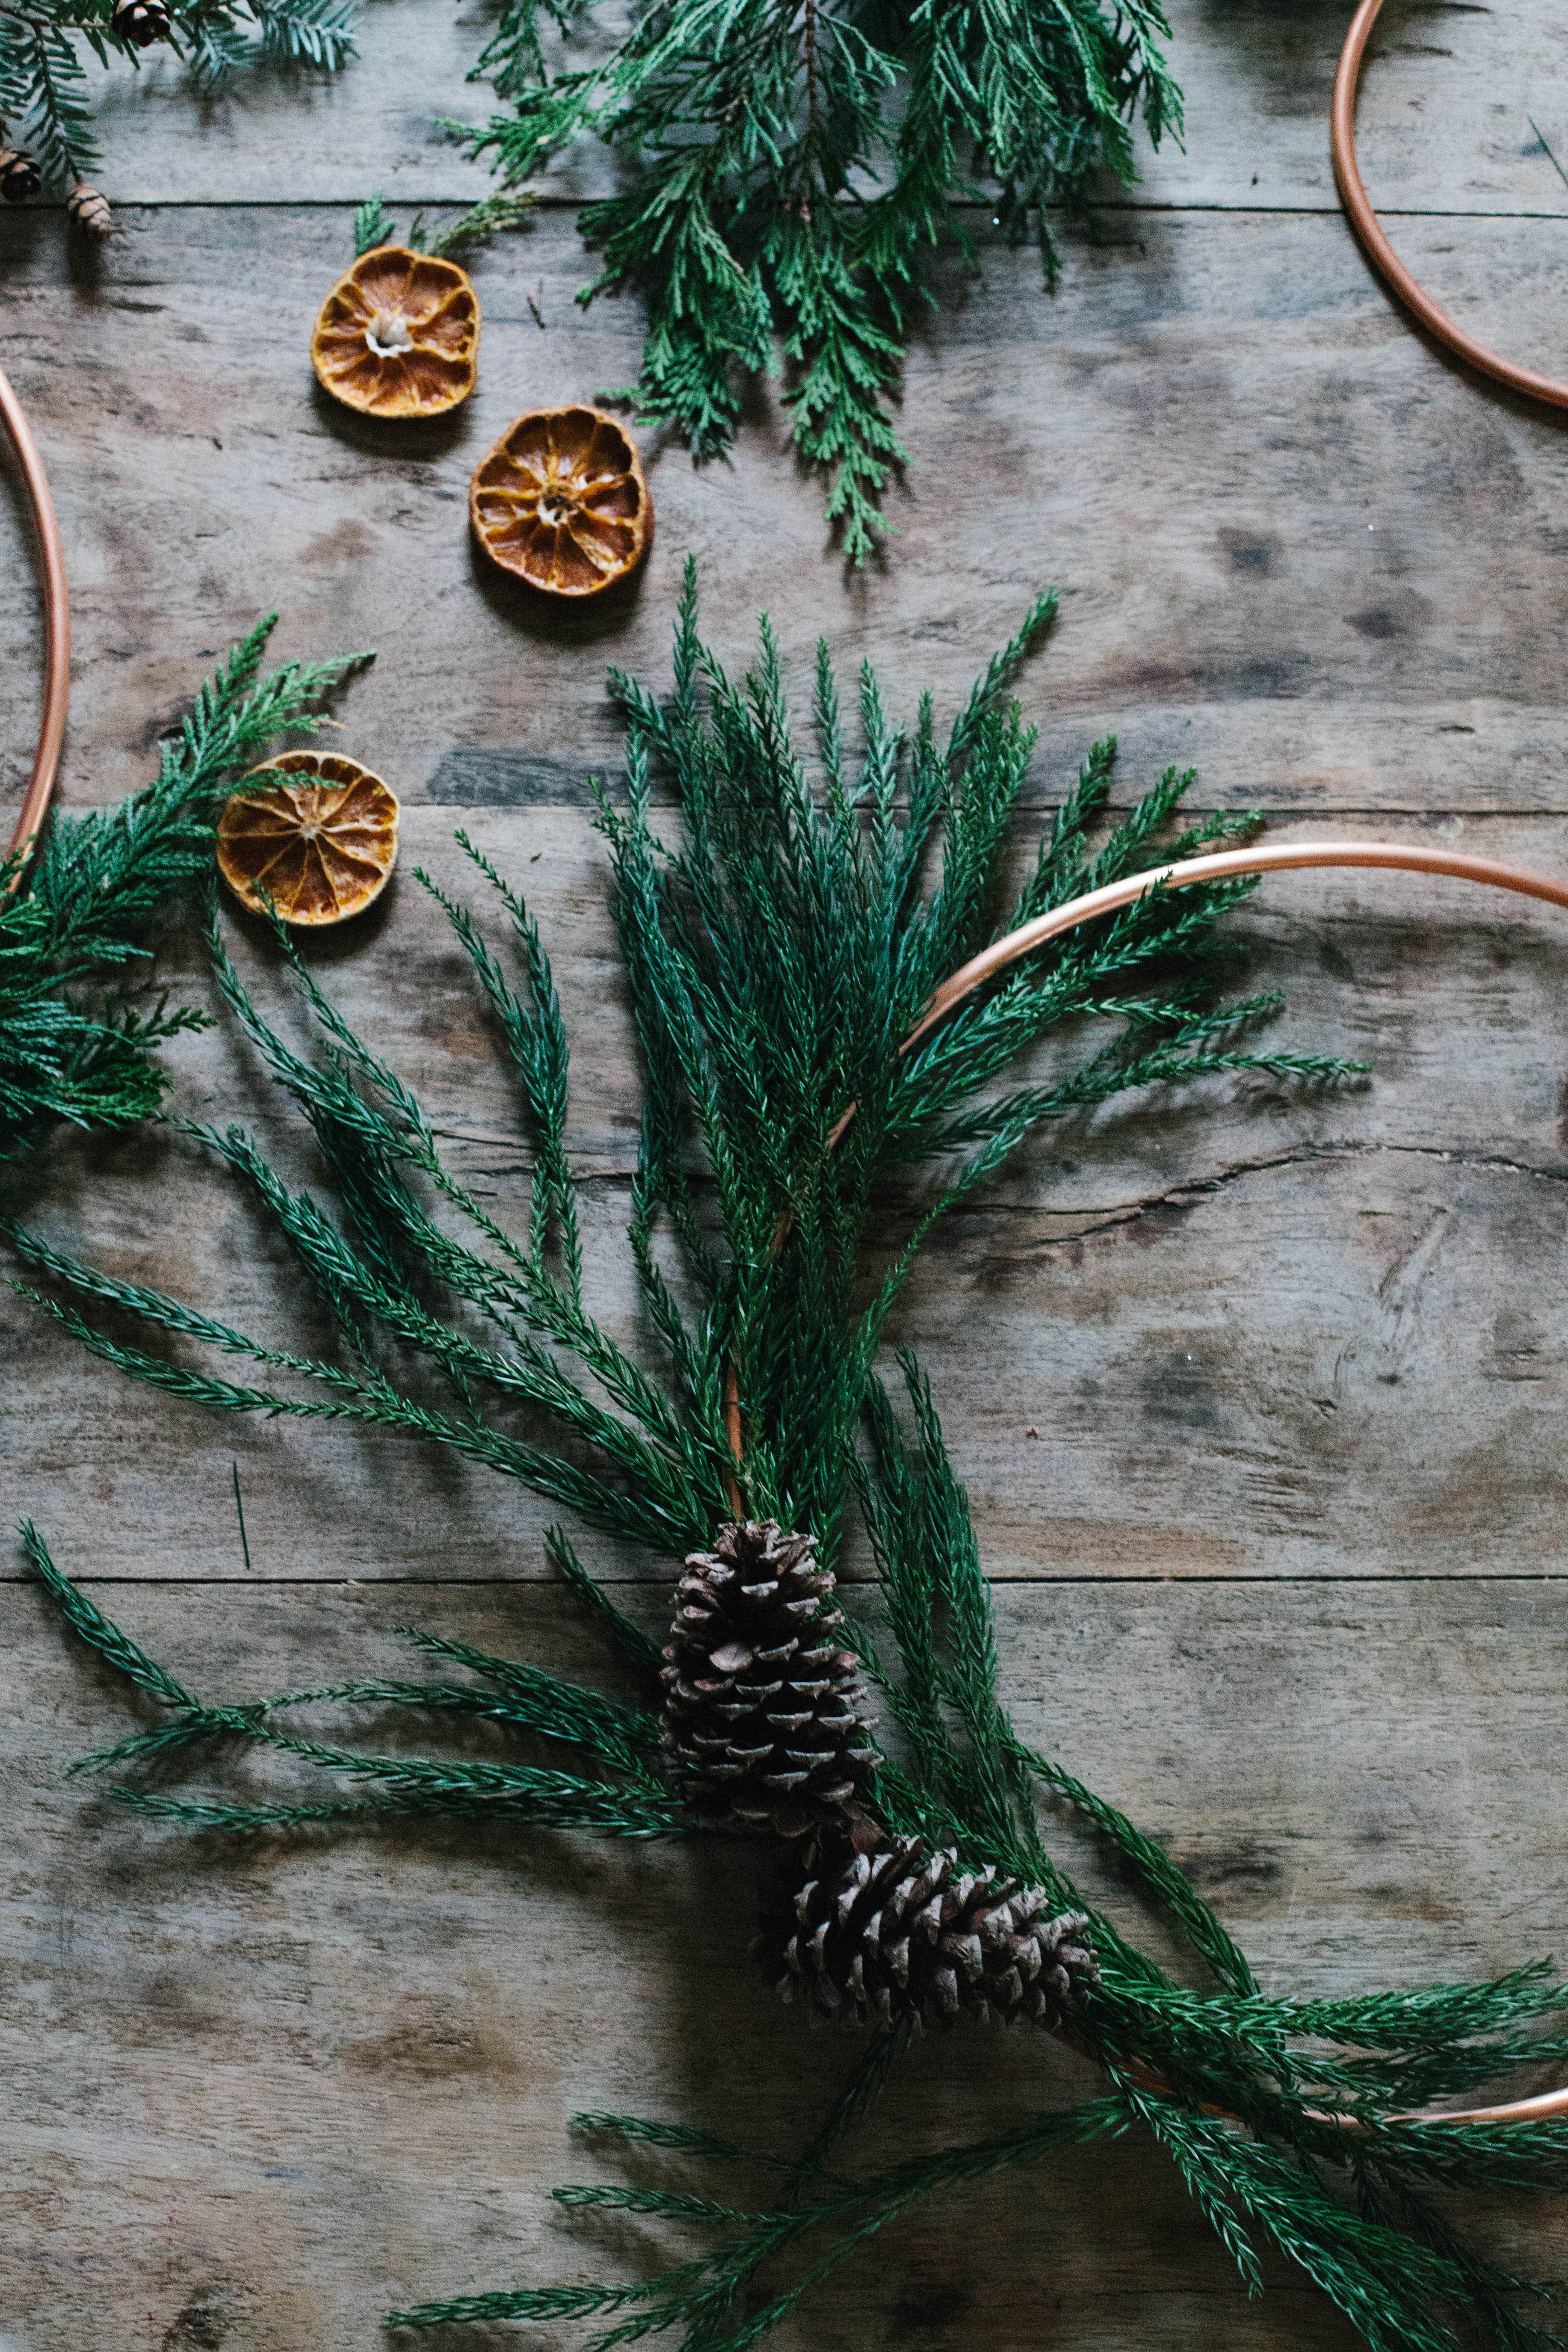
fresh greenery/pinecones/dried oranges/etc. (pro tip: forage for these, or go to your local hardware store and ask them for Christmas tree clippings)
scissors/shears
ribbon
hot glue gun
nail or thumbtacks for hanging
Directions
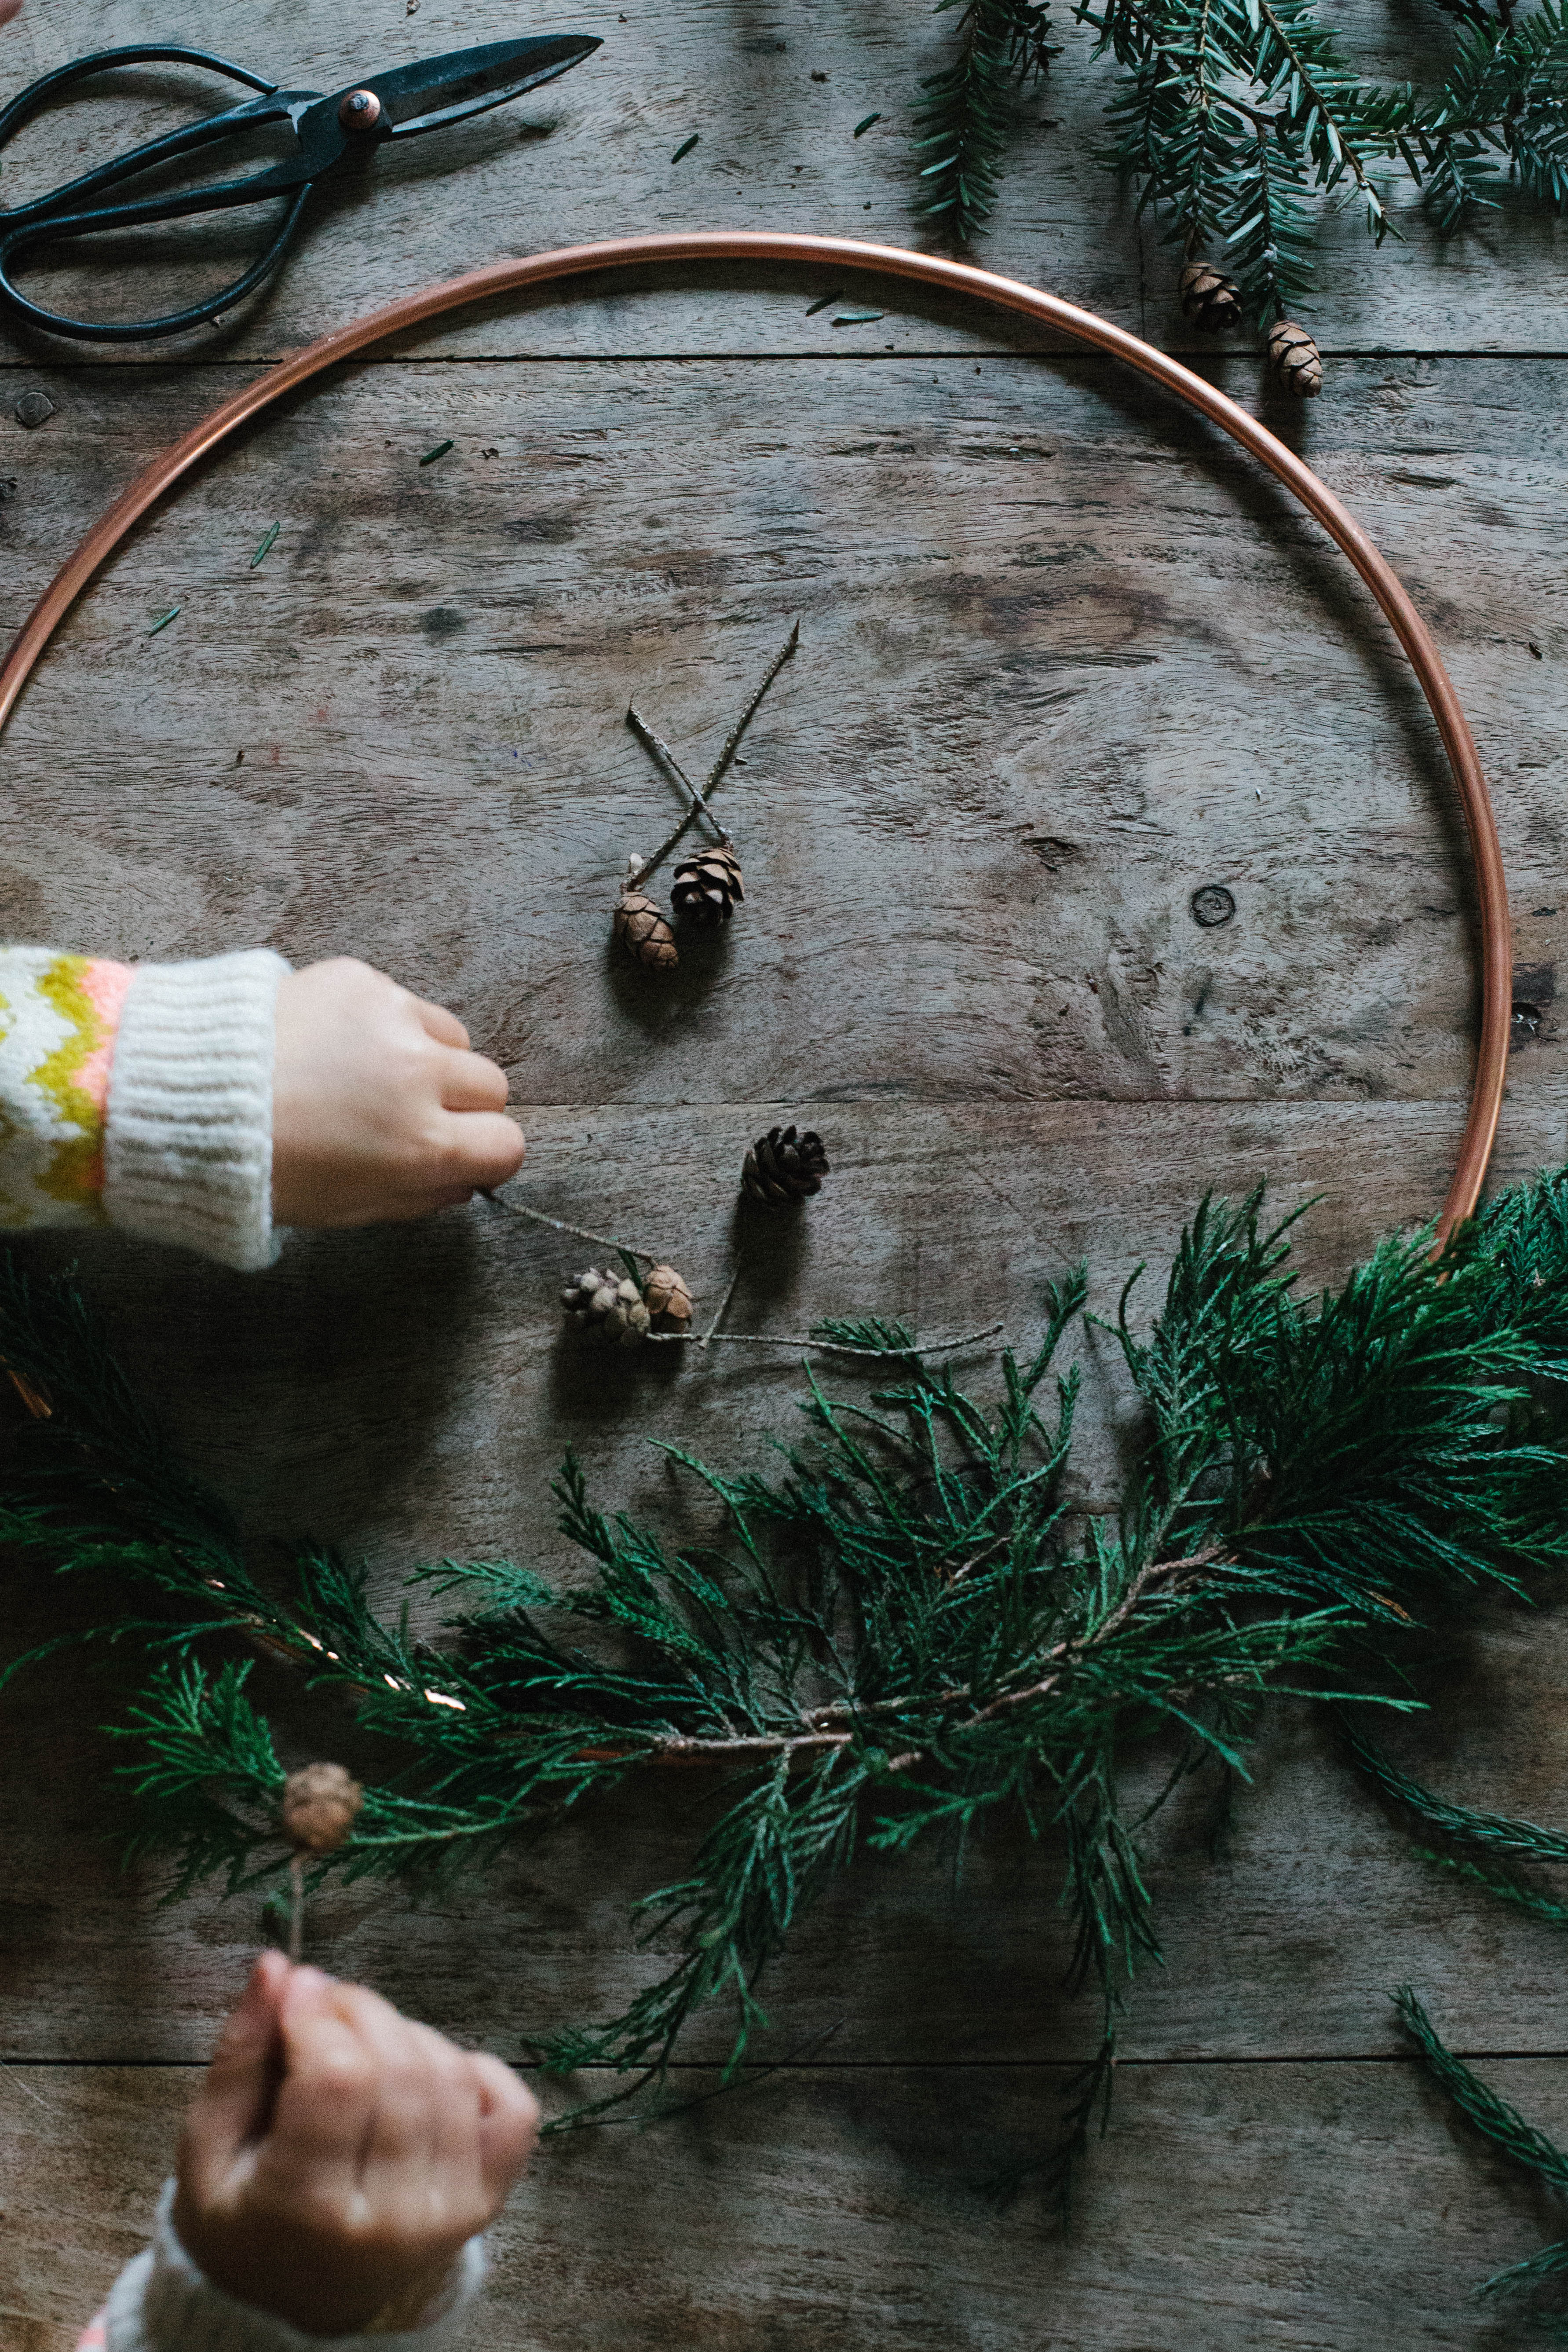
1. Cut a single coil of copper tubing using the tubing cutter. Make sure you cut the tubing without uncoiling it, or else you will lose the perfectly circular shape for the wreath. Also, follow the directions for the tubing cutter; you don’t want to pinch the cut end of the tubing, as you will need it completely intact in order to attach the compression fitting.
2. Attach compression fitting to both ends of the newly cut coil, then tighten to hold it all together and give you your basic wreath form.
3. Decide if you want to hide the fitting with either greens or the ribbon, or if you want to keep it exposed for a more industrial look.
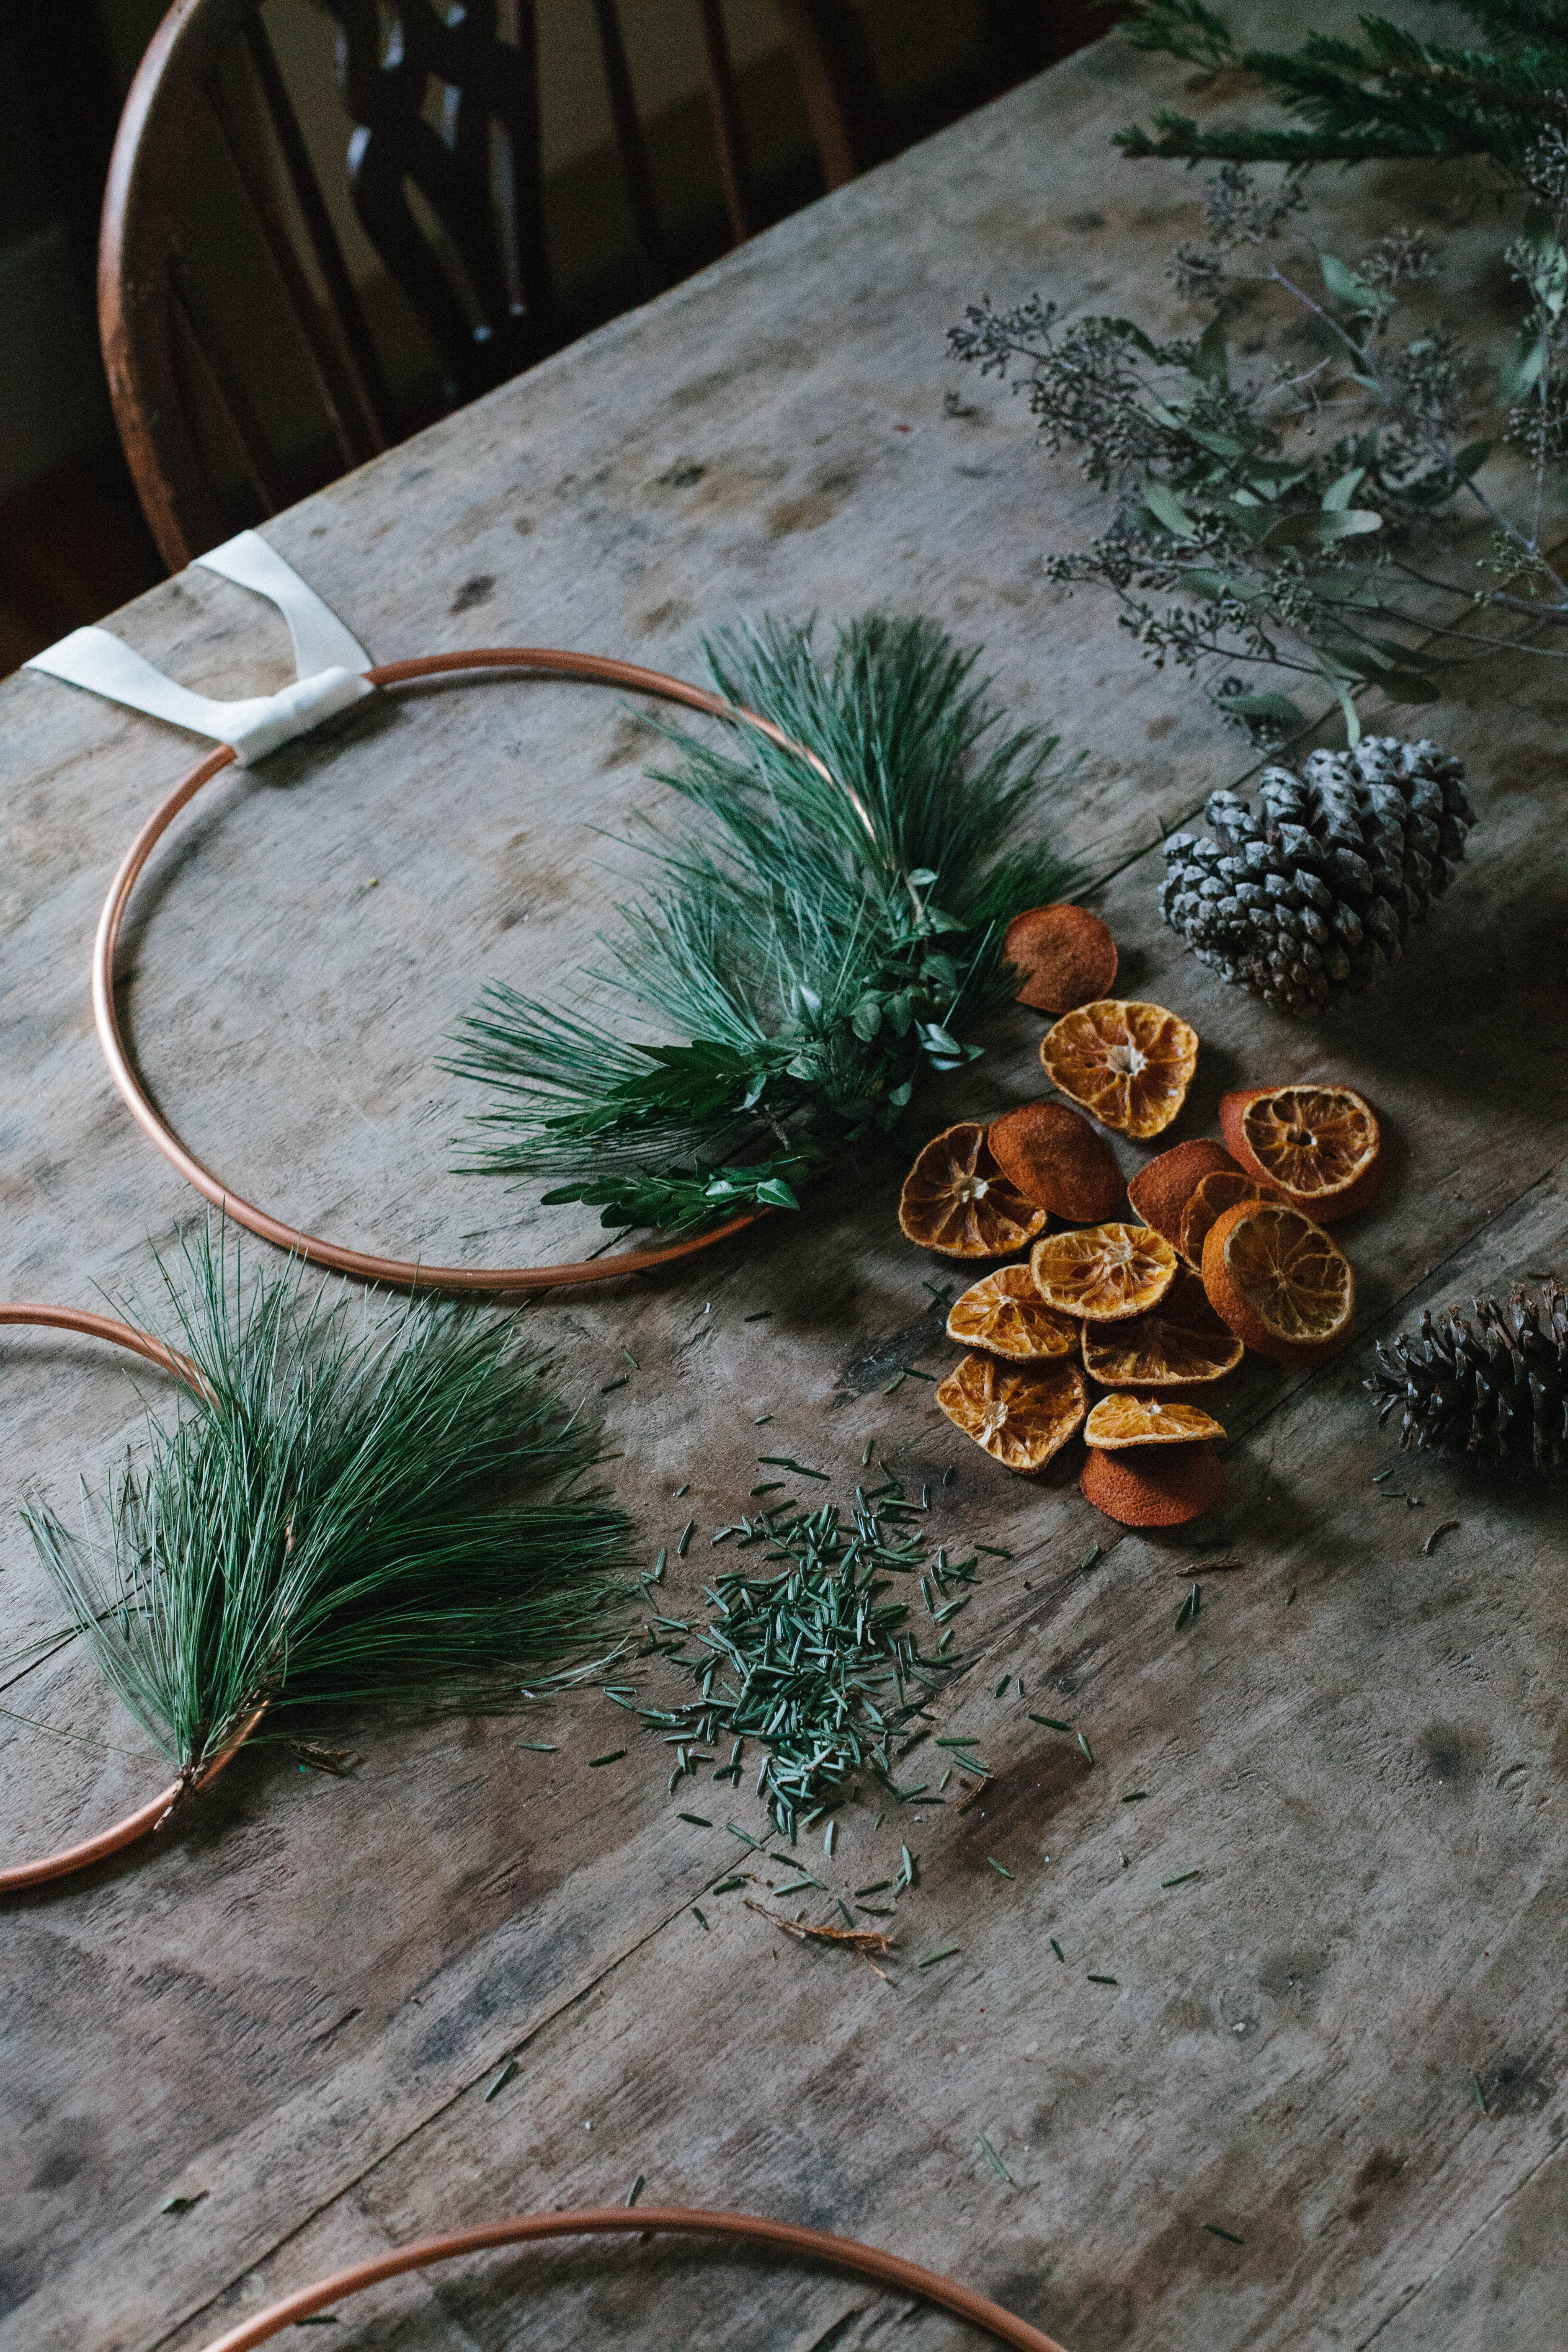
4. Decide which greenery and other bits and bobs you want to use for decorating your wreath. I chose to keep most of the copper exposed with just a simple swag attached to each wreath form. Cut small pieces of greenery, and tie them to the wreath with wire. You may need to attach wire at multiple places to keep branches from sliding around on the copper.
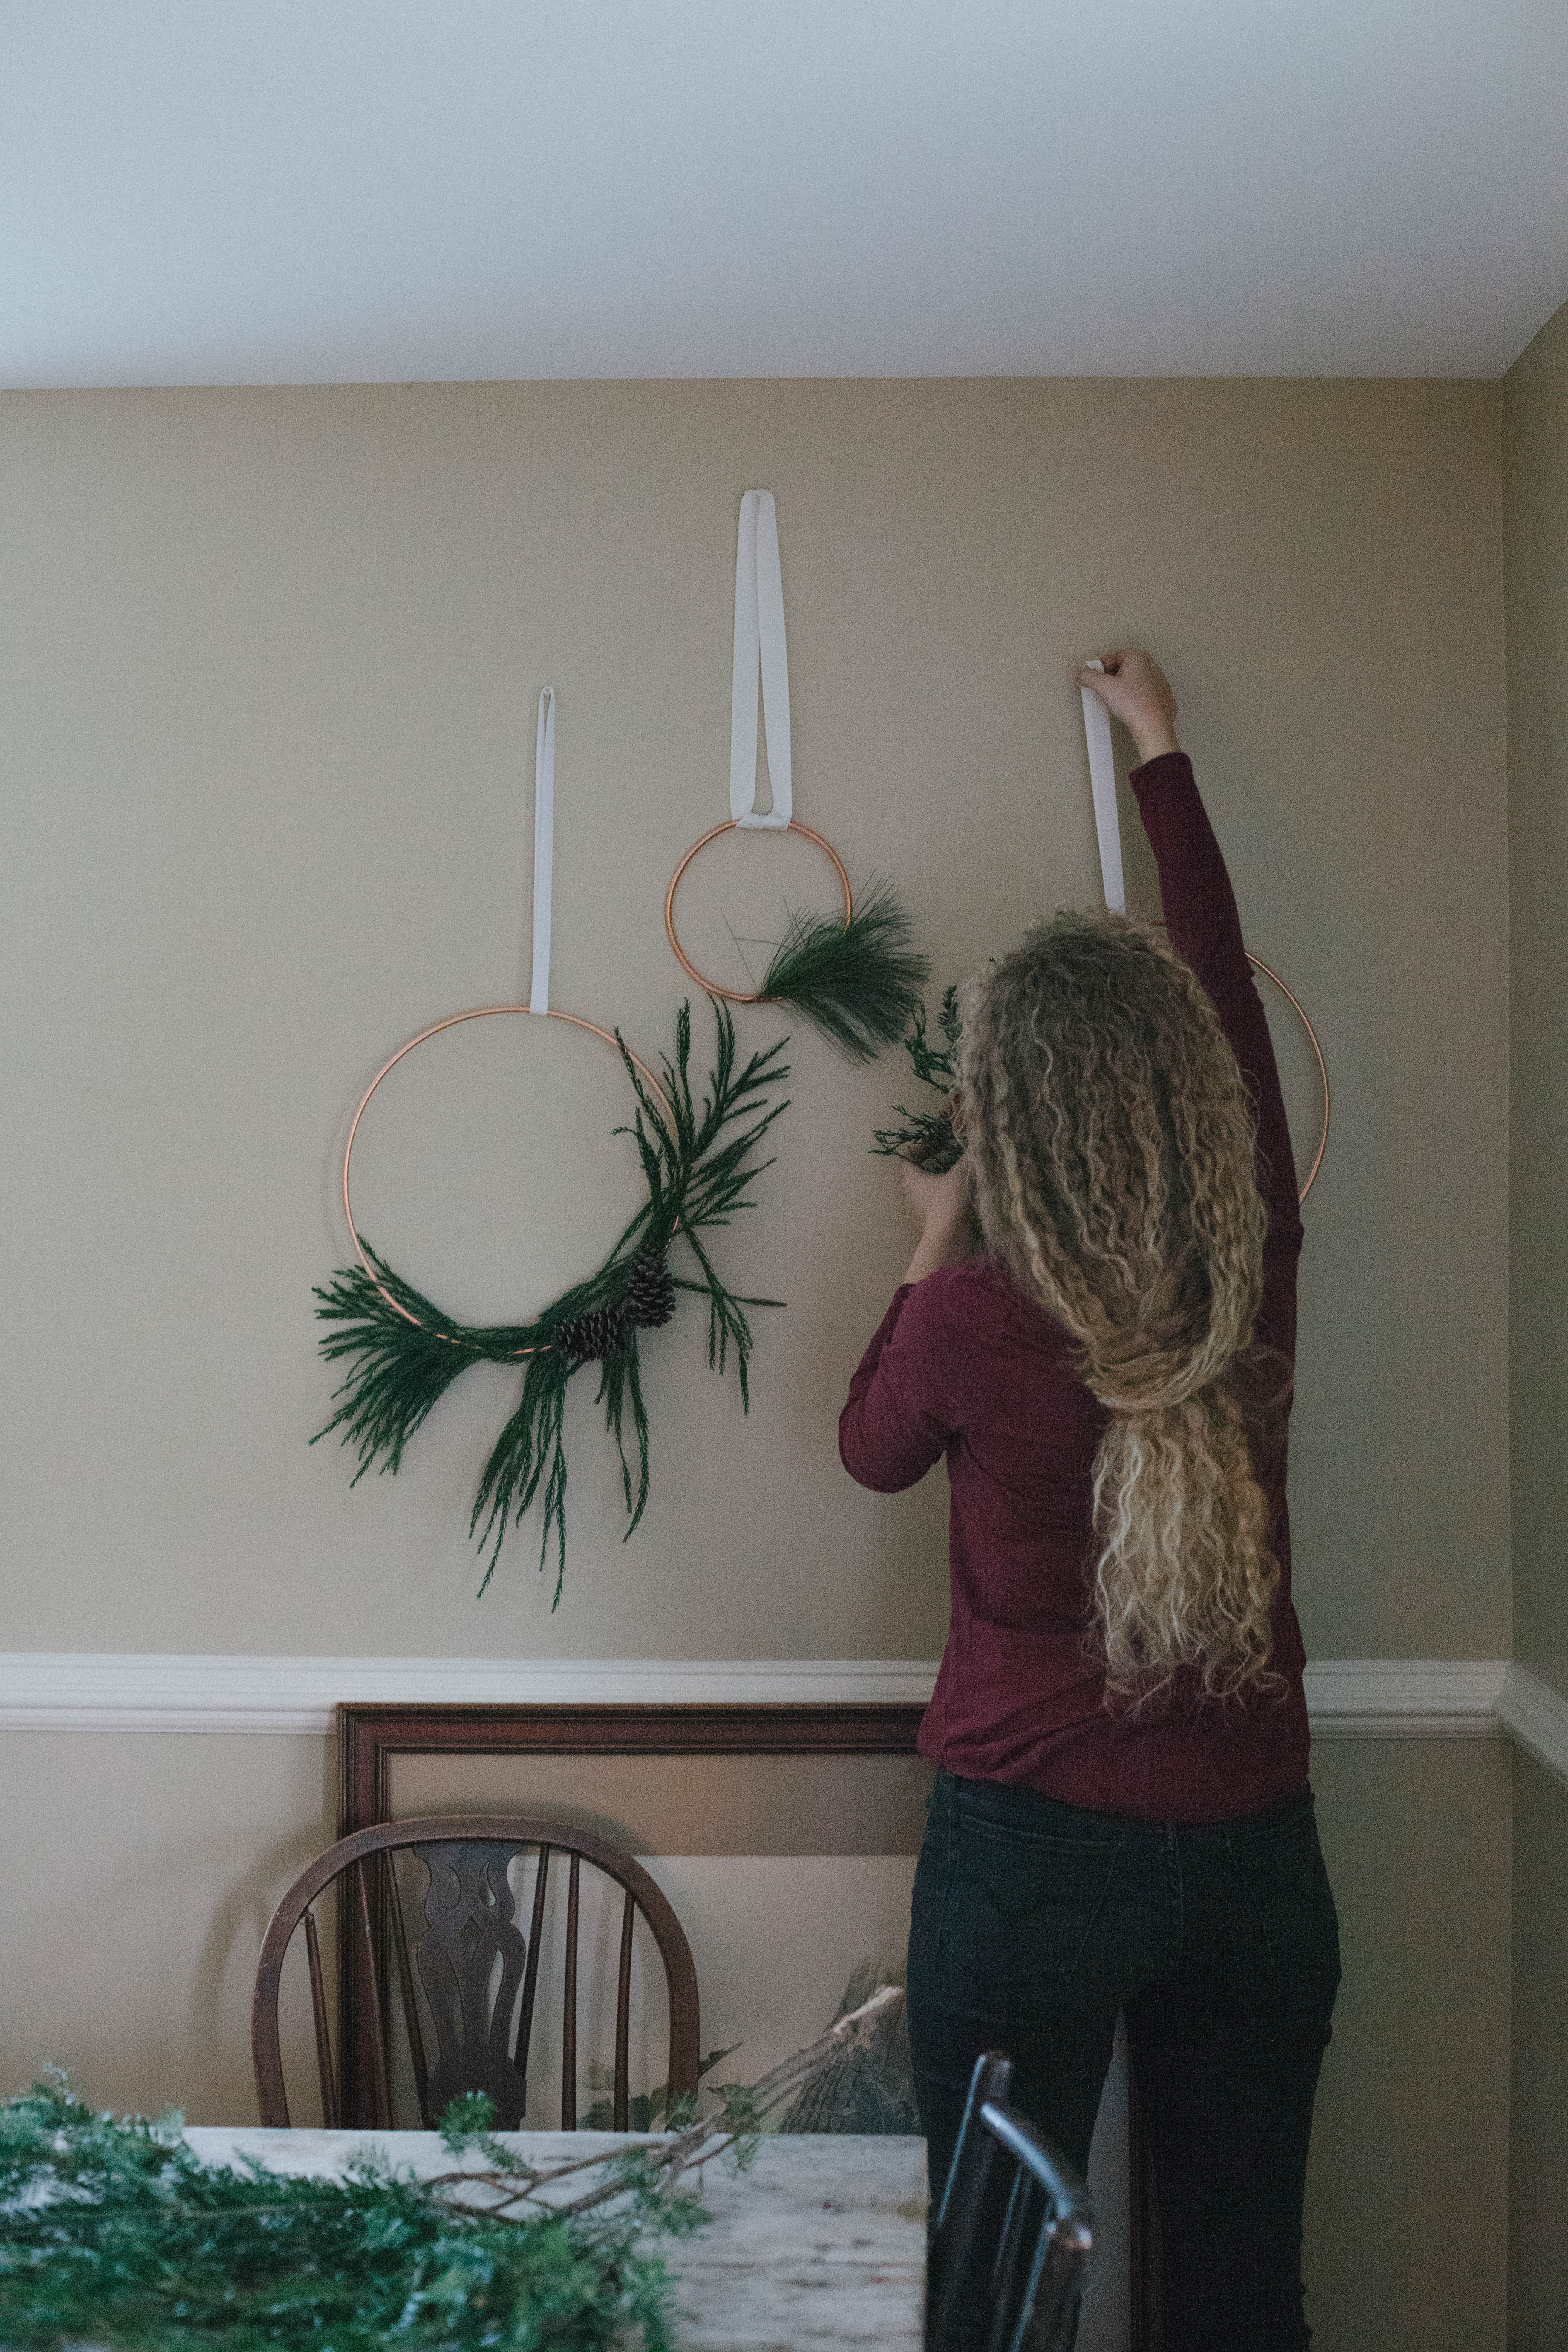
5. When you’re finished with the design, attach ribbon. I simply looped it once or twice through the wreath, and hot glued the ends together.
6. Hang on wall or door or wherever! I used thumbtacks to hang these on the wall, but they’d look gorgeous on a front door or on the inside of your windows!
Although this post is sponsored by Esurance, all opinions are my own. Thanks for supporting sponsored posts – it helps allow me to continue to produce quality content! From quote to claim, Esurance is working to help you make smarter, more efficient choices with your home and auto insurance. Using state-of-the-art technology, they offer a seamless online and mobile experience along with intuitive tools that help take the hassle out of insurance.
Leave a Reply
PREVIOUS POST:
NEXT POST:
Disclosure.
Discovering how to infuse our lives—ourselves, our work, our relationships, our homes, and our entertaining spaces—with simple beauty, more intention, and slow living principles.
Interested in working together?
Click here to visit the Contact page and get in touch.
PORTFOLIO
© 2020 A Daily Something — All Rights Reserved.
Design by TONIC.
Learn more about A Daily Something styling services, content creation offerings and view curated work.
CONTACT + COLLABORATE
MANIFESTO
Join the list to receive our thoughtful monthly letters, and to be the first to know of upcoming workshops, dinners, gatherings, and more.
SUBSCRIBE
ALL PHOTOS AND IMAGES ON A DAILY SOMETHING ARE BY A DAILY SOMETHING UNLESS OTHERWISE NOTED. IF YOU SEE AN IMAGE THAT IS NOT PROPERLY SOURCED, PLEASE LET US KNOW AND WE'LL UPDATE THE INFORMATION! IF YOU WOULD LIKE TO SHARE A PHOTO OR TUTORIAL FROM A DAILY SOMETHING, PLEASE ONLY SHARE ONE PHOTO, WHICH MUST BE CREDITED AND LINKED BACK TO A DAILY SOMETHING.
SPONSORED POSTS WILL ALWAYS BE DISCLOSED AND ANY GIFTED ITEMS WILL BE MARKED C/O. WE ONLY WORK WITH COMPANIES THAT ARE A GOOD FIT FOR THE A DAILY SOMETHING AESTHETIC AND CONTENT. THANK YOU FOR SUPPORTING THE COMPANIES THAT ENABLE US TO CONTINUE PRODUCING QUALITY CONTENT.

[…] couple wreaths I made inspired by A Daily Something! Meet Hannigan, the newest member of our […]
[…] couple wreaths I made inspired by A Daily Something! Meet Hannigan, the newest member of our […]