


DIY | Plywood Eye Glasses Storage Stand


Welcome to our first post of 2019! Like lots of people this time of year, the past week has been full of purging and cleaning and reorganizing for our family. Of starting off fresh. The New Year is the perfect time to go through our material possessions, decide what’s important, and figure out creative ways to store our things. And not just creative, but also easy-to-find. It doesn’t help much if your things are tucked away, albiet organized, five layers deep into your closet. Sometimes things have to be tucked away (I have an attic, cellar, and garage for tucking things away), but for the items we use on a day-to-day basis, like glasses and shoes and books, sometimes we need to organize them neatly in such a way that we can access them, and don’t forget about them.
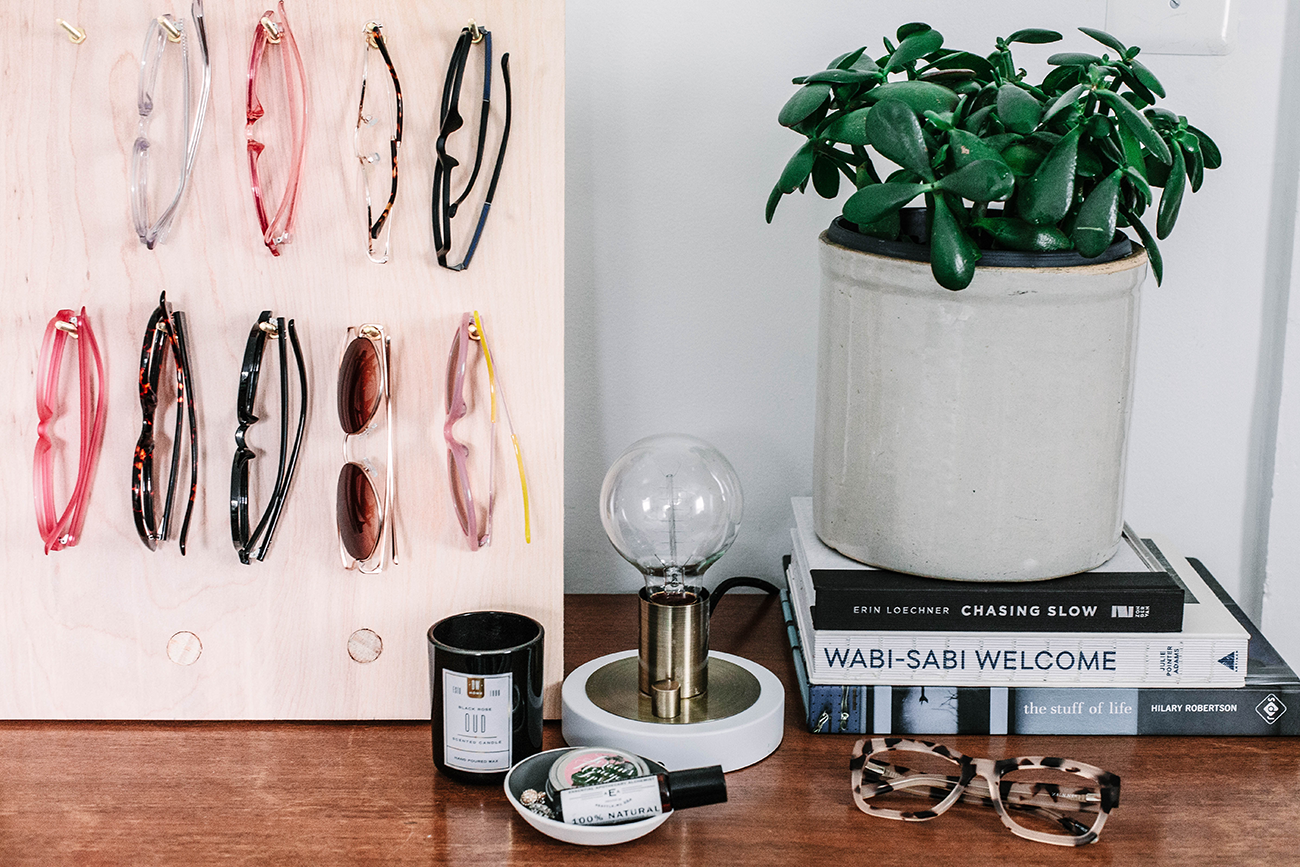
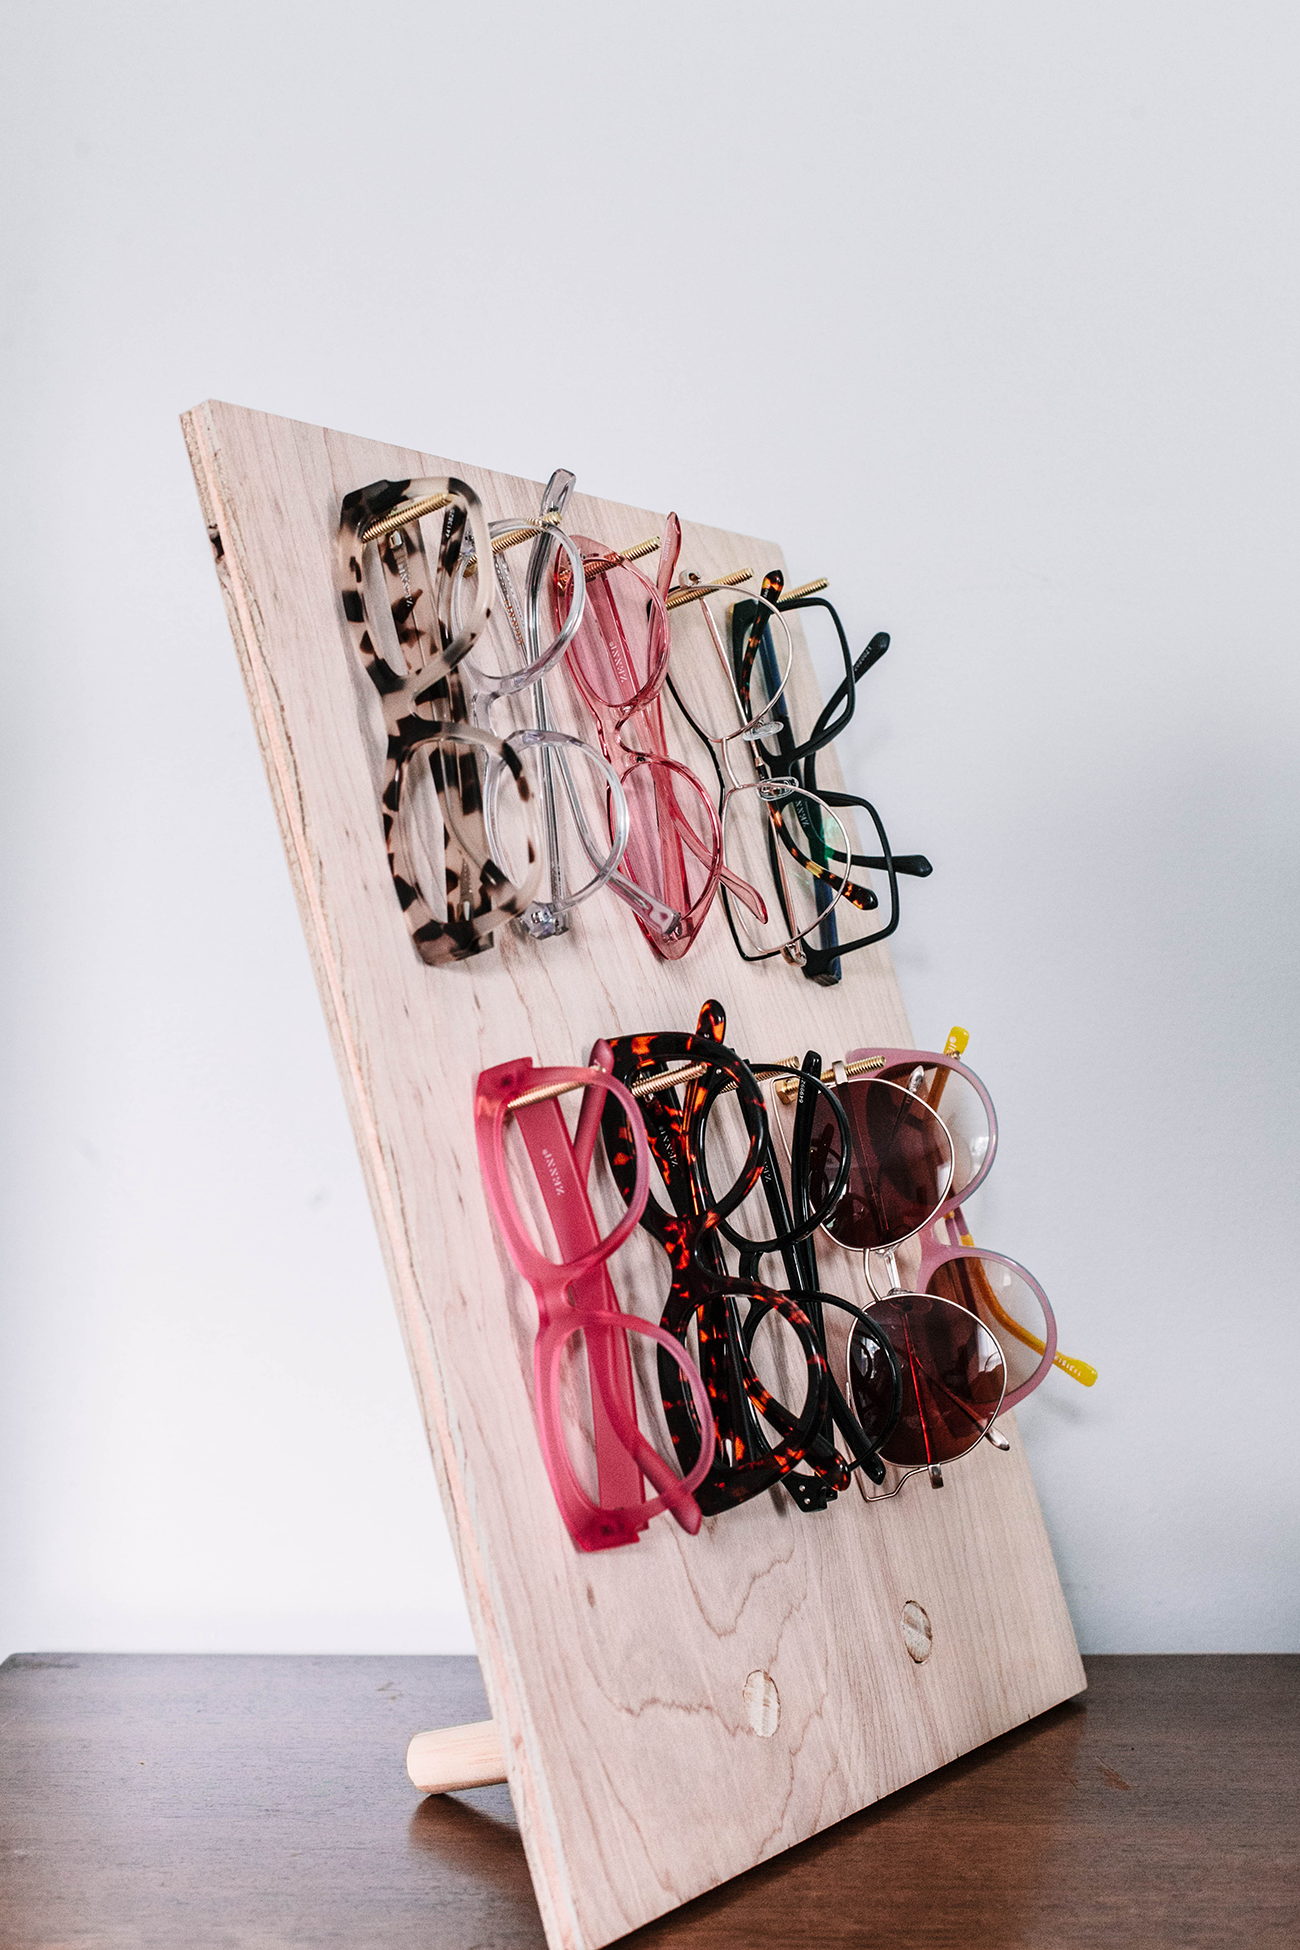
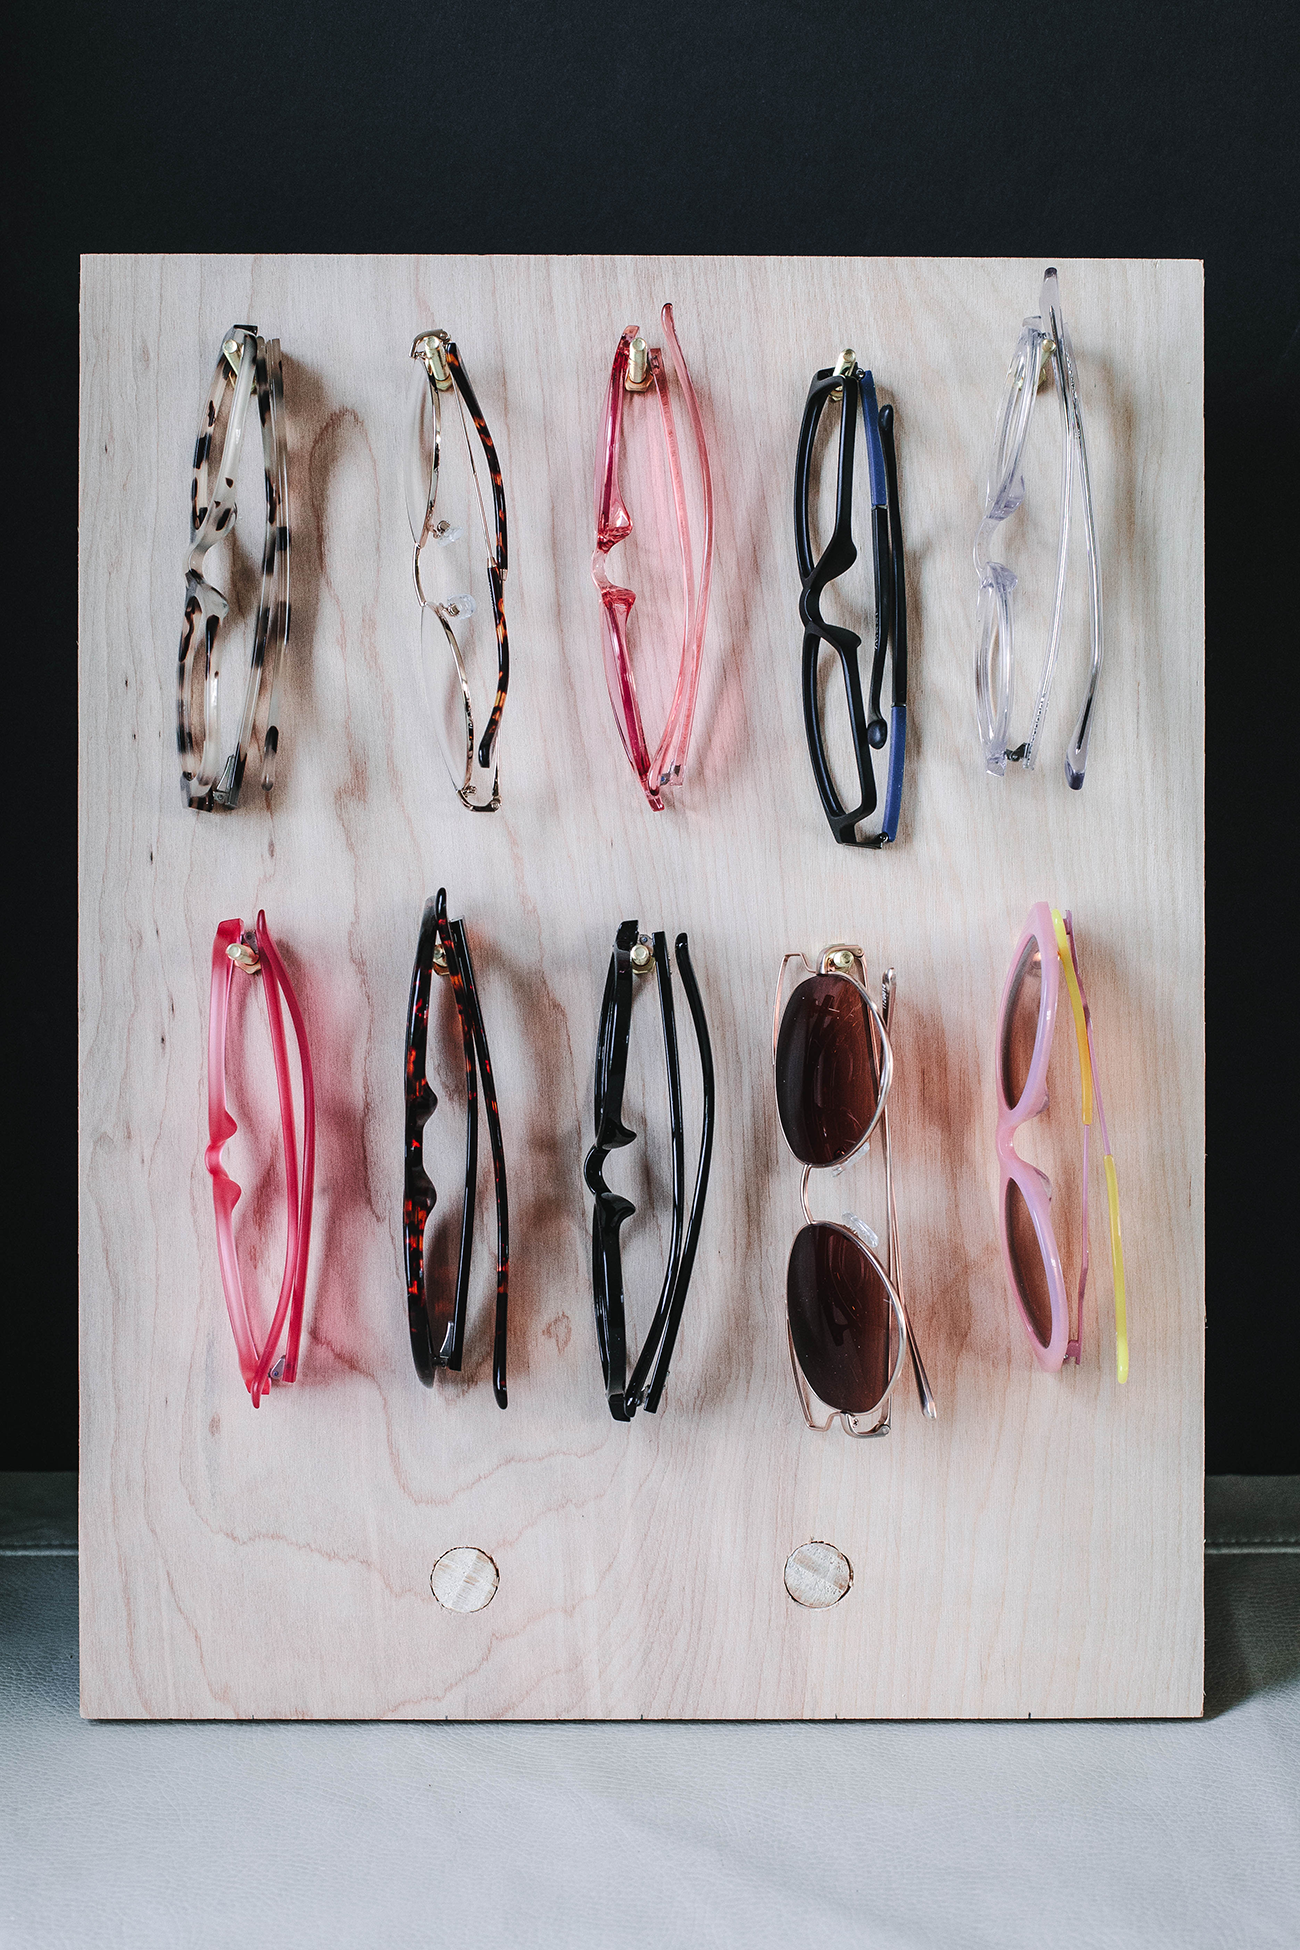
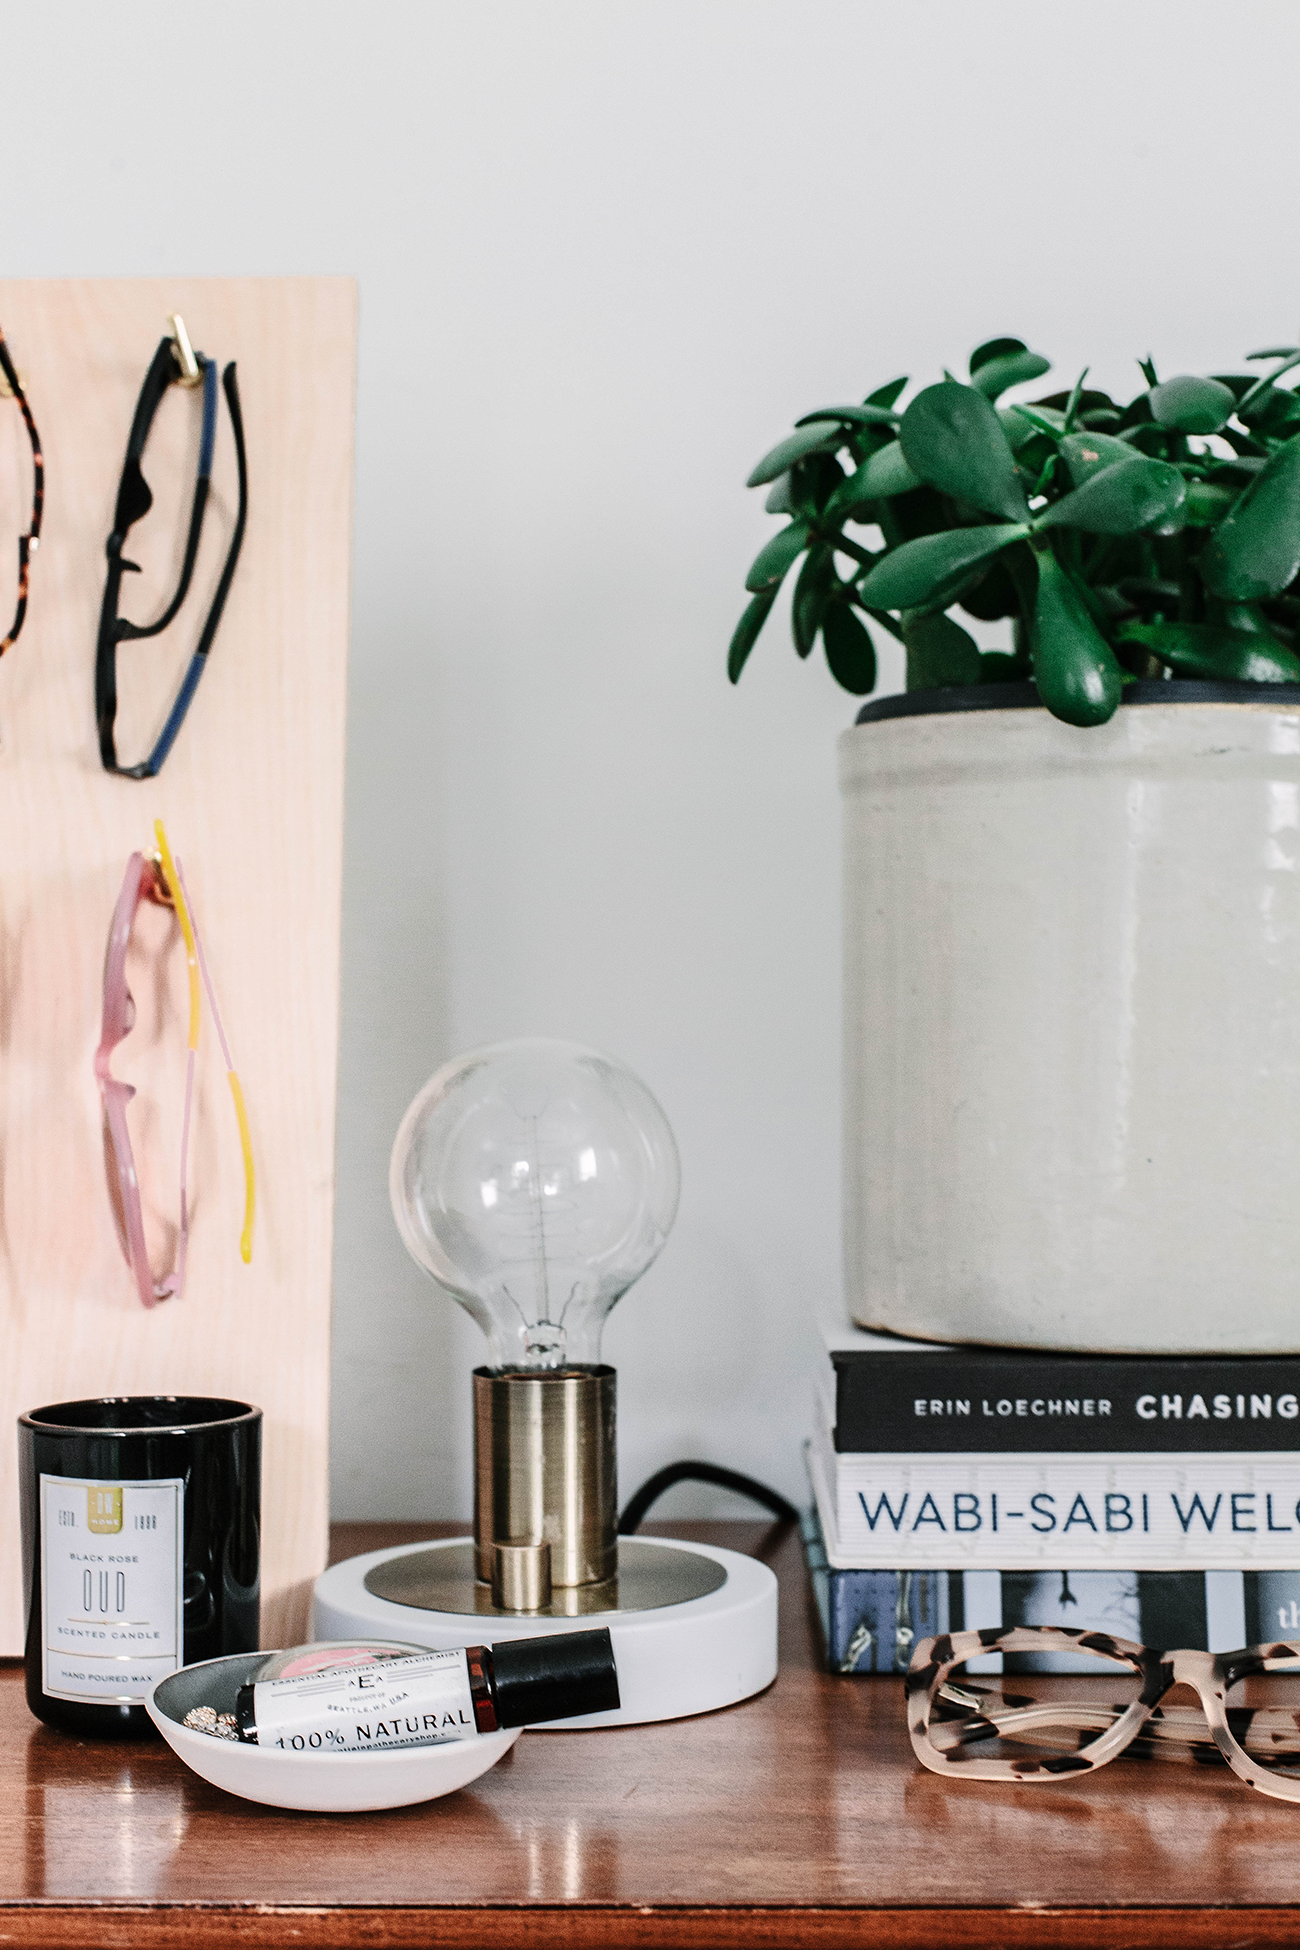
I’ve been going through the kitchen, living room, and our bedroom, removing the unnecessary, and then finding (or making) a place for the items that I’ve deemed worthy of keeping in our home. Giving everything a particular place in our homes helps maintain order and avoid clutter. SIGN ME UP! This is why I partnered with Zenni on today’s DIY plywood glasses storage design. I wanted to figure out a way to store multiple pairs of glasses without taking up precious drawer space (I have a tiny dresser). I love the idea of keeping glasses ON the dresser, hanging on this plywood stand. They don’t get scratched, you don’t forget you have them, and they look beautiful!
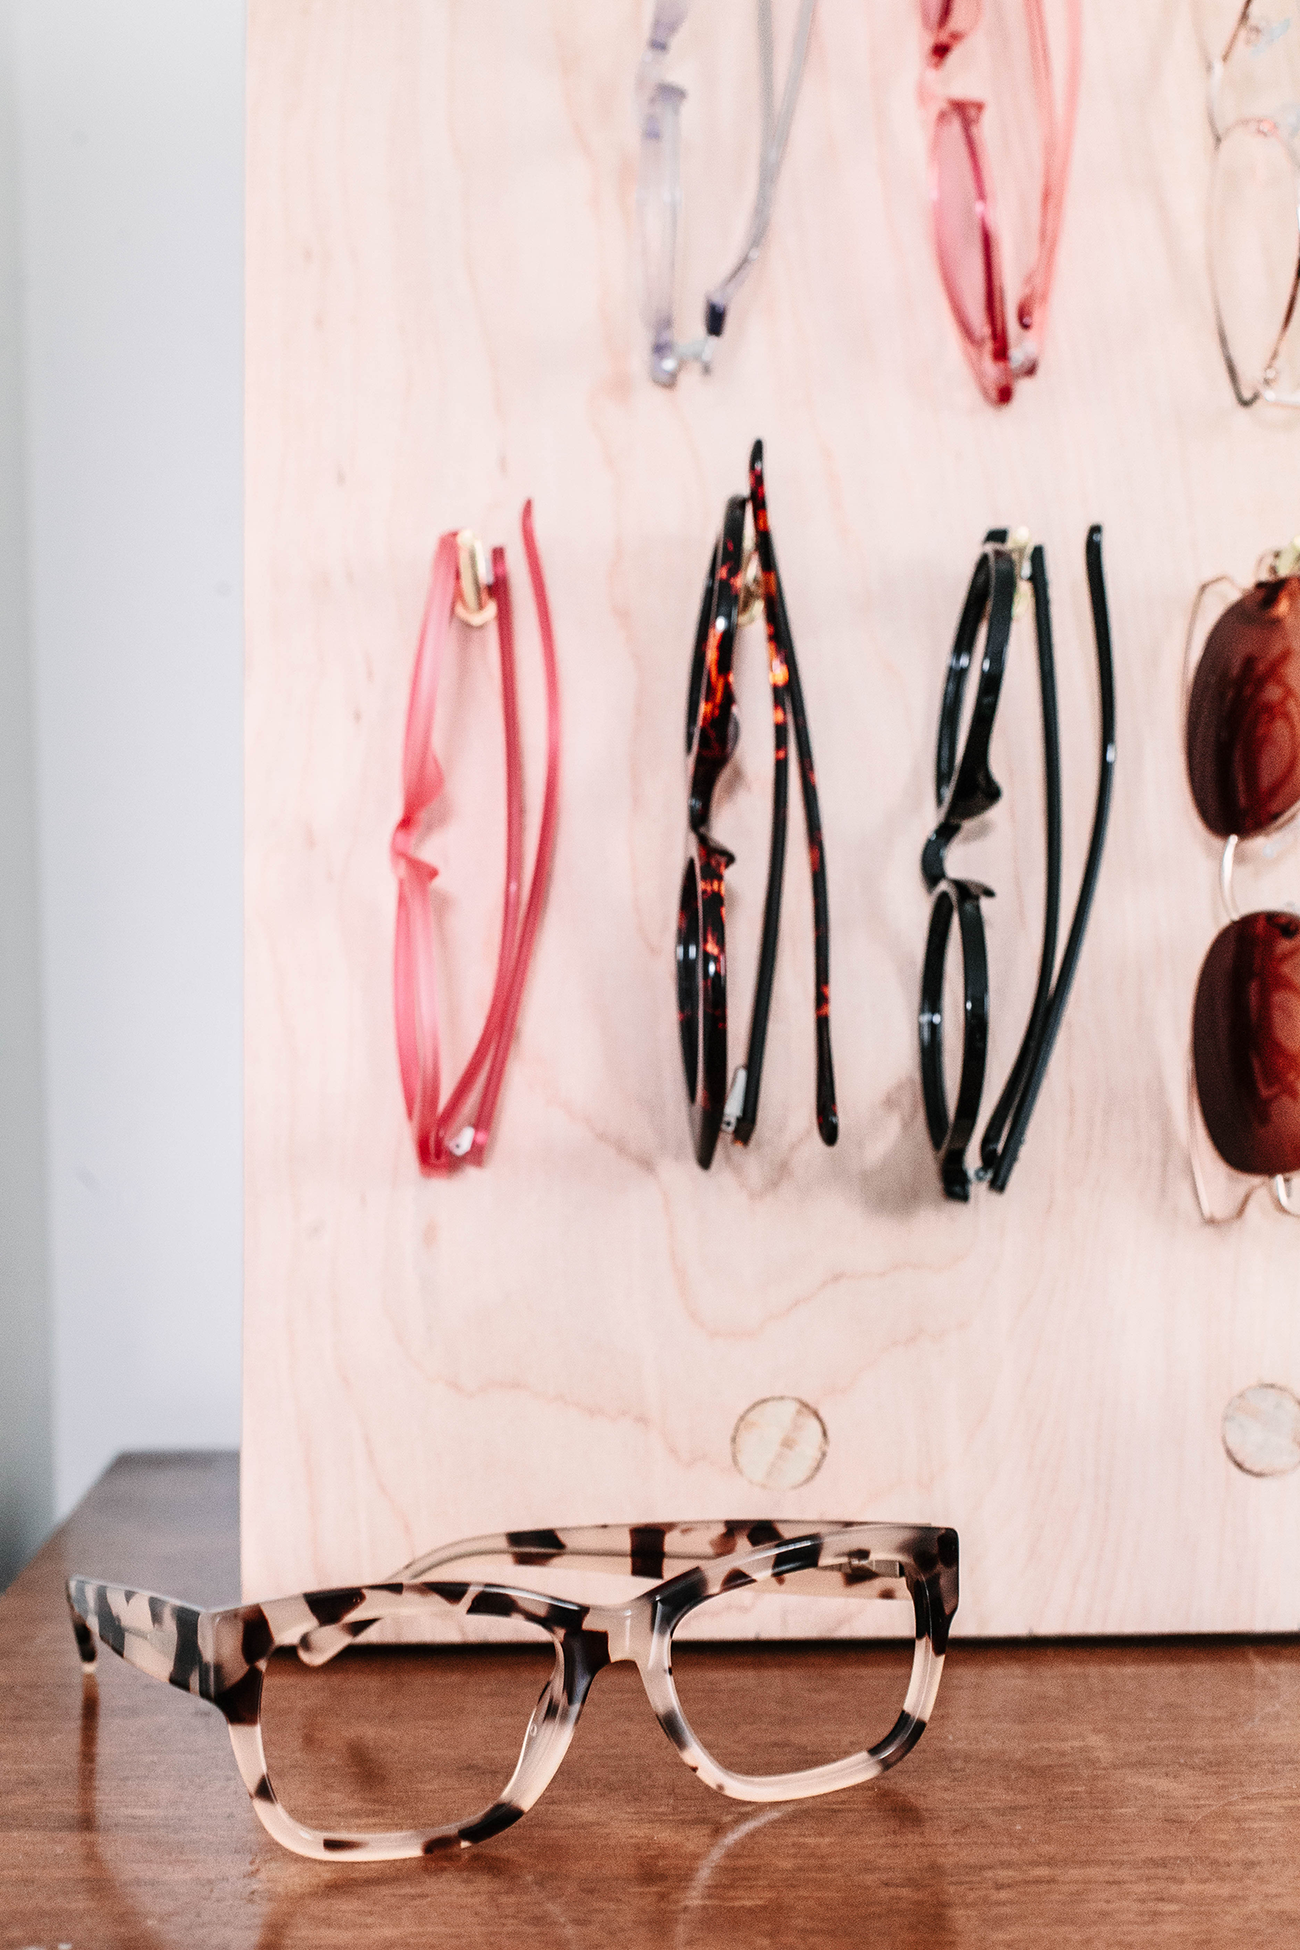
I’ll be getting my first-ever *real* glasses this year (kinda excited about that, because I always wanted glasses). How beautiful are those Zenni frames? My two favorites are the clear round frames and these ivory tortoise shell. I love the huge variety of frames at Zenni, and their super accessible price point. Which are your favorites; definitely check out their selection for your next pair! Keep reading for the full DIY. And standby, we have another organizational DIY coming to the blog soon!
DIY Plywood Glasses Storage (the best way to store multiple pairs of glasses)
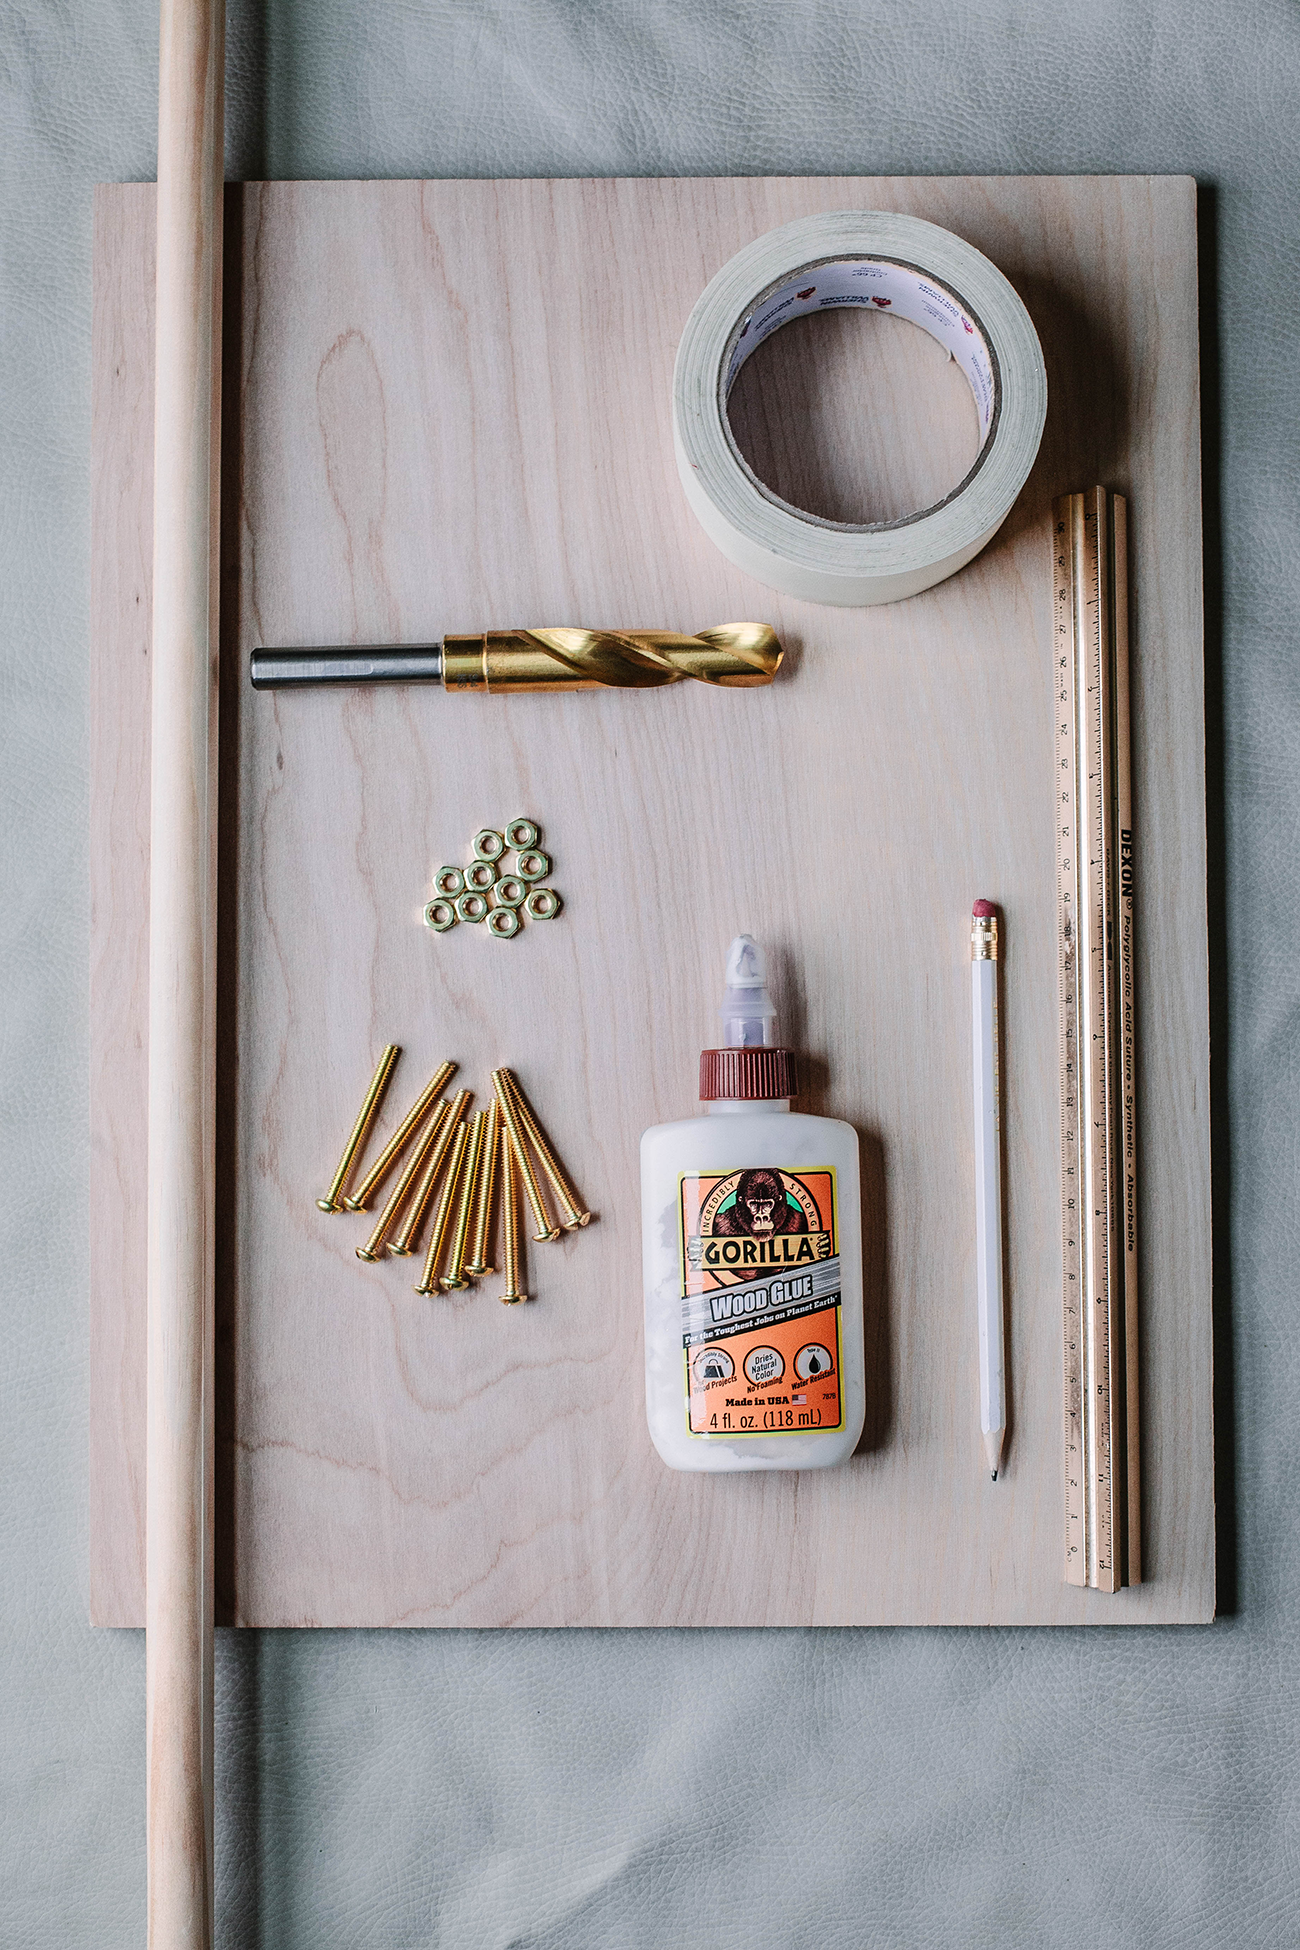
Supplies
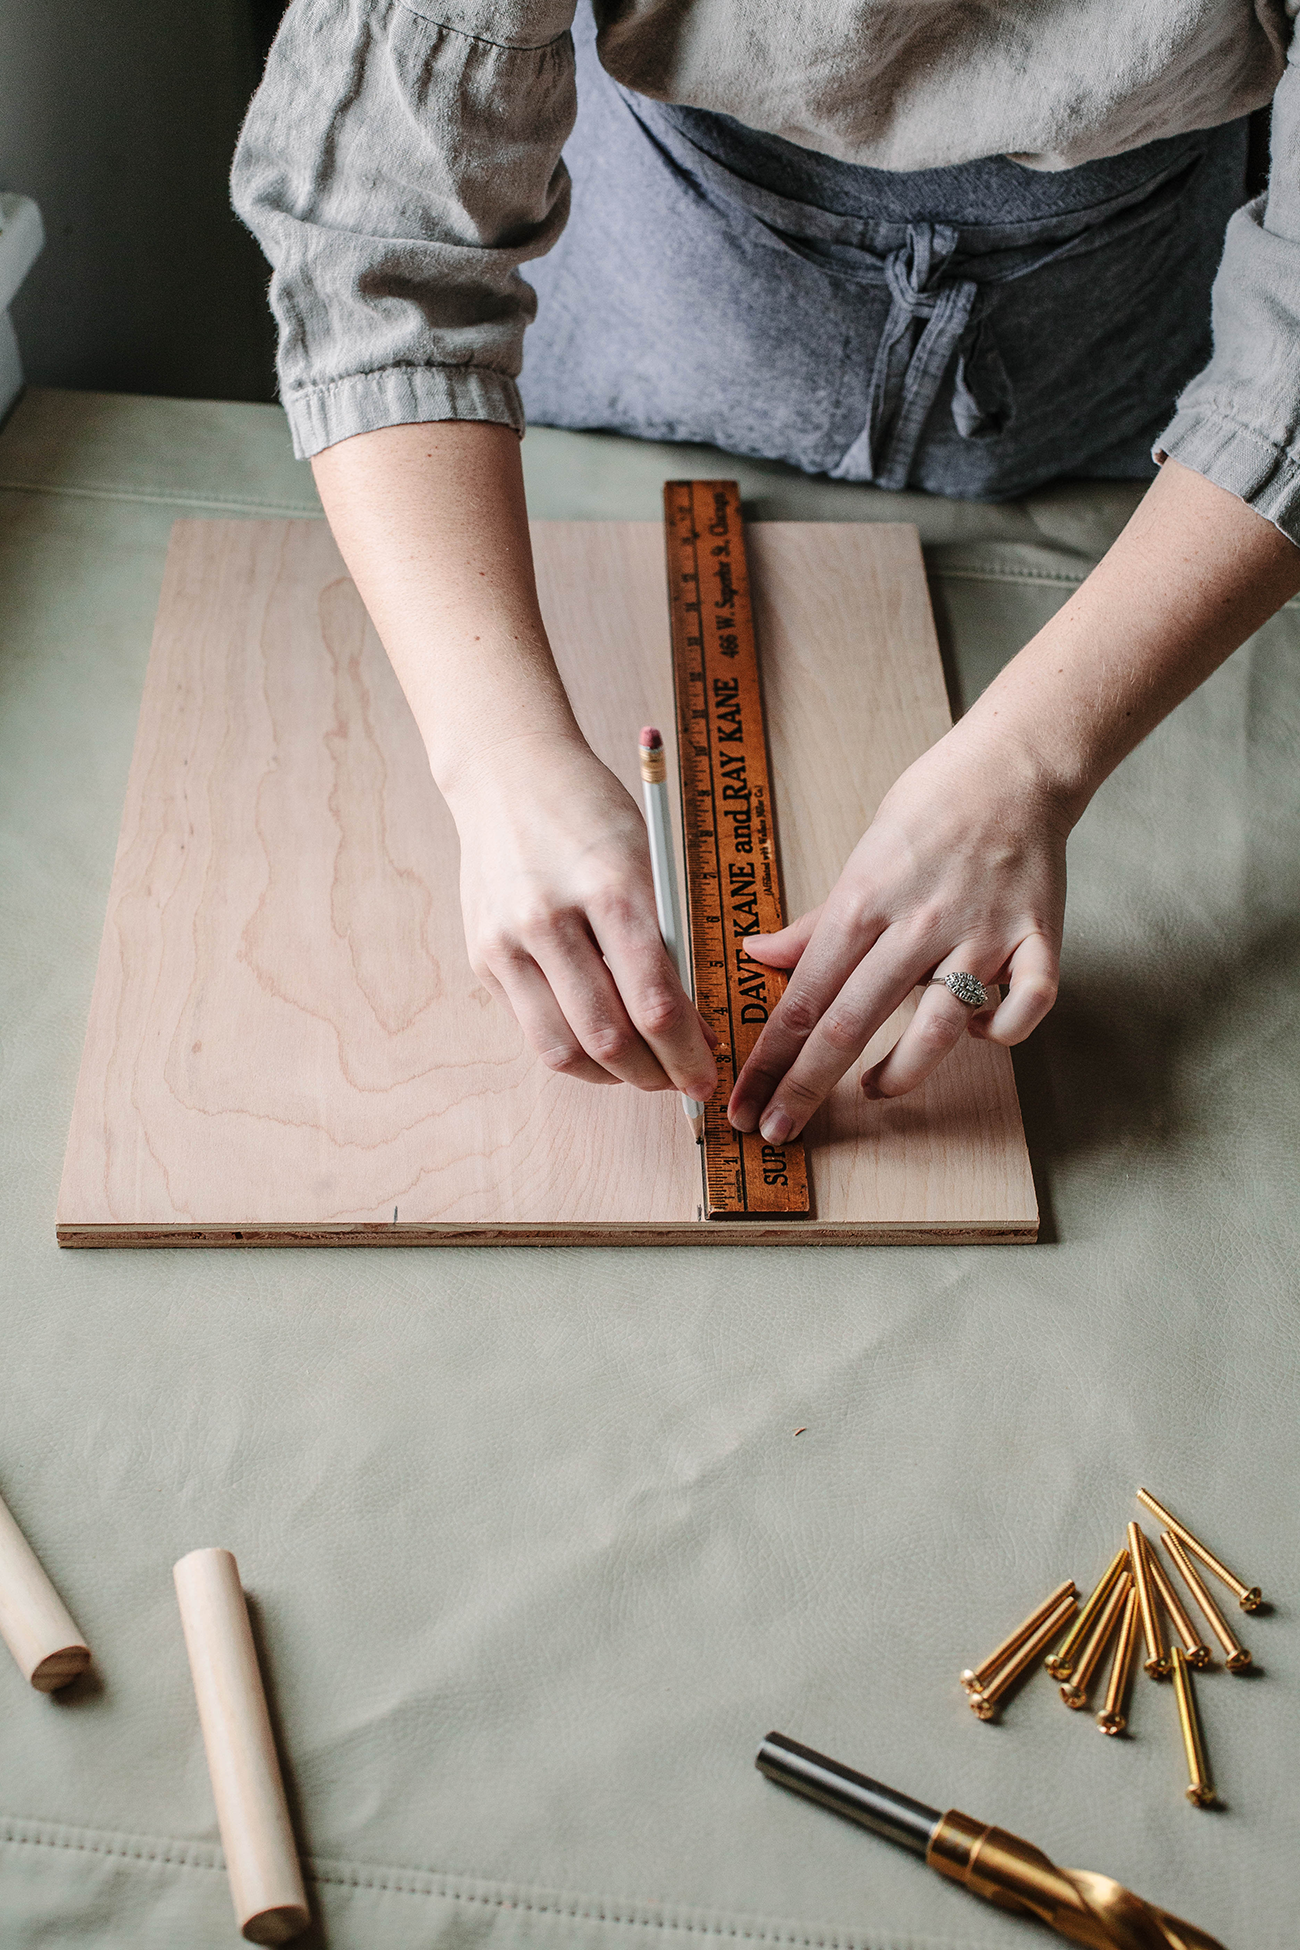
– 1/2″ plywood cut into 13″ x 17″
– 3/4″ dowel
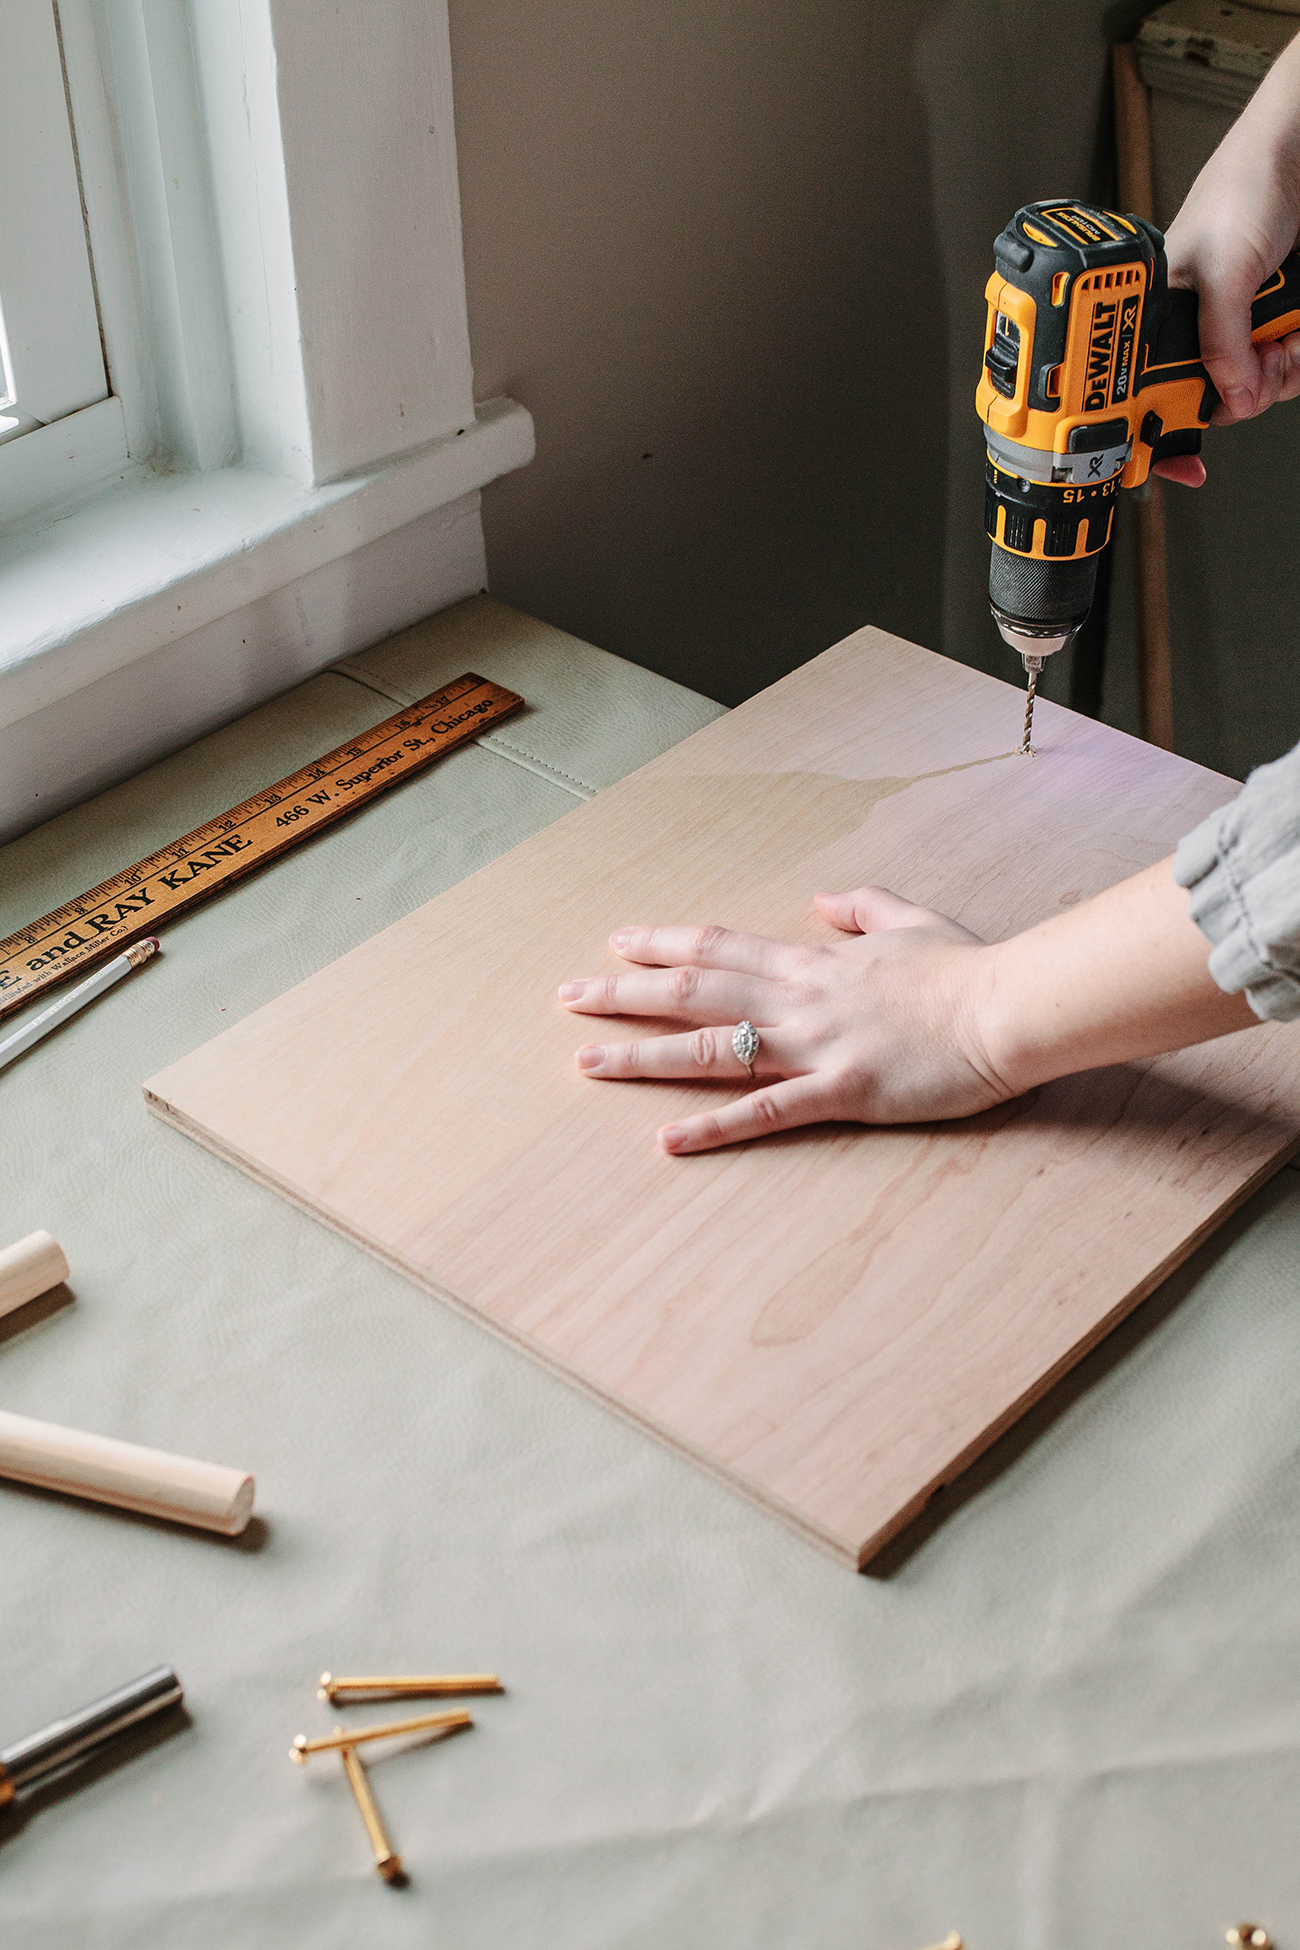
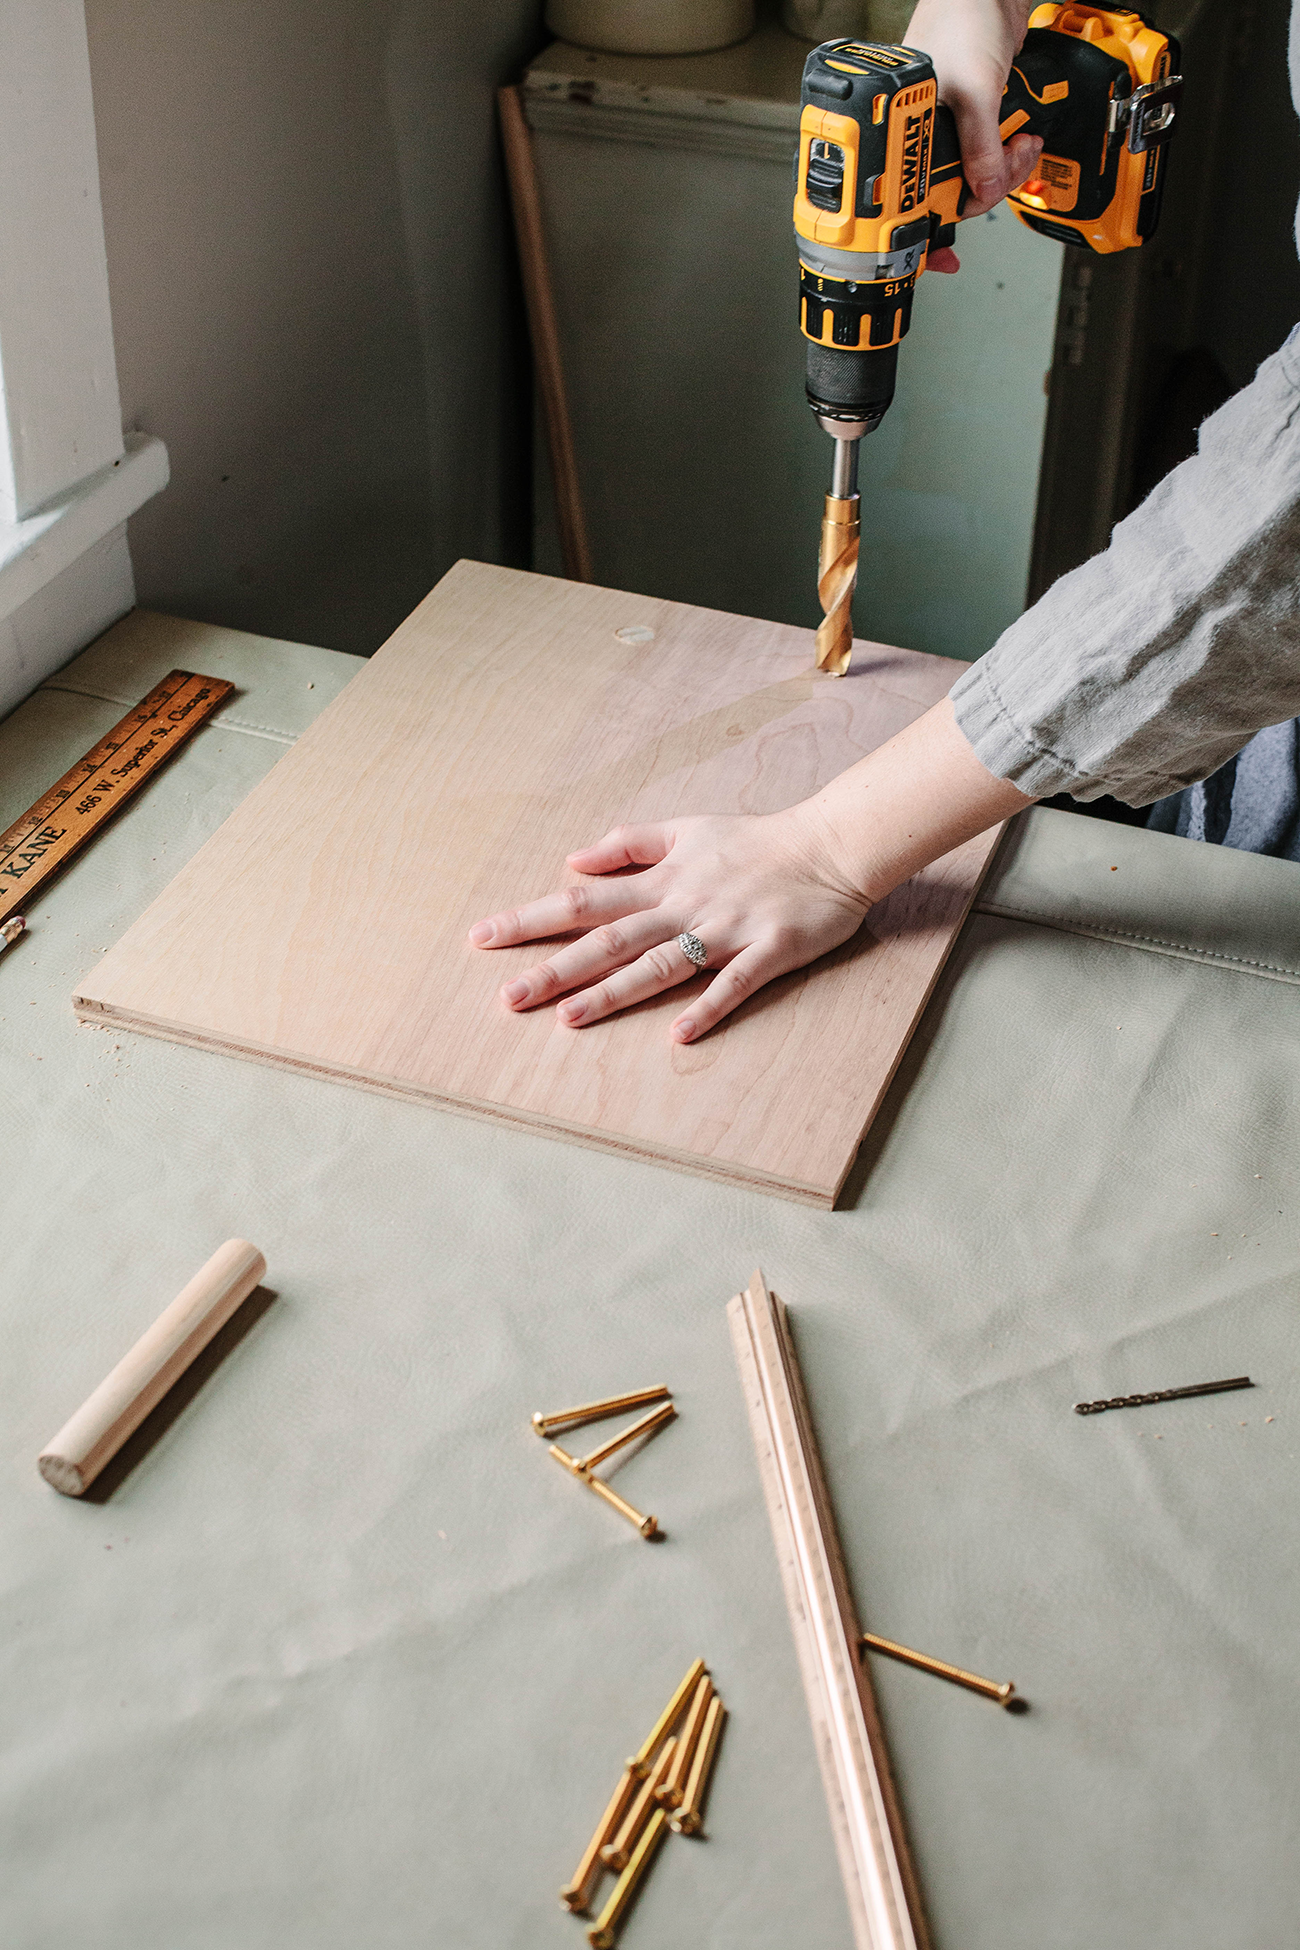
– drill
– 3/4″ drill bit
– 1/8″ drill bit
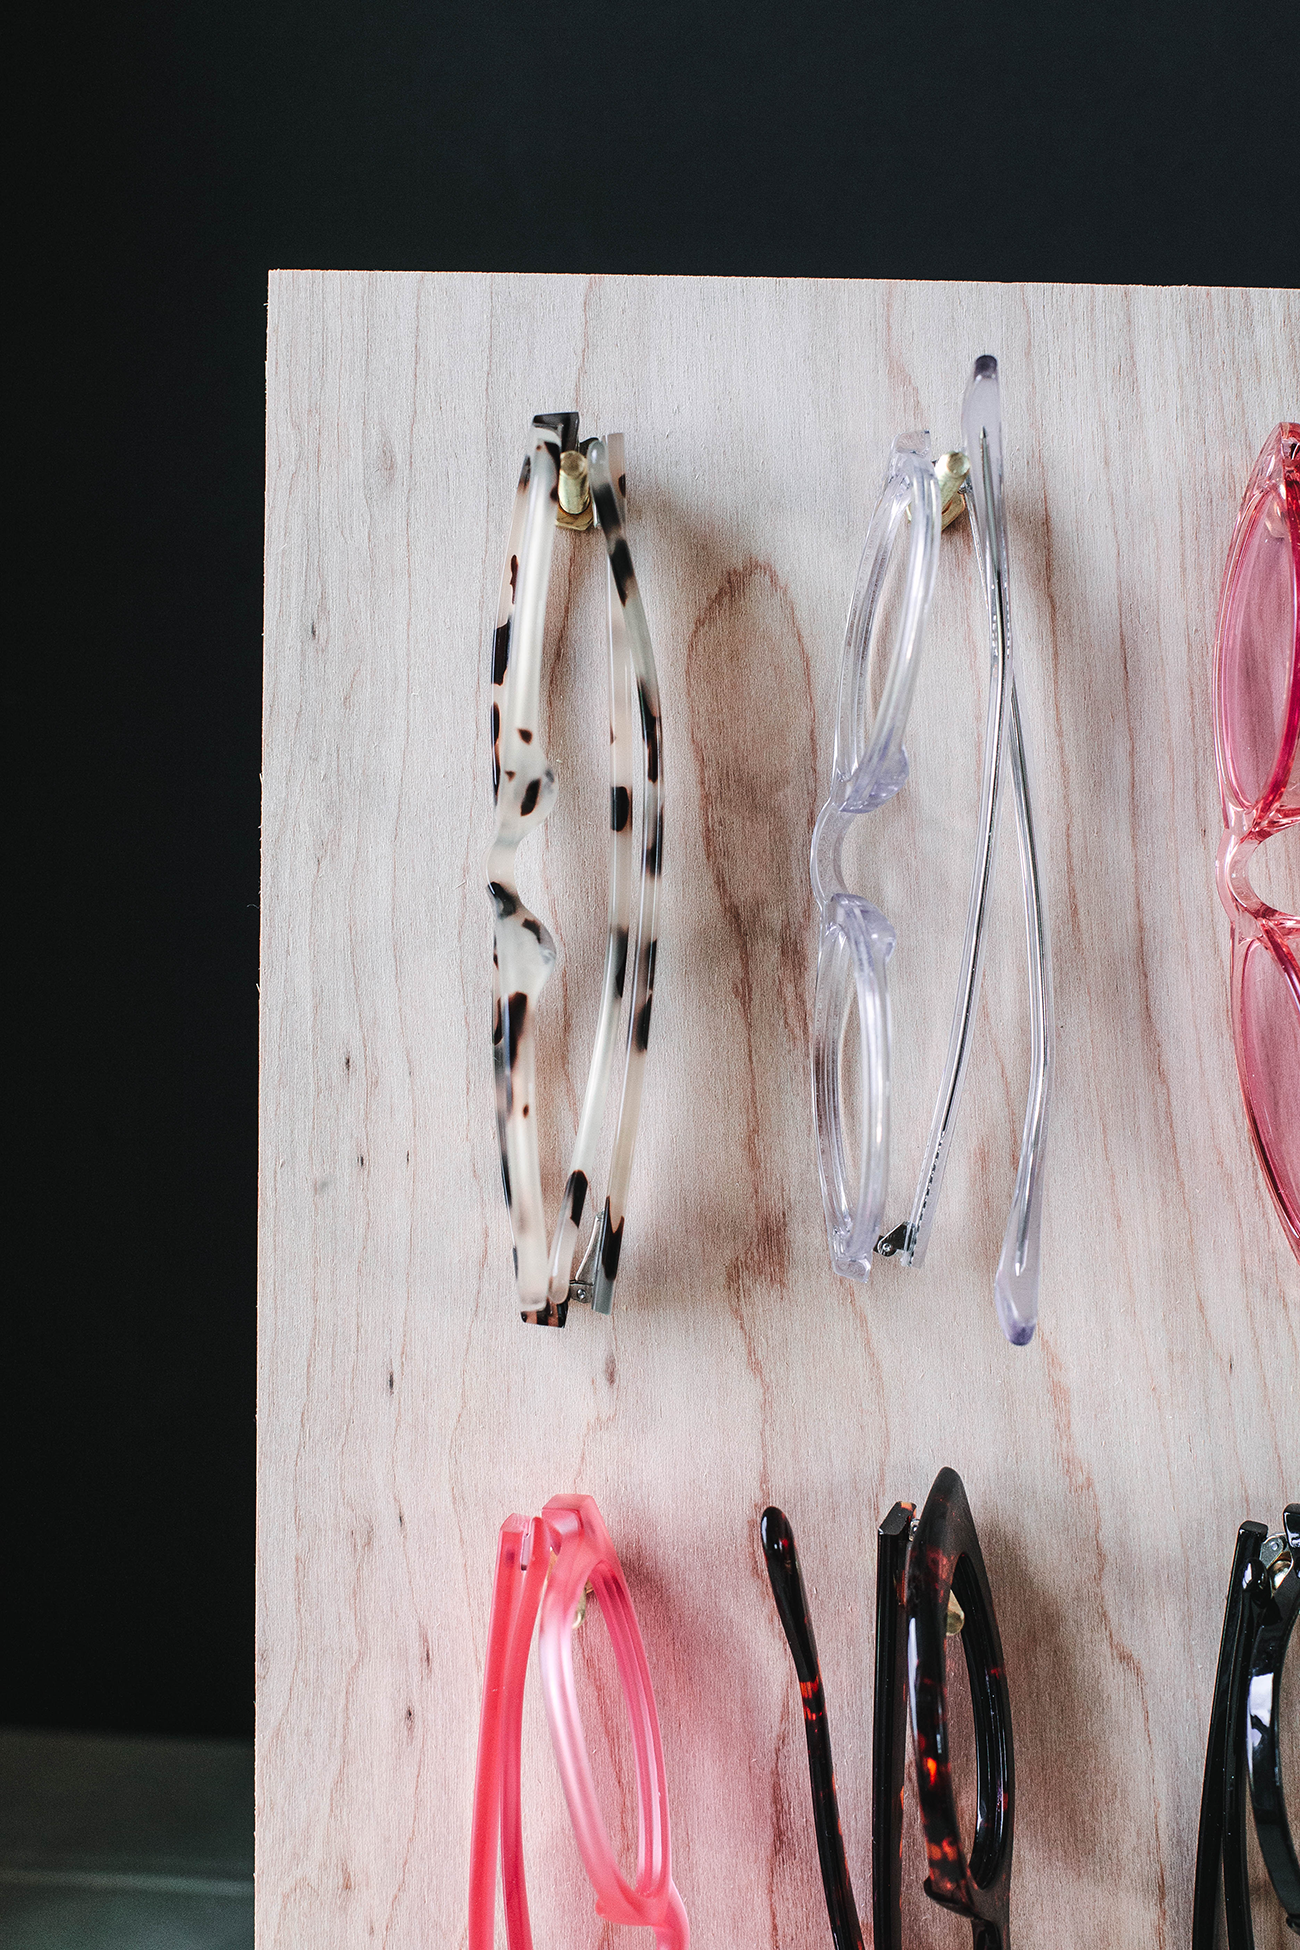
– 12 #10-24 x 2 in. brass machine screws
– 12 #10-24 brass machine screw nuts
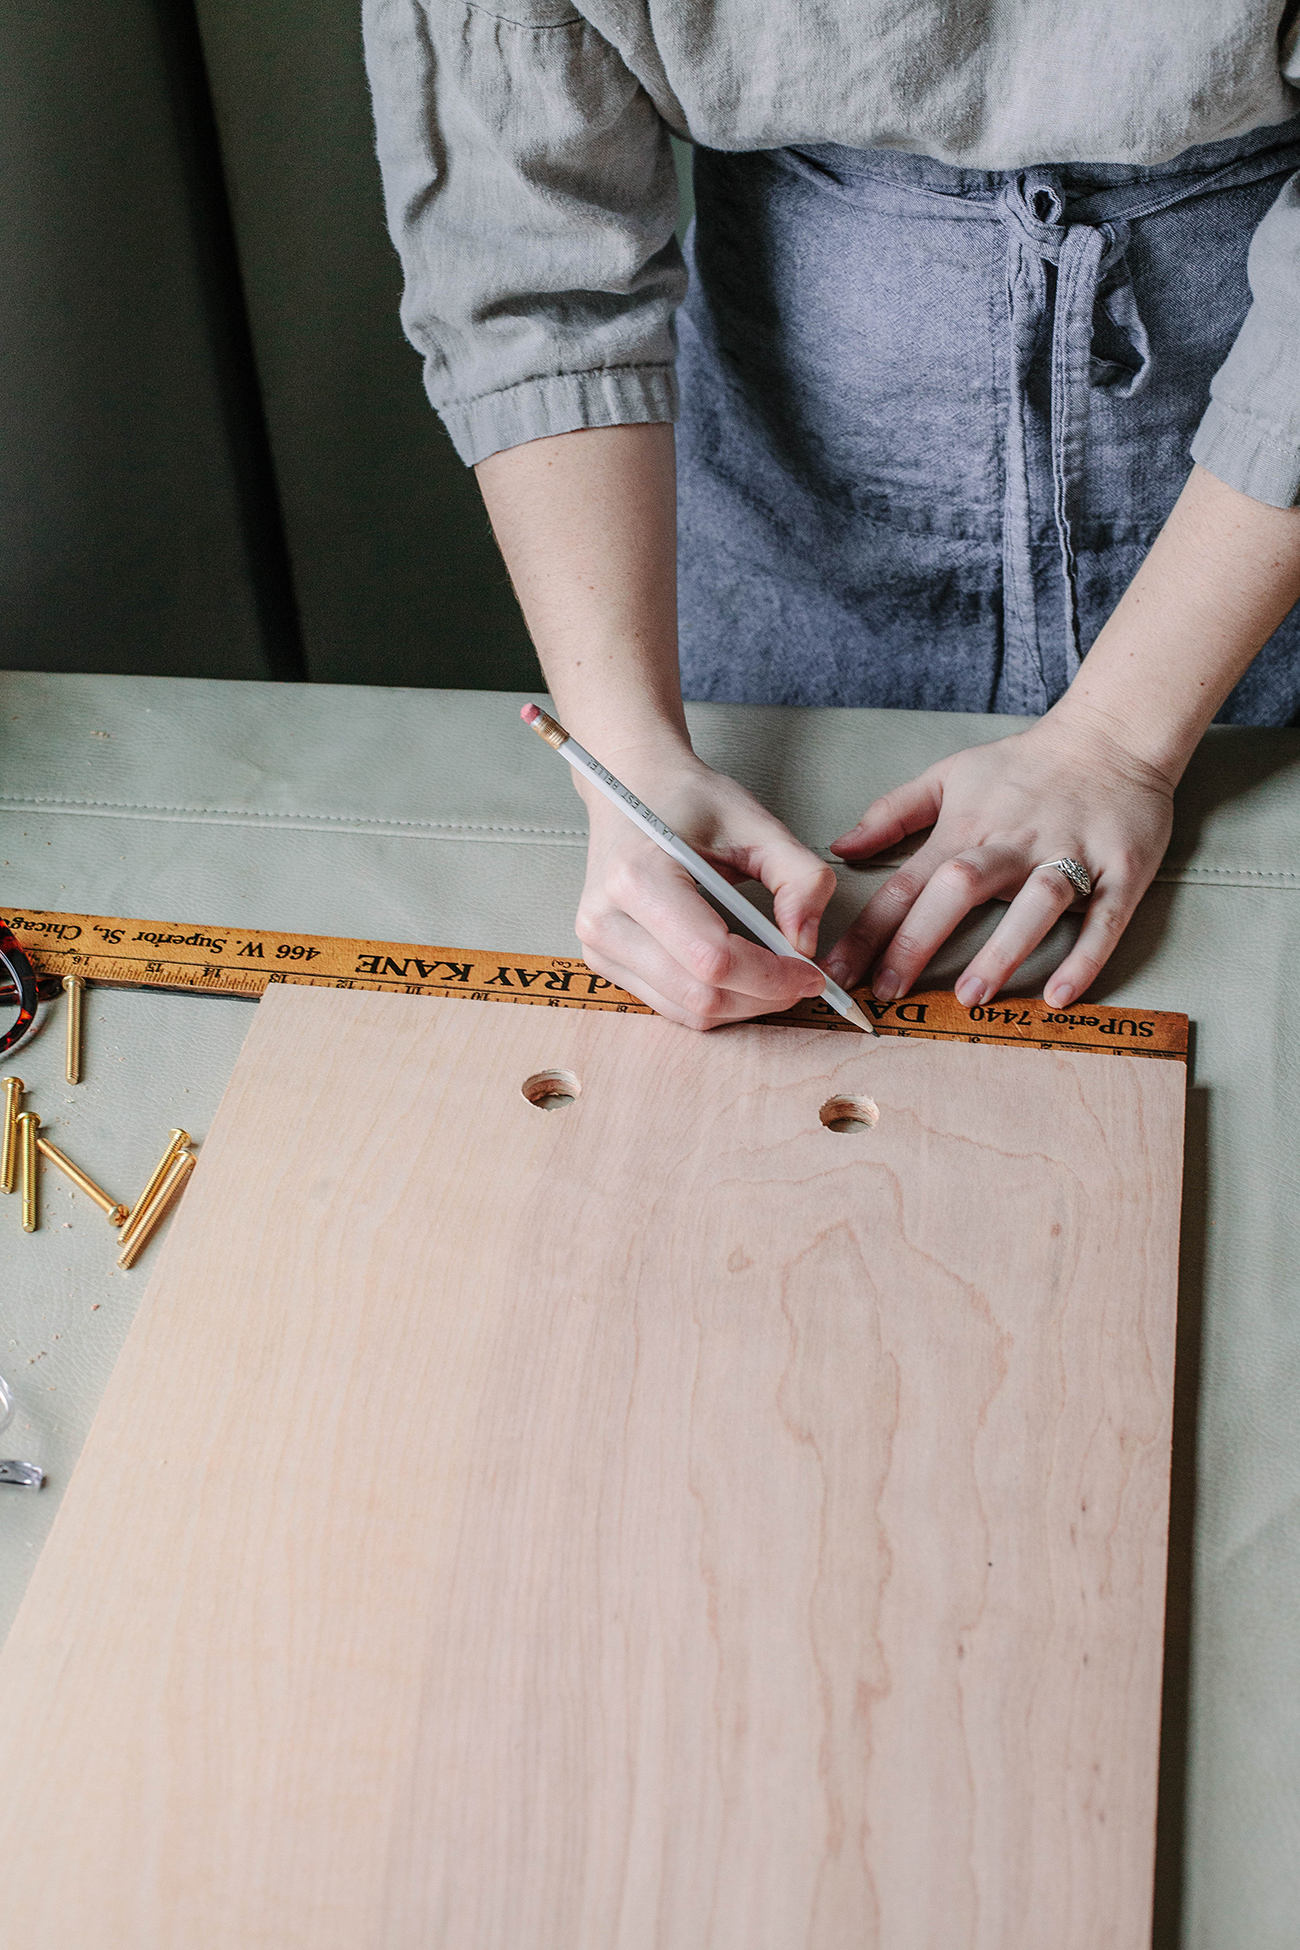
– pencil
– ruler
– wood file
– wood glue (if needed)
– masking tape
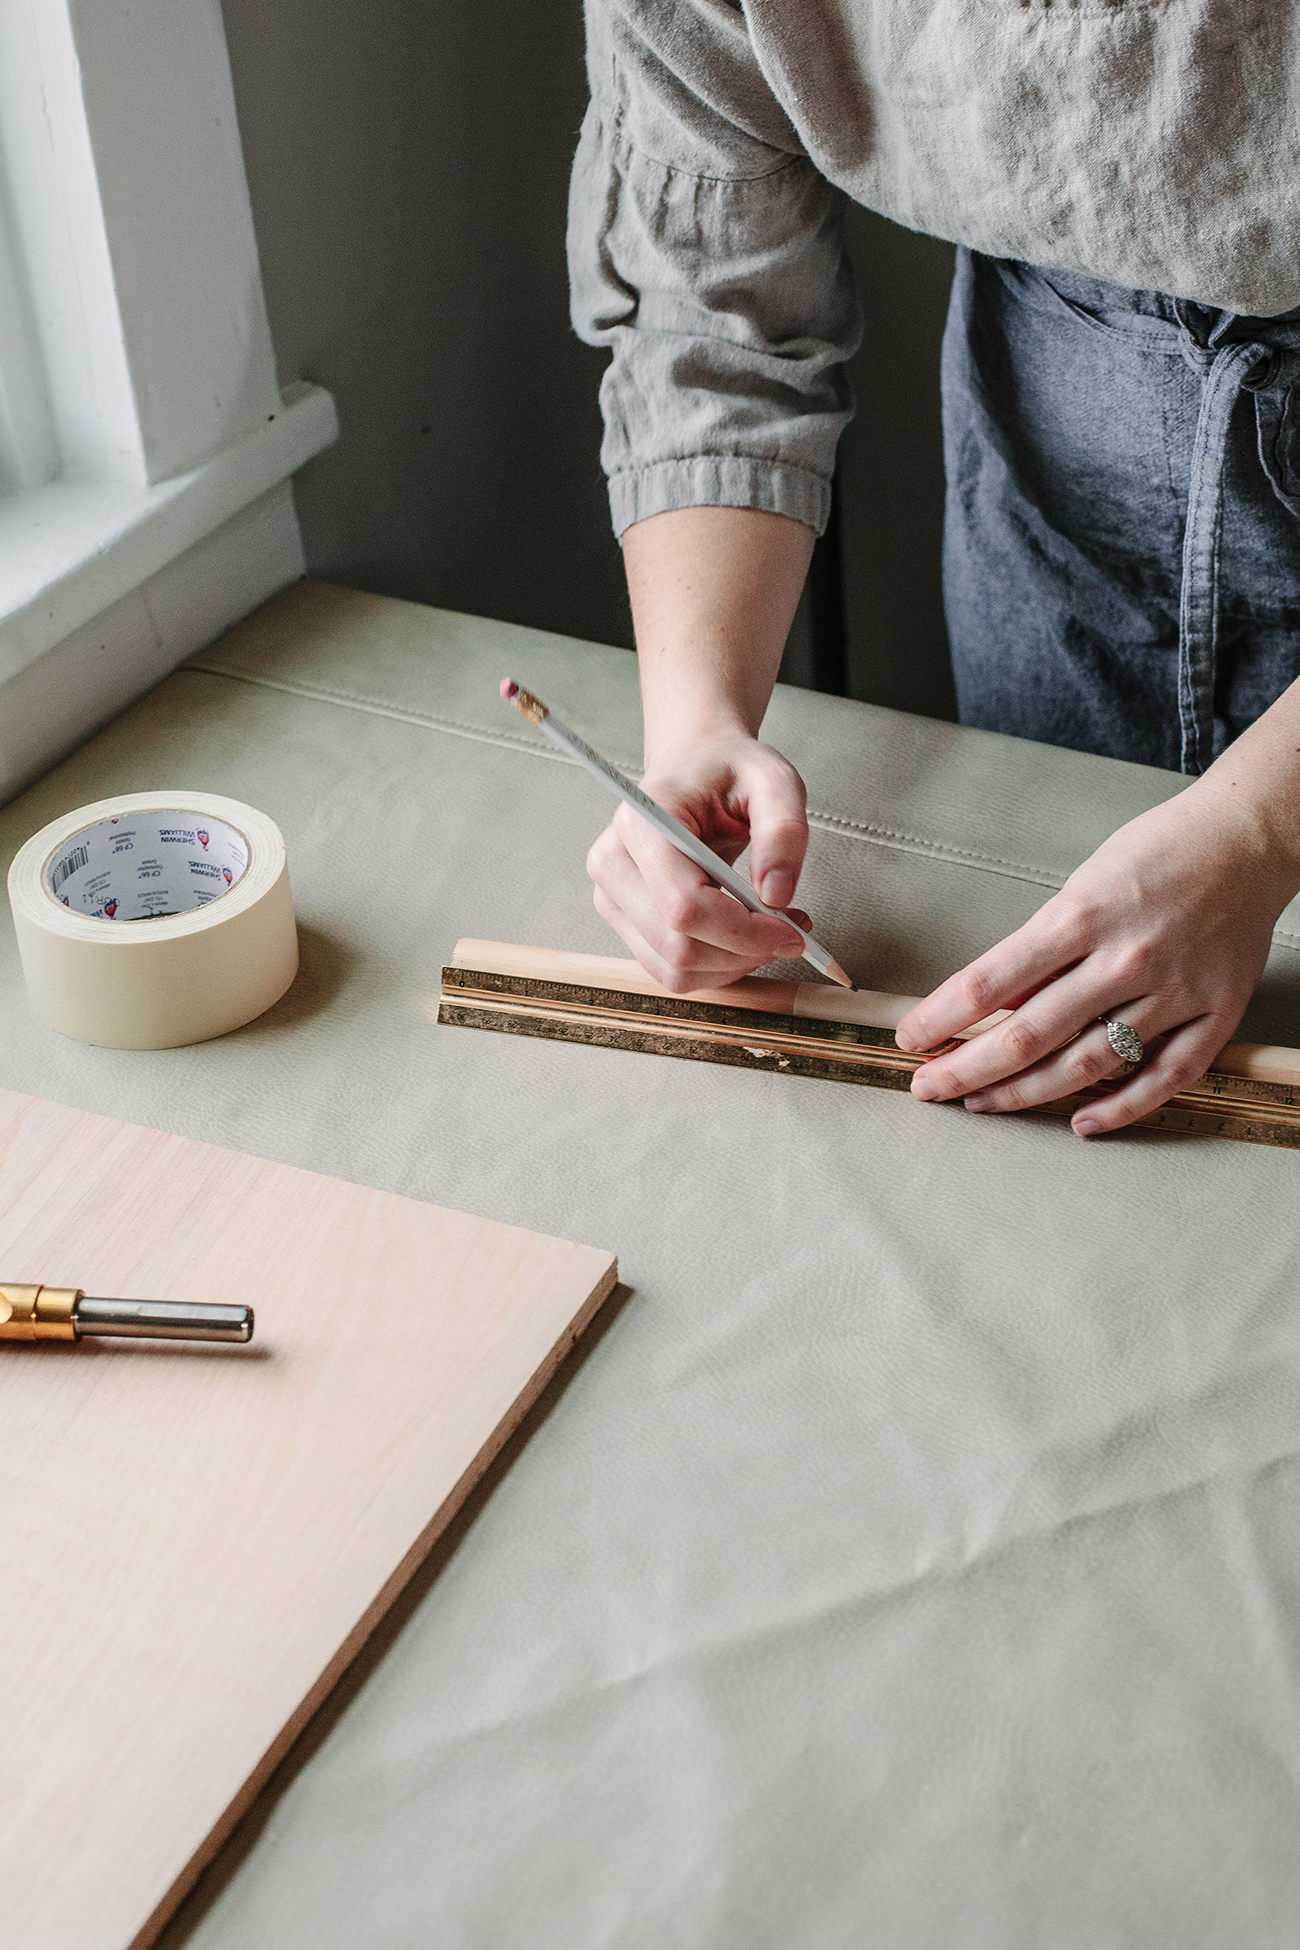
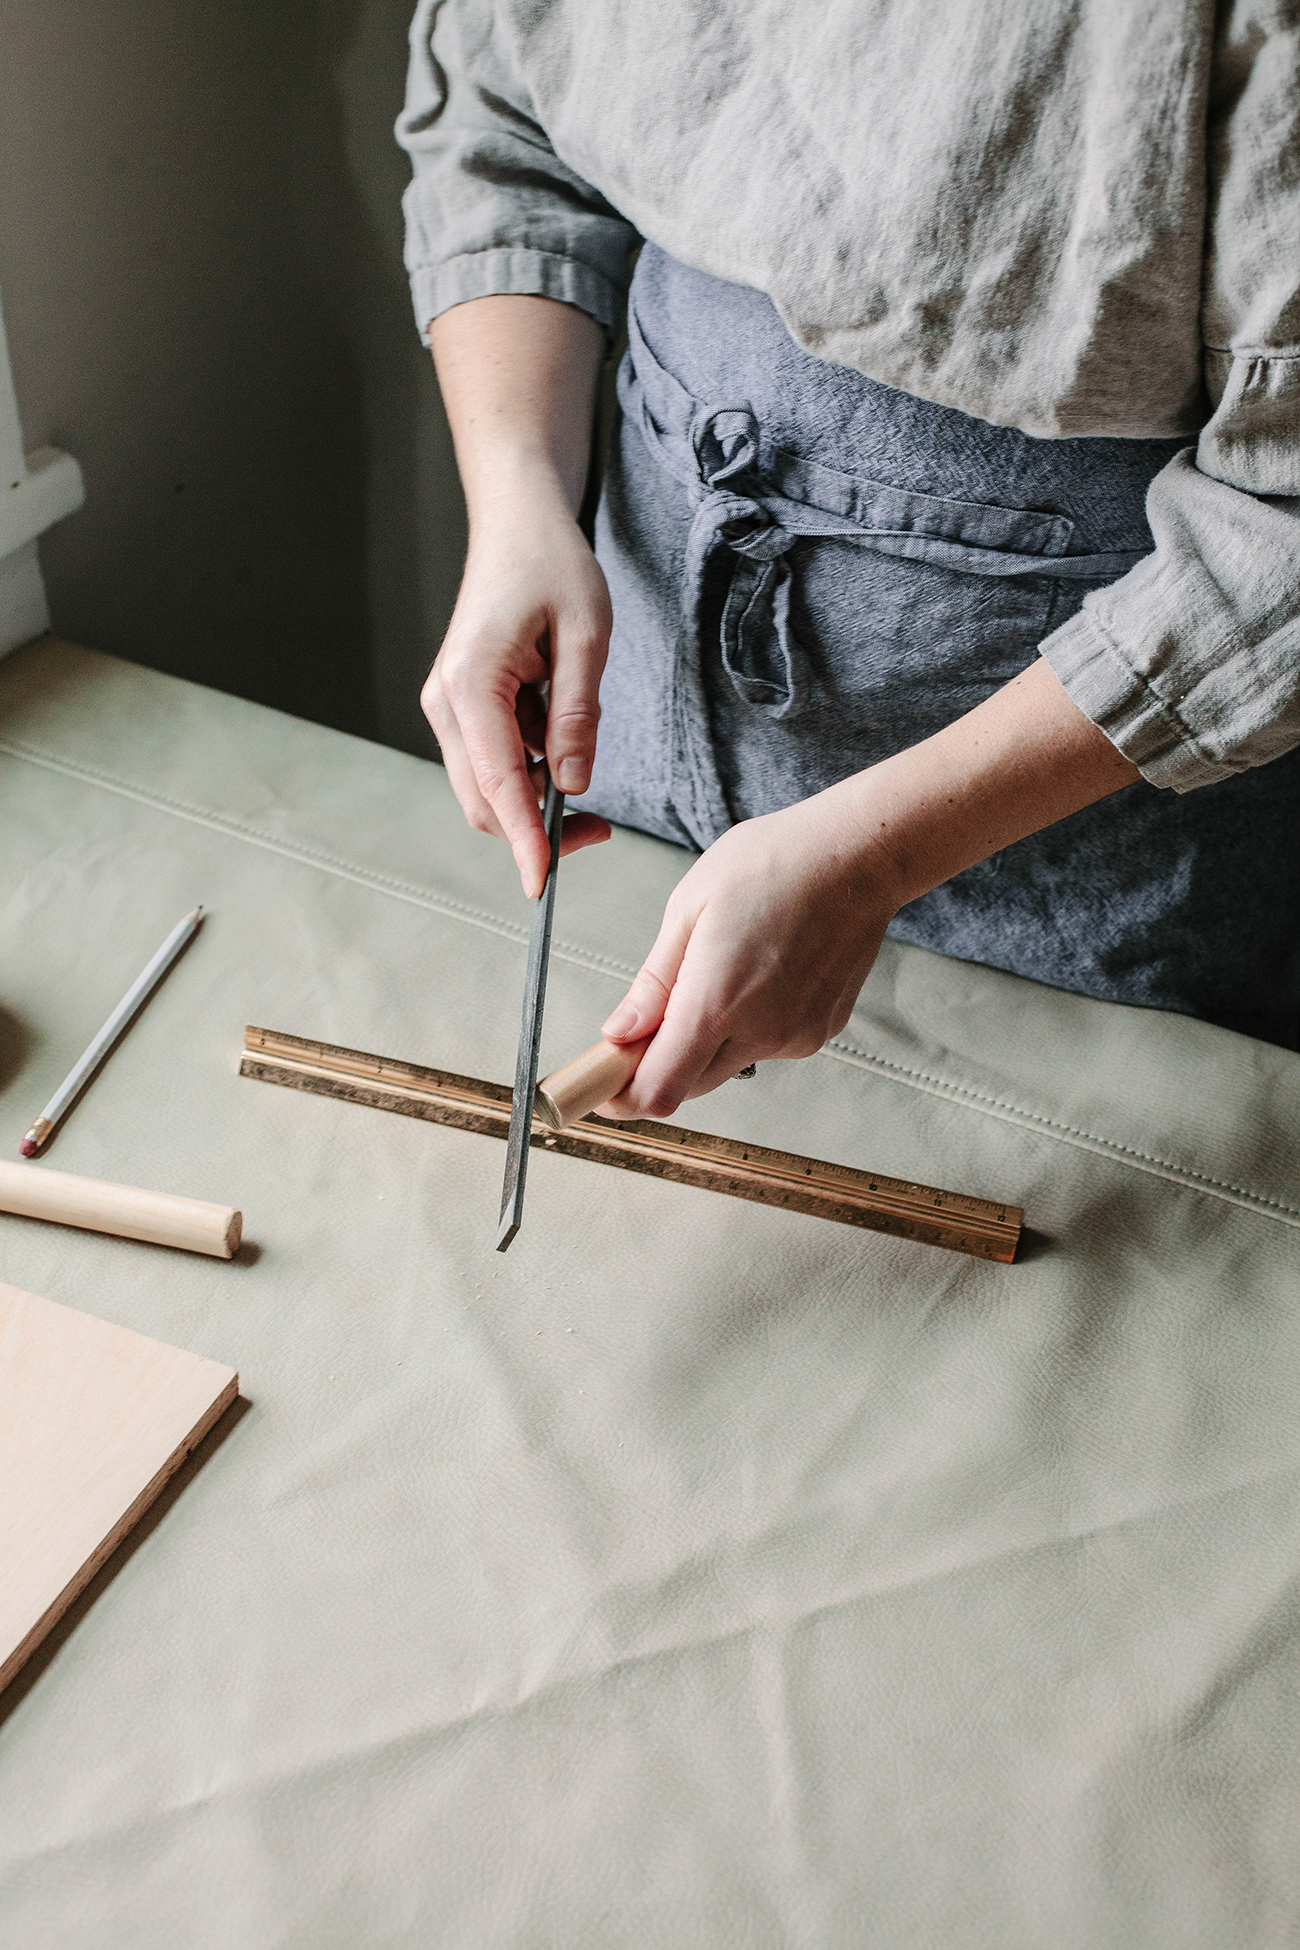
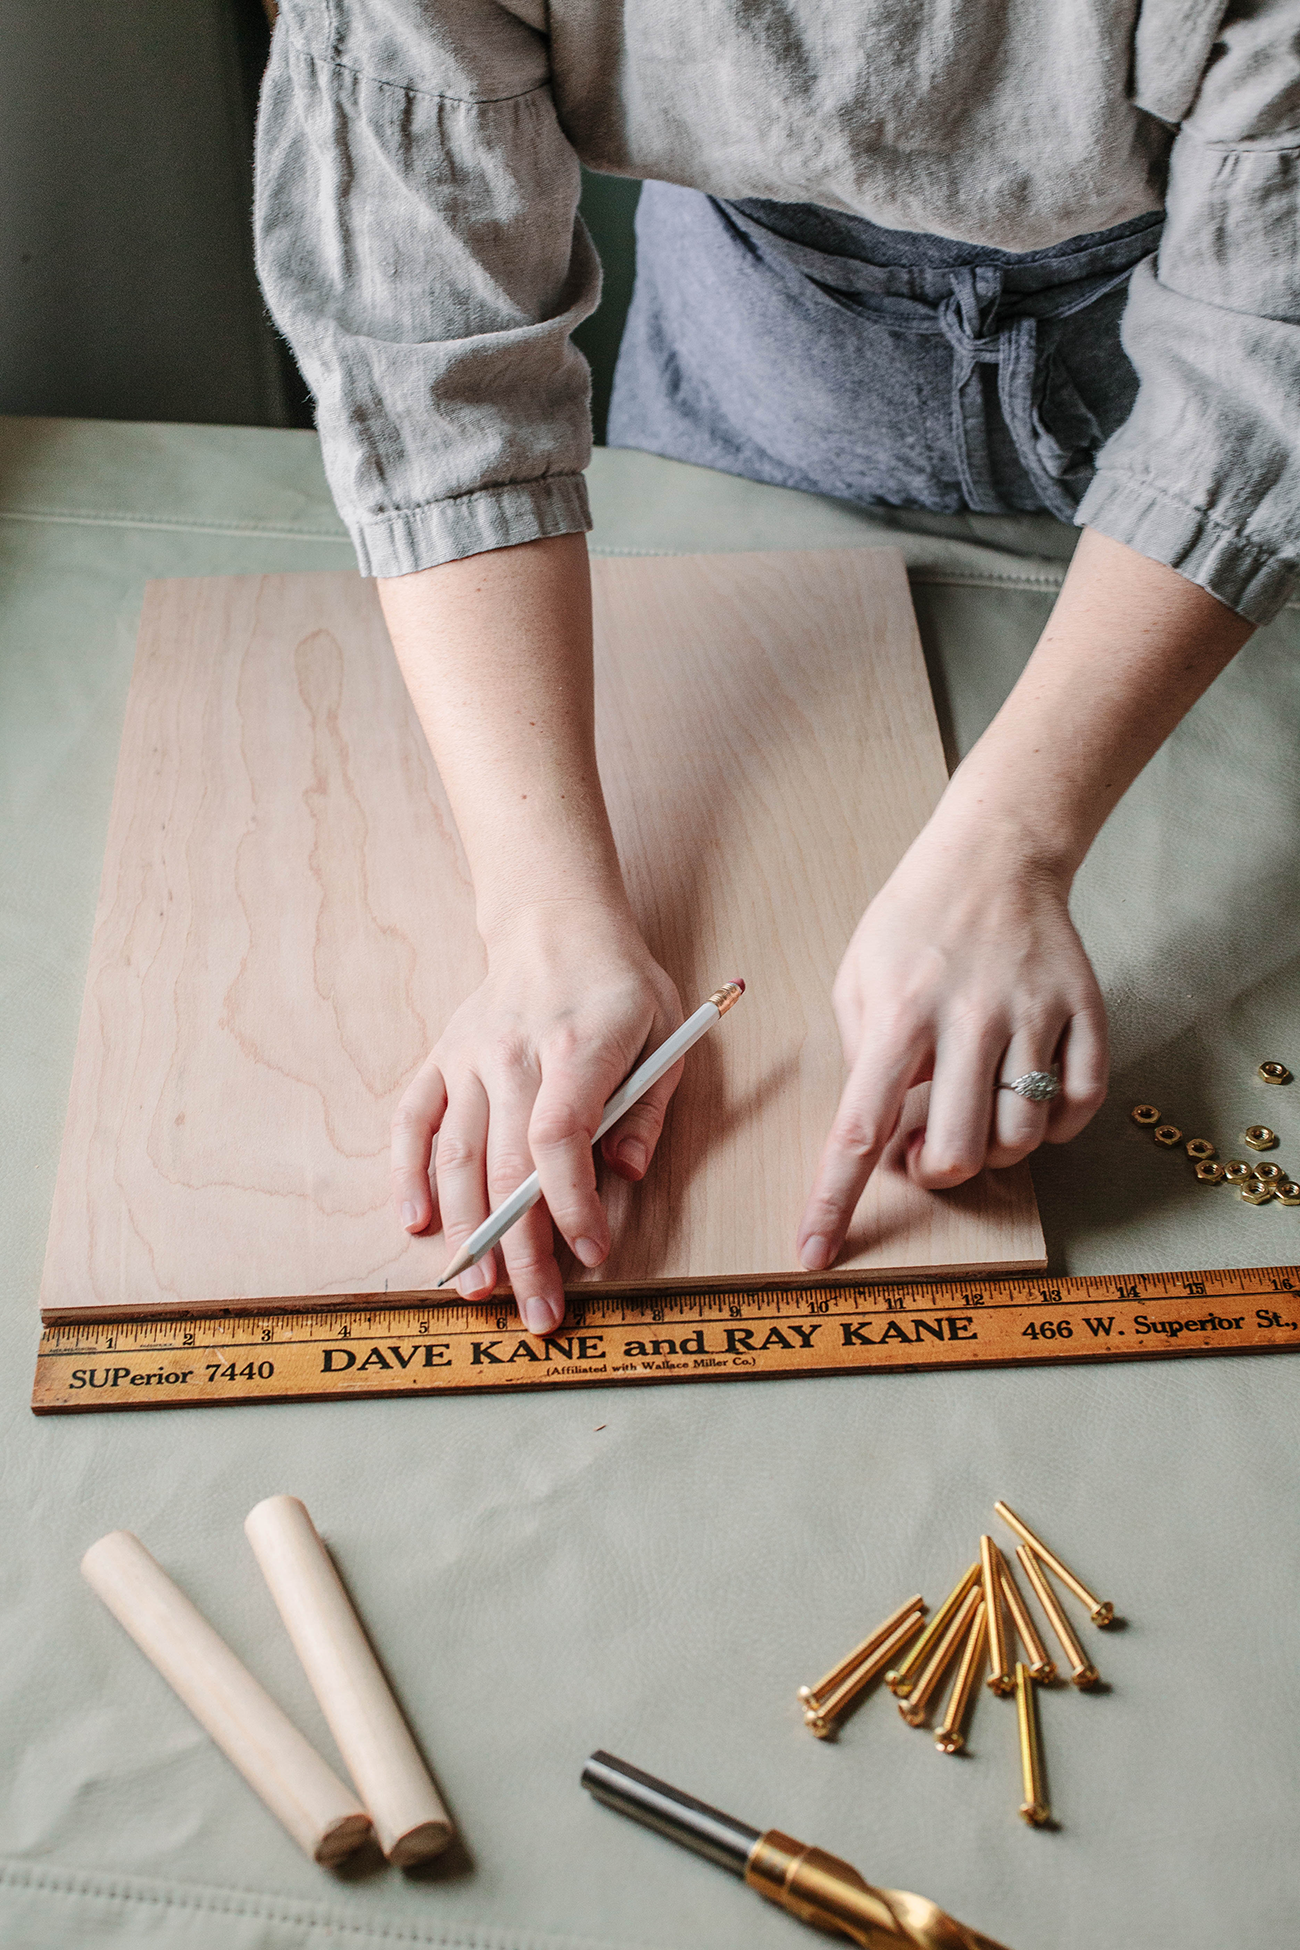
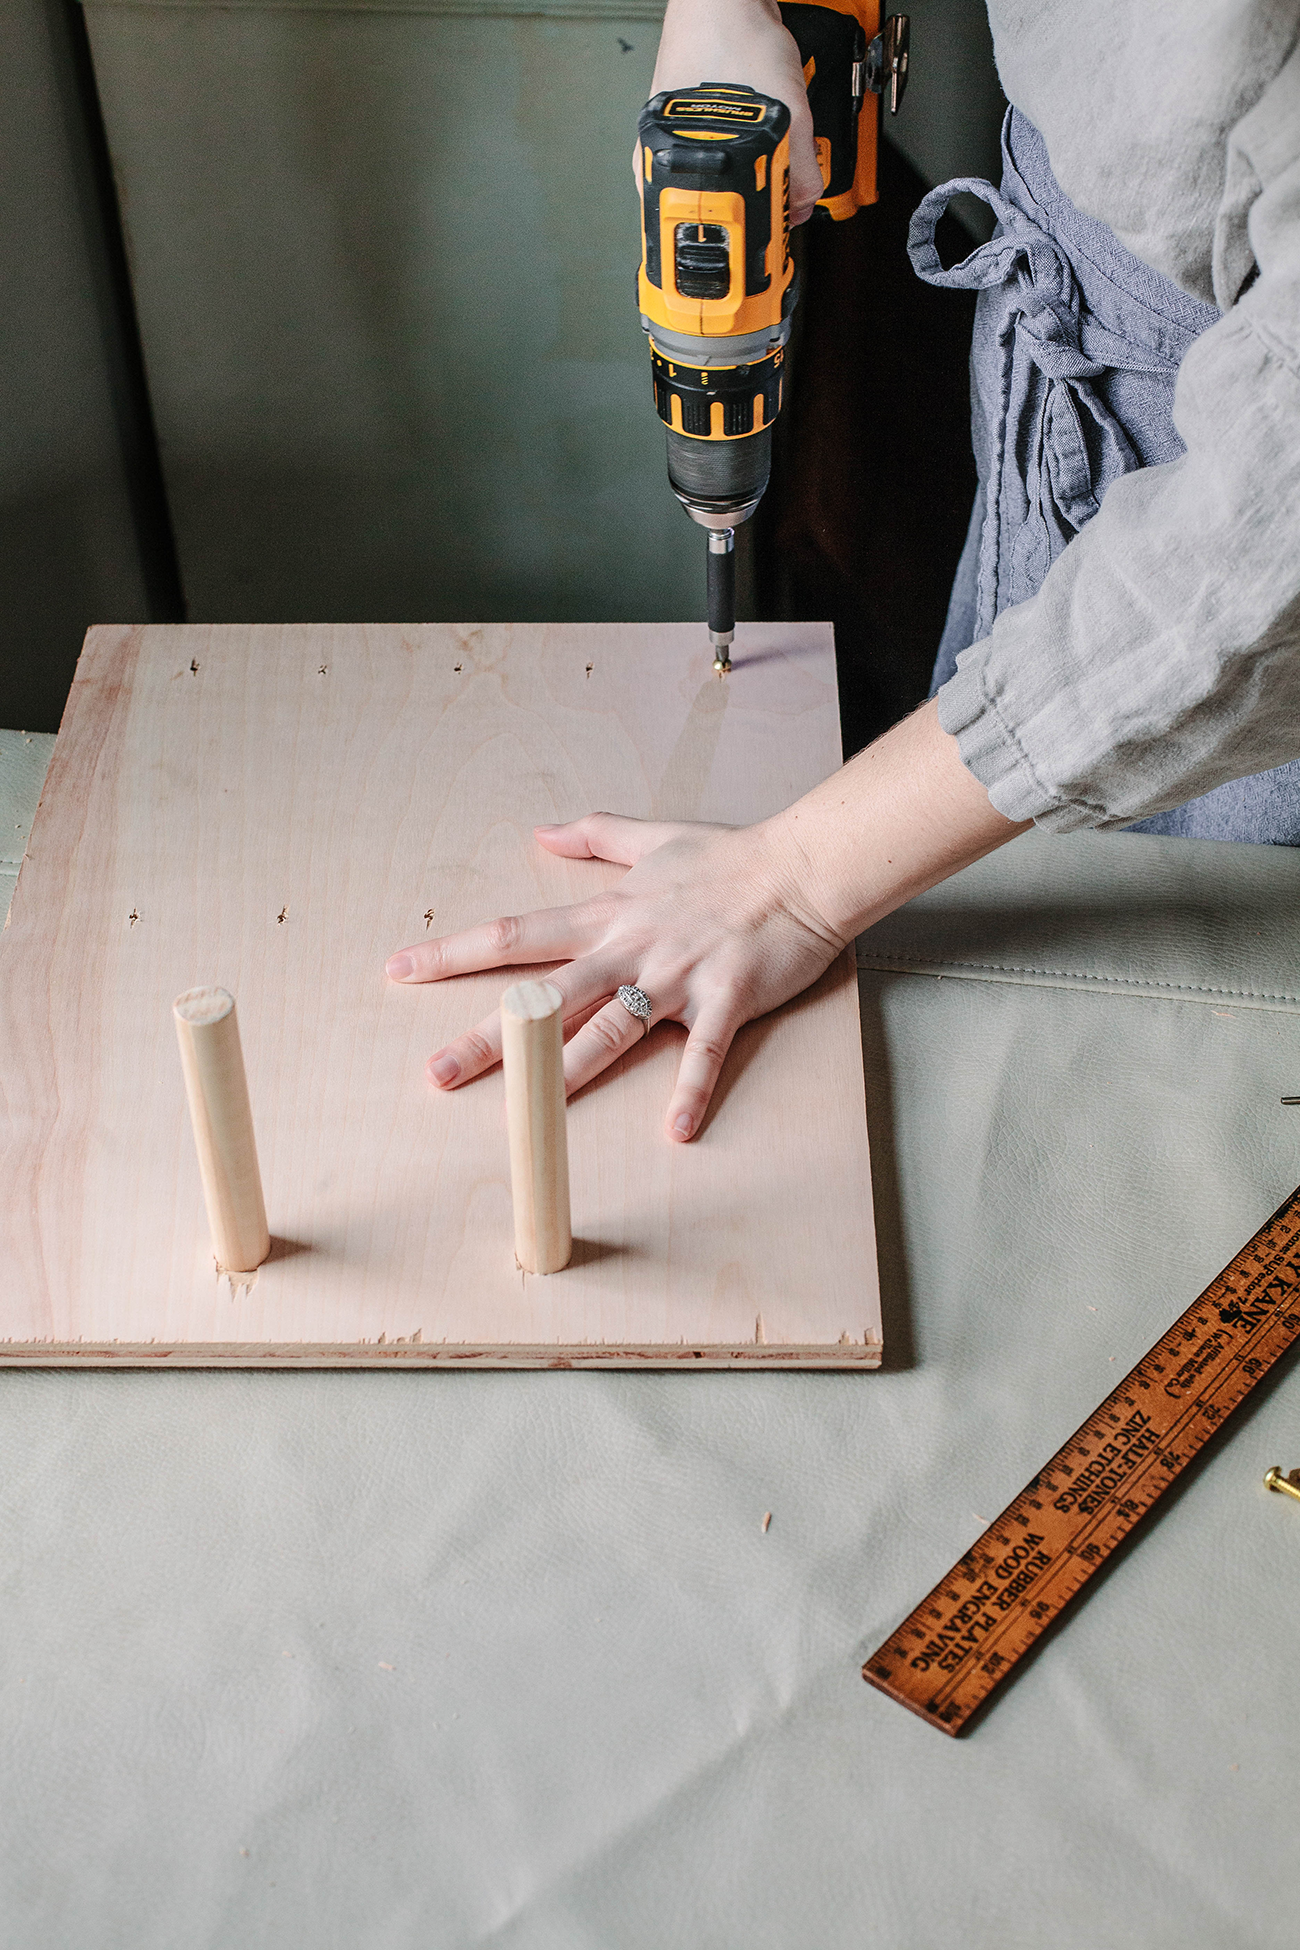
Directions
10. From the back of the plywood, drive brass machine screws through holes. On the front, fasten with nuts.
Sponsor Note: Although this post was sponsored by Zenni, all content, words, and ideas are my own. Thanks for supporting the partnerships that help keep this blog running.
Leave a Reply
Disclosure.
Discovering how to infuse our lives—ourselves, our work, our relationships, our homes, and our entertaining spaces—with simple beauty, more intention, and slow living principles.
Interested in working together?
Click here to visit the Contact page and get in touch.
PORTFOLIO
© 2020 A Daily Something — All Rights Reserved.
Design by TONIC.
Learn more about A Daily Something styling services, content creation offerings and view curated work.
CONTACT + COLLABORATE
MANIFESTO
Join the list to receive our thoughtful monthly letters, and to be the first to know of upcoming workshops, dinners, gatherings, and more.
SUBSCRIBE
ALL PHOTOS AND IMAGES ON A DAILY SOMETHING ARE BY A DAILY SOMETHING UNLESS OTHERWISE NOTED. IF YOU SEE AN IMAGE THAT IS NOT PROPERLY SOURCED, PLEASE LET US KNOW AND WE'LL UPDATE THE INFORMATION! IF YOU WOULD LIKE TO SHARE A PHOTO OR TUTORIAL FROM A DAILY SOMETHING, PLEASE ONLY SHARE ONE PHOTO, WHICH MUST BE CREDITED AND LINKED BACK TO A DAILY SOMETHING.
SPONSORED POSTS WILL ALWAYS BE DISCLOSED AND ANY GIFTED ITEMS WILL BE MARKED C/O. WE ONLY WORK WITH COMPANIES THAT ARE A GOOD FIT FOR THE A DAILY SOMETHING AESTHETIC AND CONTENT. THANK YOU FOR SUPPORTING THE COMPANIES THAT ENABLE US TO CONTINUE PRODUCING QUALITY CONTENT.

[…] This cute way to organize eyeglasses […]
This is SUCH a good idea!! And watching you do it, it “seems” like it would be so easy, lol. Sometimes I take on projects that really should be easy, and I sometimes make it not so easy:)
Laura
Black Coffee Beautiful