


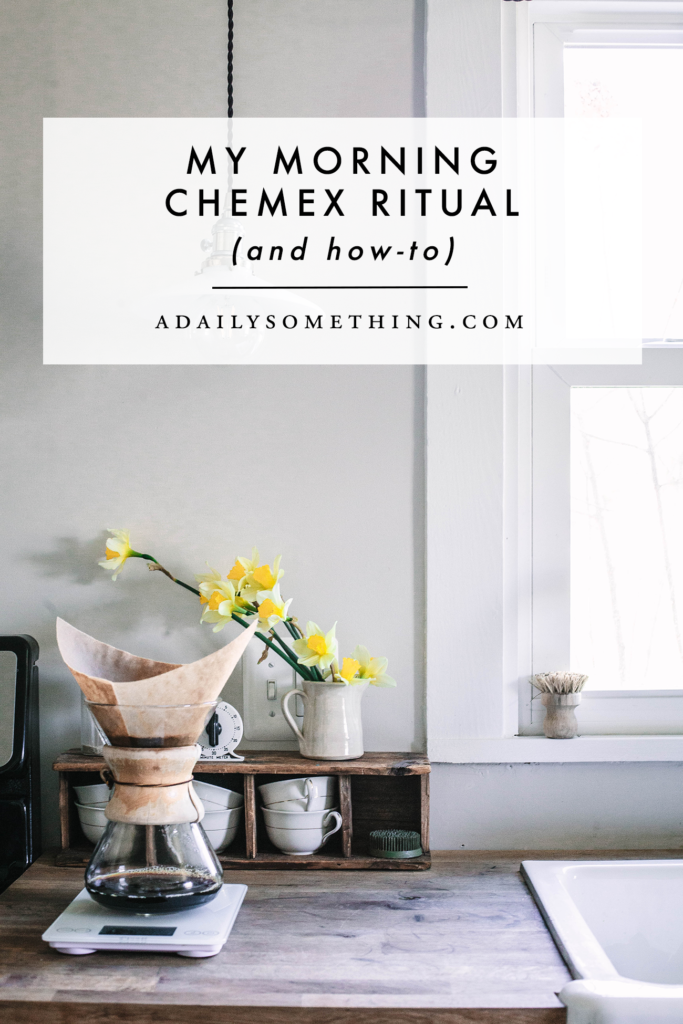
My Morning Coffee Ritual
 I cannot begin to tell you how happy I was to start drinking coffee again after the first trimester repulsion. During each of my pregnancies, coffee was – at best – unappealing for the first trimester, and – at worst – completely nauseating, even just the smell or thought. This time around, at about 3 months, I attempted to make my first cup since reading that positive test, because the thought didn’t sicken me and I was craving the experience. I was relieved to find out I hadn’t forgotten how to make a pour over, and it was a really beautiful and rewarding cup.
Coffee is such an important part of my mornings, and while I do love a good cup of tea, it just doesn’t compare. It’s not even [just] the caffeine. It’s the beautiful process, the intentional slowing down, the end result of a perfect cup of coffee.
I’ve never been much of a “morning” person; I love my sleep and if I had a choice, I’d probably sleep in until 11 AM every day. But, since becoming a mom, like a lot of moms, I’ve come to really savor and appreciate the quiet early morning hours.
Side note: We recently instituted a new family policy, and it’s been life-changing! The kids aren’t allowed to come downstairs until 8:00 AM. At 7:30 AM, they are permitted to quietly play in their rooms. If they wake up before then, they have to stay in bed quietly. We purchased this incredible sleep training CLOCK (the blush pink option), which changes colors based on the time; at 7:30 AM the light turns yellow, and at 8:00 AM the light turns green. I love the simple, modern design, and the fact that it’s training the kids while also teaching them the time and making my life easier. I highly recommend it, even if your children are much younger; children simply just need to understand their colors for the clock to do its trick!
I’ve been trying to wake up by 5:30 or 6:00, to give me a minimum of two hours before the kids’ descent. It’s been such a cherished time. I can really do anything or everything or nothing. It’s quiet. I can collect my thoughts, neaten up the kitchen, listen to a sermon, read my Bible and pray, get some work in, etc. I don’t have a particular “routine” except that I always make a cup of pour over coffee. First thing. Always.
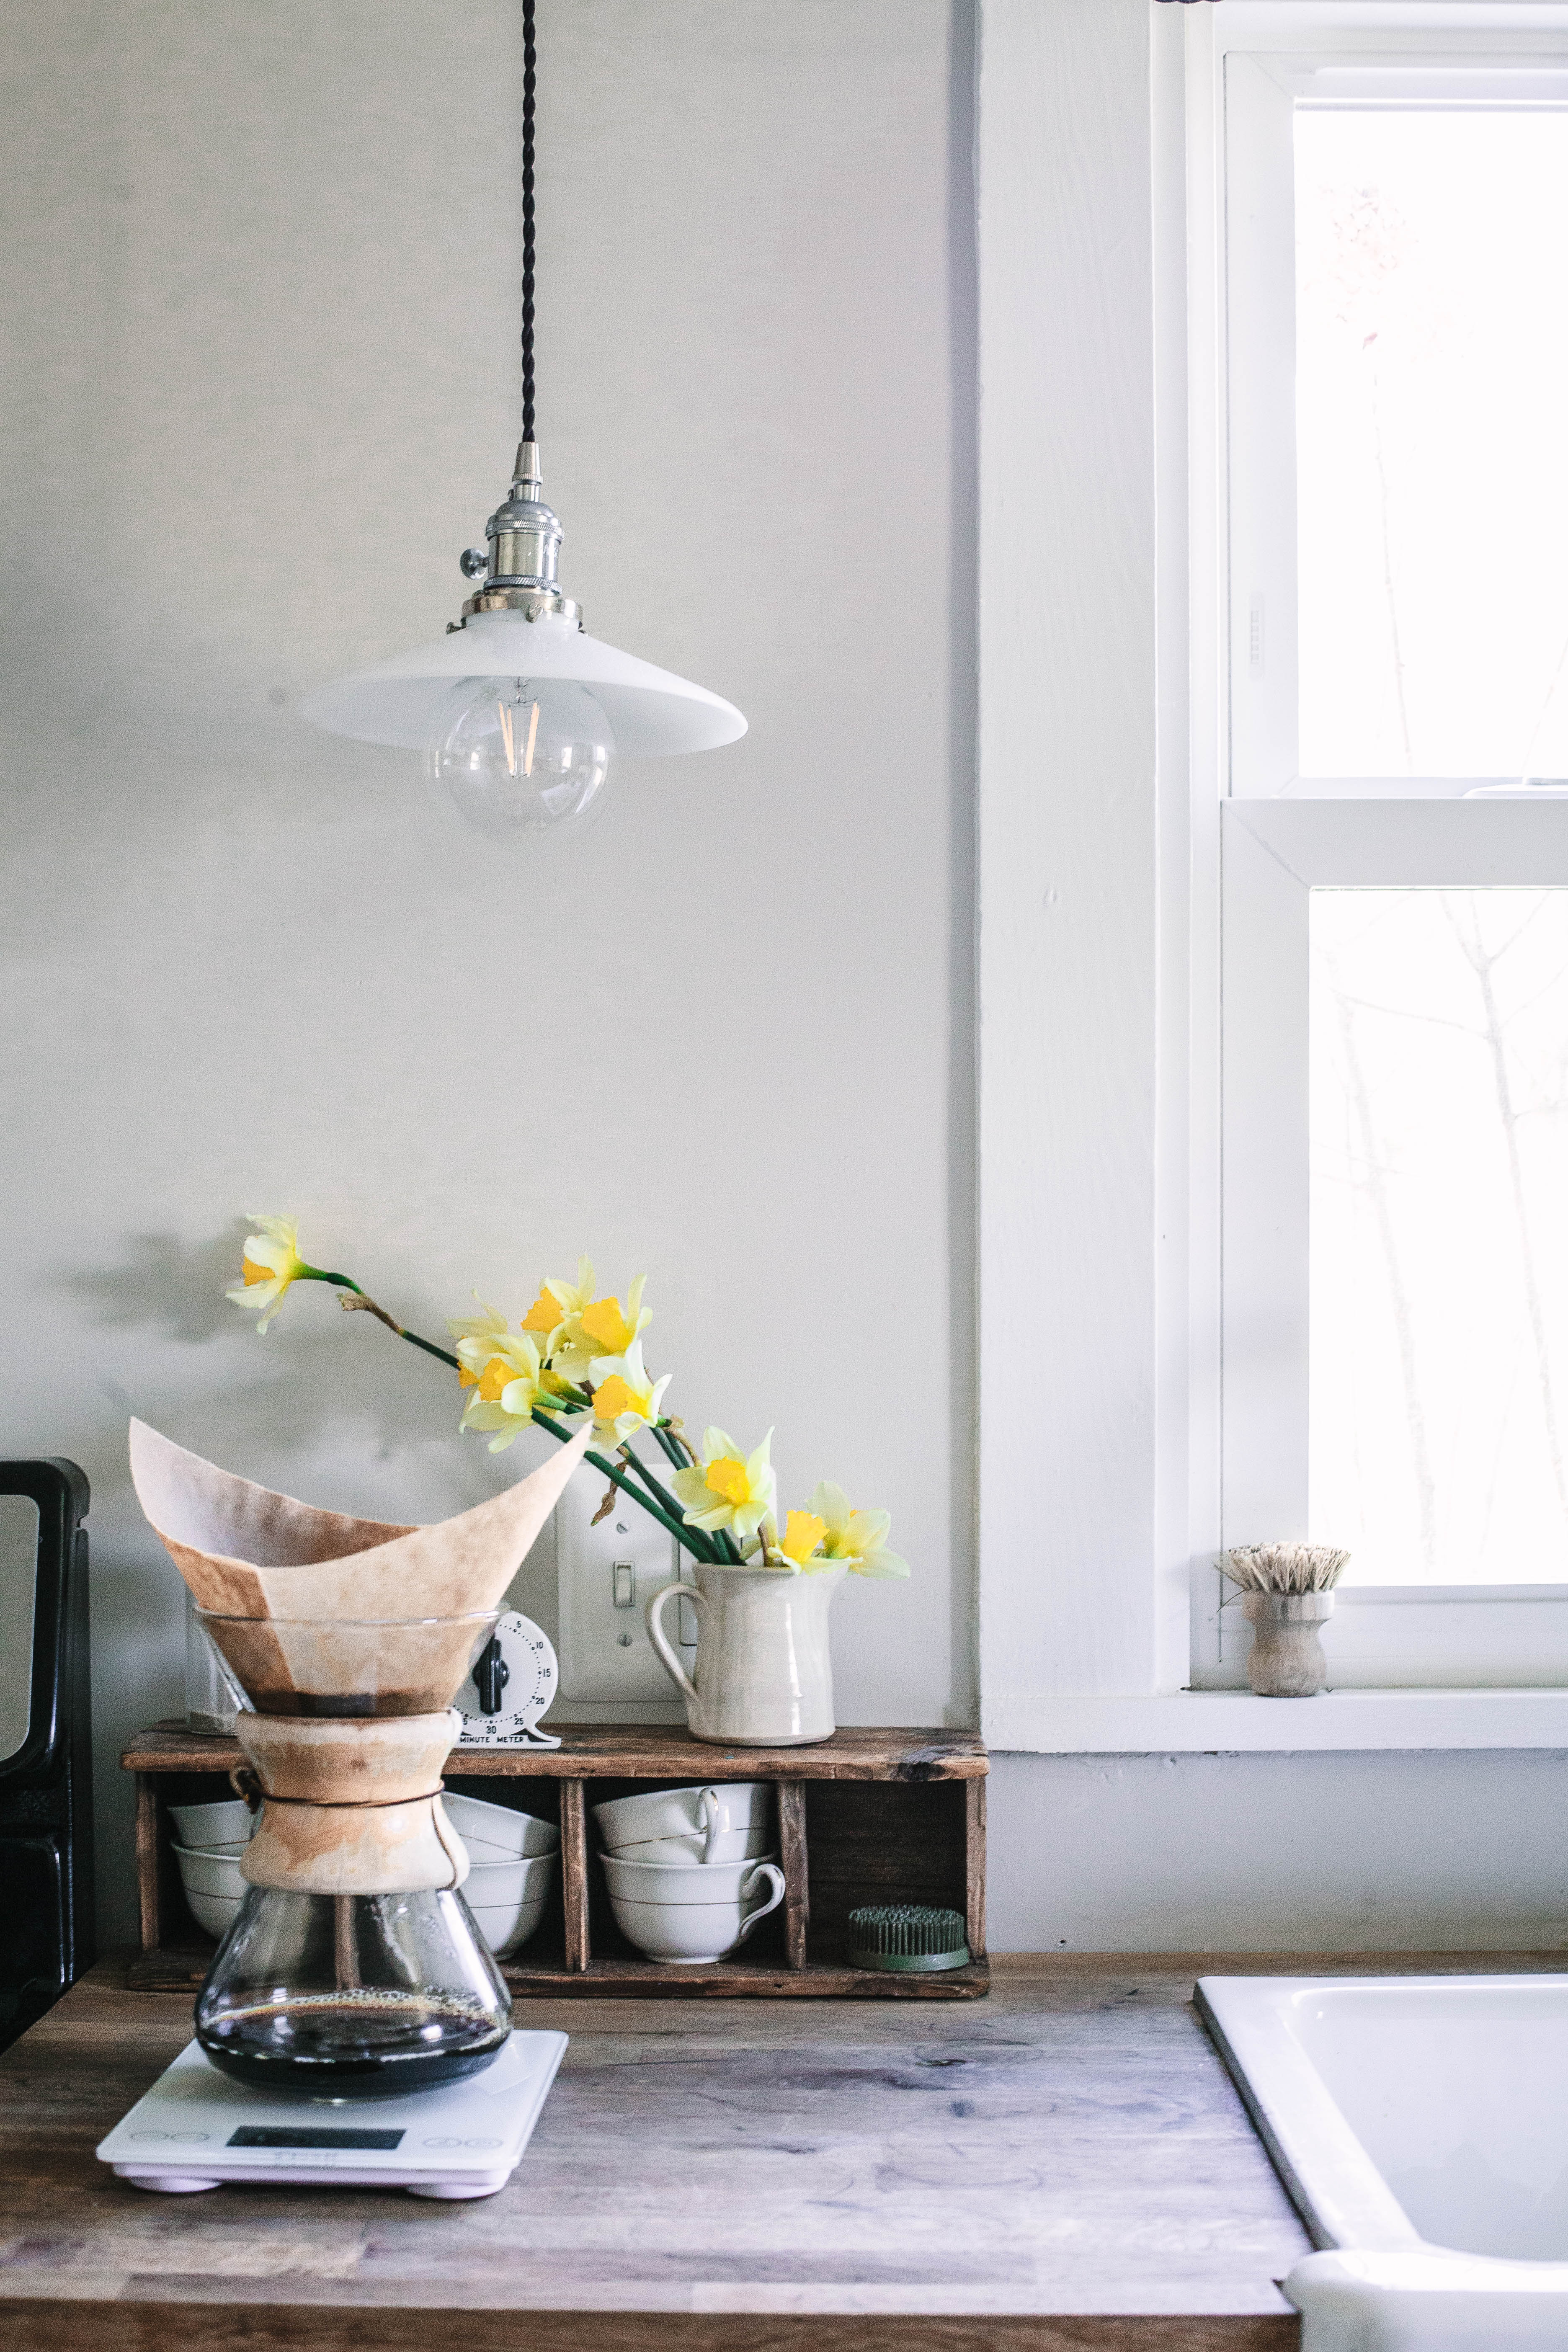
I’ve gotten lots of questions about my coffee ritual, I thought I’d explain the process here and link to the supplies I use! I started using a Chemex for my daily cuppa back nearly 10 years ago. I like to think it was before it was trendy, but I highly doubt that was the case. My friend Wendy actually picked up a Chemex coffee maker for me at a yard sale, and that started my obsession. I was so intrigued by the beautiful design, I began to research how to use it.
The basic idea behind the Chemex is that, if used properly, it will brew a perfect cup of coffee every single time. Based upon the coffee beans you are using (quality is huge here!) and your personal preference, you develop the perfect ratio of ground beans to water. The beans need to be ground at just the right coarseness to allow for proper extraction, the water needs just be just off the boil, and the pour should be slow, steady, and circular. It sounds like a lot to remember, but it all becomes second nature, and a beautiful ritual to look forward to each morning.
Here are the basic steps to brewing with the Chemex:
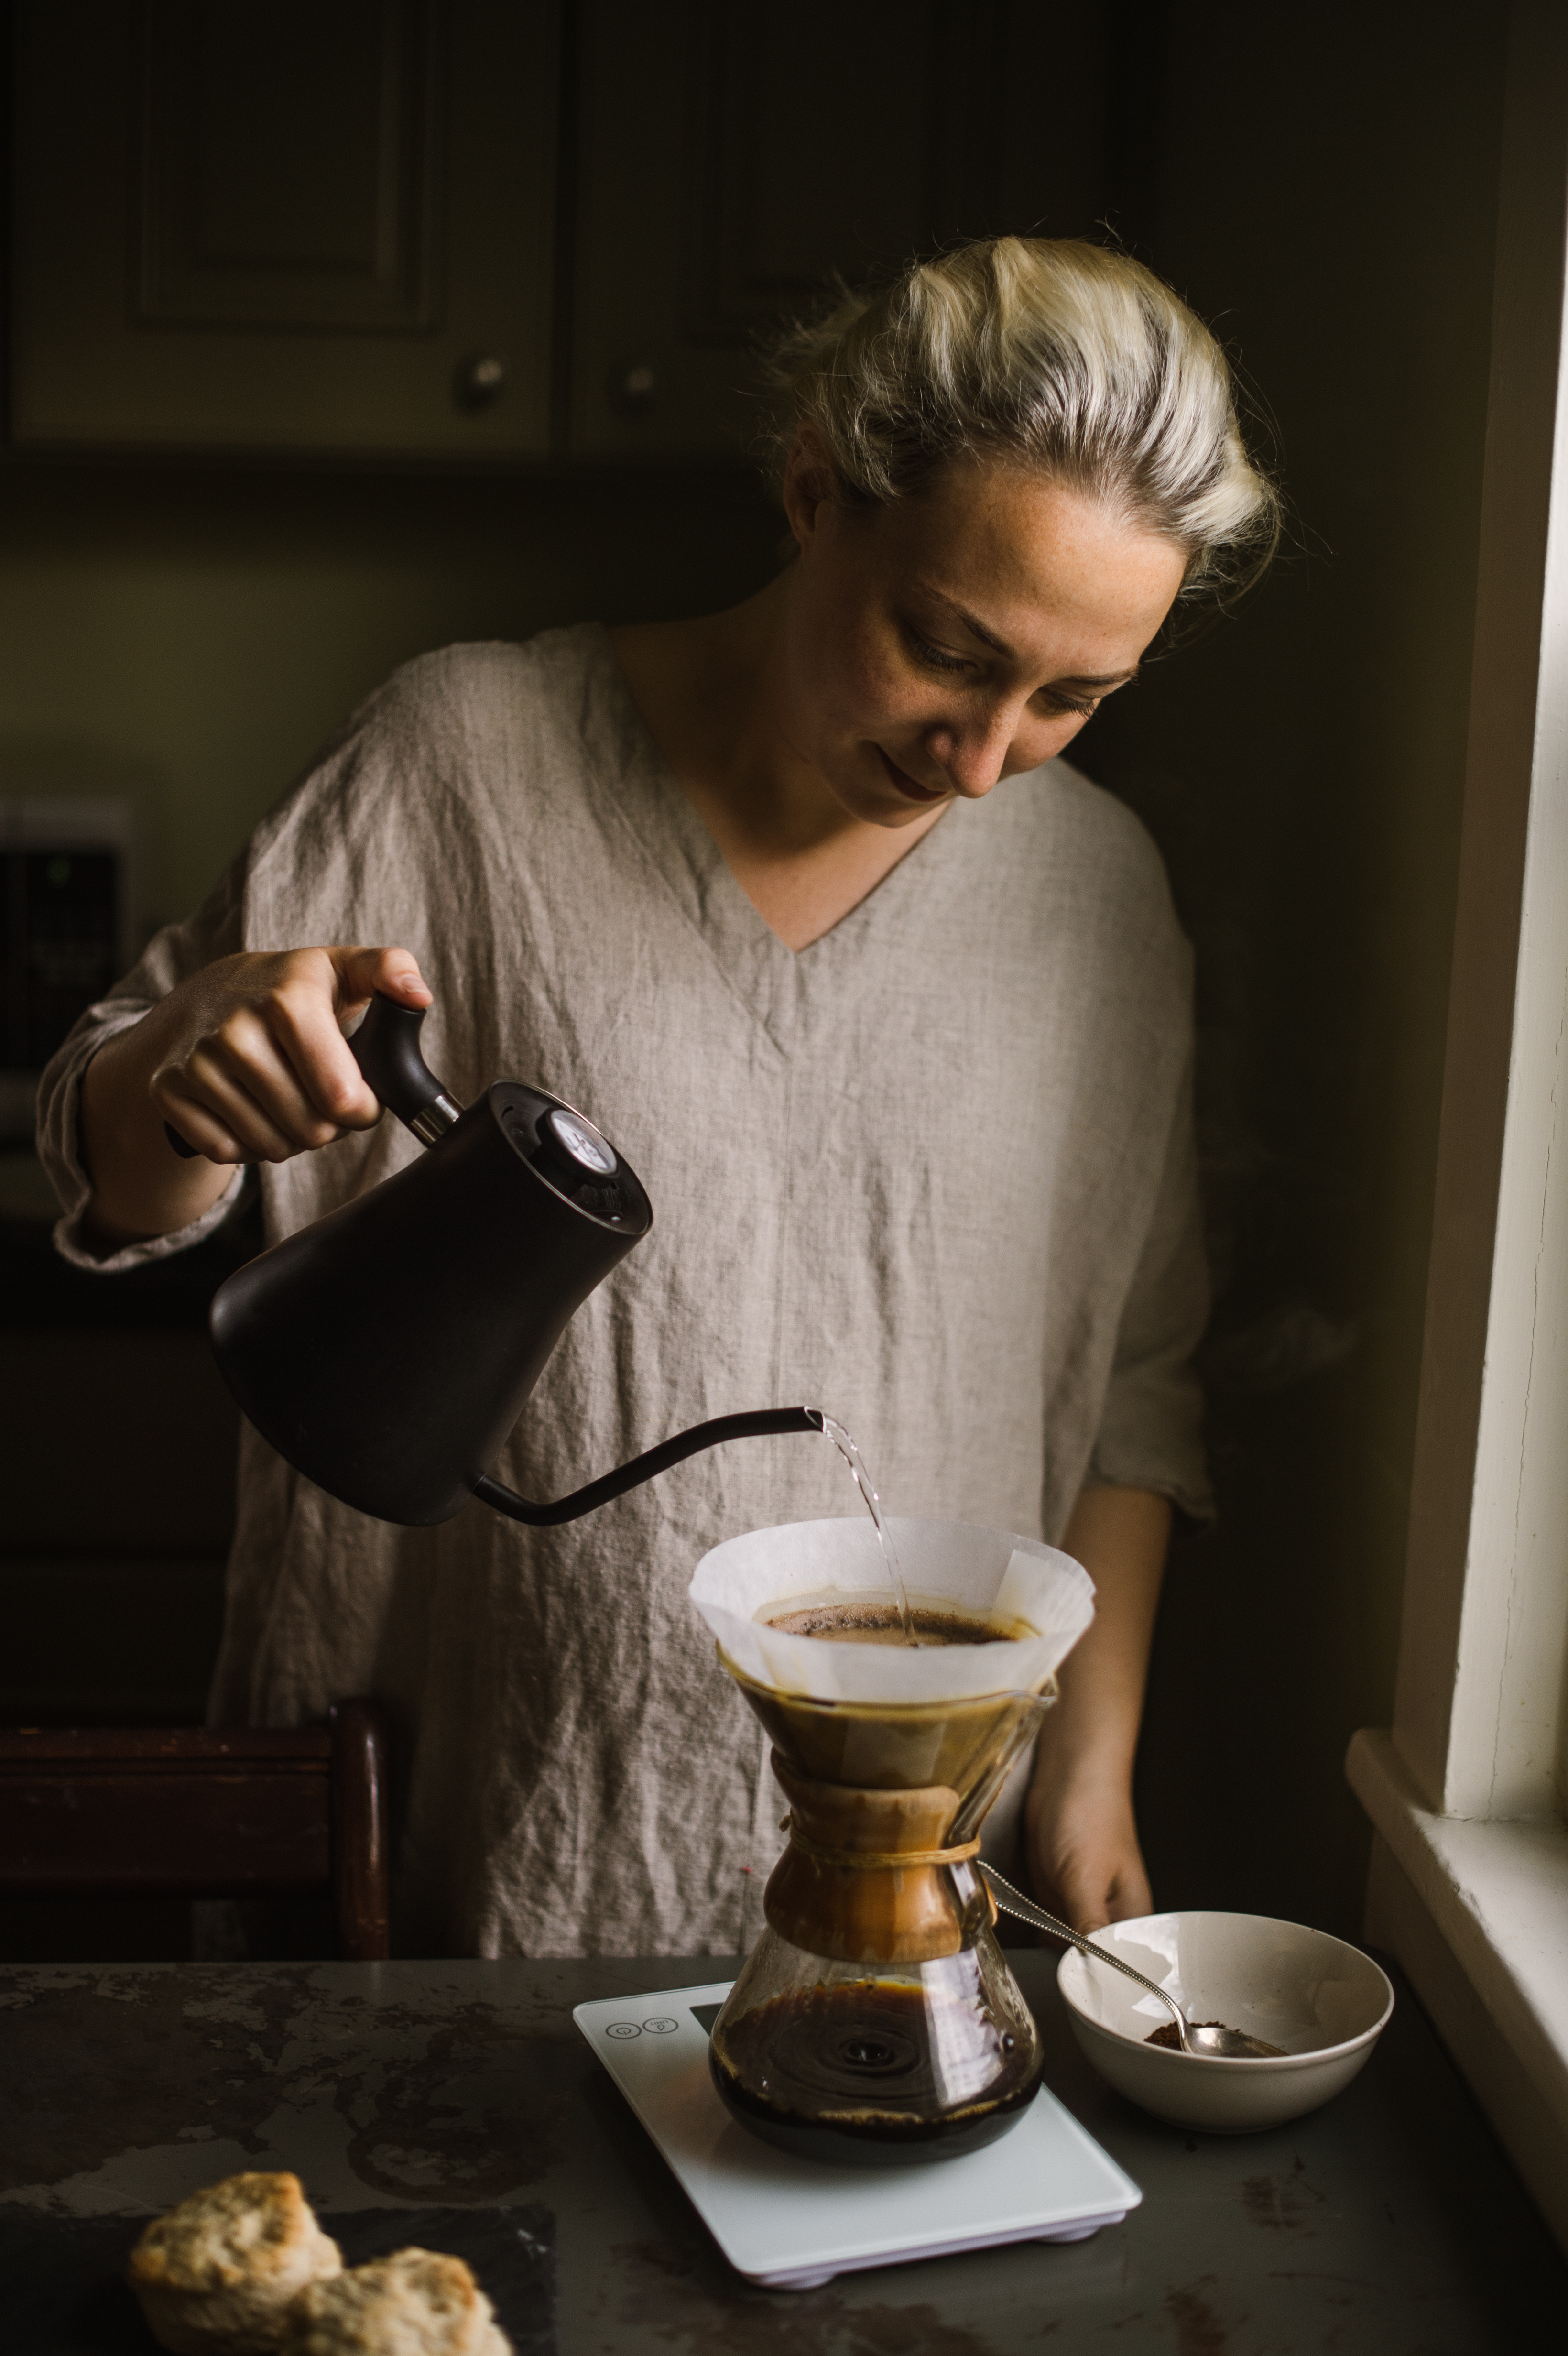
- Put water on to boil. I use a special pour over kettle that pours at the perfect flow rate, and has a temperature gauge build in.
- Place grinder on scale, tare scale to zero, weigh desired amount of whole beans in grinder.
- Grind beans.
- While waiting for water to boil, prep filter. Keep filter folded in a square, but open so you have a 3-layered side and a 1-layer side. Place filter in Chemex with the three-layered side facing the spout. Using the water from the kettle (doesn’t have to be boiling yet) rinse the filter well to remove any papery taste. Discard water from Chemex (but don’t remove the filter). Just pour, and the water will escape out the spout.
- Place Chemex on scale, then tare scale to zero. Dump in desired grams of ground coffee beans, checking that weight hasn’t changed after grinding.
- Tare scale to zero.
- When water is just off the boil, pour water over coffee in a circular motion to just moisten all grounds. This is called the bloom, and is important to allow the coffee to de-gas.
- After about one minute, pour another batch of water over the beans, about 70-100 grams. Continue with pours until desired grams of water is reached. Always pour in a slow, circular motion, starting in the center and making your way outwards. Never pour along the edge of the filter.
- Remove filter (compost it!) and enjoy your perfect cuppa!
There are much more in-depth explanations (and suggestions for coffee beans to water ratios) all over the internet. I particularly like Intelligentsia’s brewing guide; it’s a great place to start if you’re just beginning. Here’s a very detailed article about coffee extraction, among other things.
I’m currently brewing 25 grams ground coffee beans to 335 grams water, but I like my coffee on the stronger side. With a splash of heavy cream (because I’m not THAT legit to drink it black, at least not most of the time).
Here are the coffee supplies I use every single day (and highly recommend):
- Chemex Coffee Maker
- Chemex Filters
- Escali Glass Digital Scale
- Pour Over Kettle
- Cordial Coffee Beans
- Brim Handheld Electric Coffee Grinder
Making coffee in this beautiful, intentional way has become a part of my day that I look forward to the moment it’s over. I love that these day-to-day necessities are beautiful enough to serve not only their intended function, but also as kitchen decor. They are stored on my open shelving, and bring me much joy to look at. The interesting sculptural shape of the Chemex, the sleek white scale, the matte black kettle, all intentional objects with which to play around with and make vignettes and fill the kitchen with simple moments of beauty.
Are you a morning person (or trying to be one)? Here are some other posts I wrote on mornings:
Five Ways to Start a Good Morning Routine
My Morning Routine (from two years ago, in 2017)
Making the Most of Working from Home
Read more about my life as a Work-From-Home mom!

Leave a Reply
Disclosure.
Discovering how to infuse our lives—ourselves, our work, our relationships, our homes, and our entertaining spaces—with simple beauty, more intention, and slow living principles.
Interested in working together?
Click here to visit the Contact page and get in touch.
PORTFOLIO
© 2020 A Daily Something — All Rights Reserved.
Design by TONIC.
Learn more about A Daily Something styling services, content creation offerings and view curated work.
CONTACT + COLLABORATE
MANIFESTO
Join the list to receive our thoughtful monthly letters, and to be the first to know of upcoming workshops, dinners, gatherings, and more.
SUBSCRIBE
ALL PHOTOS AND IMAGES ON A DAILY SOMETHING ARE BY A DAILY SOMETHING UNLESS OTHERWISE NOTED. IF YOU SEE AN IMAGE THAT IS NOT PROPERLY SOURCED, PLEASE LET US KNOW AND WE'LL UPDATE THE INFORMATION! IF YOU WOULD LIKE TO SHARE A PHOTO OR TUTORIAL FROM A DAILY SOMETHING, PLEASE ONLY SHARE ONE PHOTO, WHICH MUST BE CREDITED AND LINKED BACK TO A DAILY SOMETHING.
SPONSORED POSTS WILL ALWAYS BE DISCLOSED AND ANY GIFTED ITEMS WILL BE MARKED C/O. WE ONLY WORK WITH COMPANIES THAT ARE A GOOD FIT FOR THE A DAILY SOMETHING AESTHETIC AND CONTENT. THANK YOU FOR SUPPORTING THE COMPANIES THAT ENABLE US TO CONTINUE PRODUCING QUALITY CONTENT.
