


diy | burlap + botanical backdrop
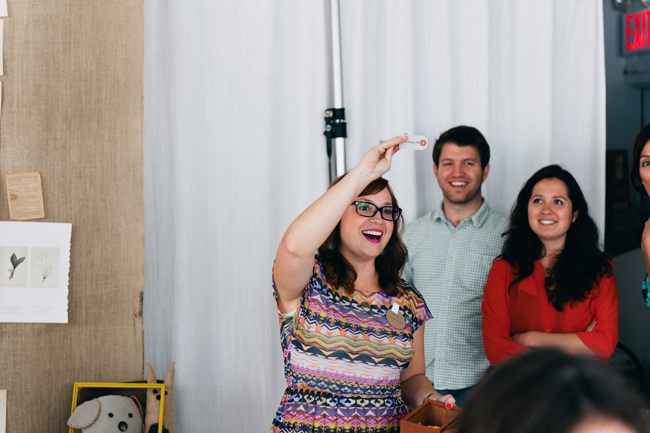
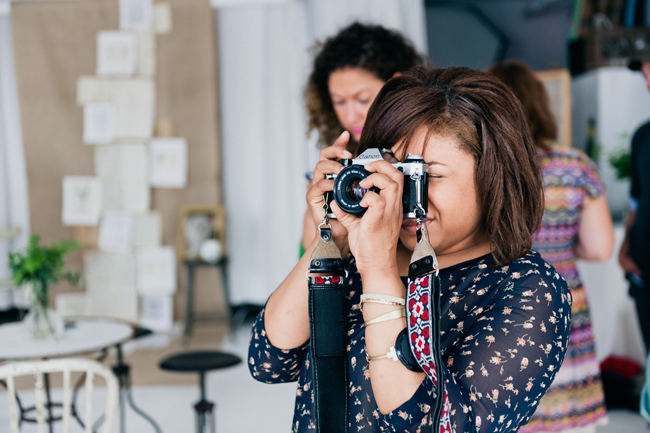
Last August, Michelle Edgemont and I hosted Blog Bash NYC. The lovely Victoria was visiting, and we wanted to properly welcome her to NYC, which was a wonderful excuse to plan a blogger extravaganza. So many lovely ladies joined us for a morning of mingling, music, tasty treats, drinks, laughs, and just pure fun! I cannot wait to plan another; maybe it will be Blog Bash DC next time around?!
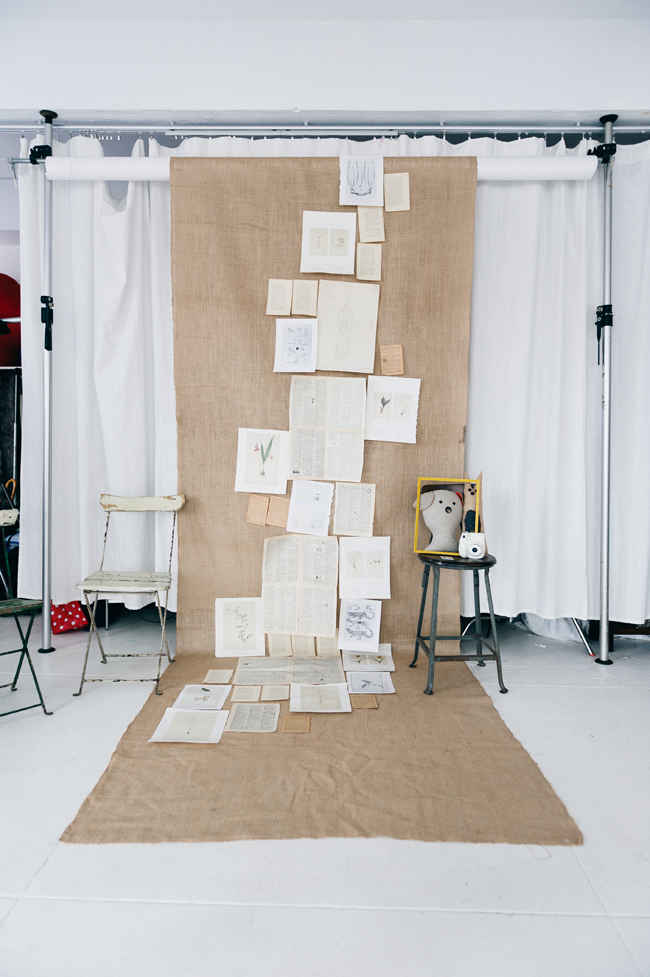
One of my favorite details to make for Blog Bash was this burlap and botanical backdrop. It was the photo backdrop, but I also like to think of it as an art installation (it’s still intact, all nicely rolled up, just waiting for its new home on my [someday] studio wall). While the backdrop was a bit time-consuming to make, it’s such a statement piece AND if you have fabric/burlap lying around, it’s virtually free!
Here’s how I made the backdrop:
Supplies:
– length of burlap (mine was about 13′)
– needle
– thread
– assorted old books that you won’t mind ripping up (I used a huge dictionary, a book of botanical prints, another vintage book, and a book of scientific drawing of animals).
– something to hang it from/with (we used the paper roll already hanging, but you could make something similar with a stick from outside or a wooden dowel. You might even be able to hang it from a wall using tape, or nails.)

Directions:
First, you’ll want to determine what theme/books you’ll be using. I’d love to use different types of books one day, to create a child’s birthday backdrop. Gather your books/pages so you’re ready for the layout step.
Next, you’re going to play around with the page arrangement until you love it. So, lay the burlap flat on the floor (I was lucky + working in my mom’s huge parlor at the time; if you don’t have a huge space, work in smaller segments) and start placing the pages. I actually started in the middle, and then moved upwards, and finished with the bottom segment.
The fun part comes next! After you’re pleased with the layout of the book page, you’re going to get your needle and thread, and make two large stitches in the top and center of each page, to secure them to the burlap. Be careful, because old pages tend to tear very easily! After your stitches are made, tie a knot, cut the thread, and move on to the next page! This took a few hours, but I recommend getting it done all at once. You don’t want your husband/children/pets walking on the burlap once you’ve painstakingly arranged everything. And, after you’ve sewn the pages, roll it up (around a cardboard tube) to protect your work!
The last step is hanging. Like I mentioned above, I hung this one over the already-installed paper roll. But you could easily hang a stick or wooden dowel from the ceiling or wall using 3M hooks. Then, with the help of a buddy, simply wrap the top of the burlap around the stick, and stitch the burlap to secure it in place. Alternatively, you could try hanging it from a wall using tape or nails.
Let me know if you try this; I’d love to see other versions!
Photography by Chris Ozer for A Daily Something.
P.S. Don’t you love those little plush toys I’m holding?! They’re Doodads and Noodles, handmade by the dearest of friends, Wendy Thomas and her son Josh. Get ready to hear more about them come June!
Leave a Reply
Disclosure.
Discovering how to infuse our lives—ourselves, our work, our relationships, our homes, and our entertaining spaces—with simple beauty, more intention, and slow living principles.
Interested in working together?
Click here to visit the Contact page and get in touch.
PORTFOLIO
© 2020 A Daily Something — All Rights Reserved.
Design by TONIC.
Learn more about A Daily Something styling services, content creation offerings and view curated work.
CONTACT + COLLABORATE
MANIFESTO
Join the list to receive our thoughtful monthly letters, and to be the first to know of upcoming workshops, dinners, gatherings, and more.
SUBSCRIBE
ALL PHOTOS AND IMAGES ON A DAILY SOMETHING ARE BY A DAILY SOMETHING UNLESS OTHERWISE NOTED. IF YOU SEE AN IMAGE THAT IS NOT PROPERLY SOURCED, PLEASE LET US KNOW AND WE'LL UPDATE THE INFORMATION! IF YOU WOULD LIKE TO SHARE A PHOTO OR TUTORIAL FROM A DAILY SOMETHING, PLEASE ONLY SHARE ONE PHOTO, WHICH MUST BE CREDITED AND LINKED BACK TO A DAILY SOMETHING.
SPONSORED POSTS WILL ALWAYS BE DISCLOSED AND ANY GIFTED ITEMS WILL BE MARKED C/O. WE ONLY WORK WITH COMPANIES THAT ARE A GOOD FIT FOR THE A DAILY SOMETHING AESTHETIC AND CONTENT. THANK YOU FOR SUPPORTING THE COMPANIES THAT ENABLE US TO CONTINUE PRODUCING QUALITY CONTENT.

This is gorgeous Rebecca. I wish I could have been at that party. Looks like you guys had fun. All the photos that I've seen have been amazing!
Beautiful!!
Oh hey, it's me! I loved that backdrop. You're so creative 🙂