


A Day at the Dairy Farm and Homemade Butter Four Ways


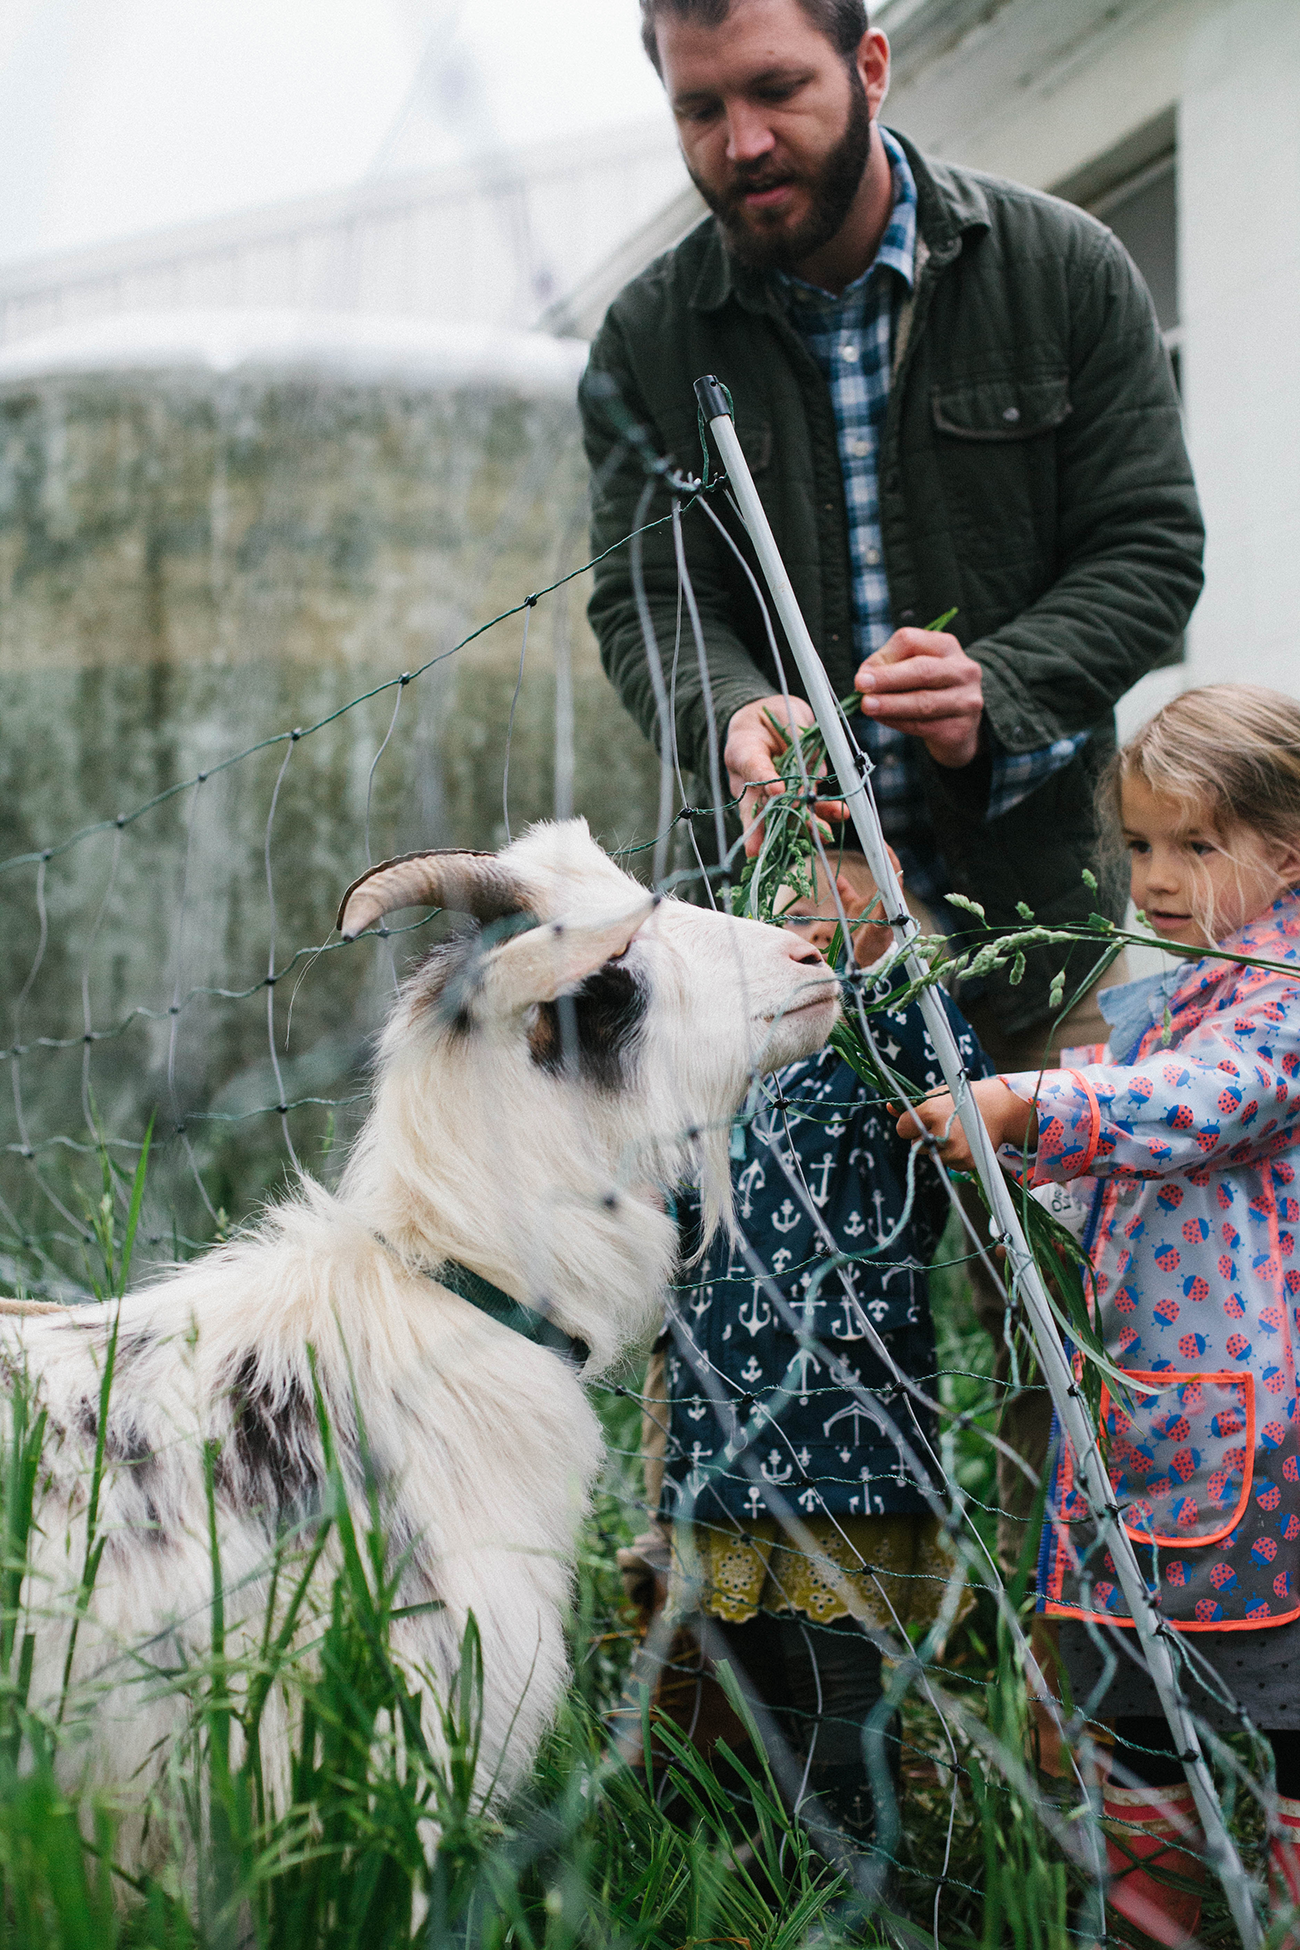
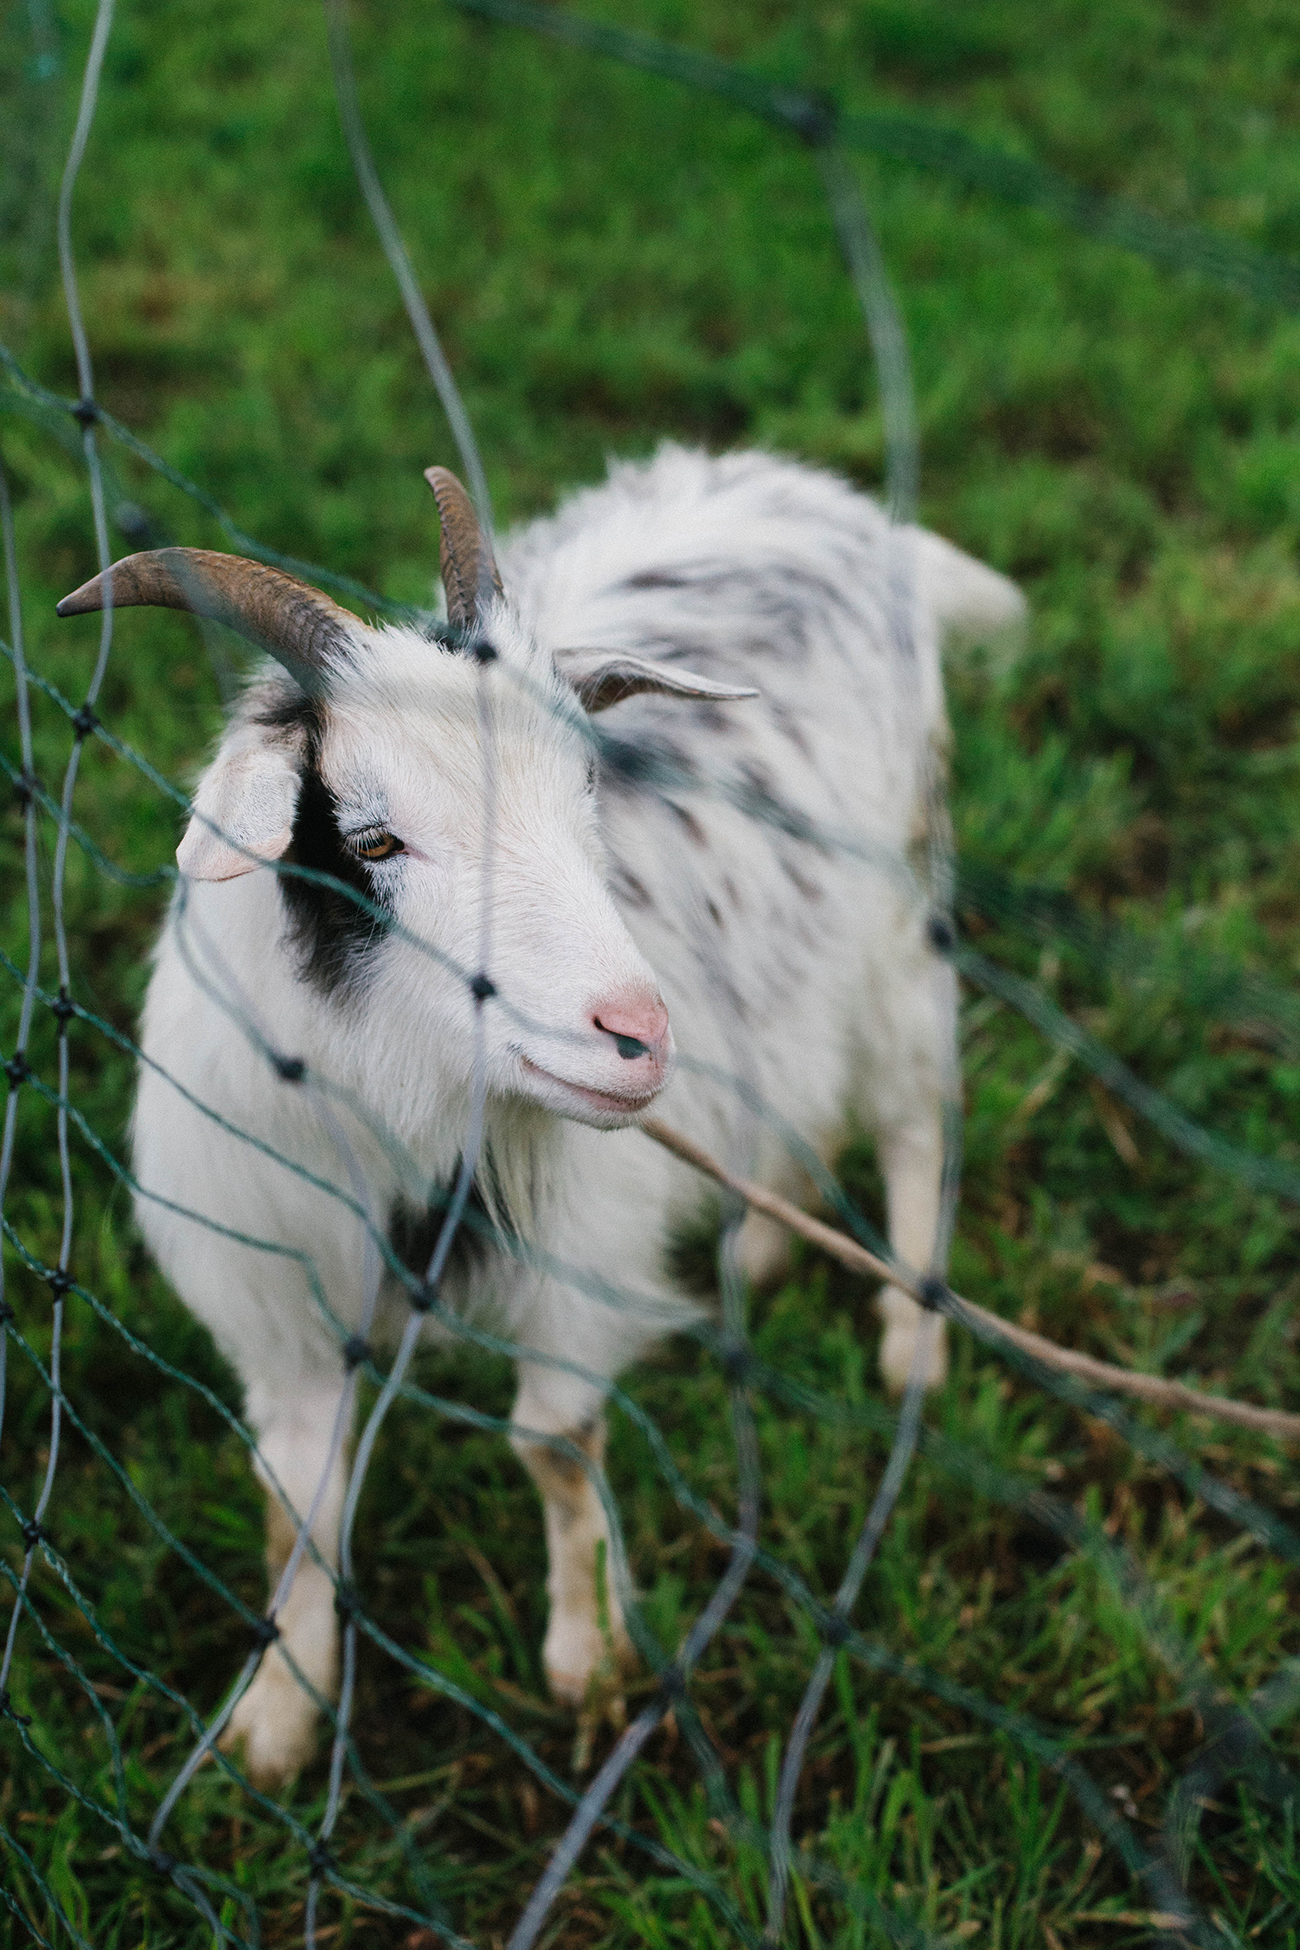
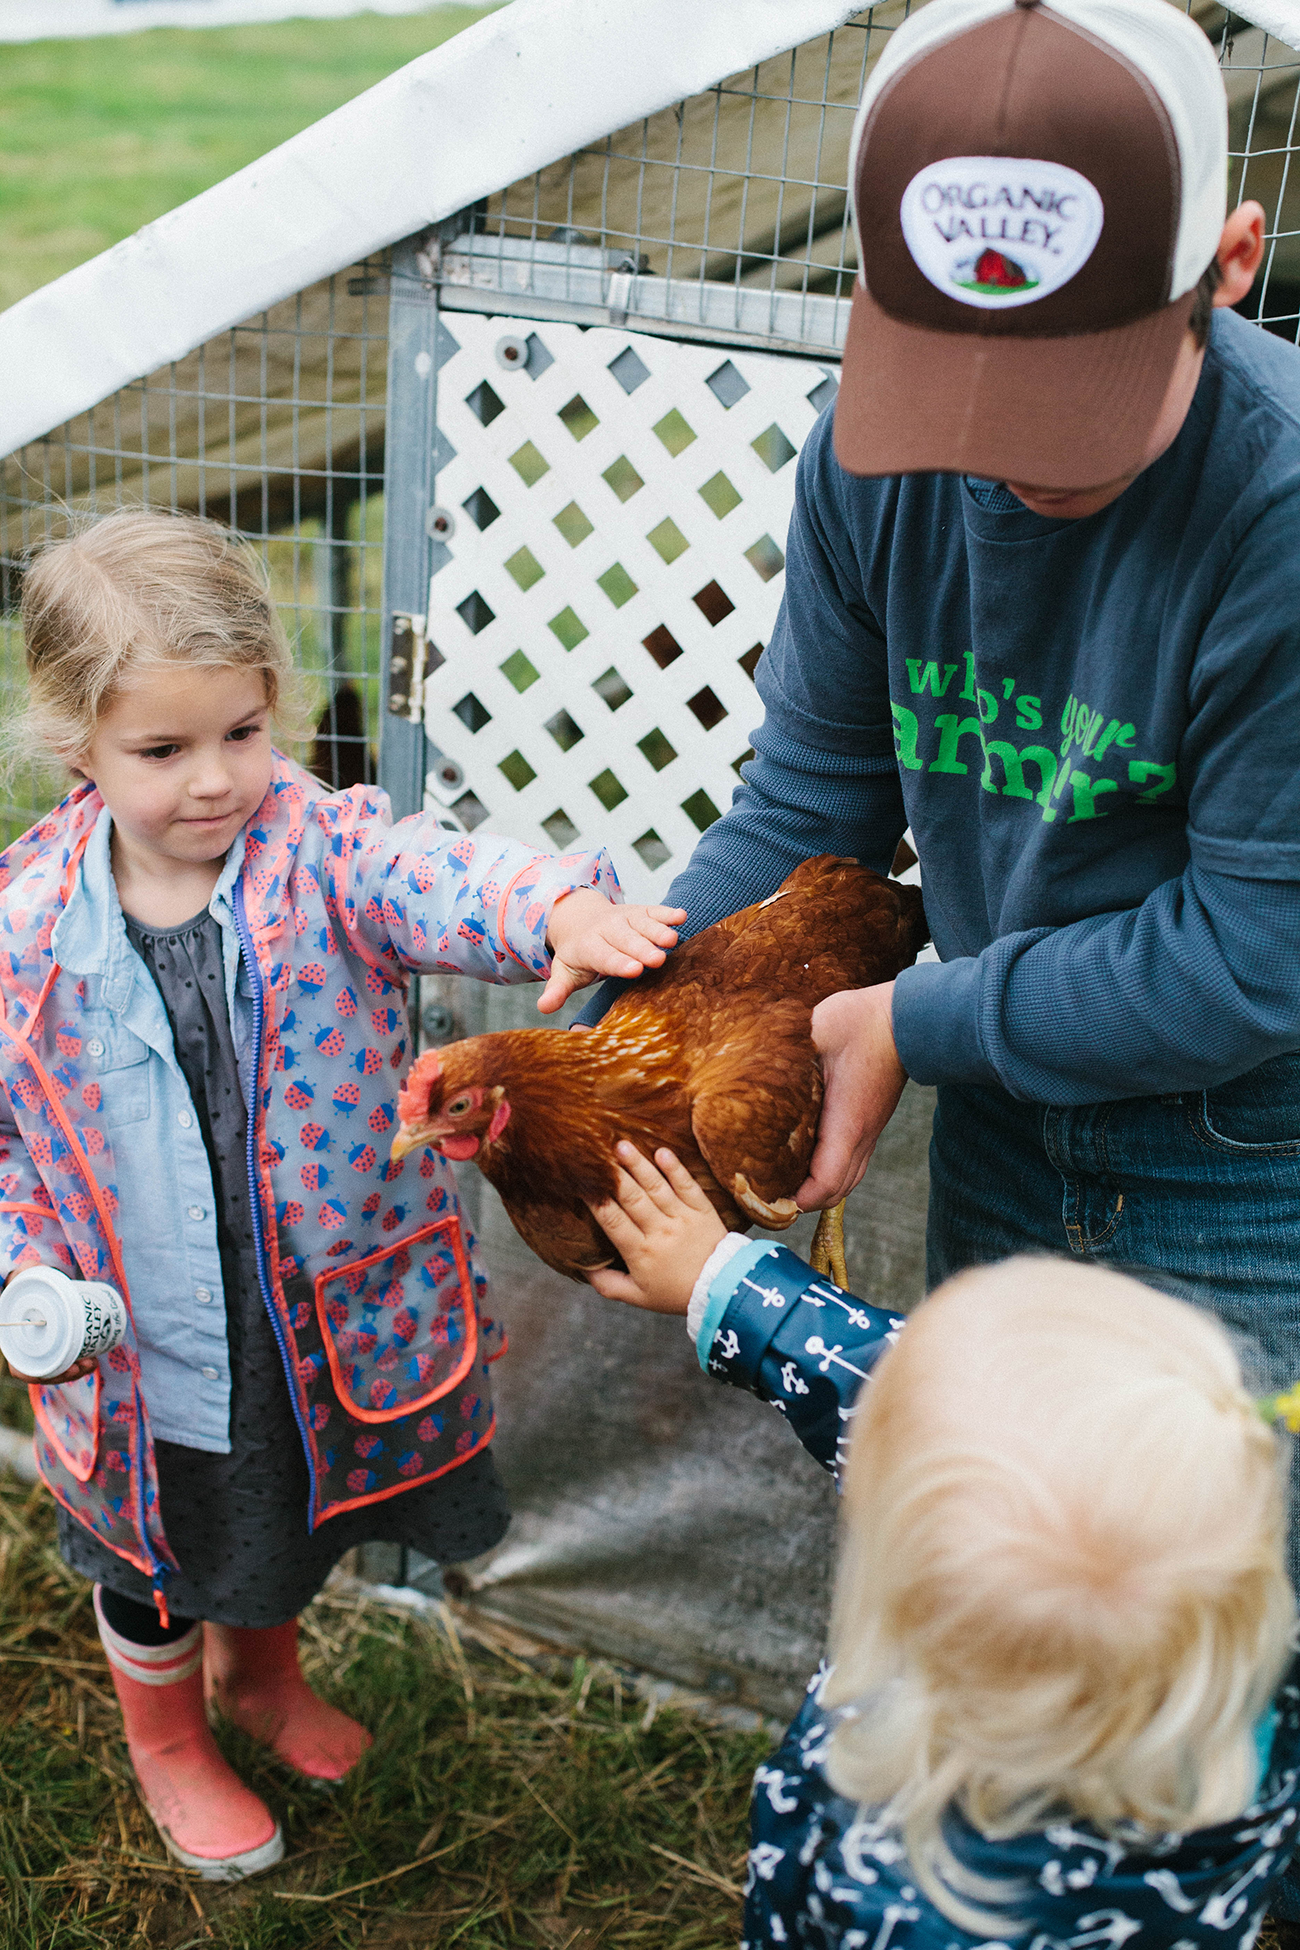
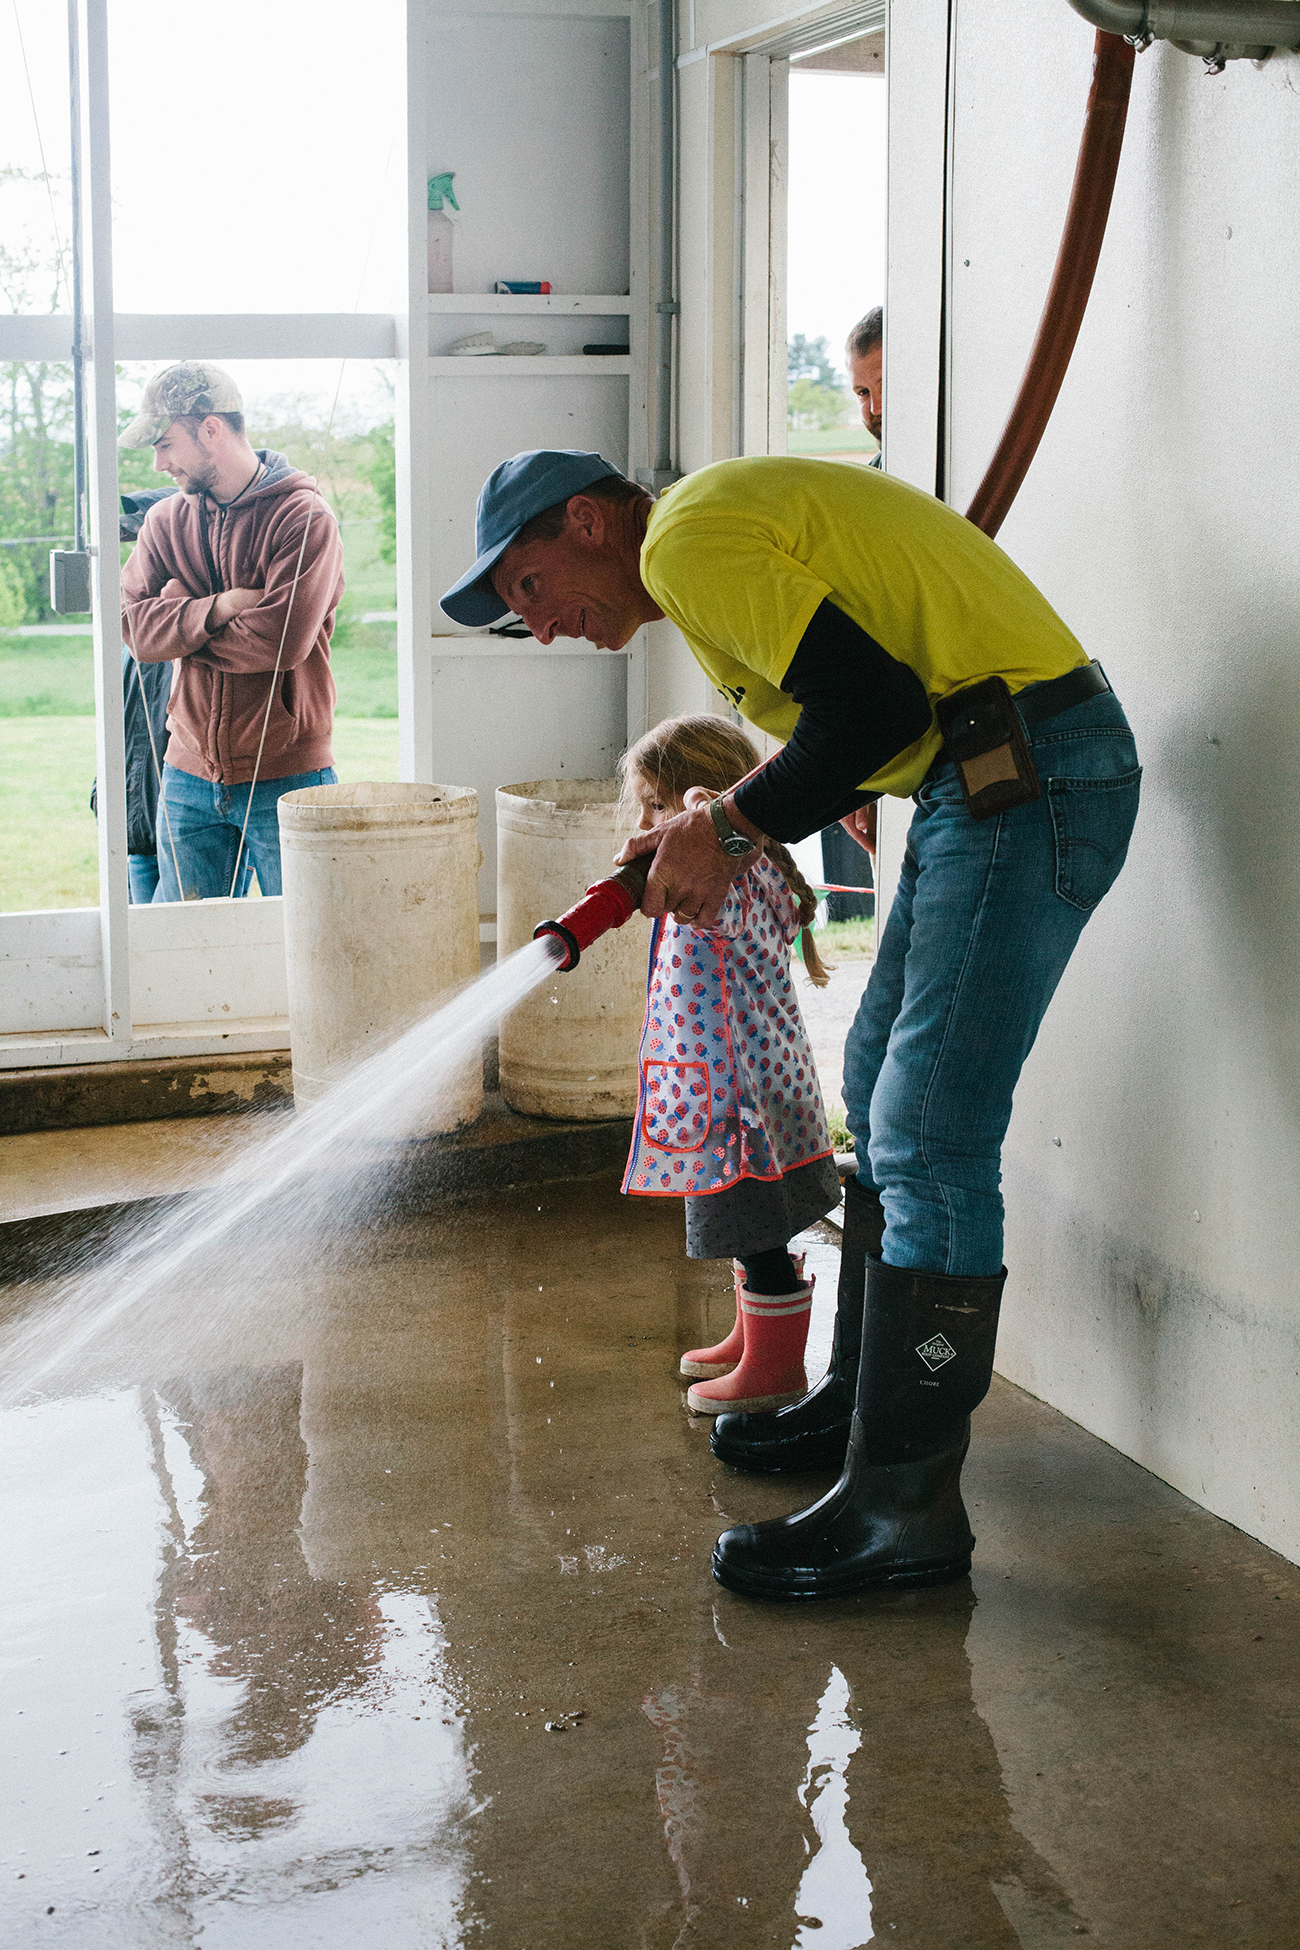
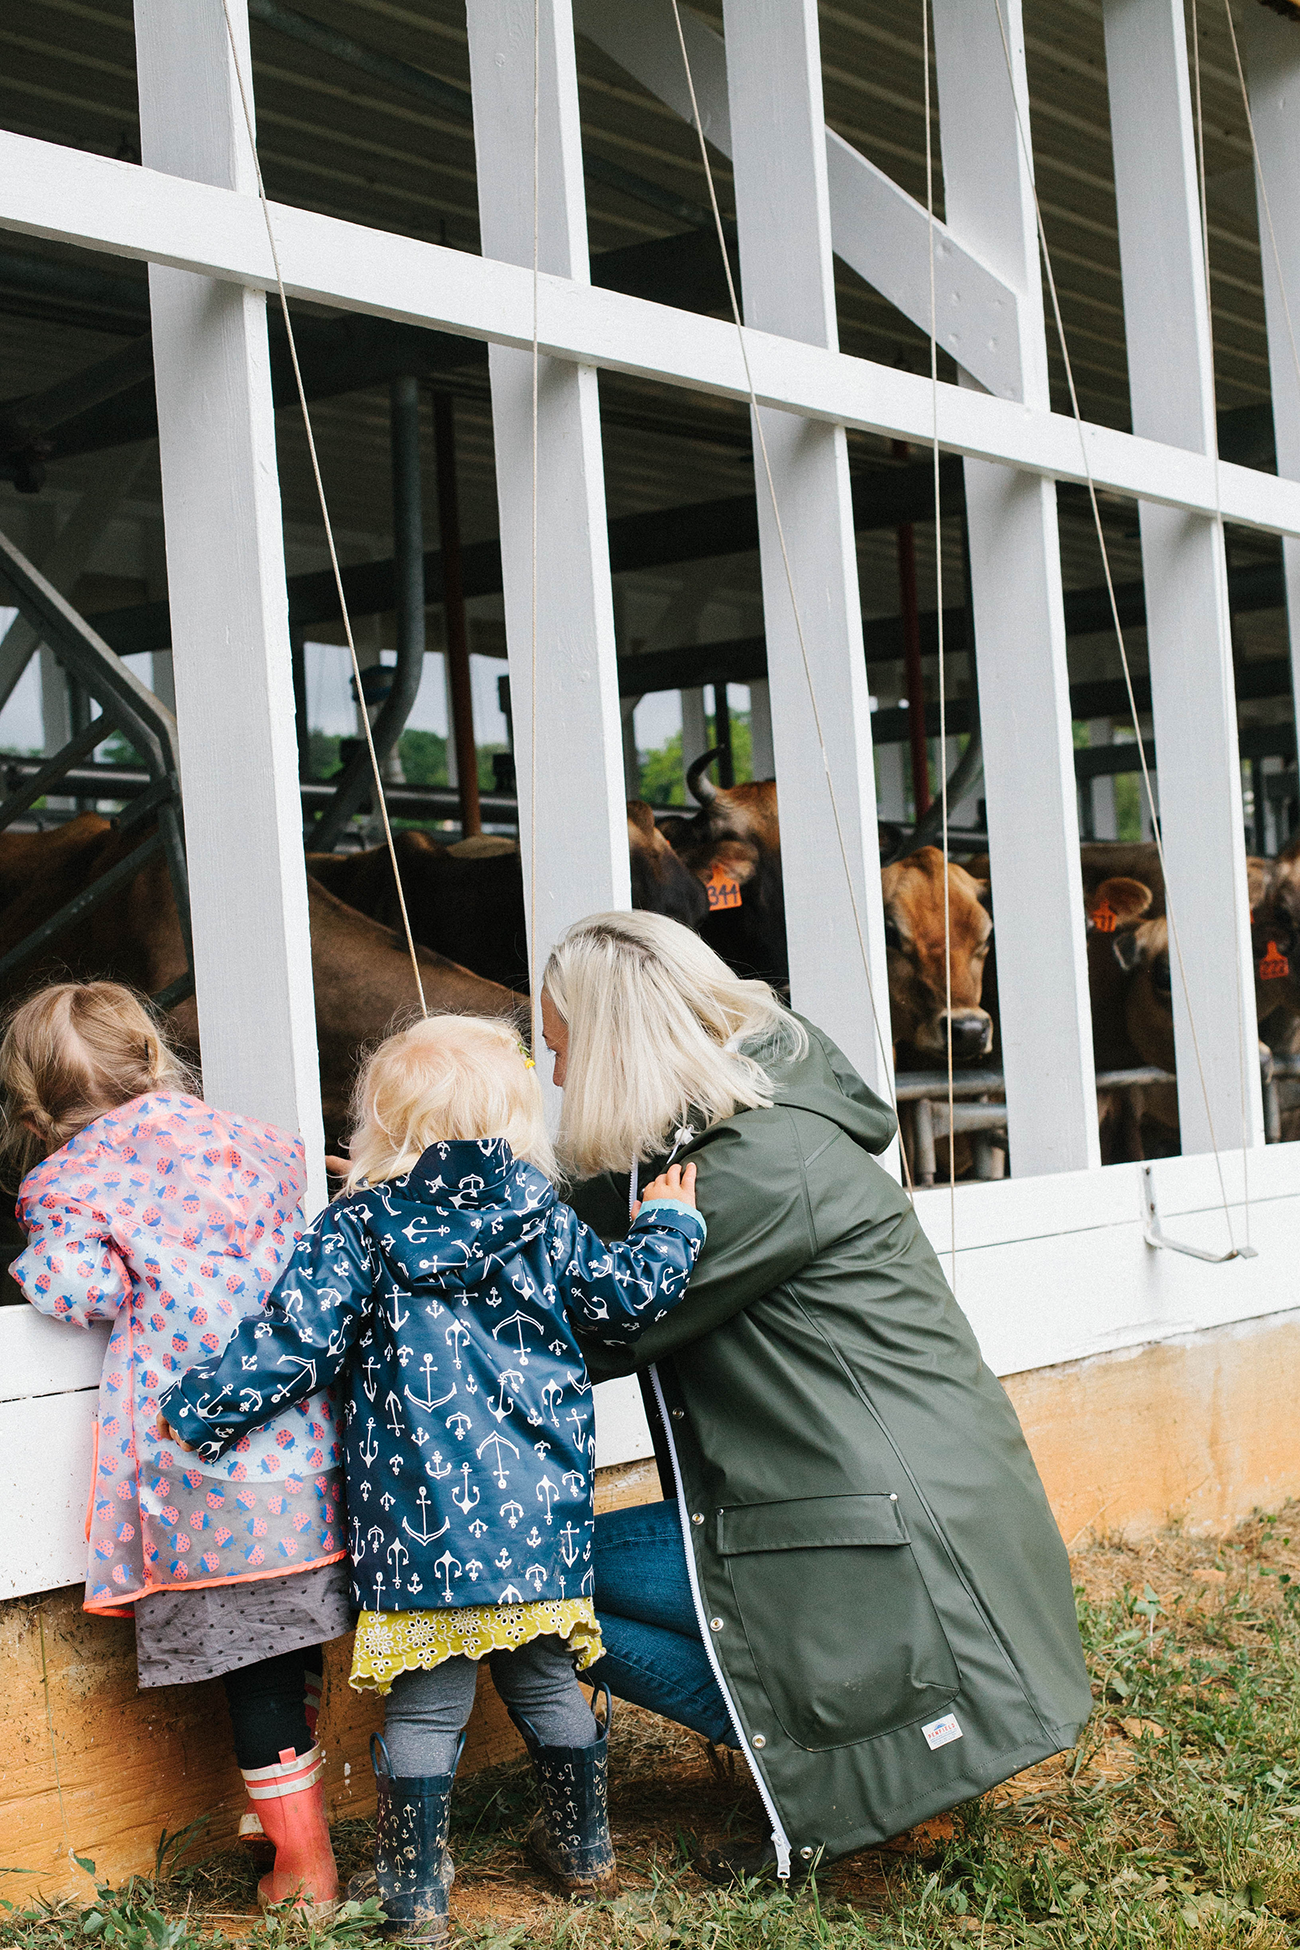
 Last weekend we spent our Saturday exploring a beautiful, family owned Organic Valley dairy farm in Jefferson, Maryland, just outside of Frederick. The farm was about 45 minutes from our home, and it was so wonderful learning about cows and milk at an organic, grass-fed farm so close to home! We spent the day going from one activity to another, learning the whole day long. There were several highlights from our time at Holterholm Farm, including meeting the 15-min-old calf, making butter, watching the cows come in for milking, meeting Ben (the intern) and watching him enthusiastically and wholeheartedly work around the farm and answer questions from kids all day, unrestricted mud puddle jumping and splashing, and playing with Bob Dole, the family goat (ok, that’s basically our entire day…we loved it all).
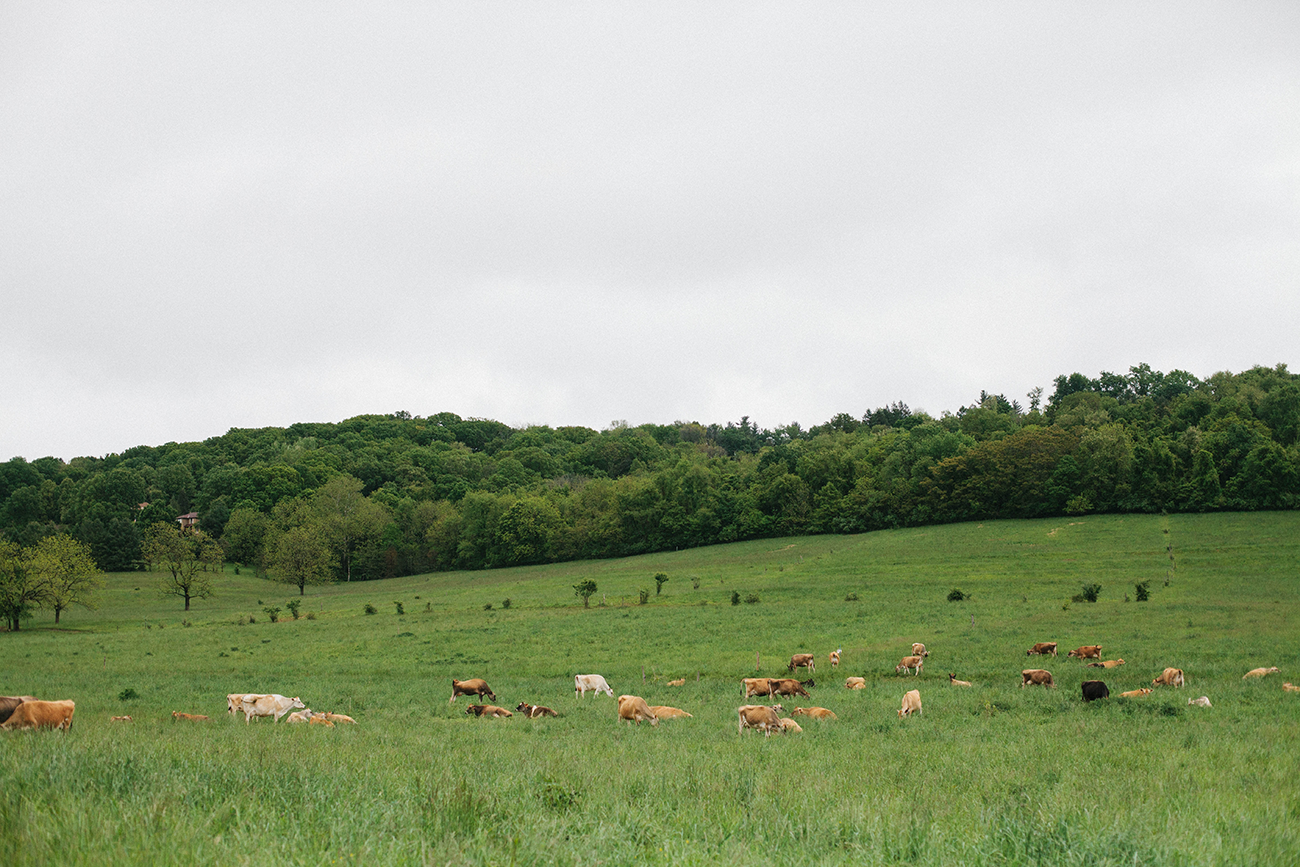
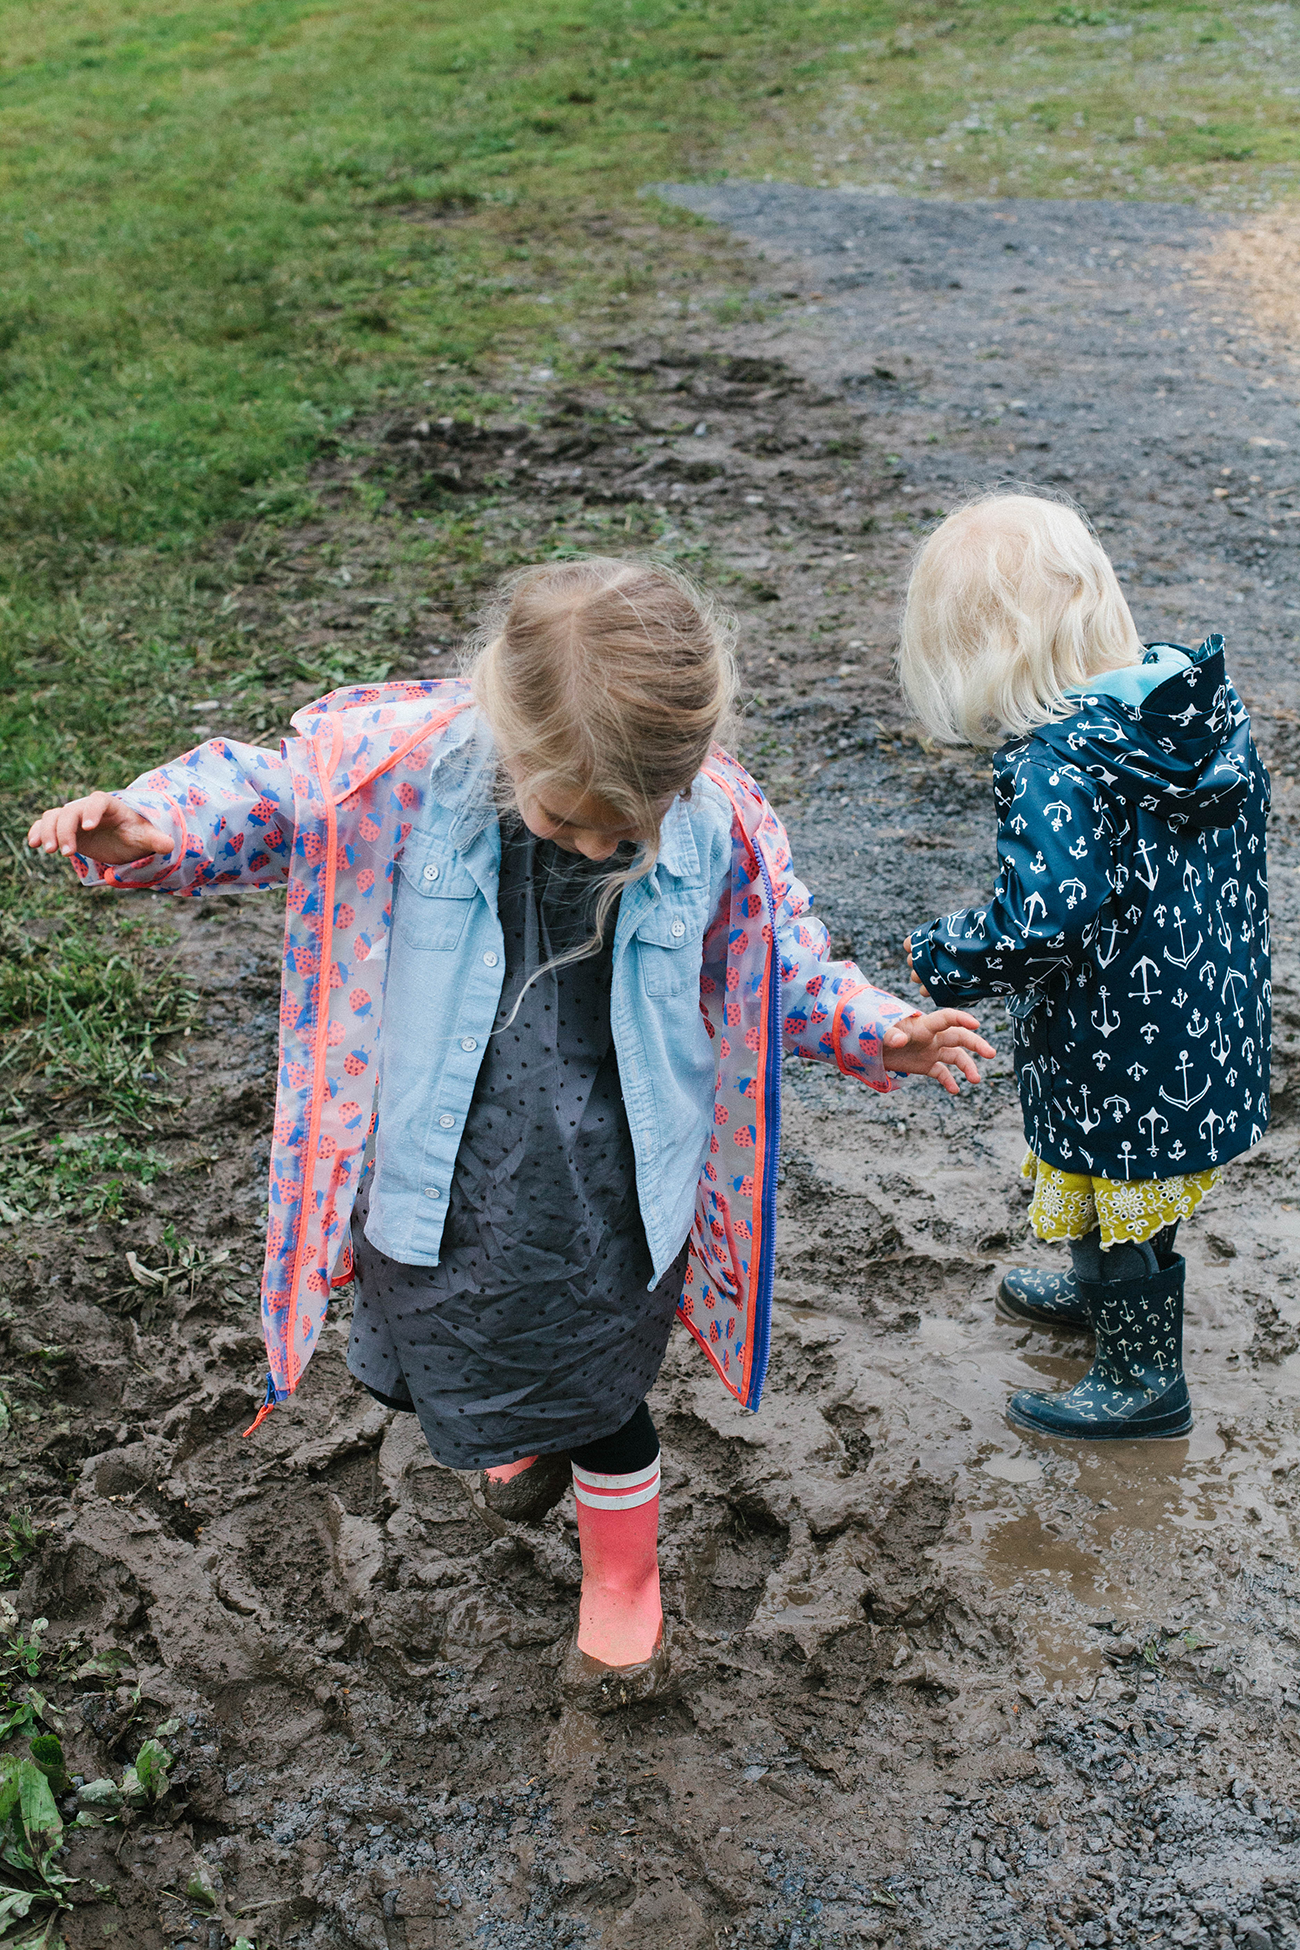
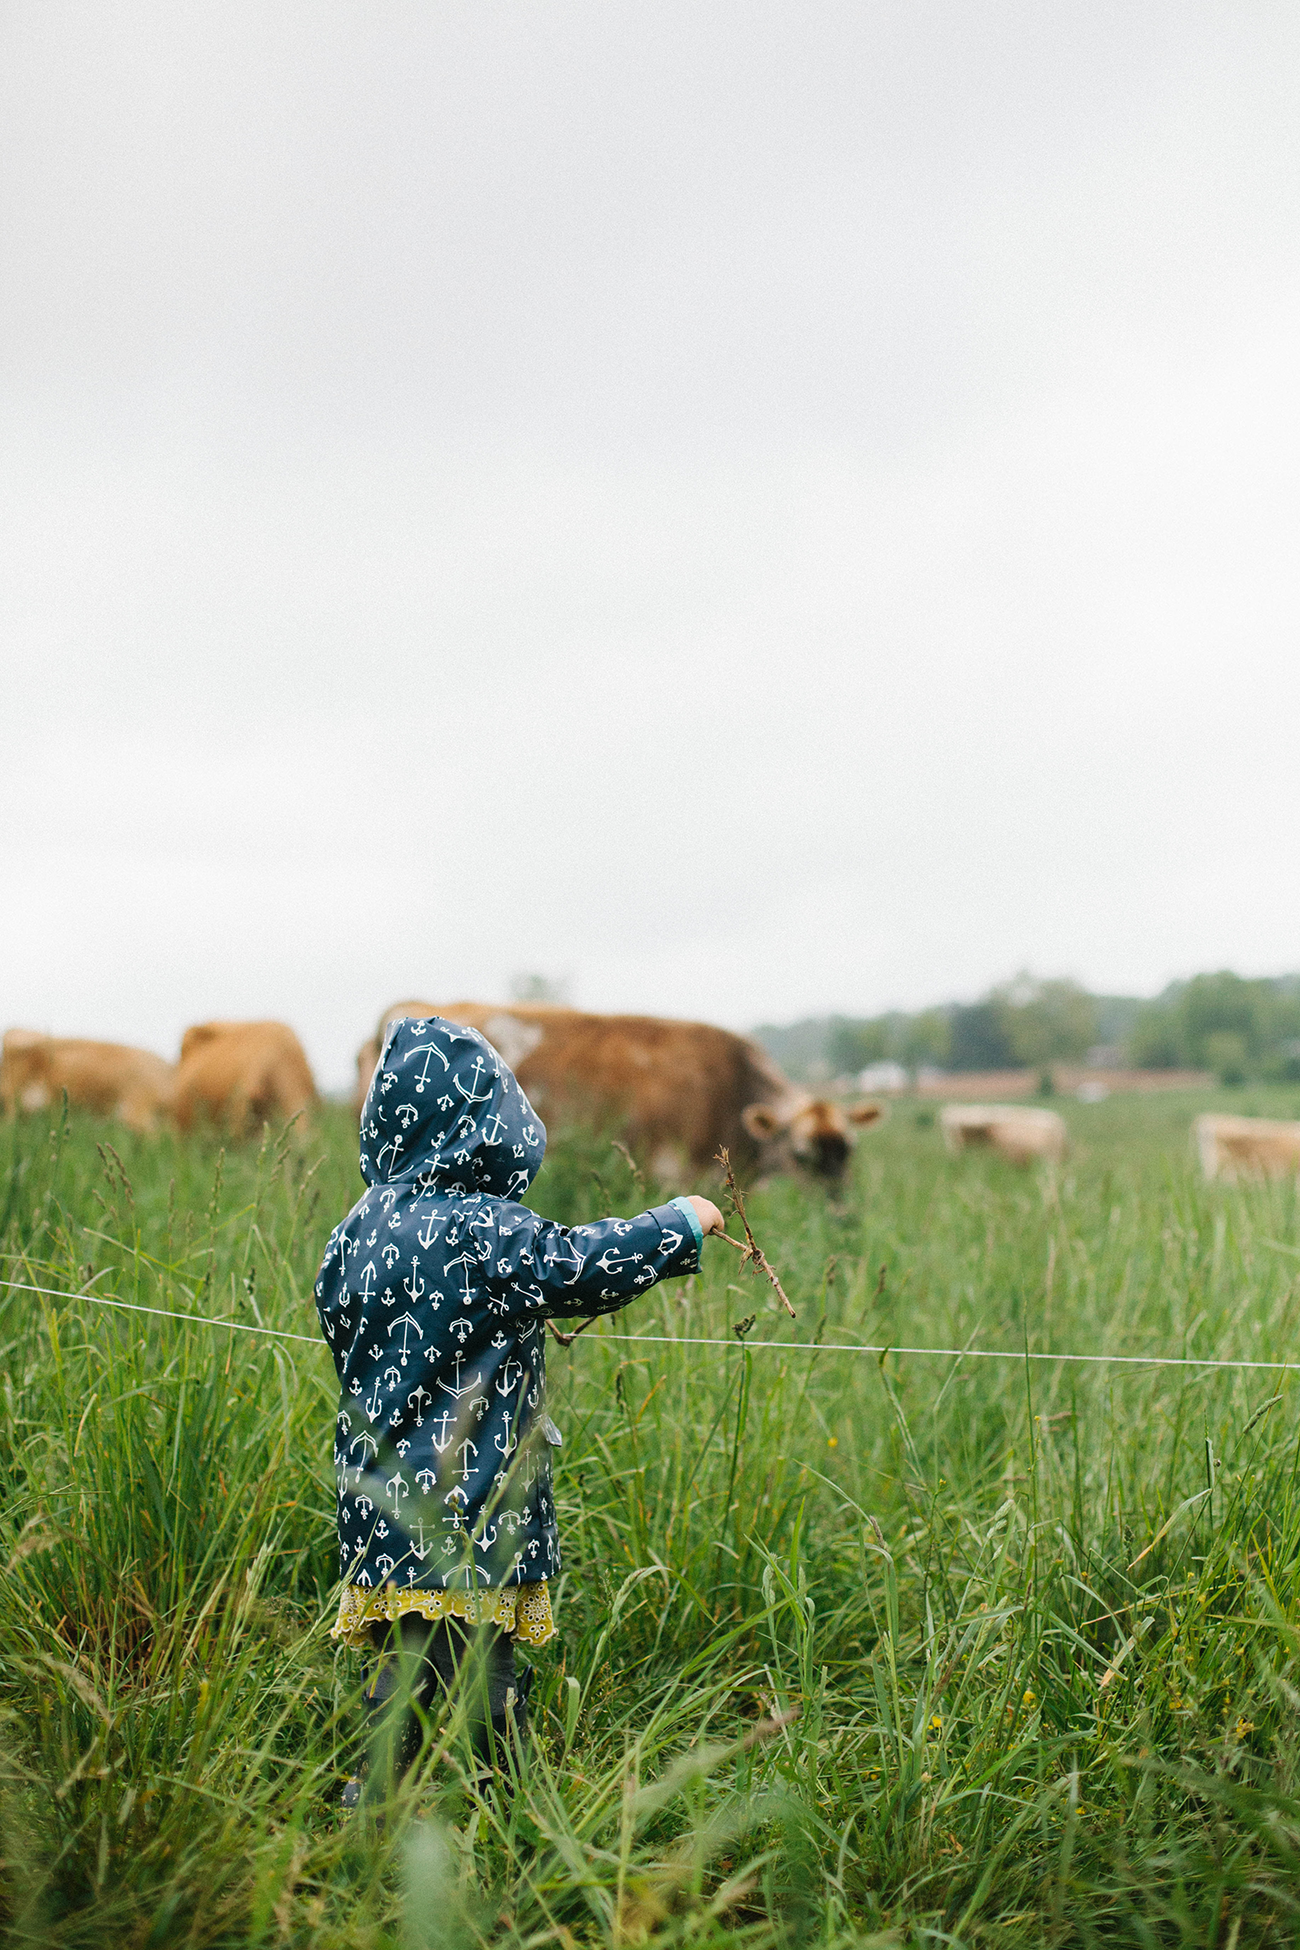
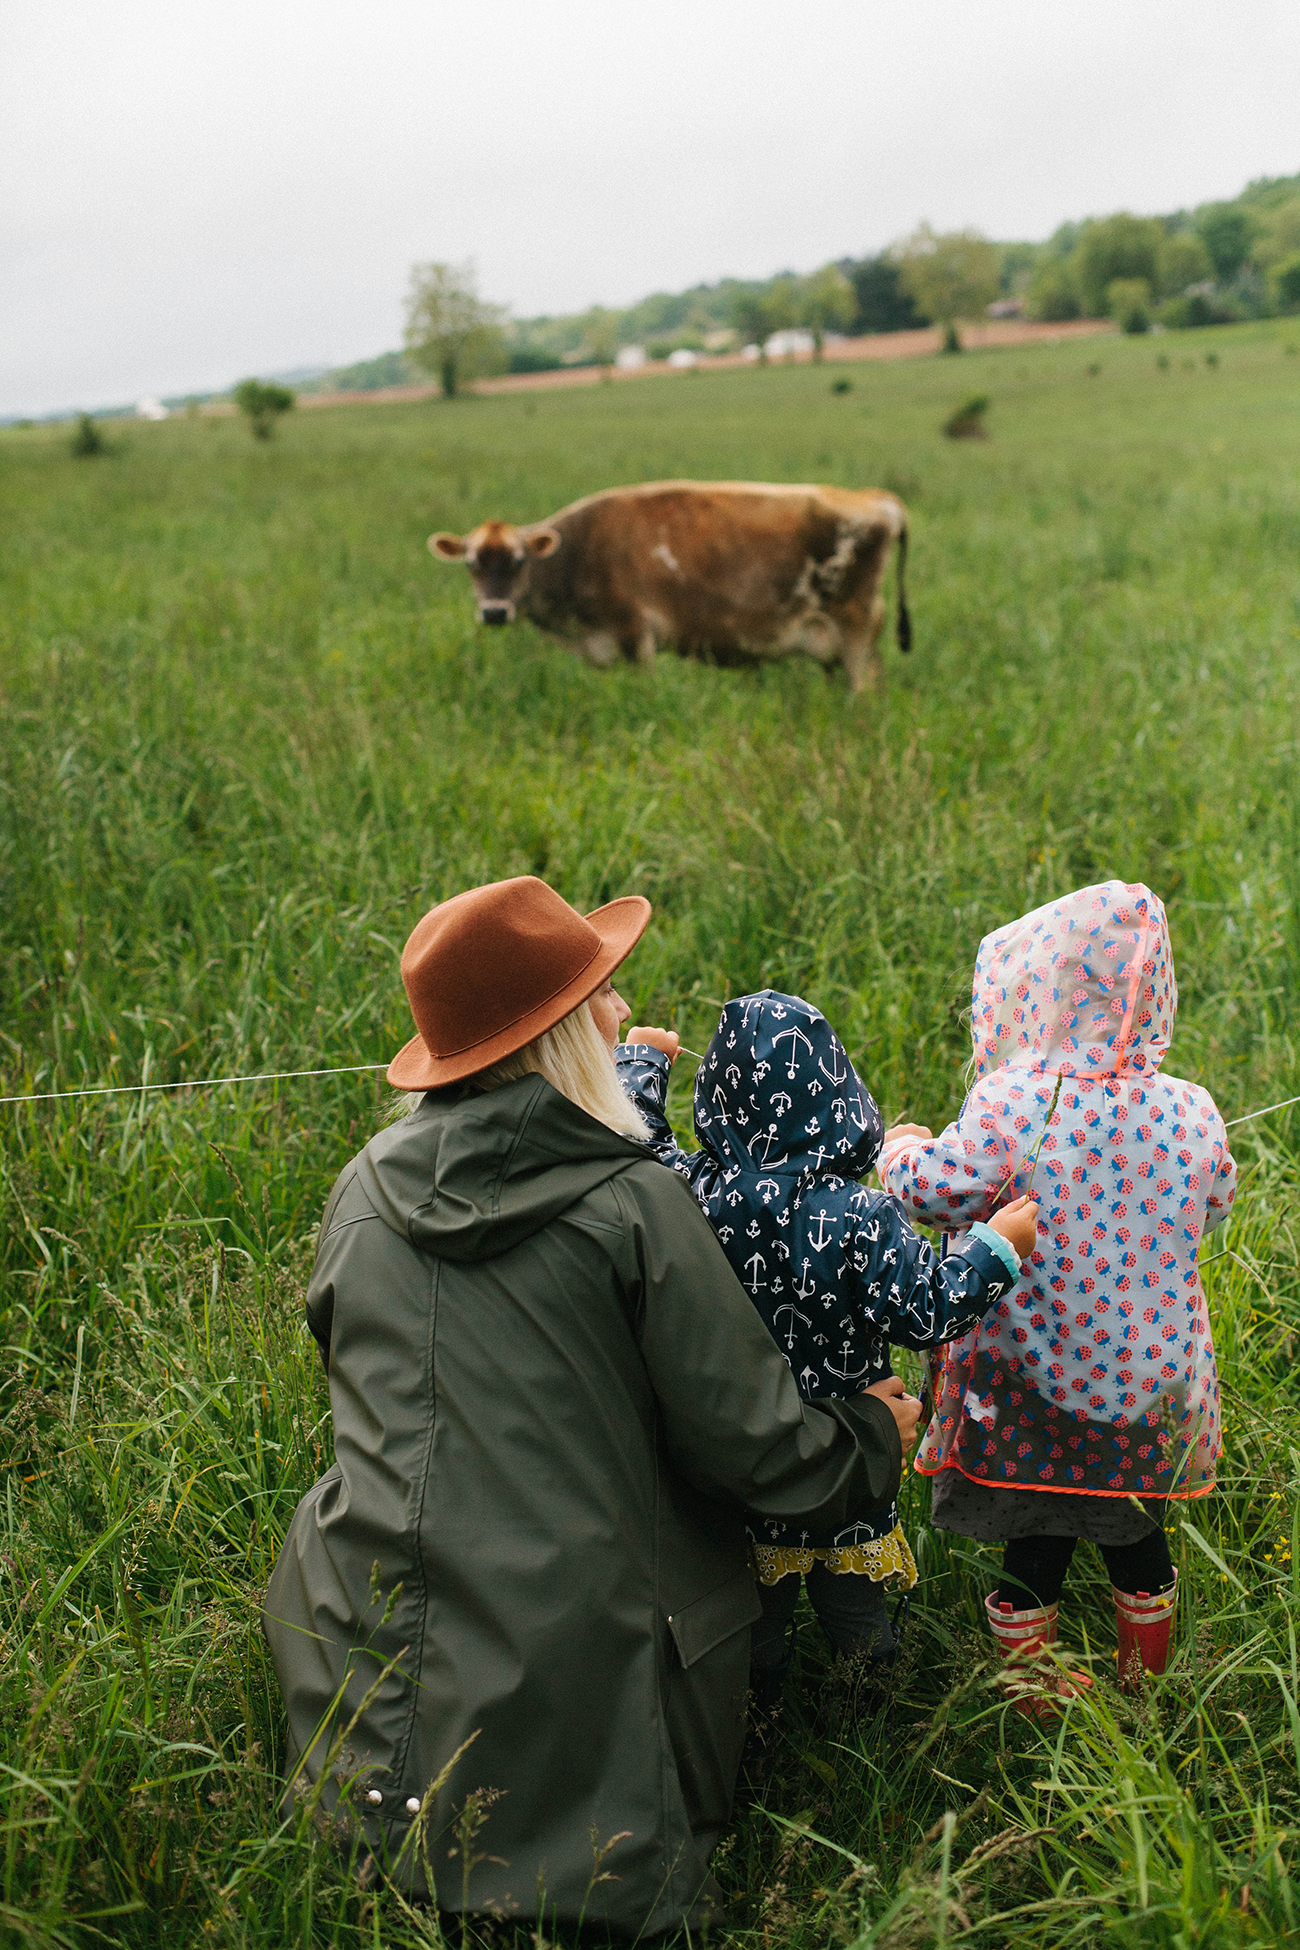
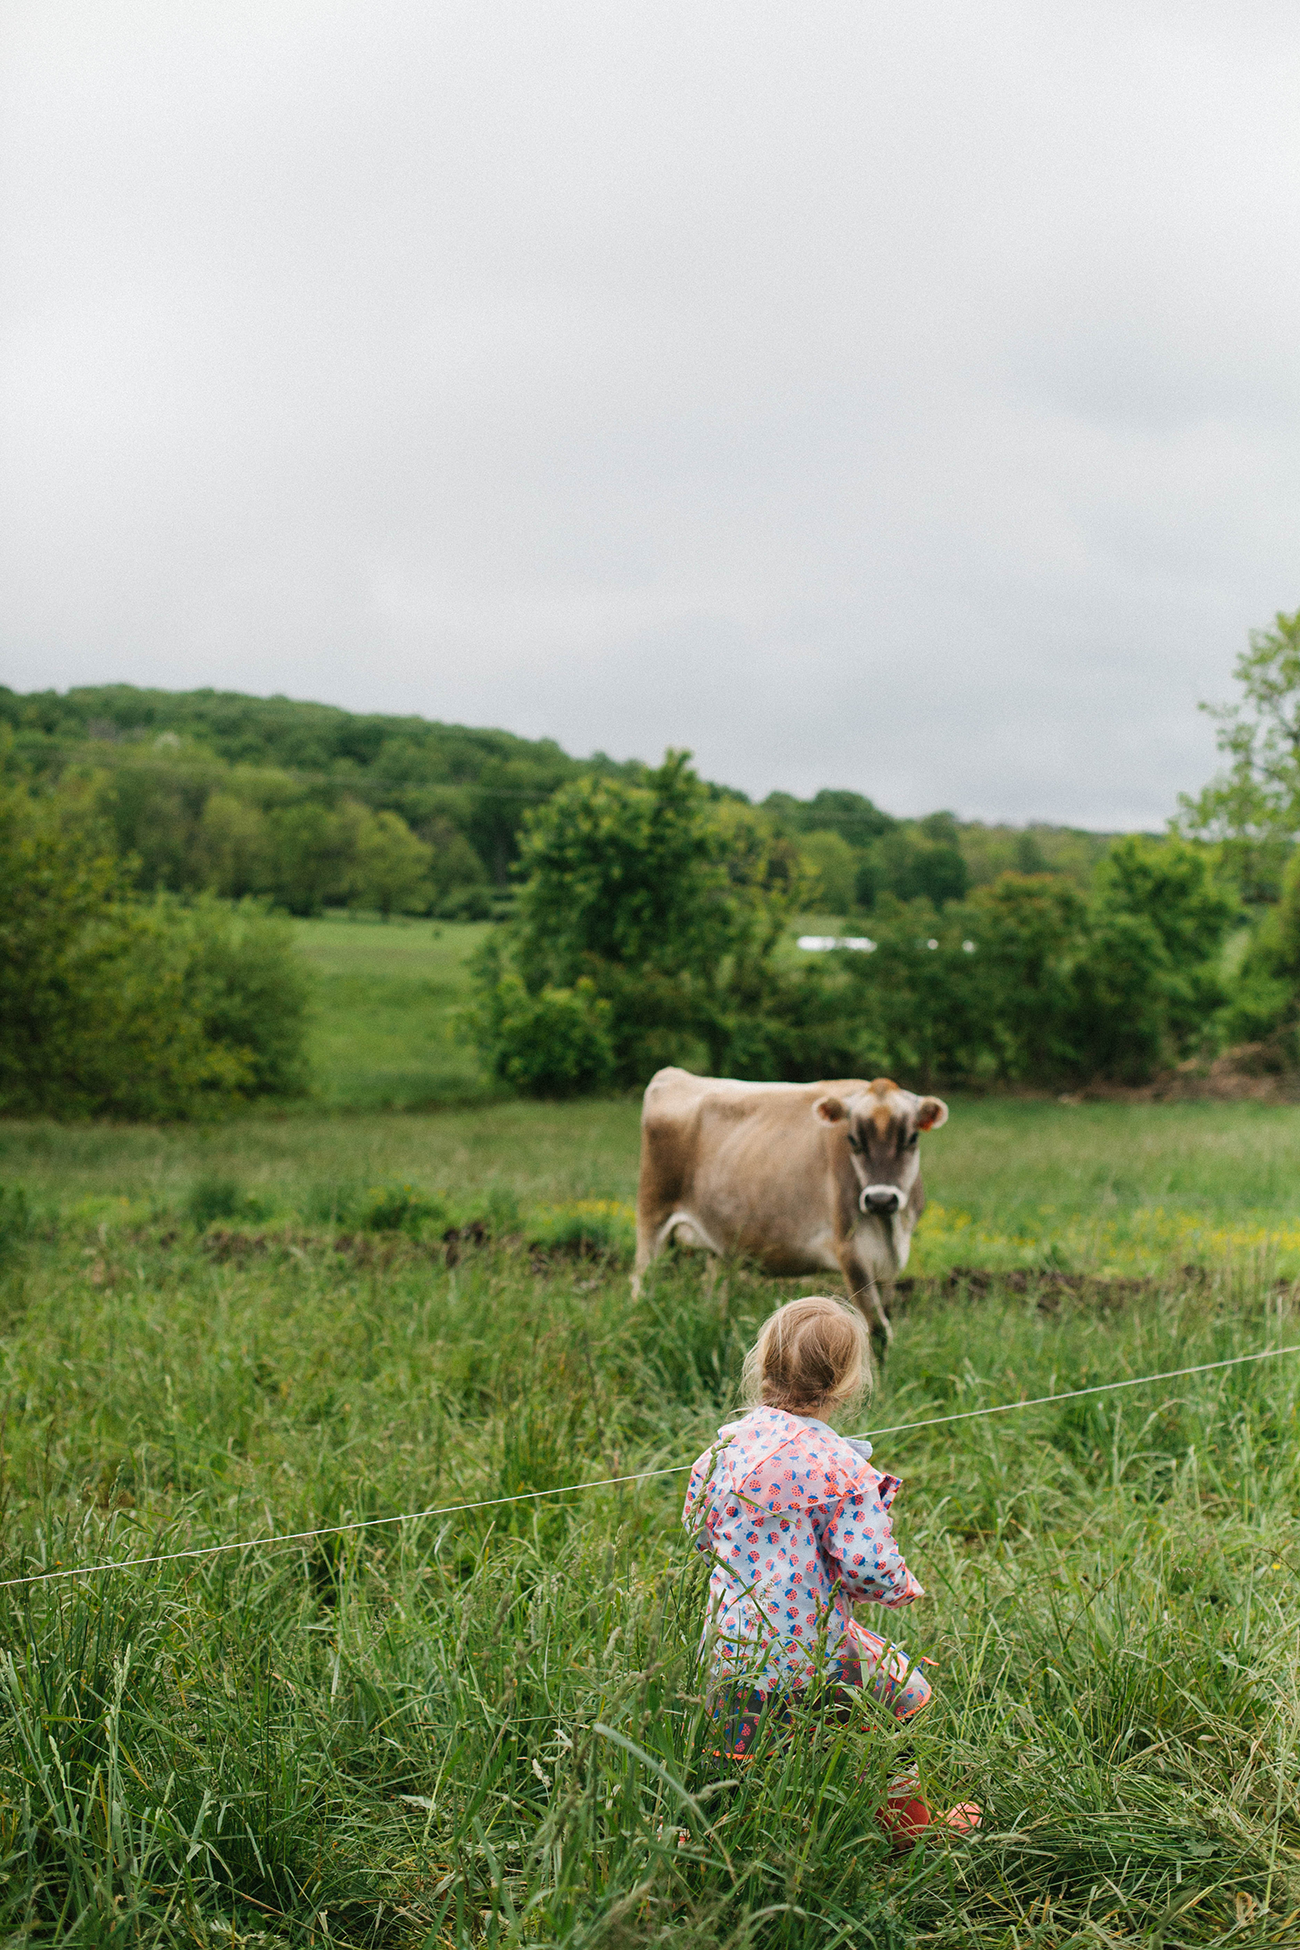
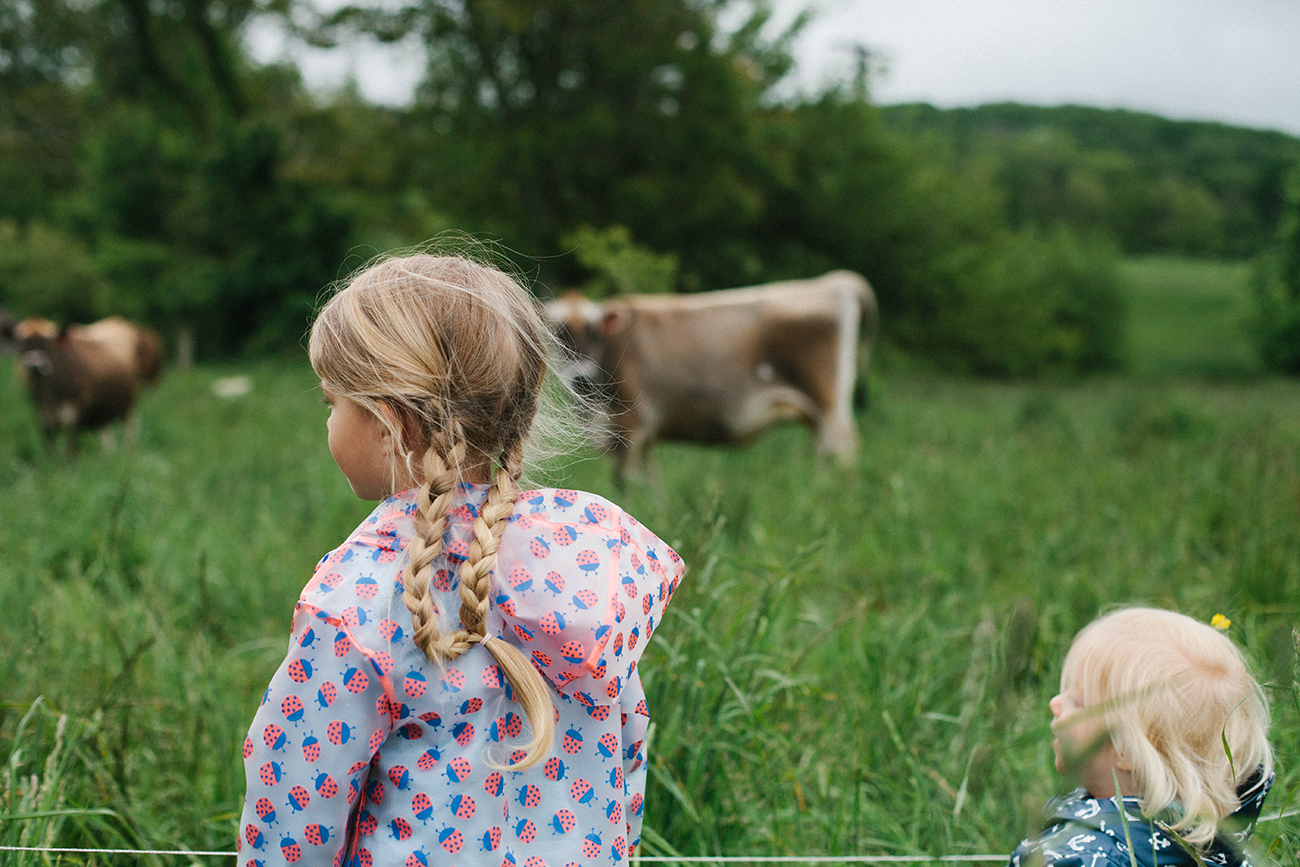
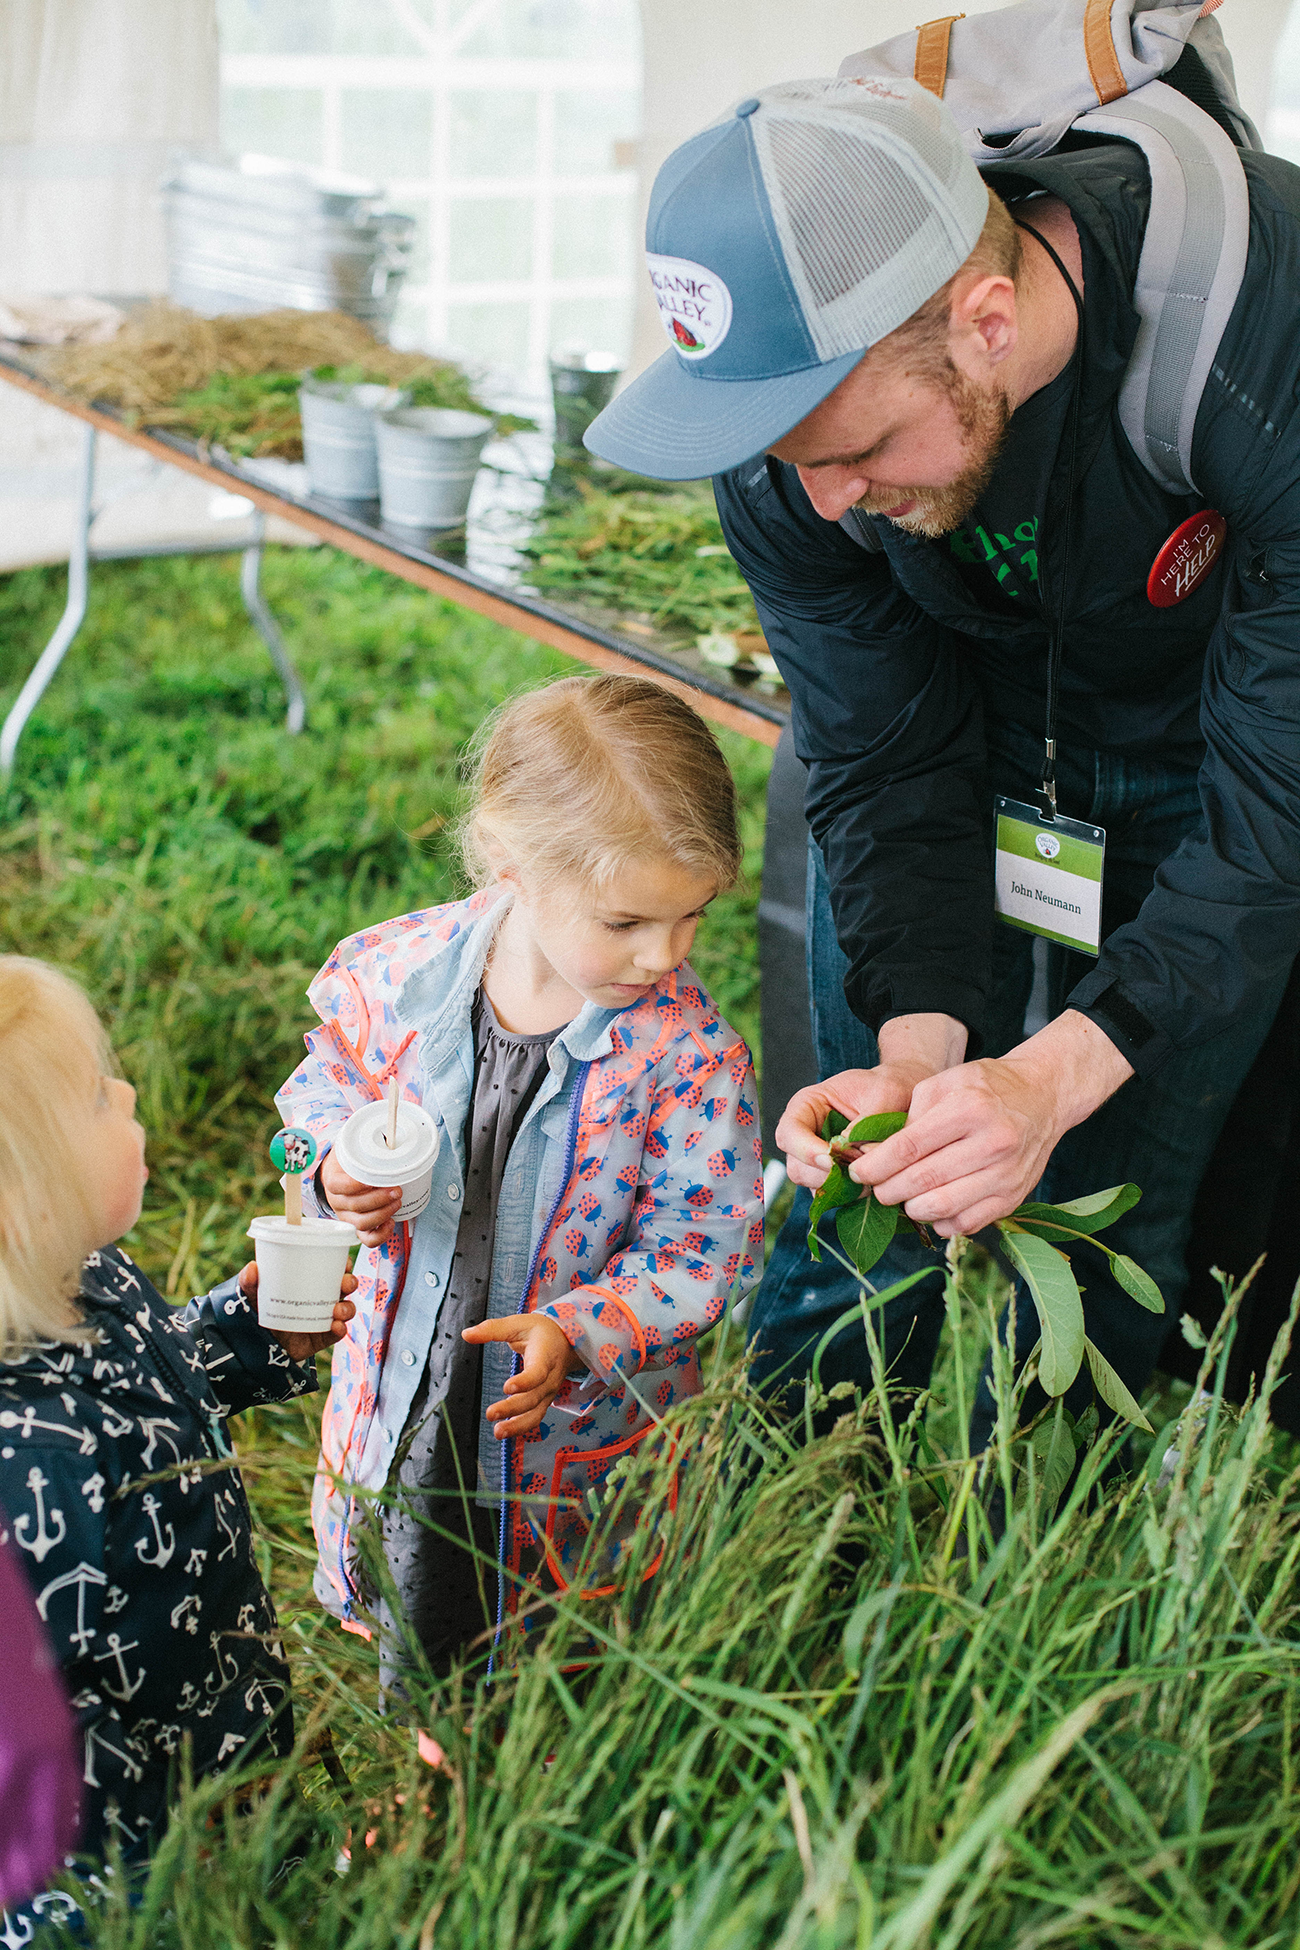
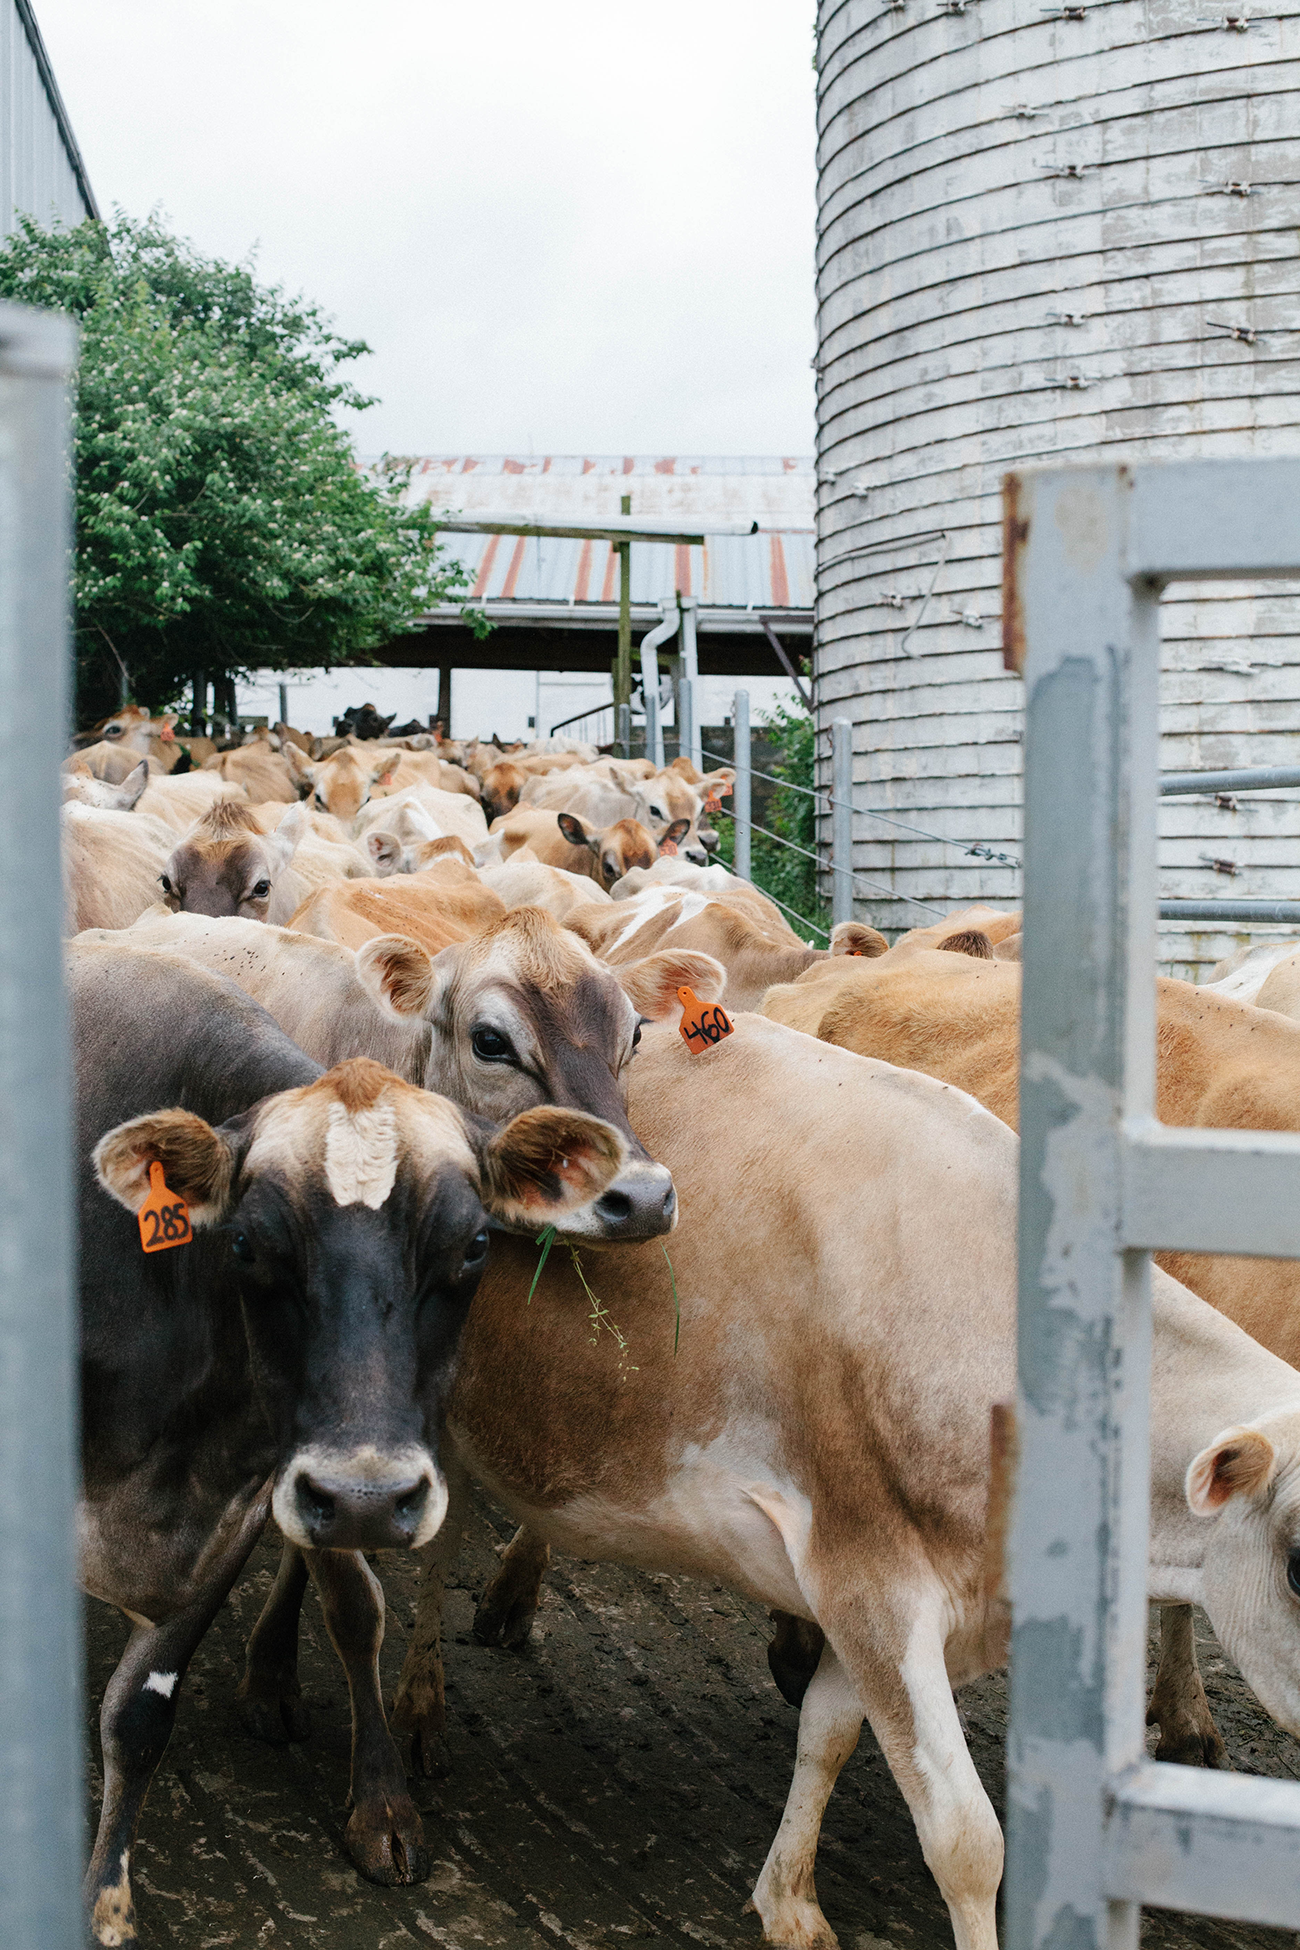
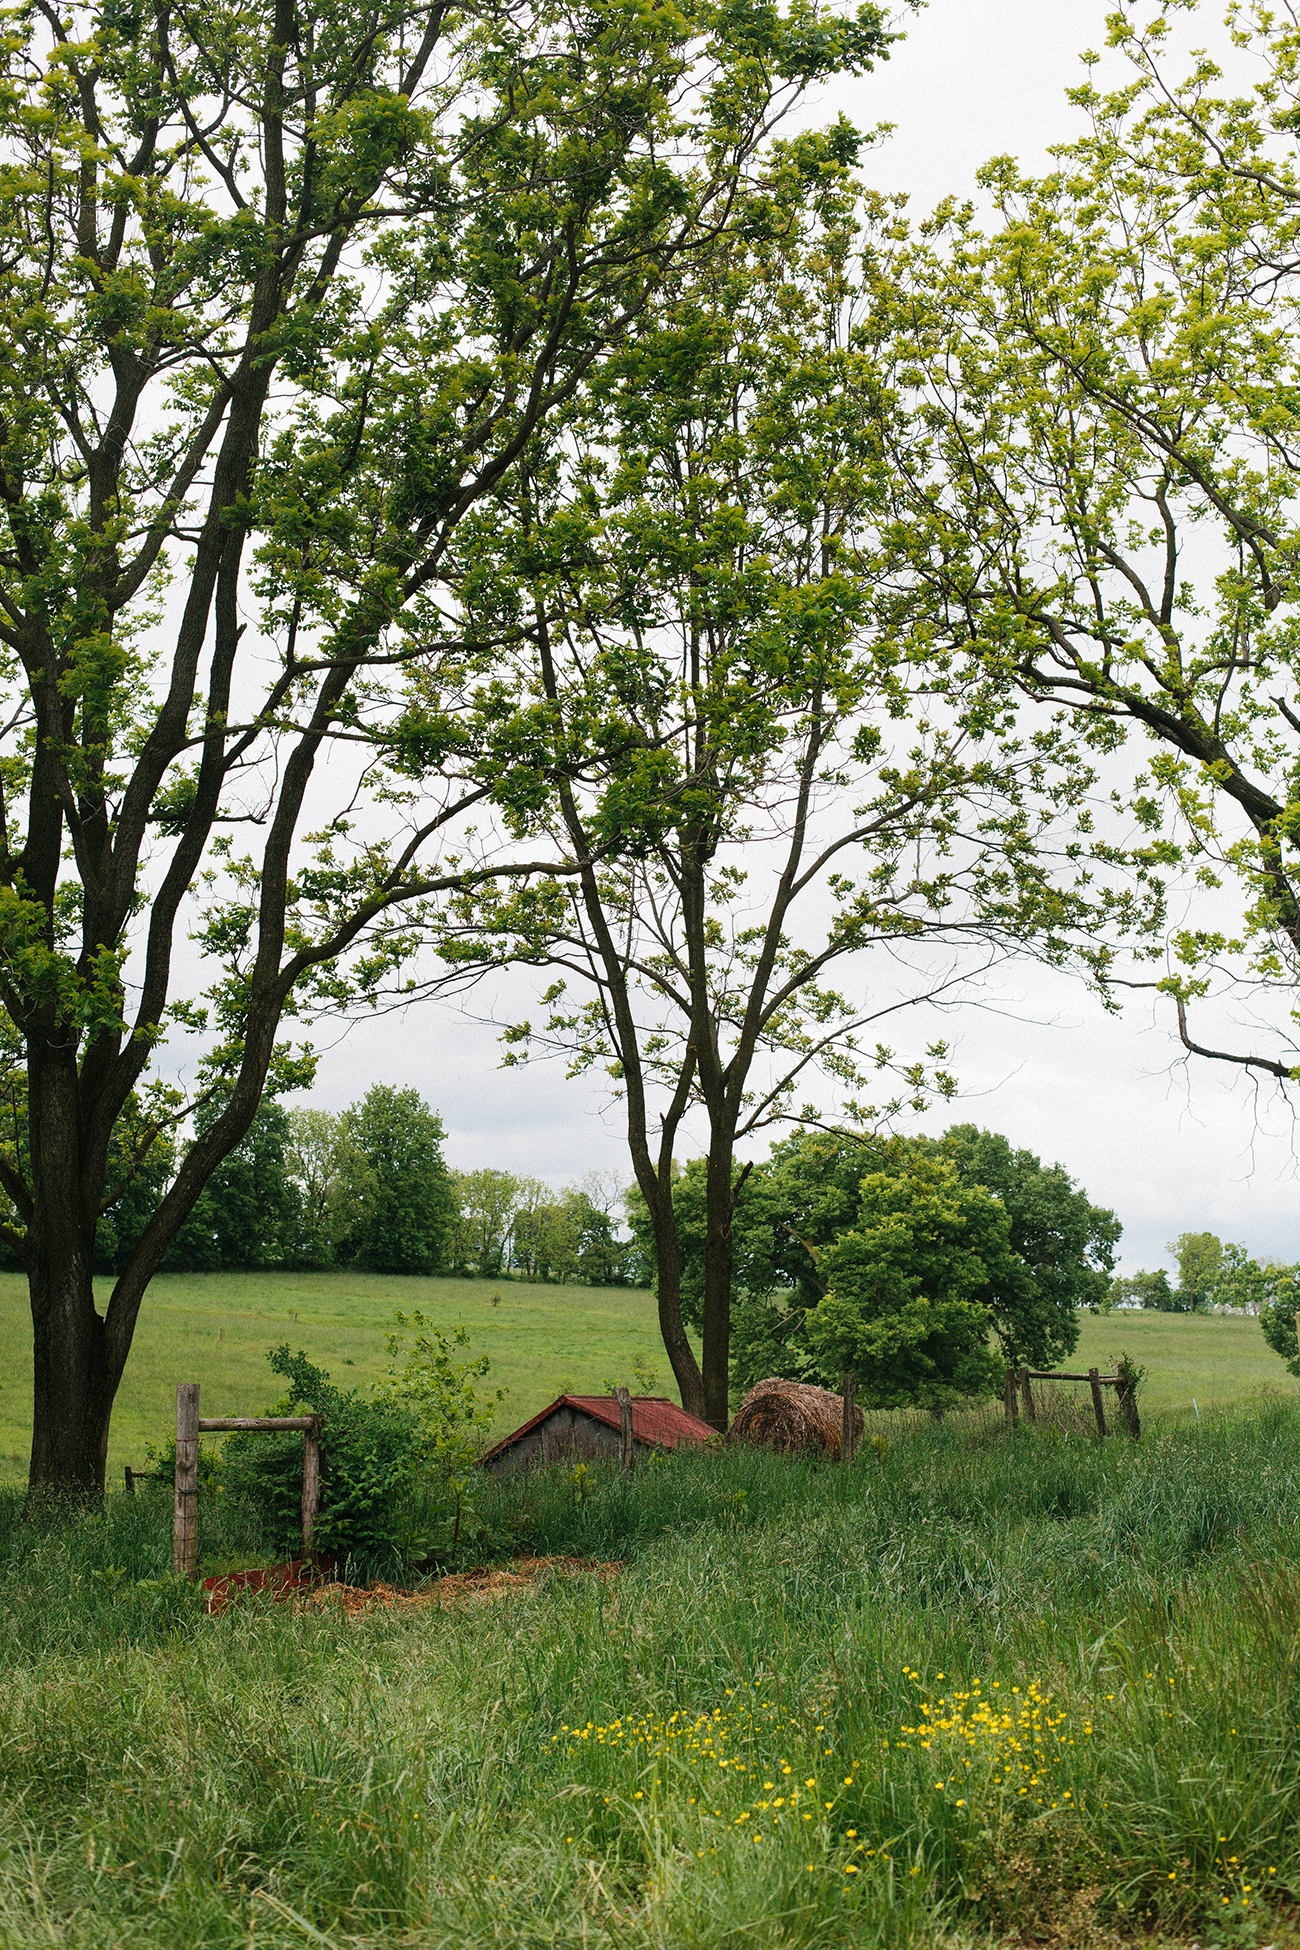
The forecast looked grim for the day, but we ended up with a perfectly cloudy, mostly rain-free day. It had rained for two days prior, so we had an authentic, muddy farm experience! The girls could not have been happier. We spent a long time with the cows at pasture; they were beautiful and so friendly. While we were watching them graze, Naomi tried her best to get them to come close and eat grass from her hand, singing “I will try to catch you” to her own little tune. We learned about different types of grasses and how the cows are very selective about what they eat in a particular day. John showed us different grasses and greens that had been picked right from the pasture that morning: clover, milkweed, pokeweed, dandelion, buttercups, etc. Later in the week Zoe plucked a weed from our garden, broke the stem in half, and proceeded to [incorrectly] explain to Joe that it was milkweed. At least she was listening!
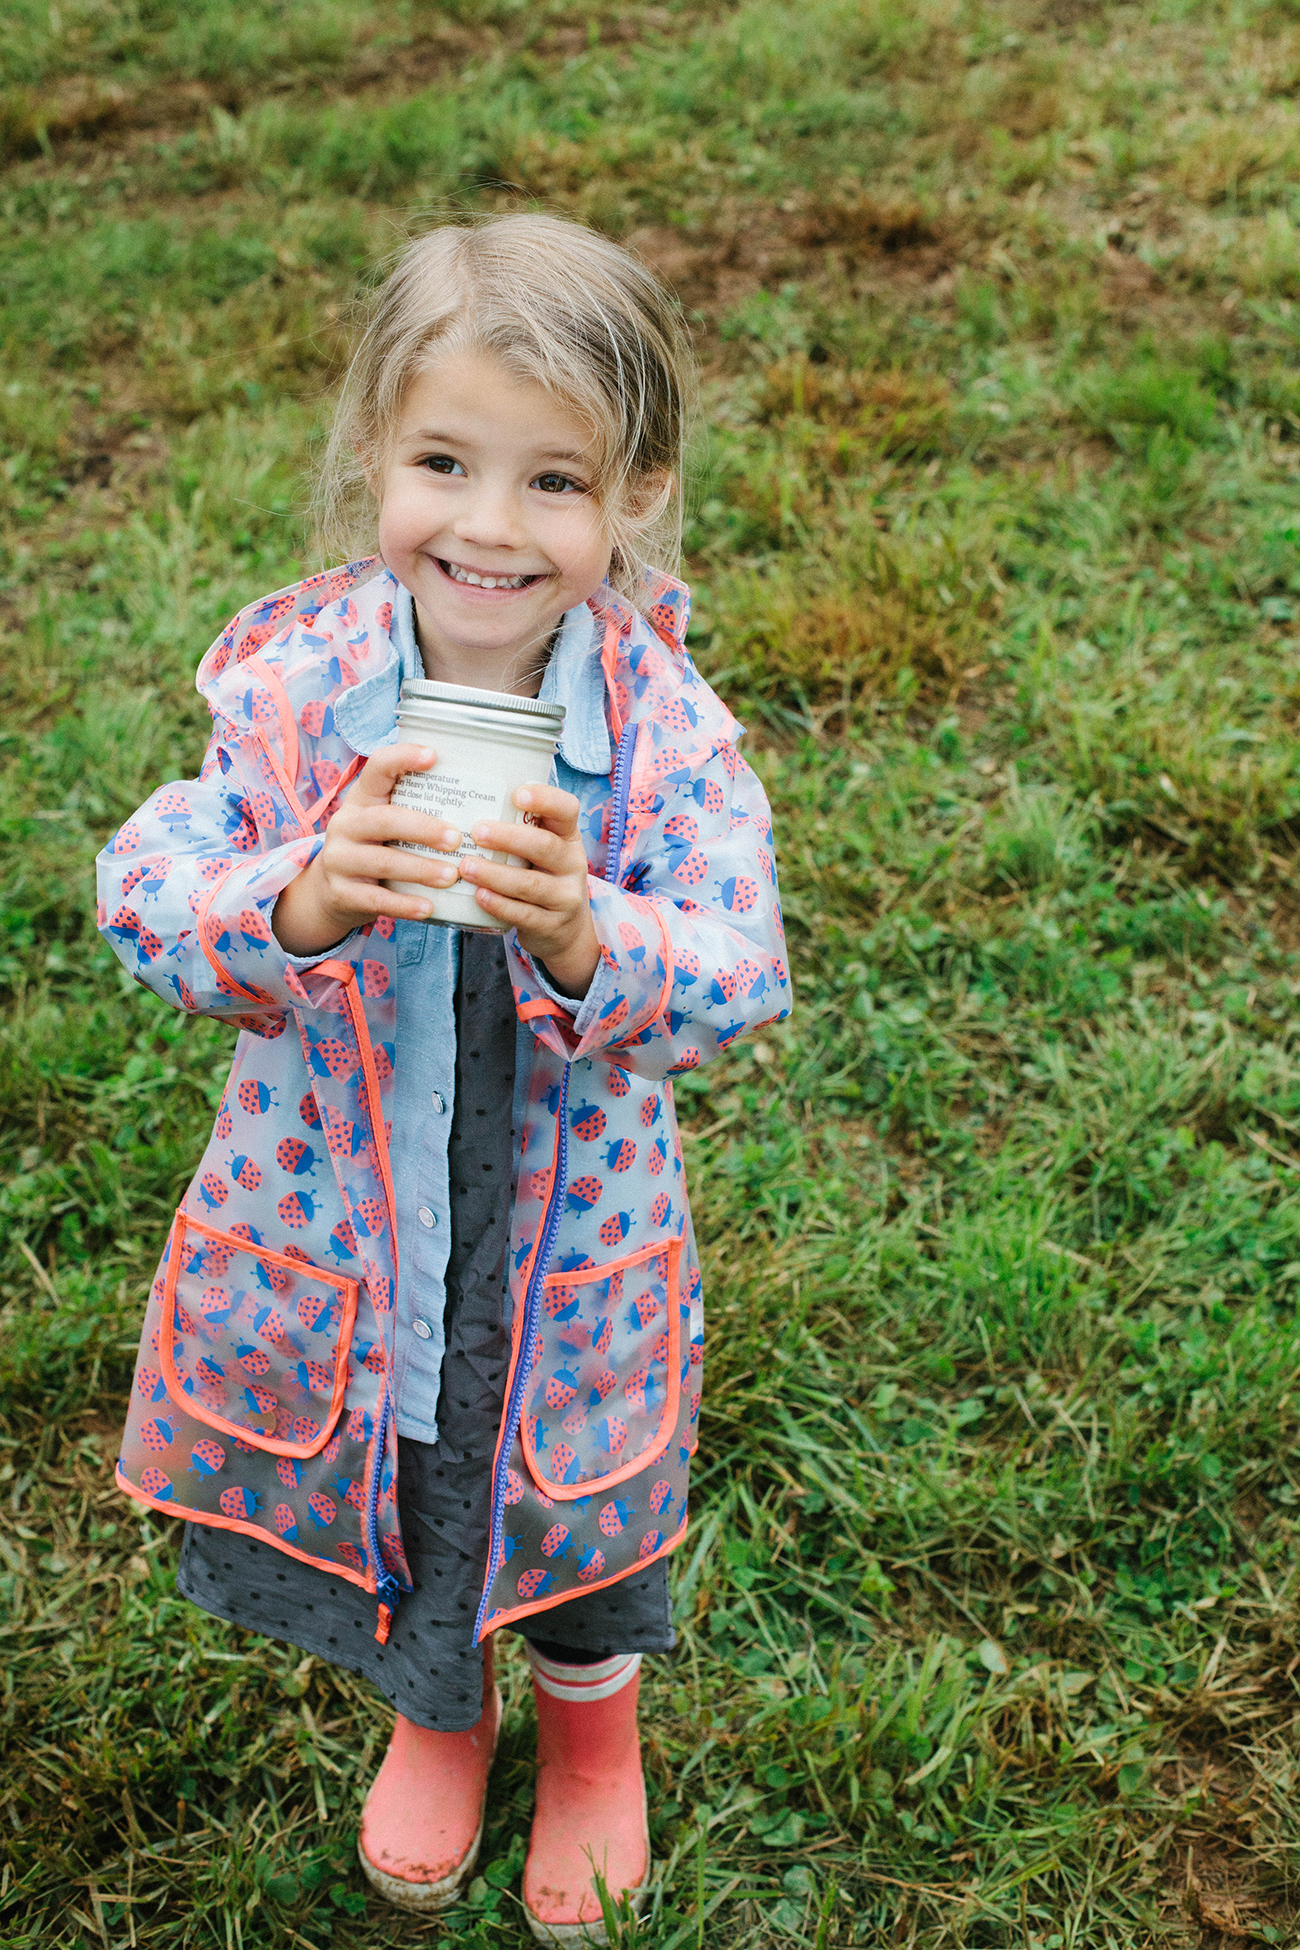
We were all fascinated with the butter-making experience. I’d actually never made butter before, so it really was a learning experience. We were so in awe of the process (and the girls LOVED seeing where butter comes from) that we came home and made our own batch of butter, and turned some of it into compound butters (recipes below).
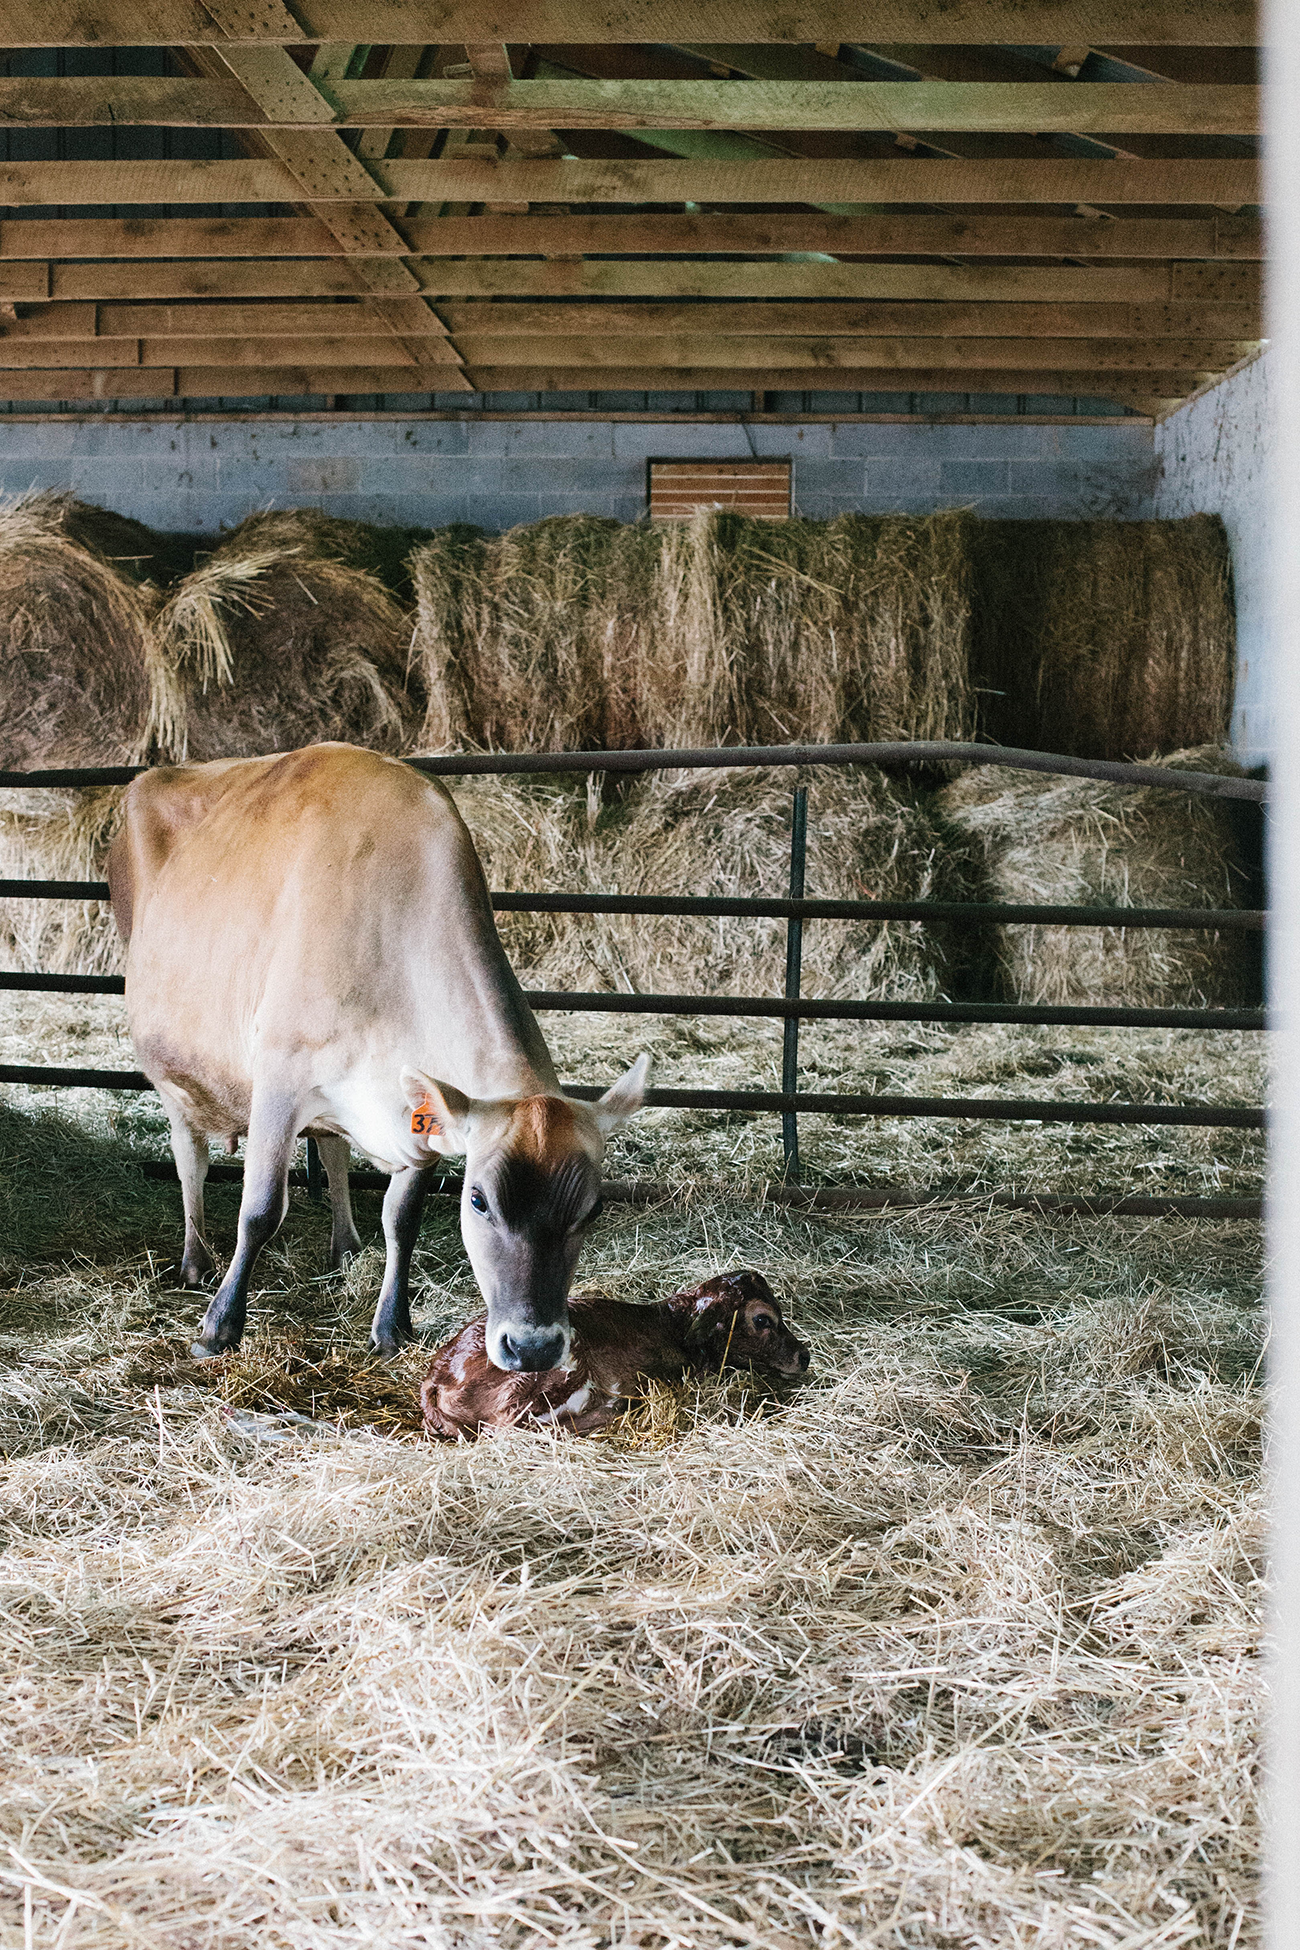
From the moment we first told Zoe we were going to the farm, she talked about seeing baby cows. The calves were in another field, so we didn’t get to see them up very close. But at the very end of our day, just before the cows came in for their afternoon milking, Farmer Ron asked us if we wanted to see something very special. He led us into the barn where we got to watch a mama cow lick her brand new baby cow. Zoe was so incredibly thrilled that we got to see the calf; it was a beautiful experience!
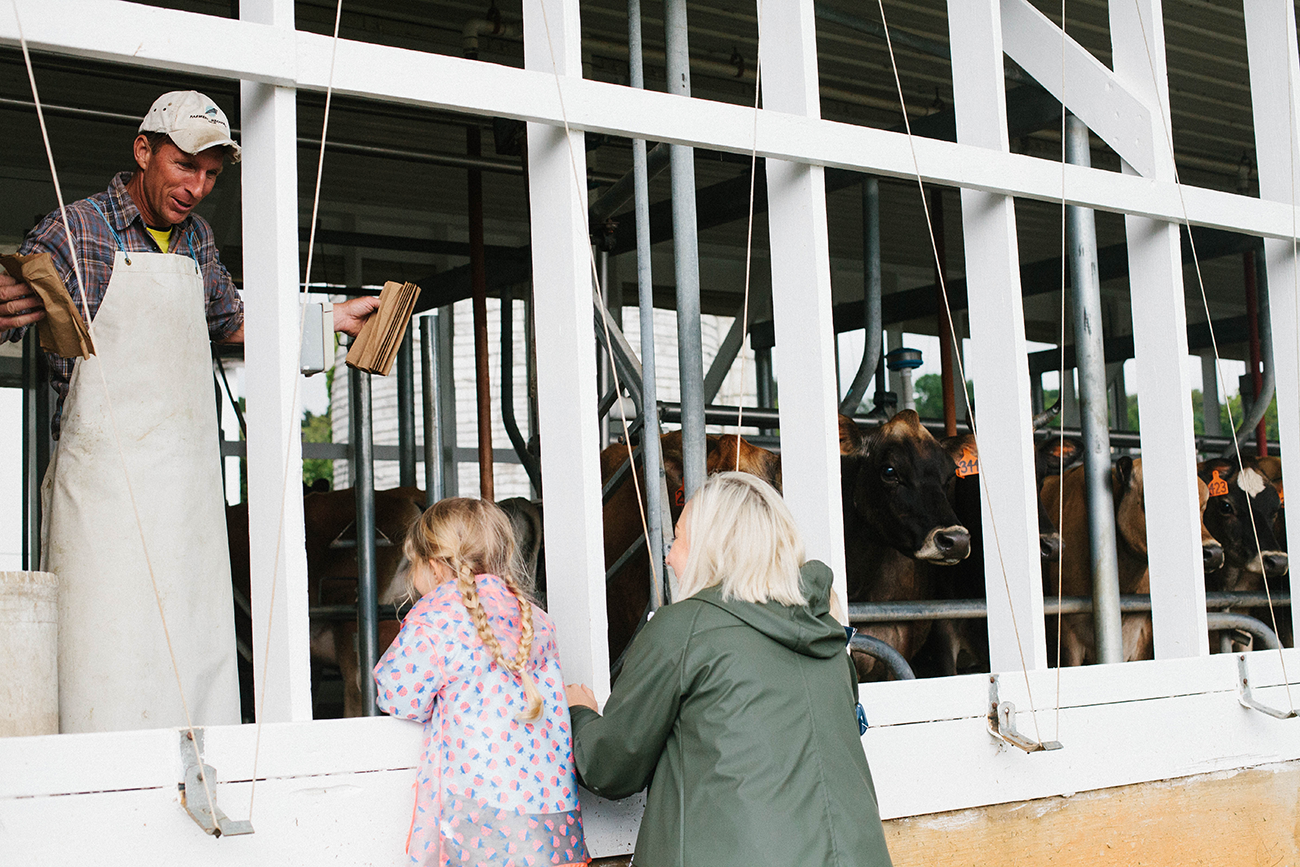
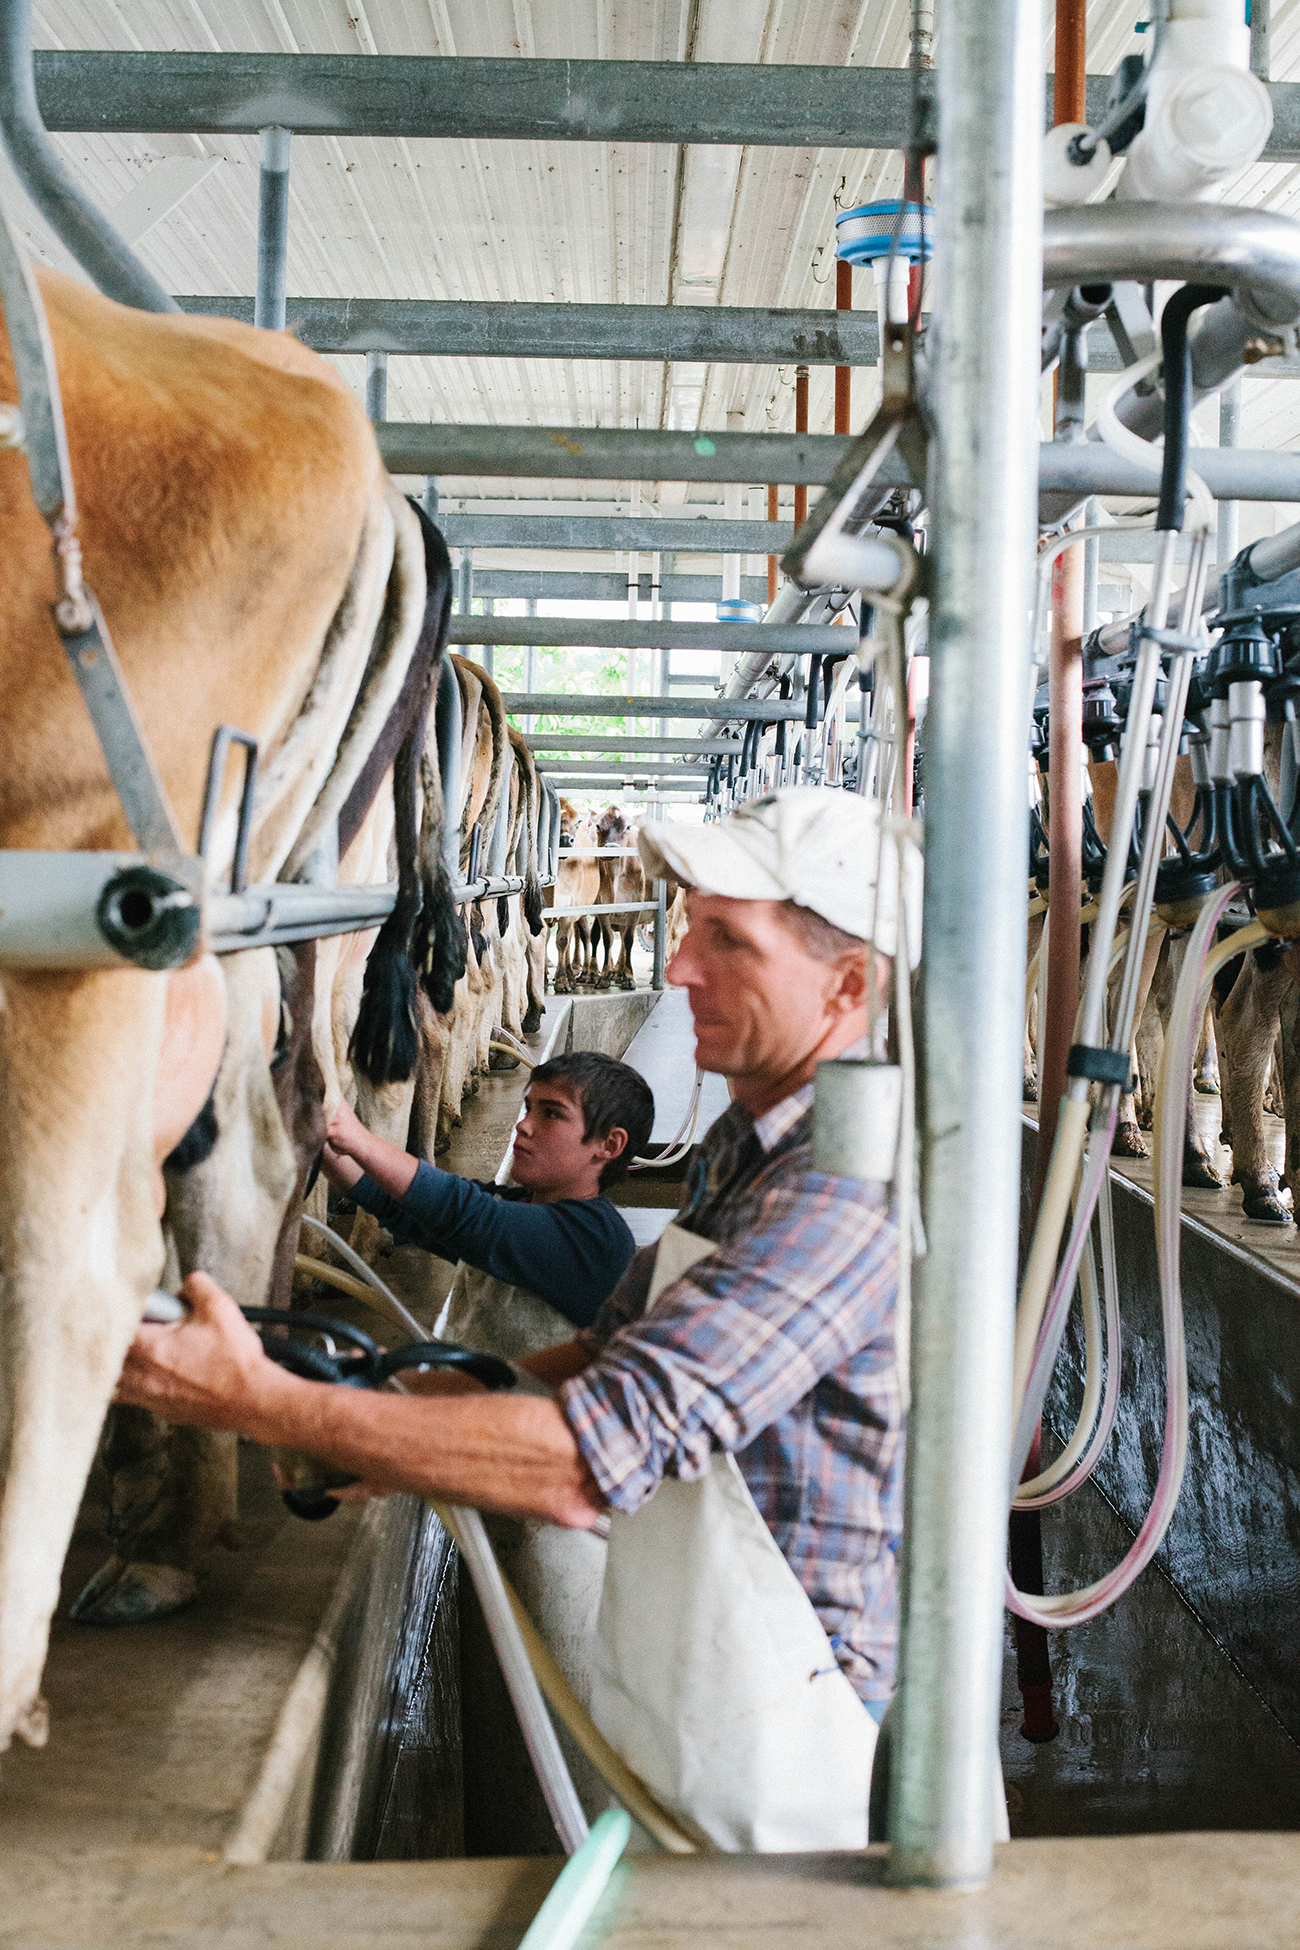
All four of us enjoyed our time at the farm so much. Not only did we learn so much about all things dairy, but there’s just something incredible about getting to know and learn from the farmers who are supplying the food we eat. The girls have been telling everyone about Farmer Ron and their milking experience. Joe and I were really inspired to one day have animals and live on a farm. We loved learning that Organic Valley is a farmer-owned coop of over 2000 organic family farms from around the country! Holterholm Farm is a SIXTH generation family farm, currently being run by Ron (5th generation) and his wife Kathy, and Adam (6th generation) and his wife Kristin. We got to watch Ron, Kathy, and Adam at work, and it was beautiful to see them working together as a family. Adam and I briefly discussed his hopes for the 7th generation. We loved the family-centerdness of this Organic Valley farm. At Holterholm Farm, the cows are organic and 100% grass-fed; this means they use no grain, no GMOs, no antibiotics, no toxic pesticides, and no synthetic hormones. This is so important to us!
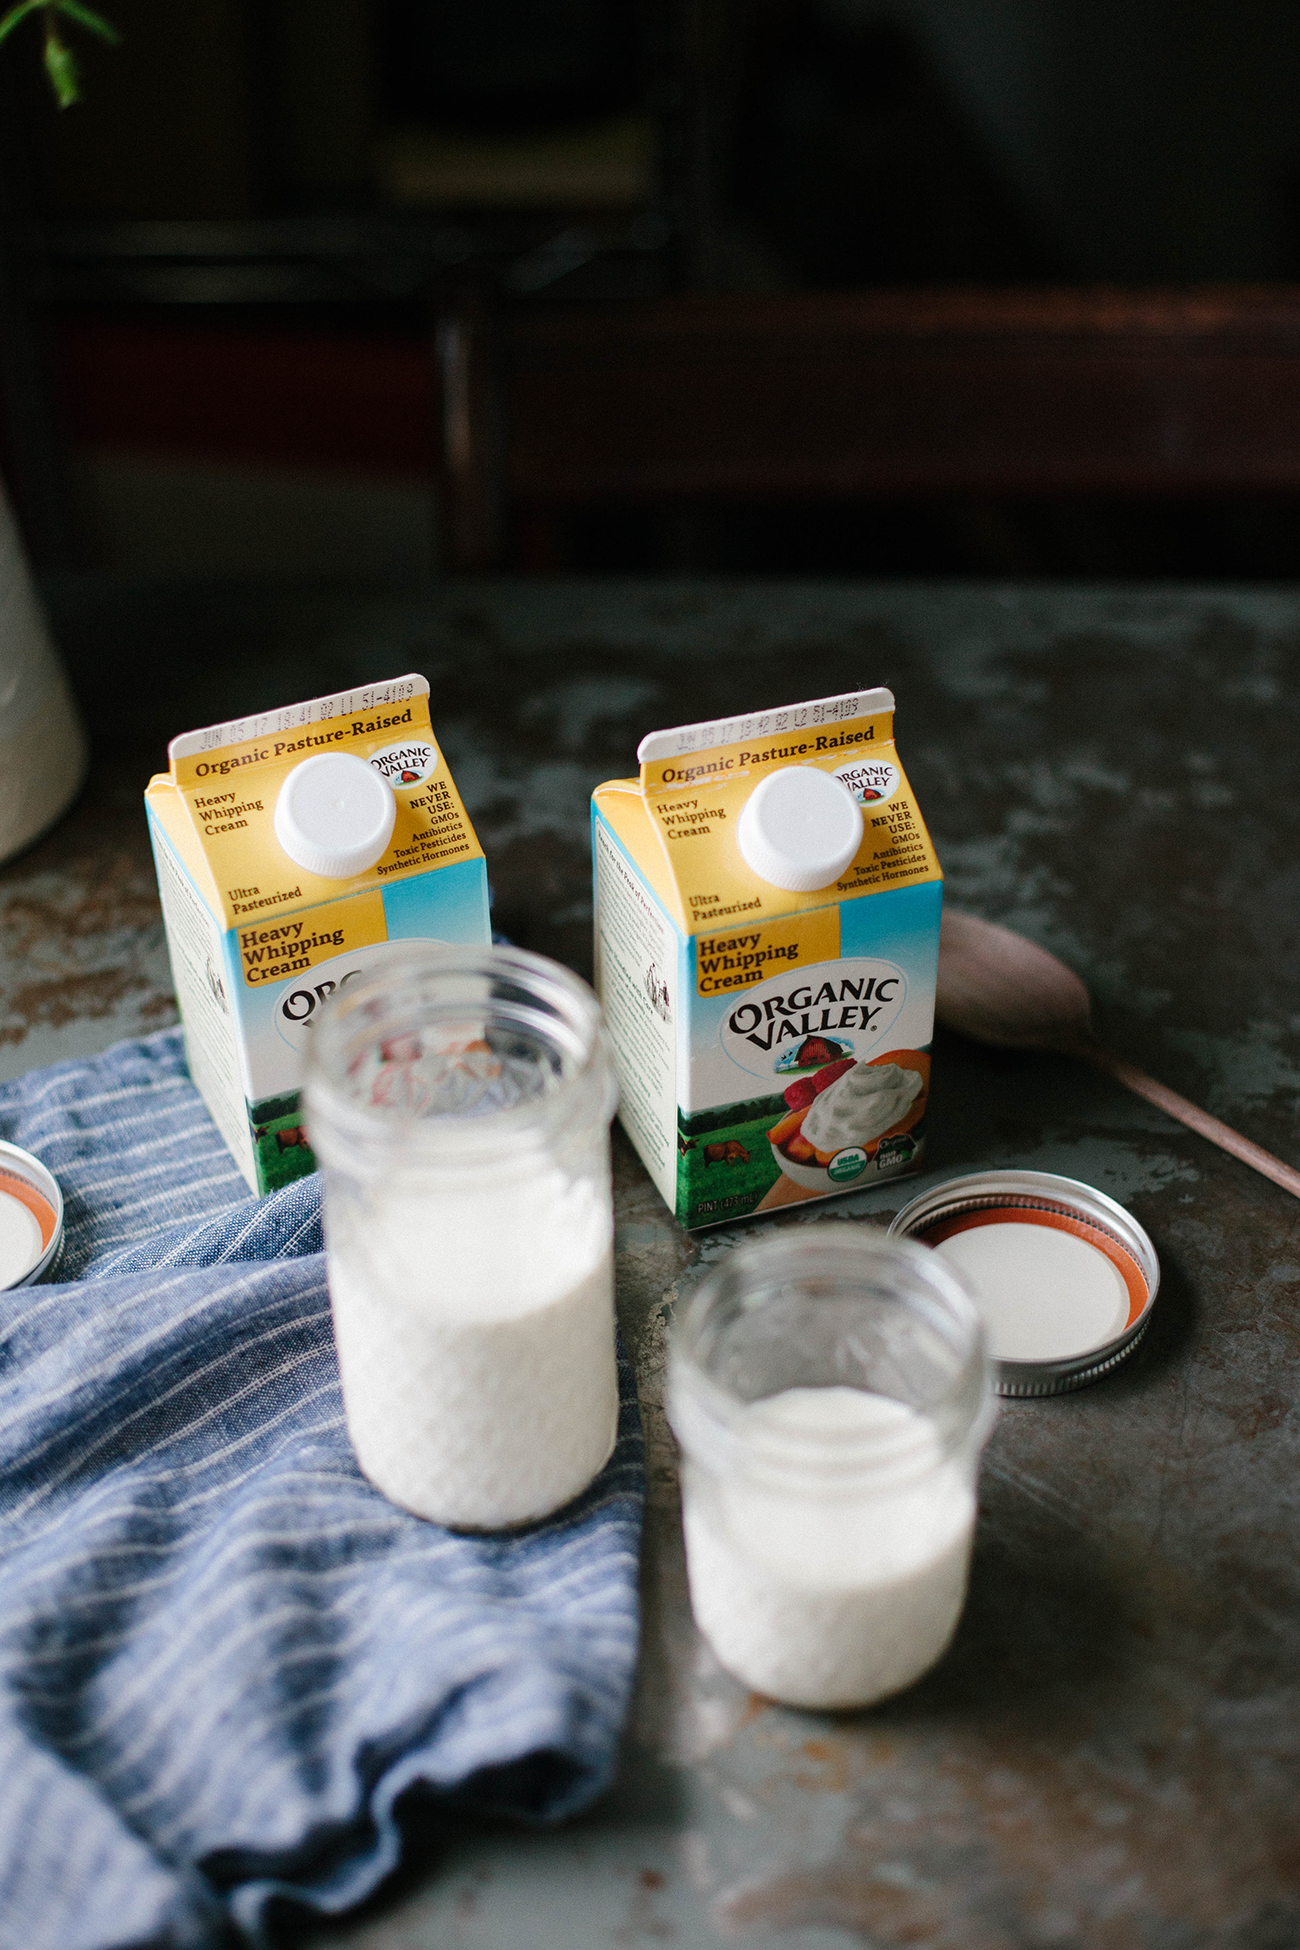
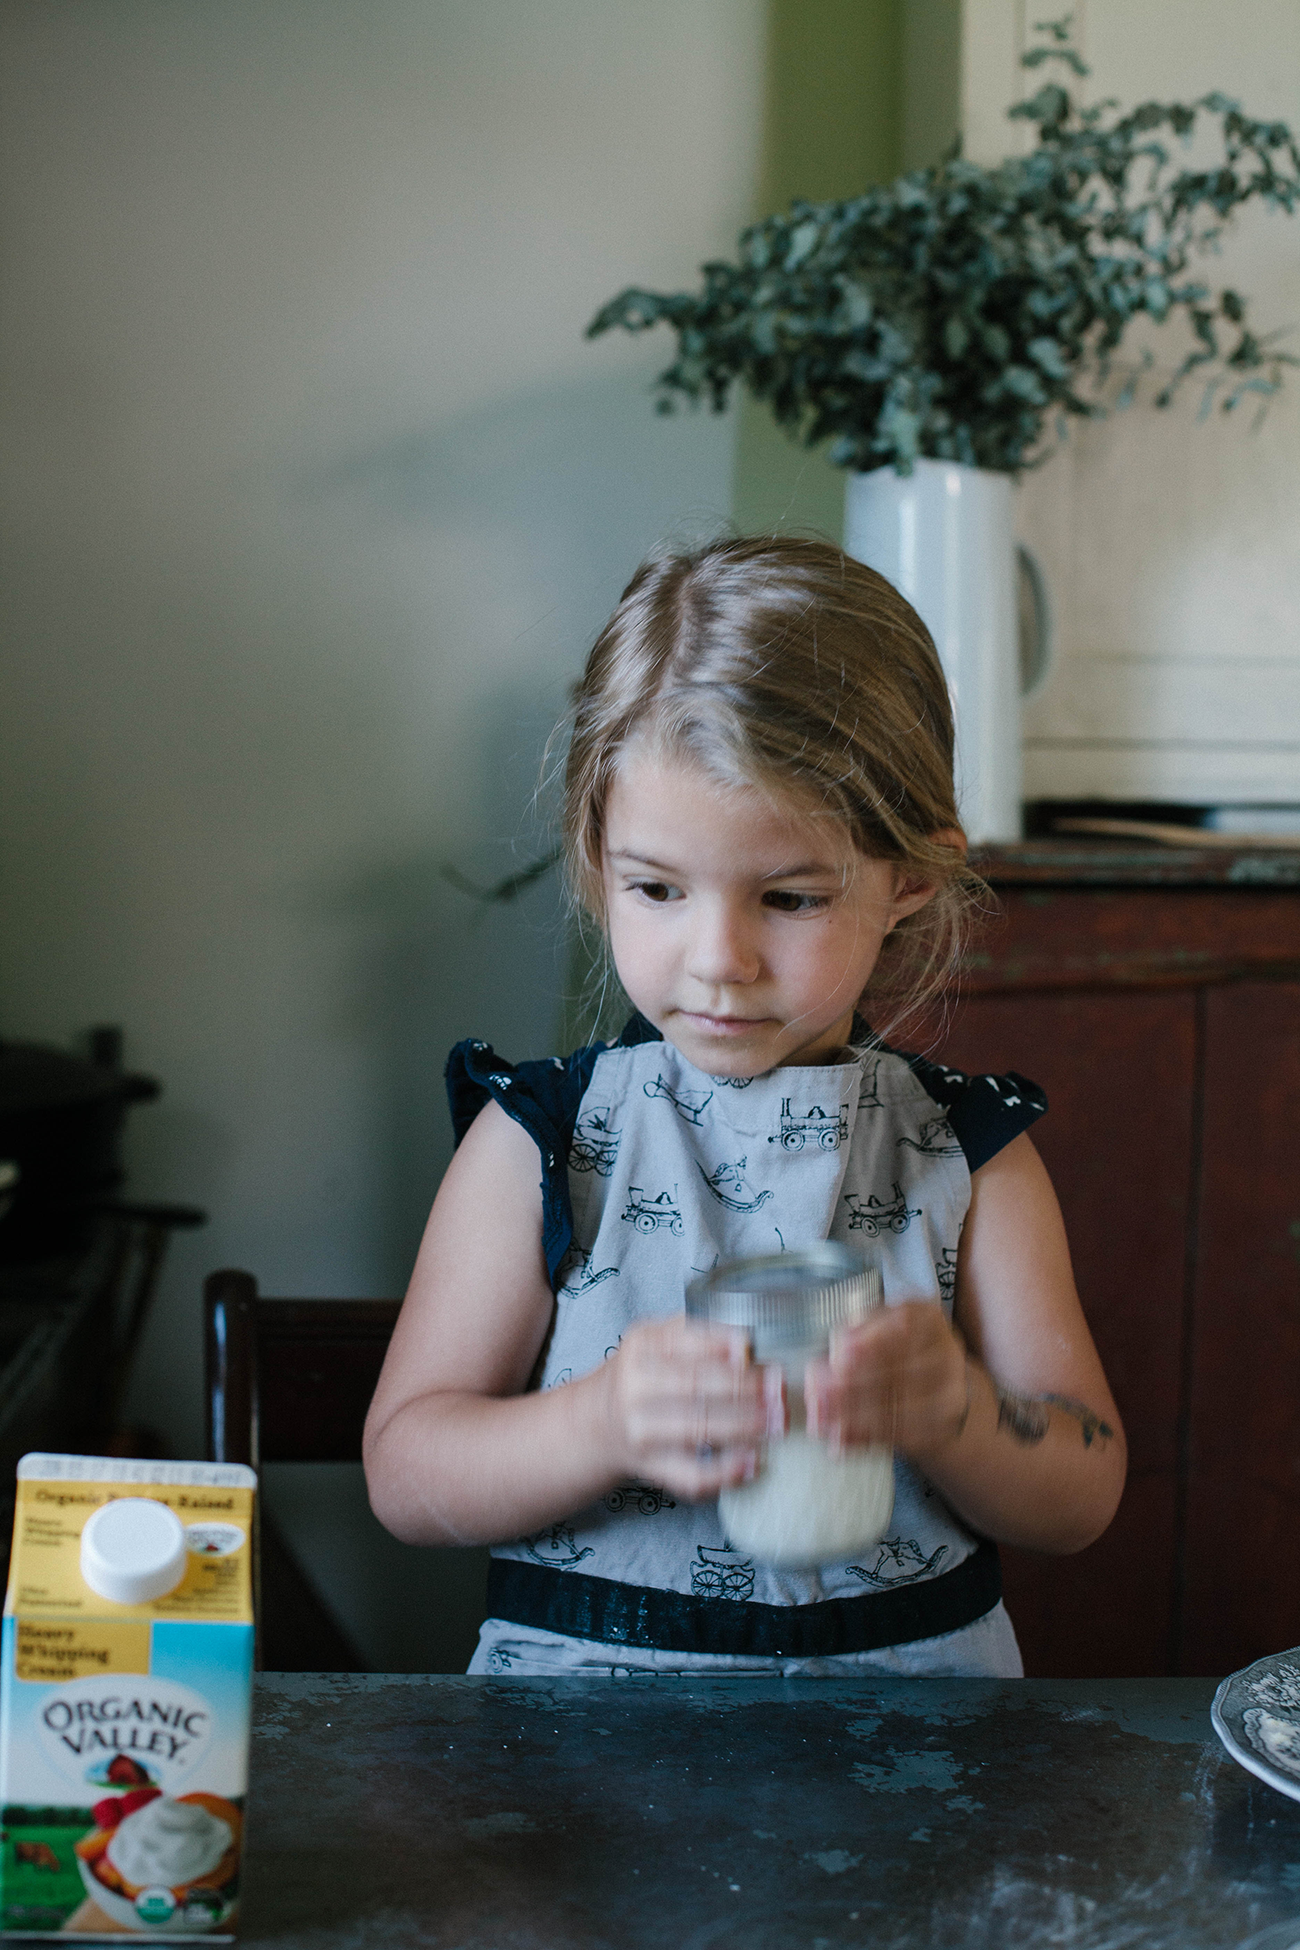
Like I mentioned, we were so inspired by our visit to Organic Valley’s Holterholm Farm that we came home and made our own butter (and plan to do so very frequently)! As we learned at the farm, making butter at home is incredibly simple yet thoroughly rewarding (and so, so fascinating)! It’s magical watching a jar full of cream very distinctly form into a butter ball and buttermilk! Below are the instructions for making your own butter at home, and the recipes for four compound butters.

Homemade Butter
makes about 1 1/3 cups butter
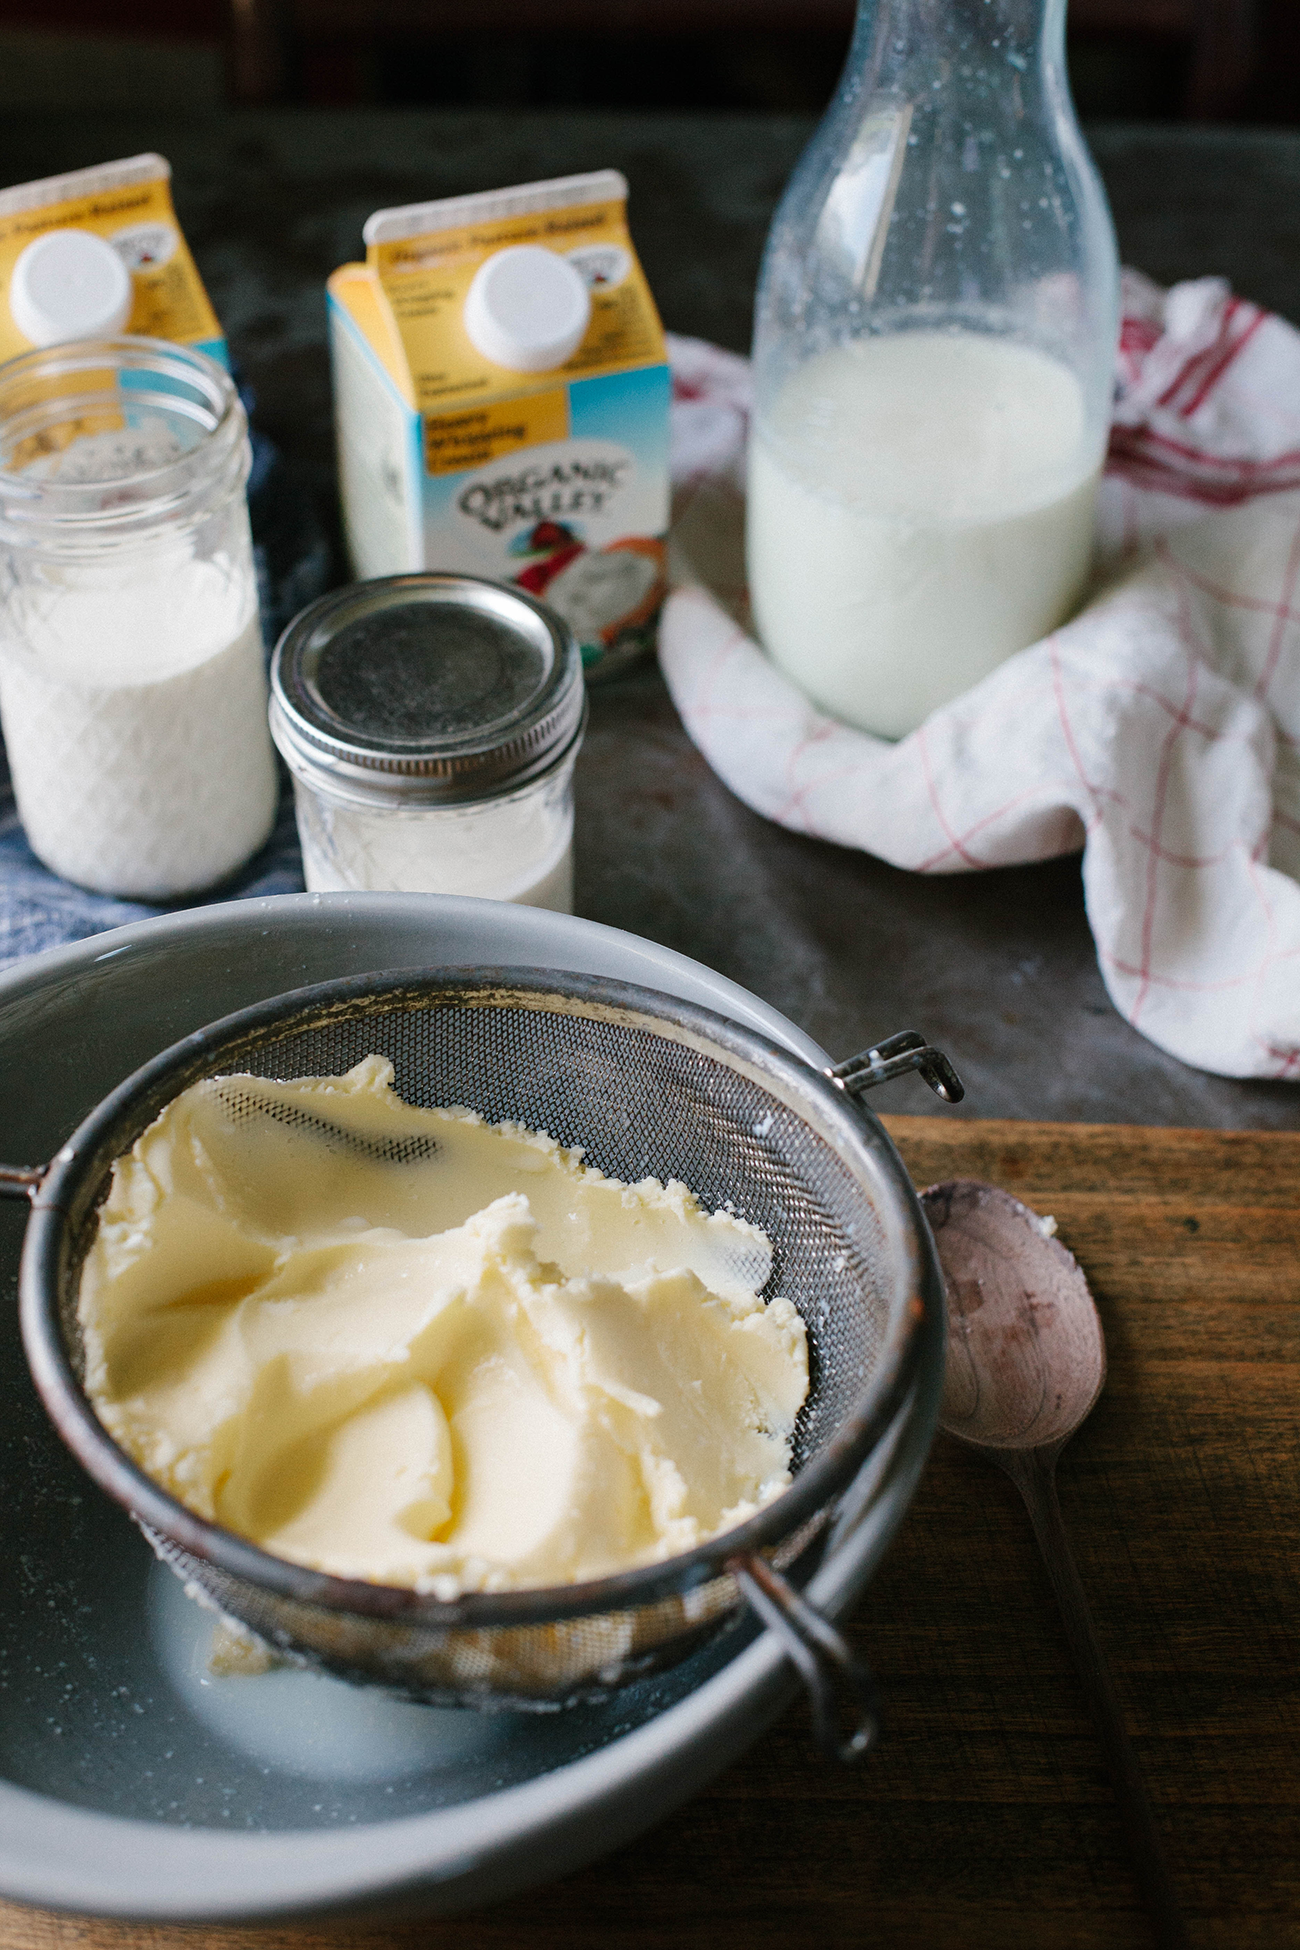
For this batch of butter, I used 2 pints of Organic Valley Heavy Whipping Cream. We made some in a jar and some in the mixer, instructions for each to follow. TWO THINGS TO NOTE: 1. Begin with room temperature heavy cream for quickest results. 2. The buttermilk that results from making butter at home is different from the cultured buttermilk you buy at the store
Jar method: The jar method is really fun if kids are involved, and incredibly simple. Just fill a jar about halfway with heavy cream and tightly screw on lid. Begin to shake in a steady back-and-forth manner. This method takes about 10-20 minutes of shaking, depending on the starting temperature of the cream. First you will whip the cream, then it will begin to break apart again and turn yellow. Then, suddenly, a ball will form and a liquid will separate. This liquid is the buttermilk (you can drink it, but as I mentioned earlier, this resulting buttermilk isn’t cultured like store-bought buttermilk). At this point, follow the directions below for straining the buttermilk.
Mixer method: This method is less labor-intensive and easier if you’re making a larger batch of butter. Simply pour heavy cream into mixer and, using the whisk attachment, beat on medium speed until whipped cream forms. Turn mixer off and scrape sides to completely utilize all the cream, then turn mixer back on. As with the jar method, you will make whipped cream and then keep going. The mixture will begin to break apart, and when small pieces begin to form, scrape sides one more time, and return mixer to low-medium speed. Almost suddenly, the buttermilk will separate, and you will have a mass of butter. Then you need to strain the buttermilk.
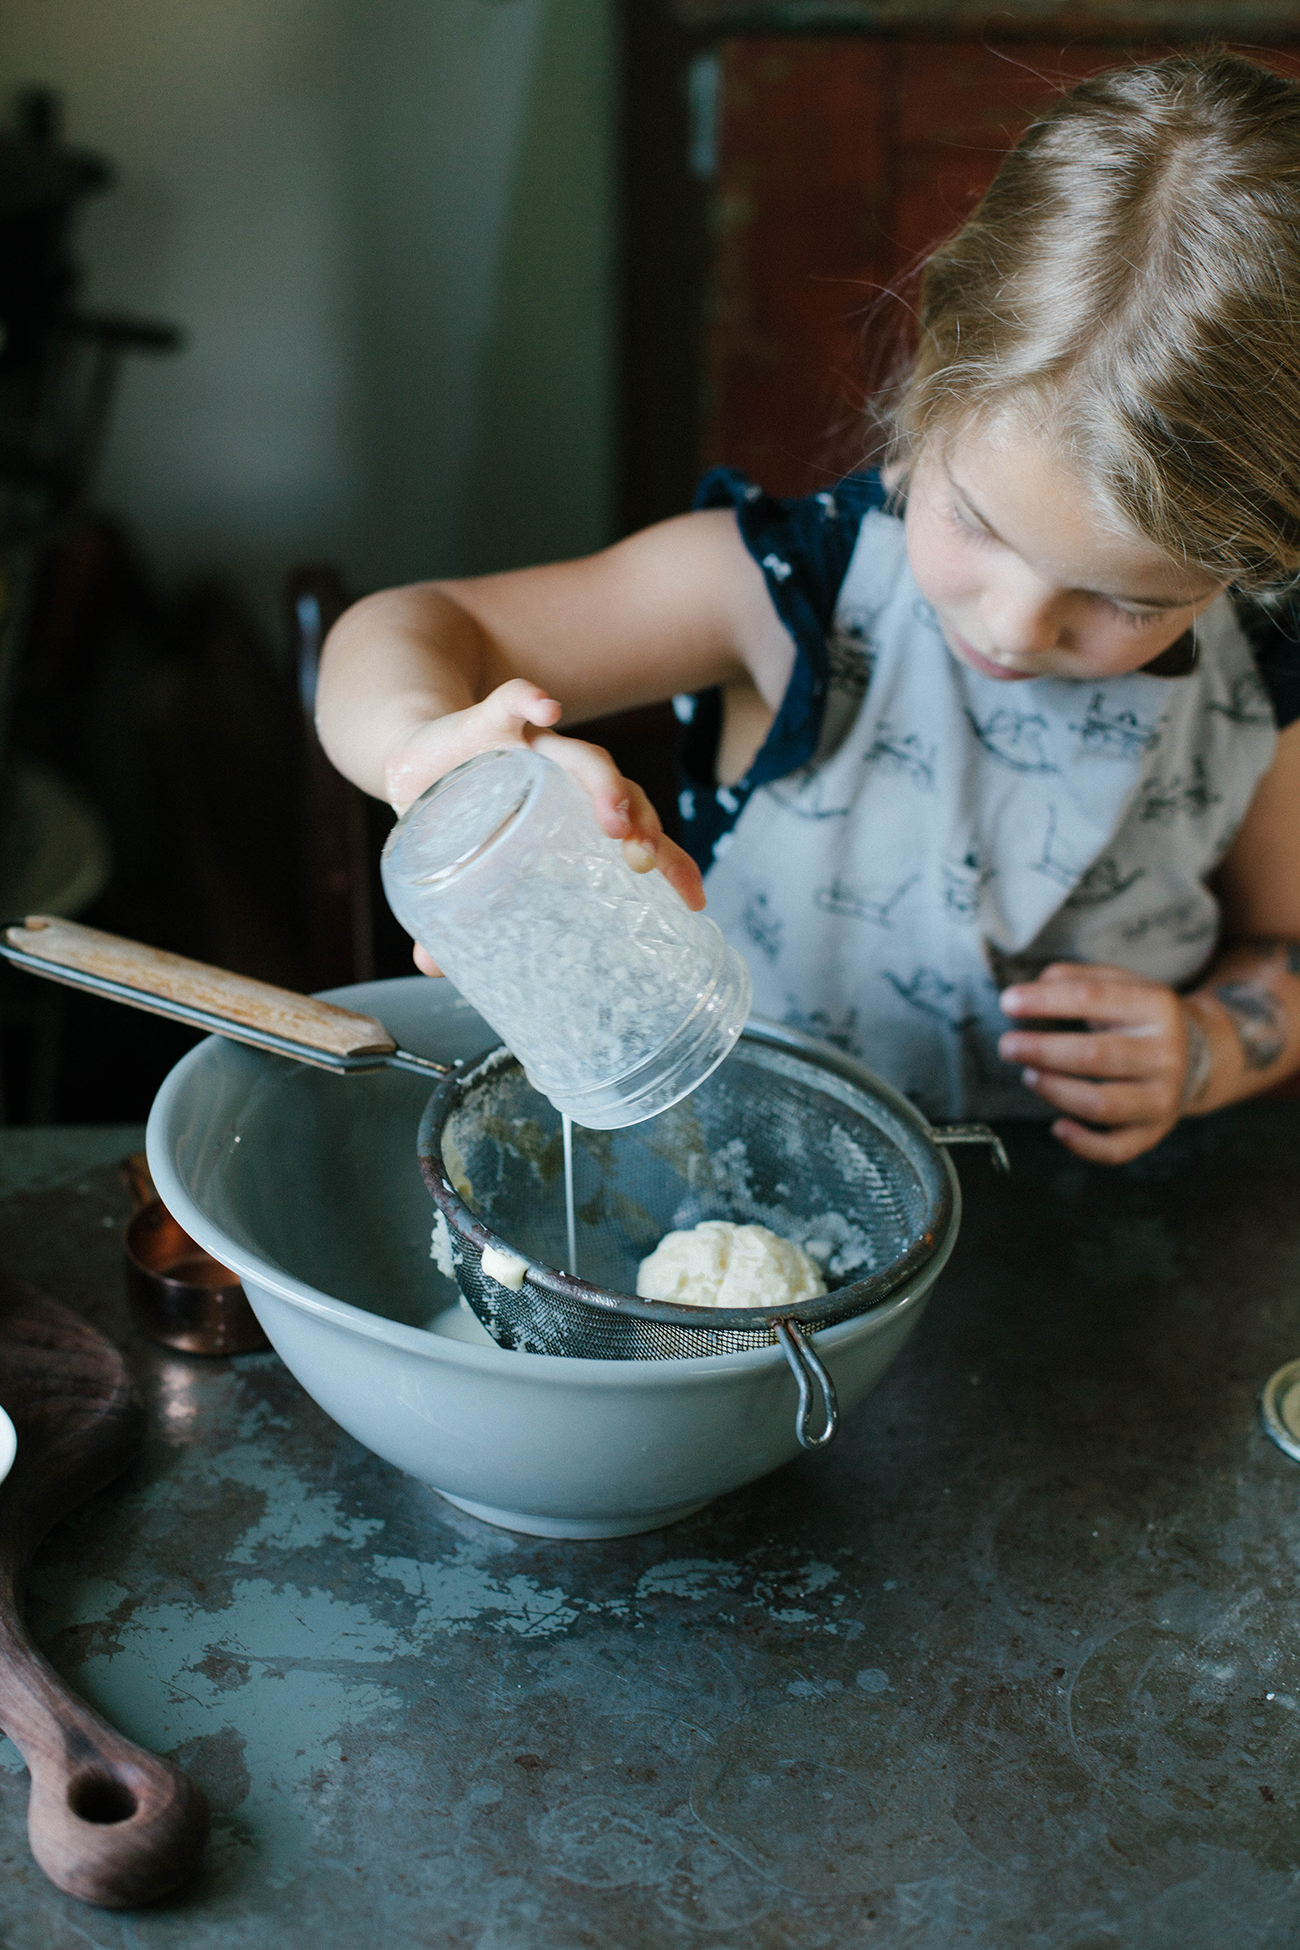
Straining the buttermilk: This step is important, especially if you don’t intend to consume your butter right away (the buttermilk can turn the butter rancid). You want to place a fine mesh strainer over a bowl and pour the buttermilk and butter into the strainer. You can gently press on the solids with a wooden spoon to help drain the buttermilk. Reserve buttermilk for baking or drinking, if you like. Then, keeping the butter in the fine mesh strainer, knead it under cold water to work out any buttermilk. You can also knead it on a clean surface, like you would with bread dough, wiping away any buttermilk with a clean cloth.
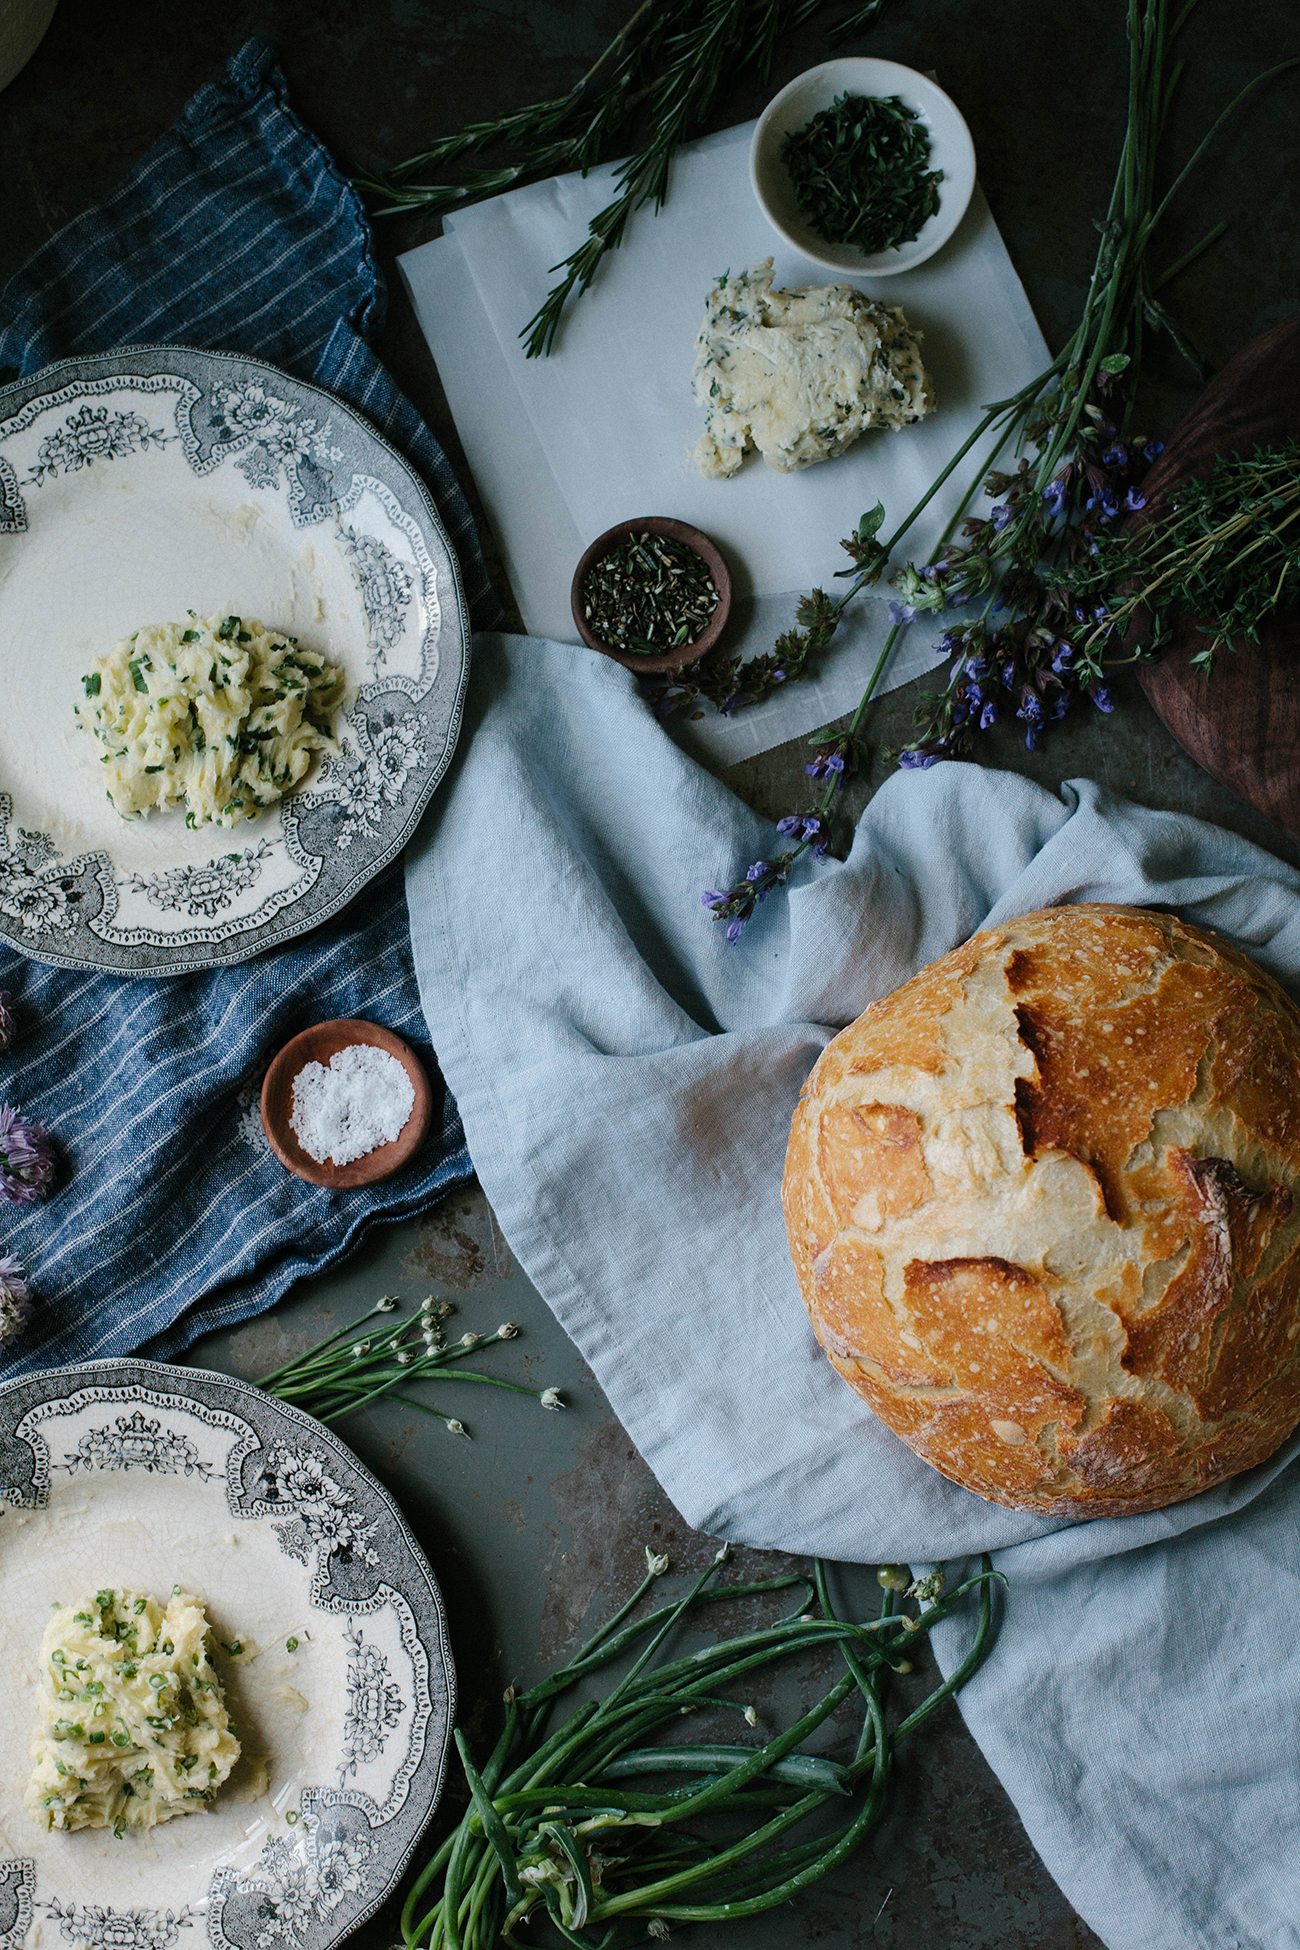
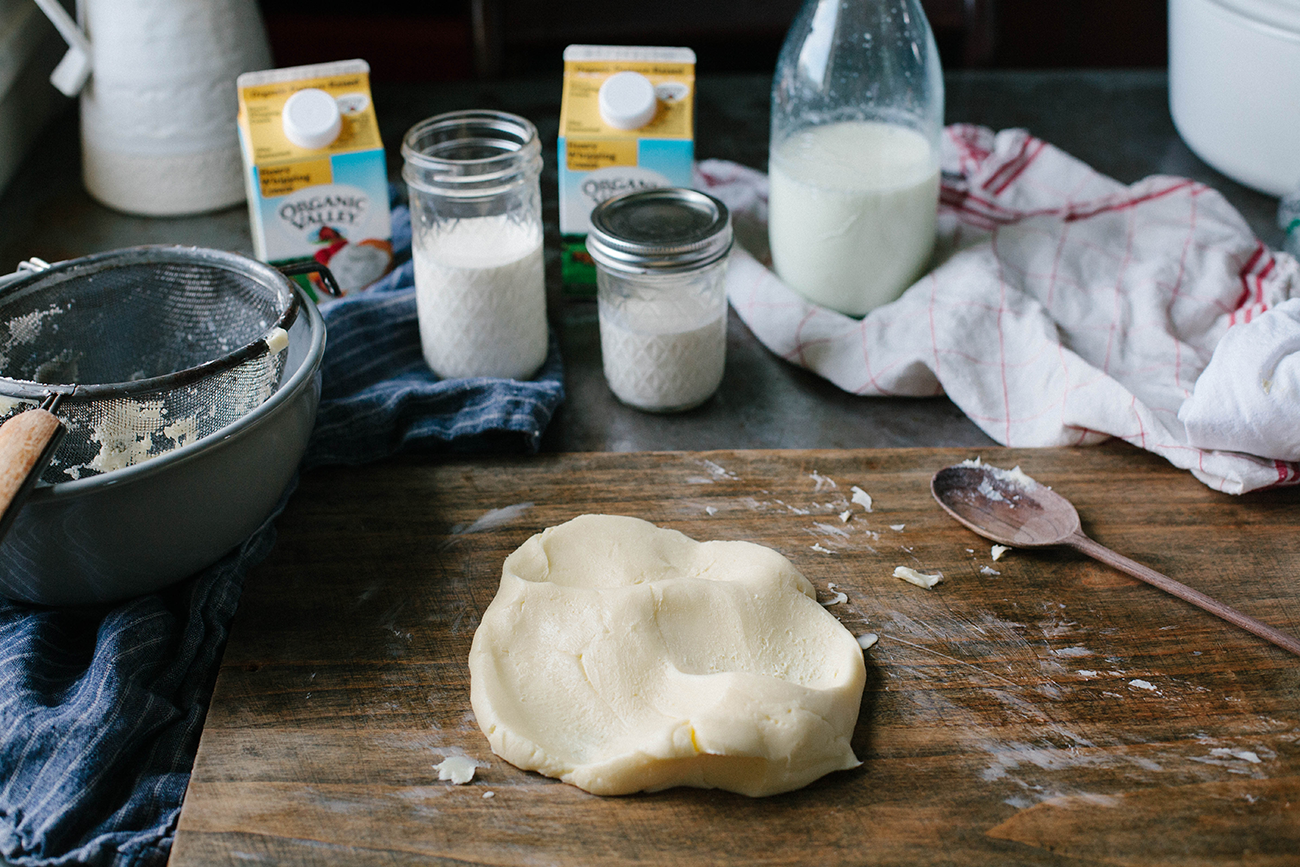
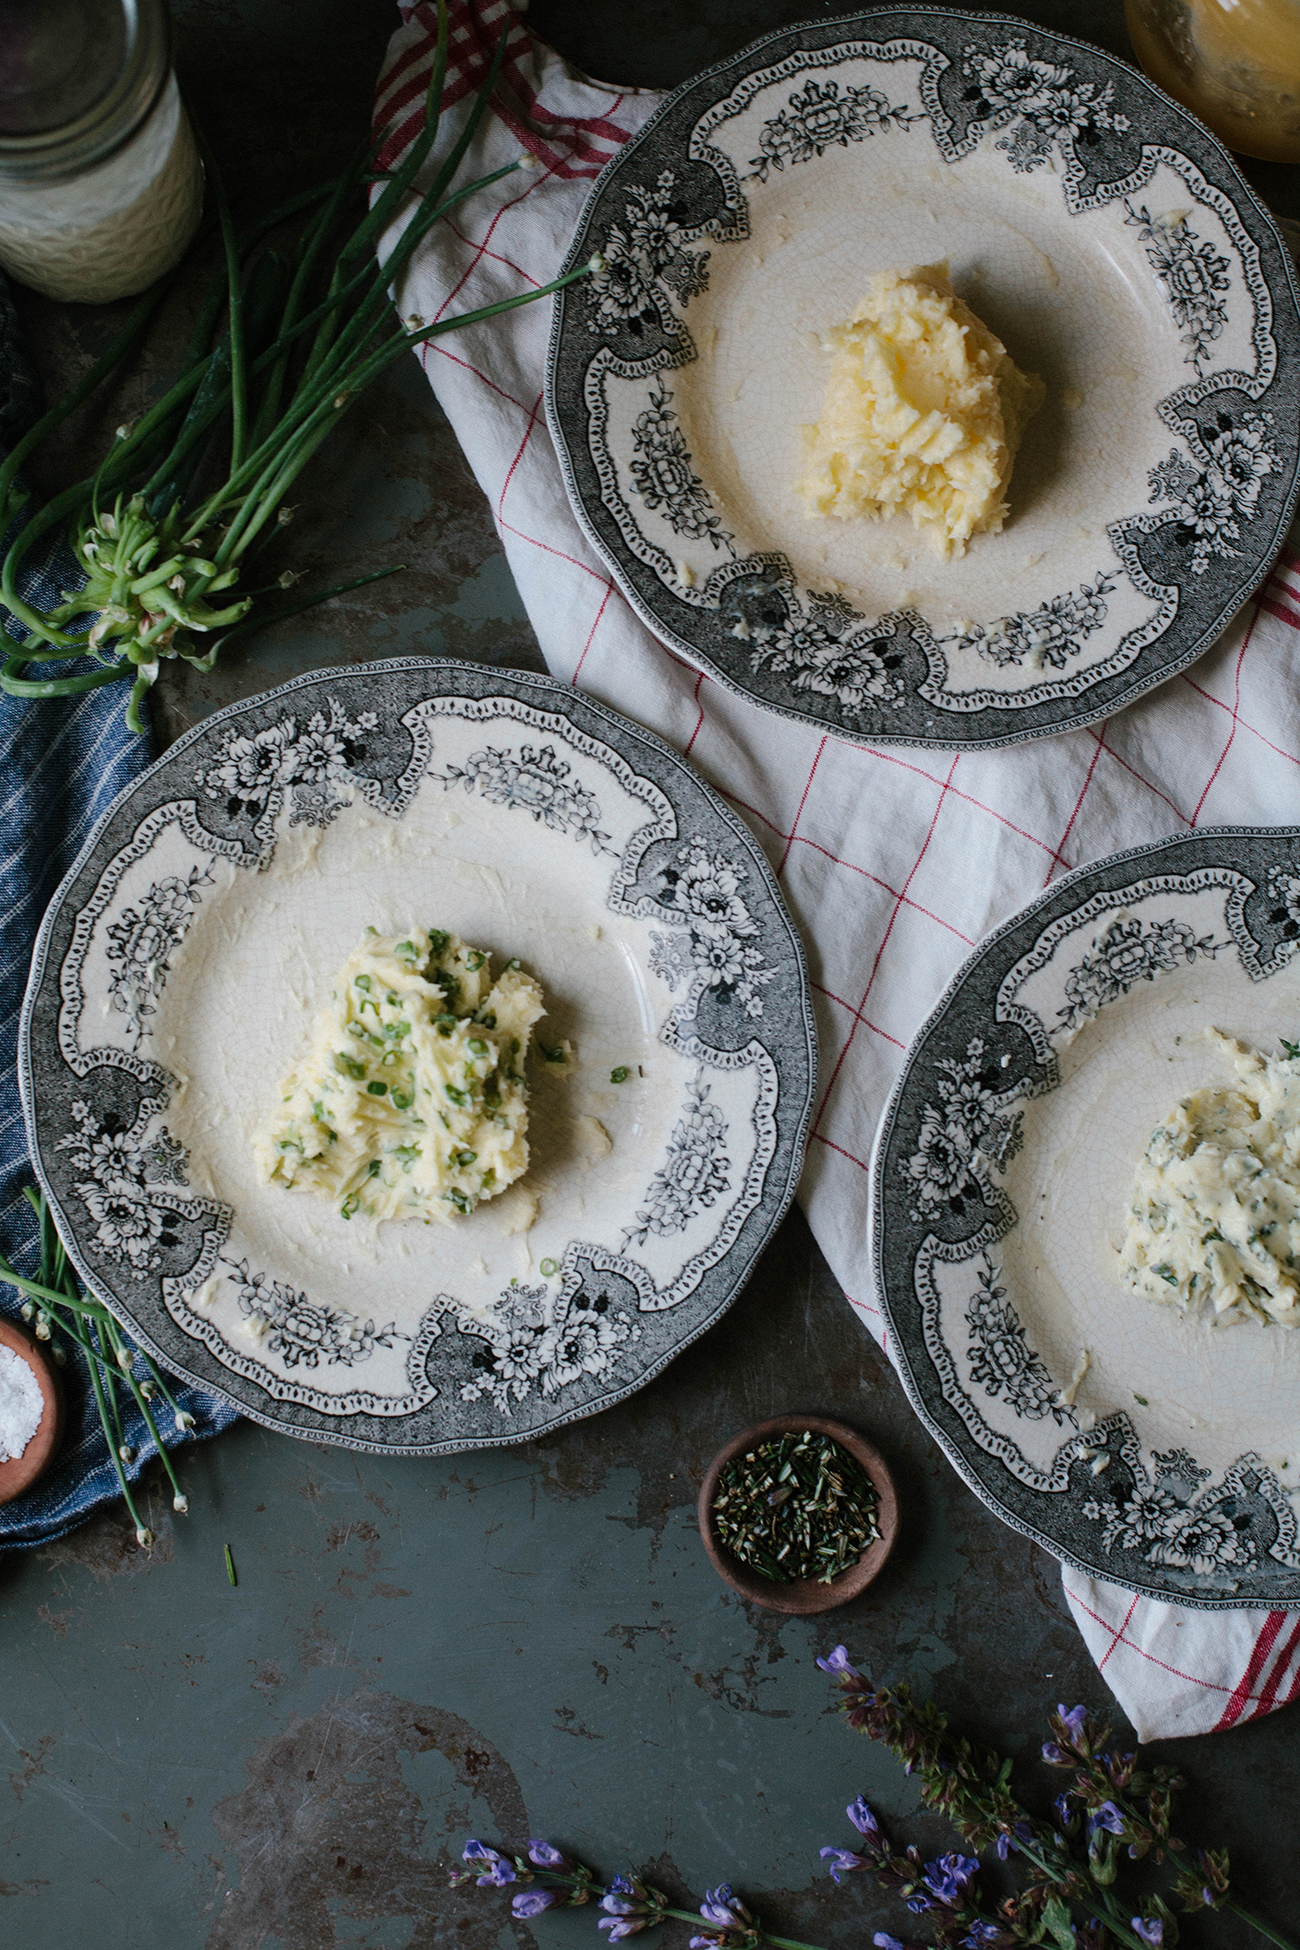
Seasoning the butter: After separating out any buttermilk, you’re left with a ball of unsalted butter. We turned our butter into 4 compound butters by adding a few simple, seasonal ingredients. Separate the butter ball into 4 equal parts (about 1/3 cup each). Then follow instructions below:
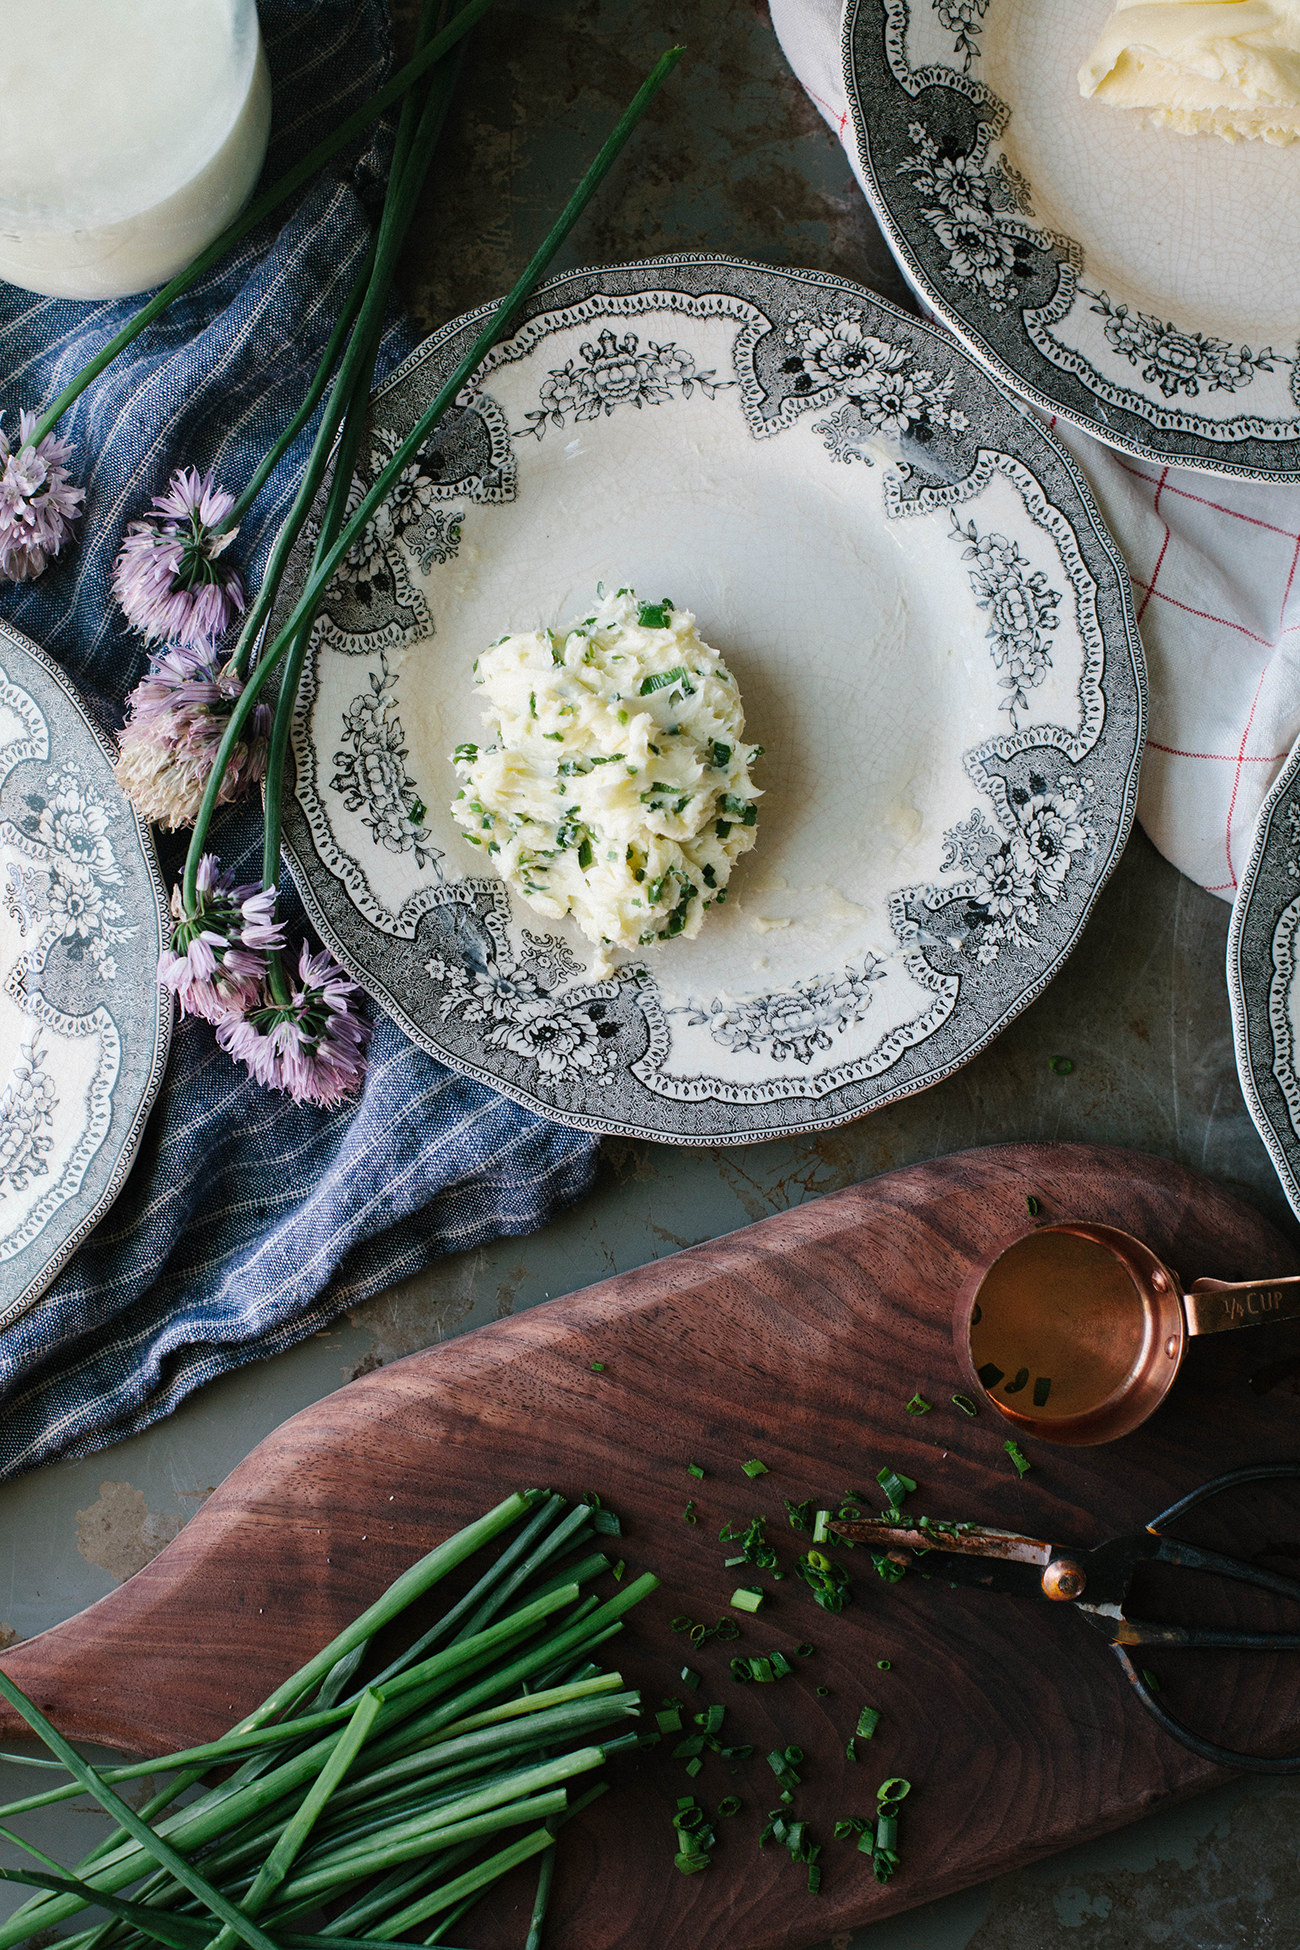
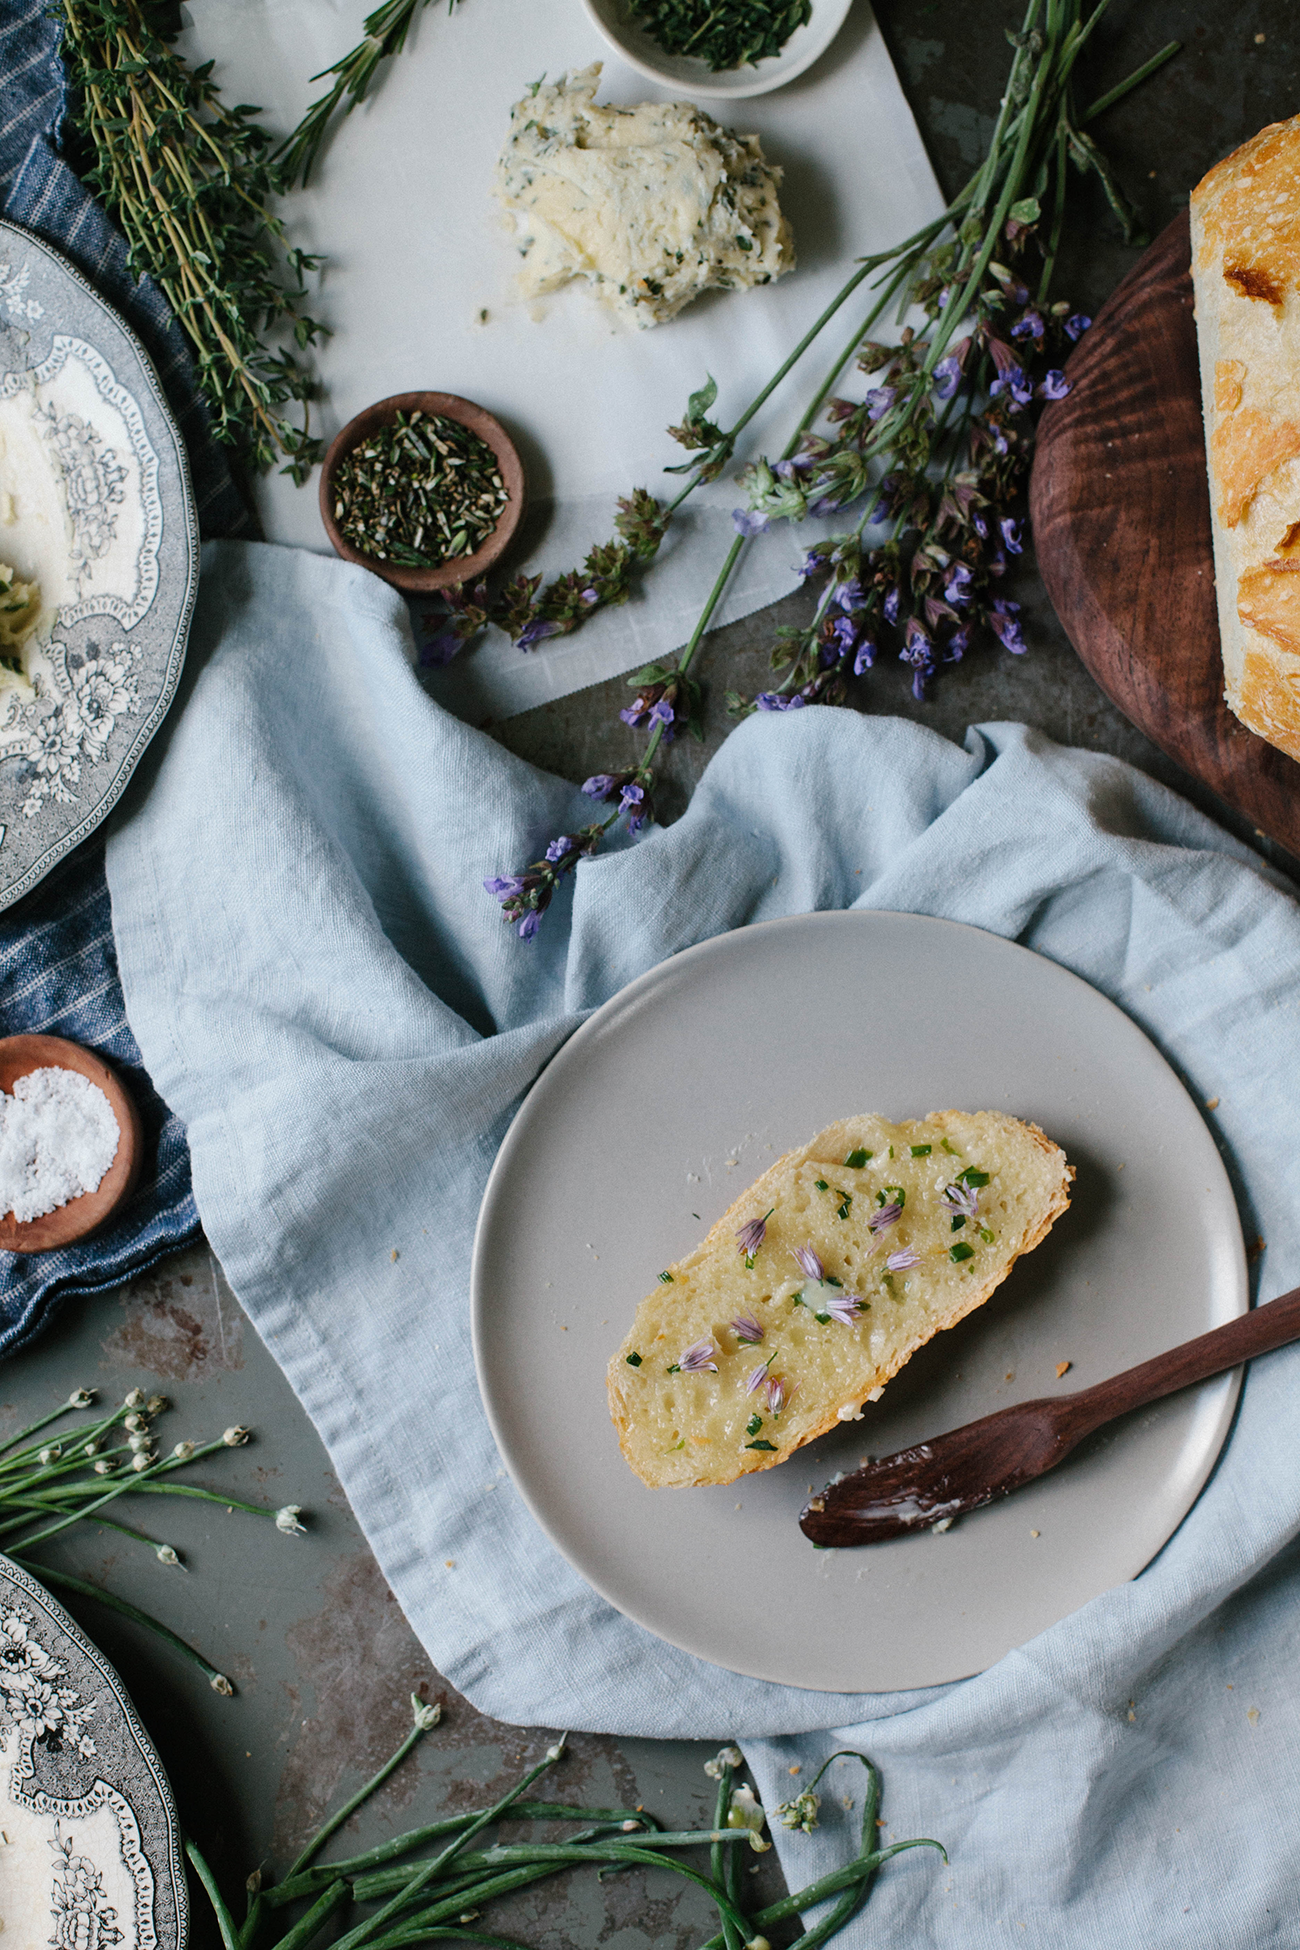
Chive Butter (my personal favorite)
2 tbsp chives, diced
1/4 tsp salt (or to taste)
chive blossoms, for garnish
Garlic Scape Butter
2 tbsp garlic scapes, diced (if your scapes are older or tougher, sauté them in a bit of olive oil before mixing into butter)
1/4 tsp salt (or to taste)
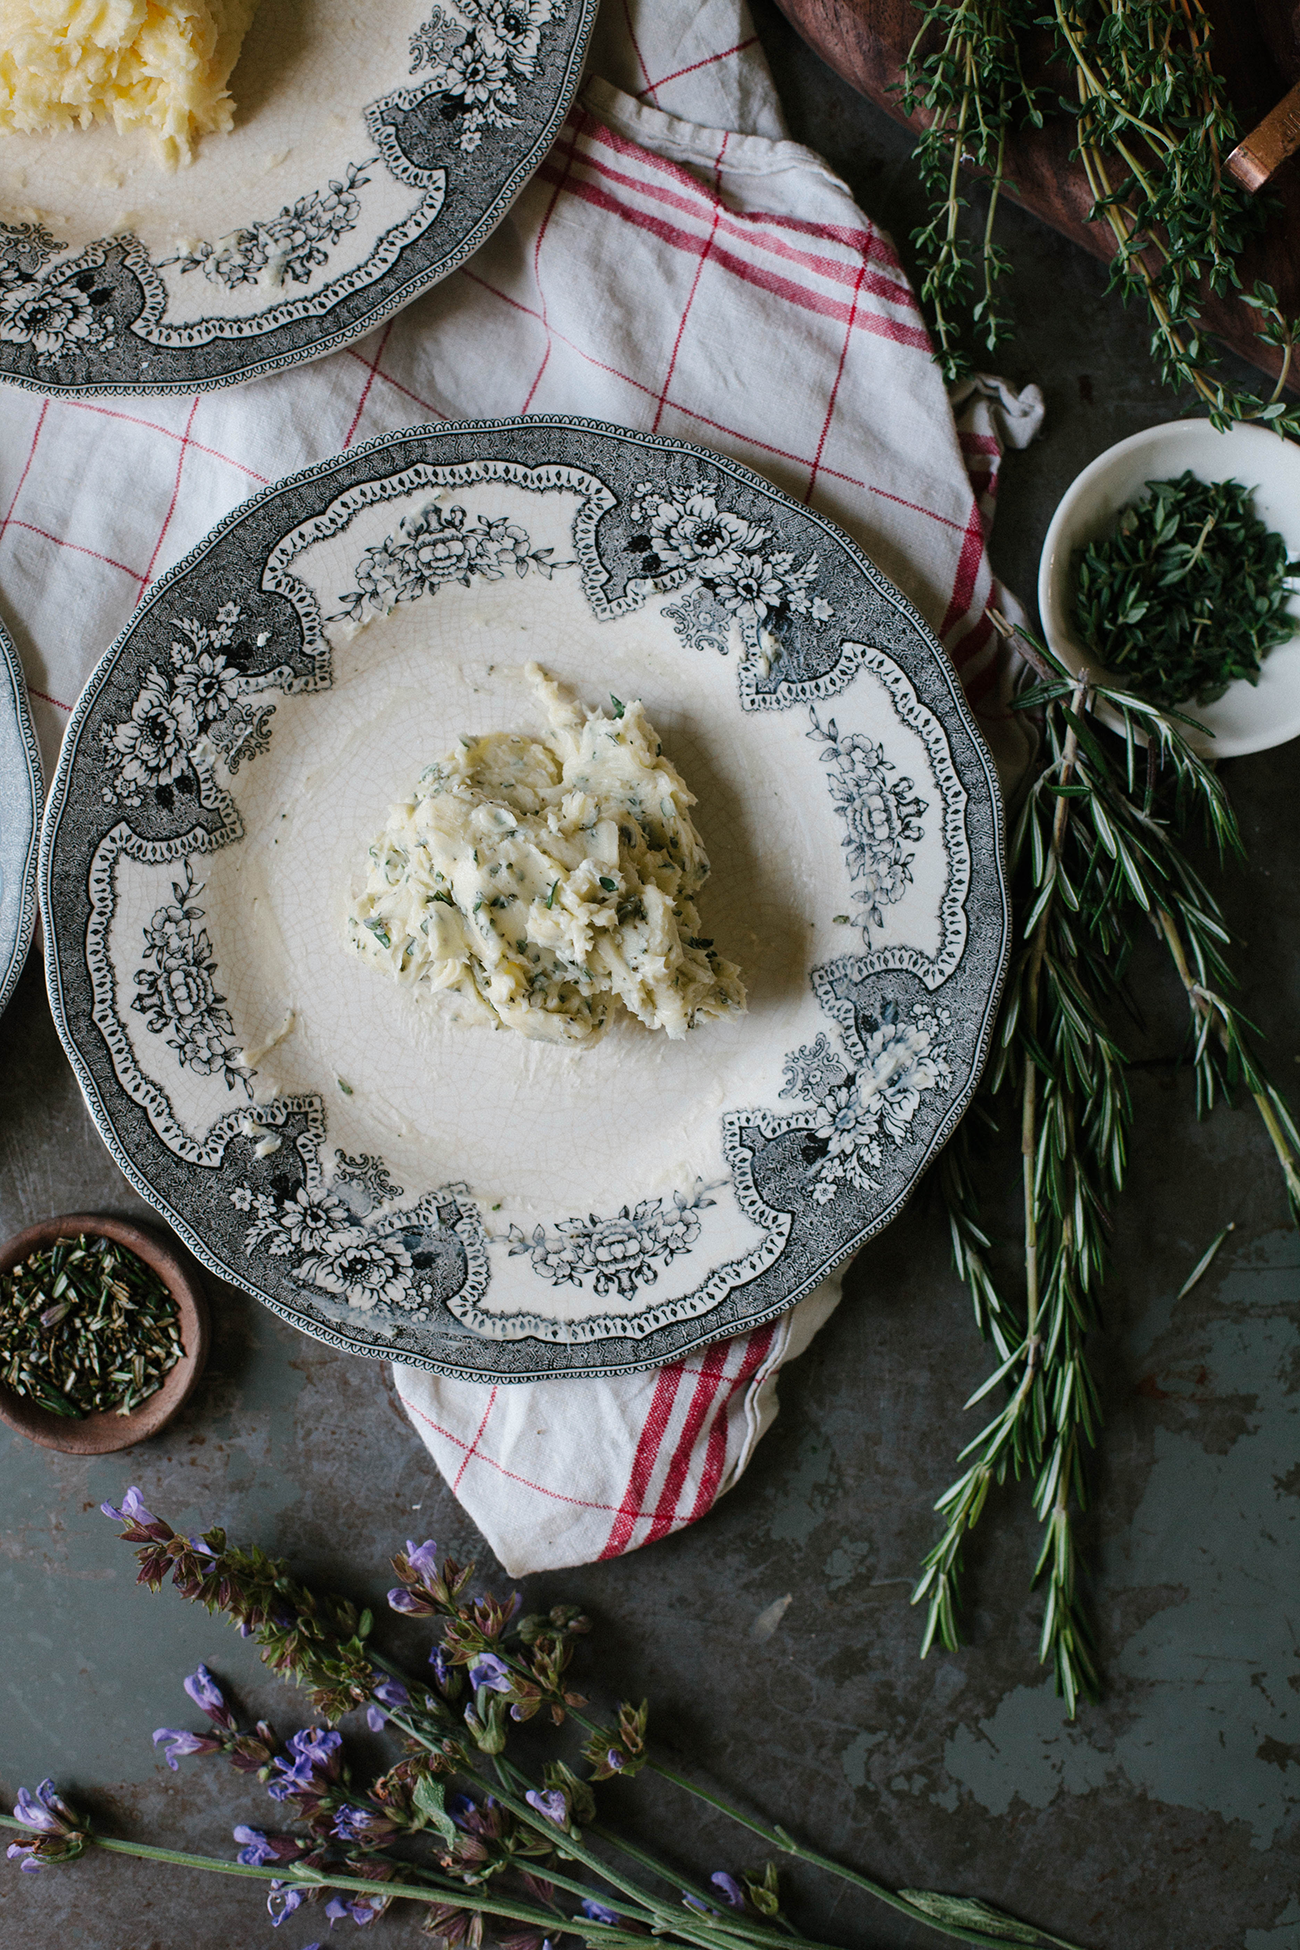
Herbed Butter
1/2 tsp rosemary, chopped
1 tsp thyme, chopped
1 tsp sage, chopped
1/4 tsp salt (or to taste)
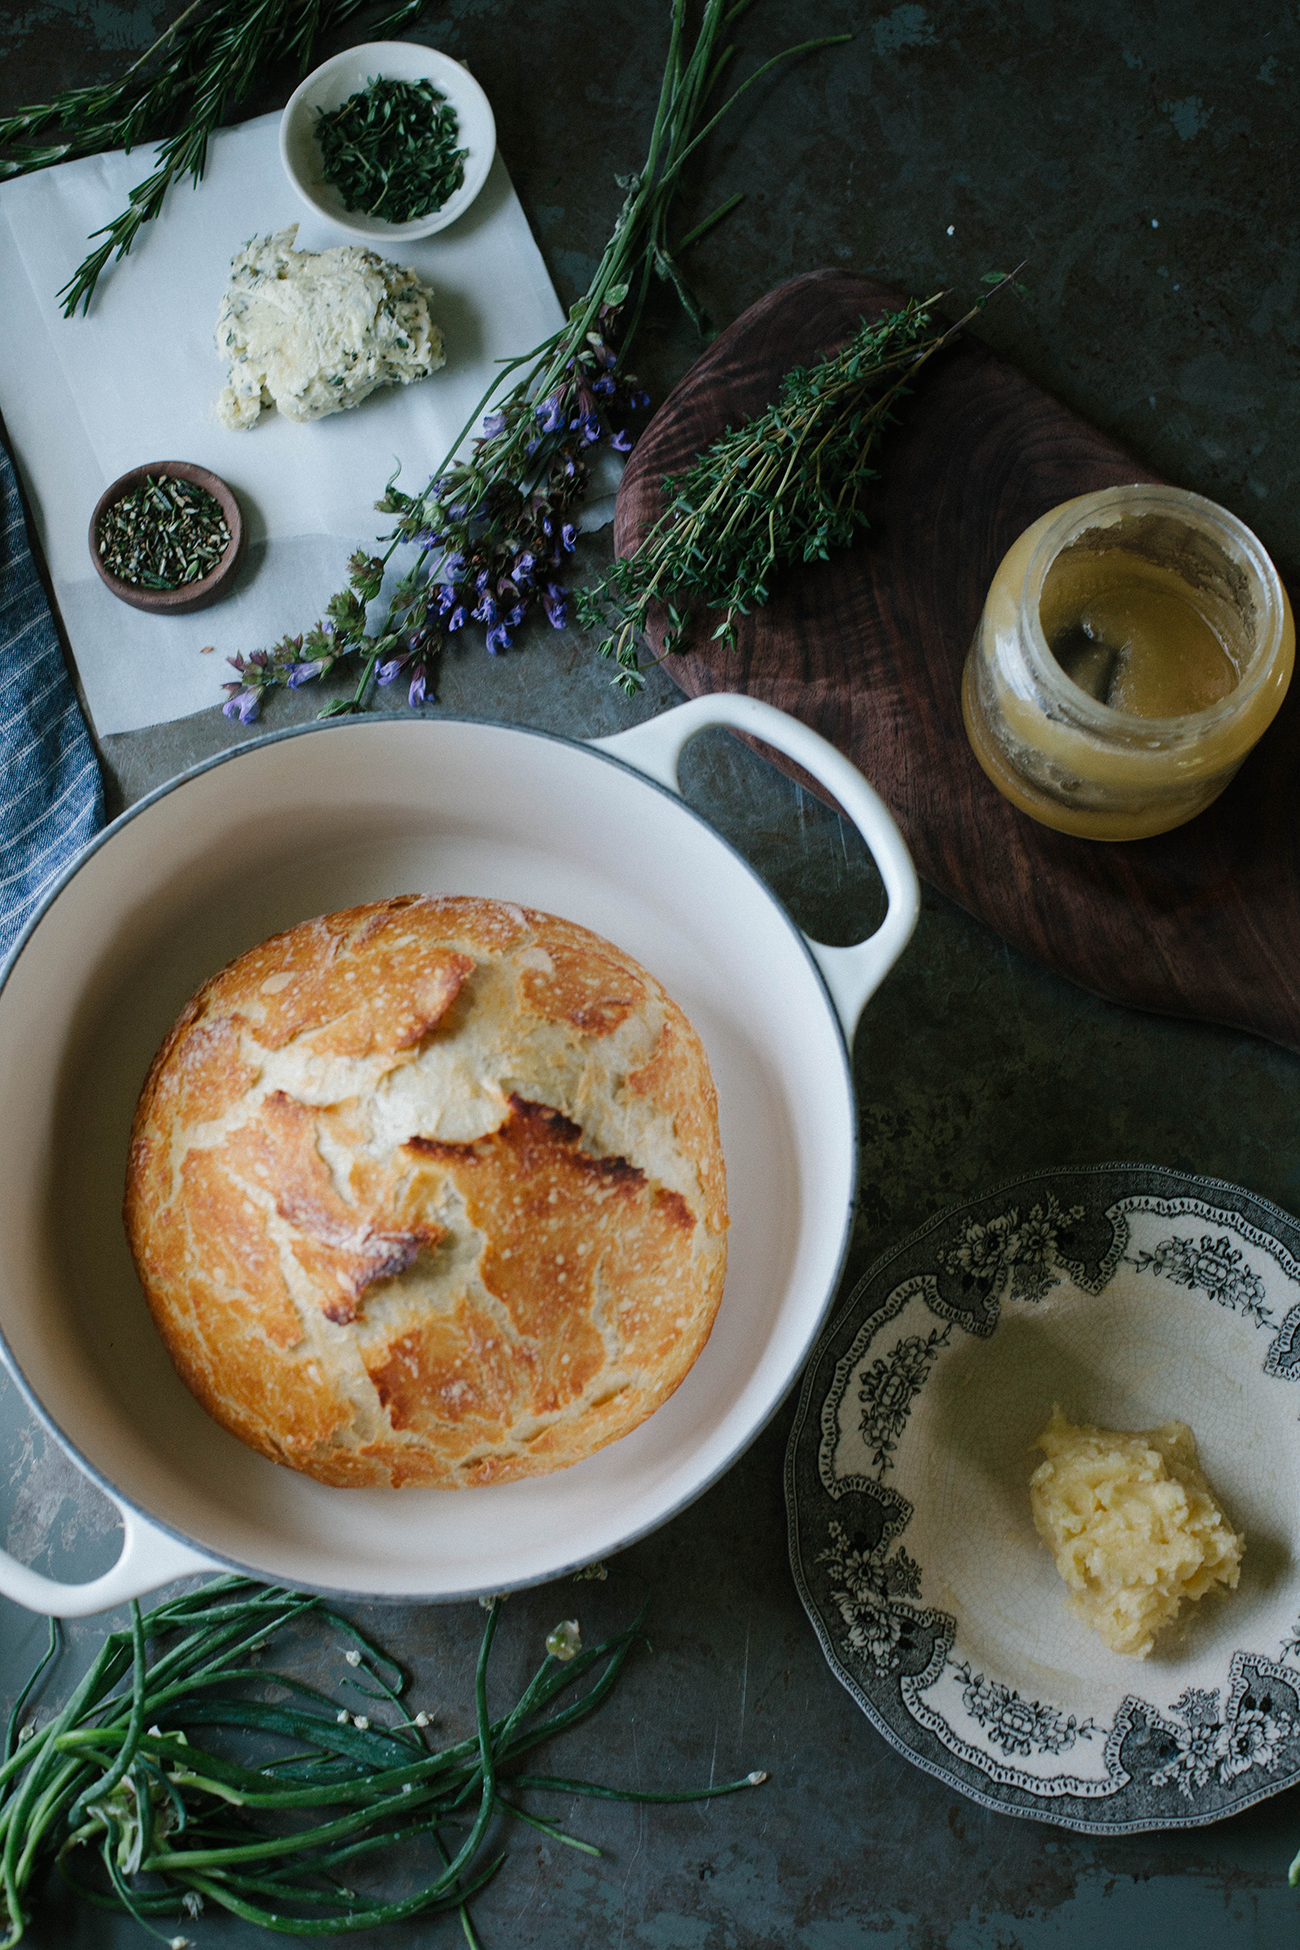
Honey Butter (the girls’ favorite)
1 tbsp honey
dash of salt
For each compound butter, simply place ingredients in a bowl or on a plate and mix thoroughly with a fork. Scrape together and store wrapped in parchment paper. Enjoy smeared over fresh-from-the-oven crusty bread, muffins, baked potatoes, corn on the cob (can’t wait for this to be in season!), or whatever you enjoy paired with butter!
Sponsor Note: Although this post was sponsored by Organic Valley, all content, words and ideas are my own. Thanks for supporting the partnerships that help keep this blog running.
Leave a Reply
PREVIOUS POST:
NEXT POST:
Disclosure.
Discovering how to infuse our lives—ourselves, our work, our relationships, our homes, and our entertaining spaces—with simple beauty, more intention, and slow living principles.
Interested in working together?
Click here to visit the Contact page and get in touch.
PORTFOLIO
© 2020 A Daily Something — All Rights Reserved.
Design by TONIC.
Learn more about A Daily Something styling services, content creation offerings and view curated work.
CONTACT + COLLABORATE
MANIFESTO
Join the list to receive our thoughtful monthly letters, and to be the first to know of upcoming workshops, dinners, gatherings, and more.
SUBSCRIBE
ALL PHOTOS AND IMAGES ON A DAILY SOMETHING ARE BY A DAILY SOMETHING UNLESS OTHERWISE NOTED. IF YOU SEE AN IMAGE THAT IS NOT PROPERLY SOURCED, PLEASE LET US KNOW AND WE'LL UPDATE THE INFORMATION! IF YOU WOULD LIKE TO SHARE A PHOTO OR TUTORIAL FROM A DAILY SOMETHING, PLEASE ONLY SHARE ONE PHOTO, WHICH MUST BE CREDITED AND LINKED BACK TO A DAILY SOMETHING.
SPONSORED POSTS WILL ALWAYS BE DISCLOSED AND ANY GIFTED ITEMS WILL BE MARKED C/O. WE ONLY WORK WITH COMPANIES THAT ARE A GOOD FIT FOR THE A DAILY SOMETHING AESTHETIC AND CONTENT. THANK YOU FOR SUPPORTING THE COMPANIES THAT ENABLE US TO CONTINUE PRODUCING QUALITY CONTENT.

Thank you so much for sharing – this is a beautiful post!! I remember my mom making butter in a jar like that when I was a young girl – I’m so excited to try making it myself now! Are the purple colored herbs sprinkled on the toast lavender?
Hi Elise! Thanks so much for your sweet comment; what a wonderful memory! I hope my girls remember 🙂 The purple flowers are chive blossoms! I sprinkled them on the chive compound butter-smeared bread! Let me know if you make your own butter! < 3
[…] some homemade herb-infused butter for the ultimate […]
[…] Chive compound butter; […]